Imagine picking up a chunk of basswood and, within an hour, holding a finished spoon you carved yourself—it’s totally possible. I’m here to walk you through wood carving in three straightforward steps that’ll take you from complete beginner to someone who actually knows their way around a carving knife.
You’ll learn which tools to buy, how to make clean cuts, and exactly how to finish your first project. The real value appears when you understand why each step matters.
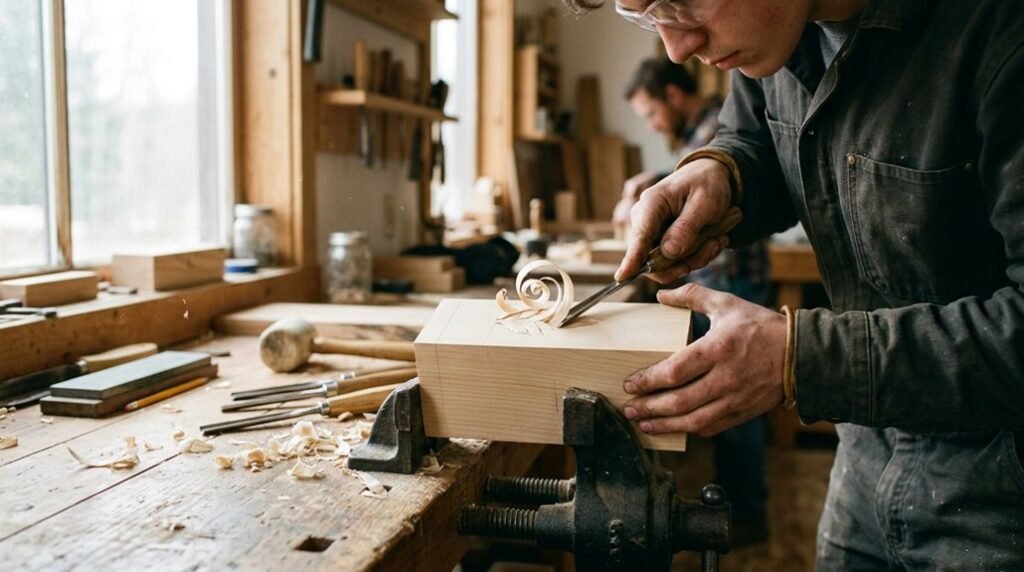
Step 1: Start With Spoon Carving
Why start with spoon carving? It’s the perfect entry point because you’ll join a community of beginners discovering wood carving together. I recommend using basswood blanks, this forgiving wood holds details beautifully and minimizes frustrating tear-out.
You’ll need just a few wood carving tools: a carving knife for handles, a spoon knife for the bowl, and sharp gouges for shaping. Keeping a sharp edge is important; dull tools cause accidents and poor results.
Here’s your workflow: Begin by reading the grain direction to carve smoothly. Use your carving knife for initial hollowing, then refine curves with your spoon knife. You’ll complete a spoon in hours by progressing from rough work to detailed shaping.
Finish with sanding and oiling for a polished result.
Step 2: Get Your First Carving Knife and Learn Three Essential Cuts

Now that you’ve learned the basics with spoon carving, it’s time to invest in a quality carving knife that’ll become your go-to tool. I recommend a Morakniv 120 or a 2-inch blade sloyd knife for versatility.
Now that you’ve mastered spoon carving basics, invest in a quality knife like the Morakniv 120 for versatility.
Master three essential cuts: the push cut, pull cut, and stop cut. These techniques form your foundation for both rough shaping and fine detail work.
Always carve with the grain; this matters because it prevents tear-out, those frustrating splintered edges. Your sharp edge is crucial, as dull blades require excessive force and create safety hazards.
Keep your carving tools maintained through regular edge sharpening and stropping. Practice these fundamentals on small basswood blanks first. Basswood’s forgiving nature helps you build control and muscle memory before tackling larger projects.
Step 3: Carve Your First Spoon: Wood Selection, Setup, and Finishing

Ready to create something you can actually use? Spoon carving is where you’ll join a community of makers who’ve turned wood into functional art.
Wood Selection & Setup
Start with basswood, it’s forgiving and won’t tear out easily. Choose a small, straight-grained blank and sketch your spoon shape first. Secure your workpiece with a carving vise or clamps for safety.
Carving Technique
Use a straight knife for the handle, then switch to a hook knife or spoon gouge for hollowing the bowl. Alternate between rough cuts and refined shaping to nail your proportions.
Finishing Strong
Sand progressively from coarse to fine grits. Apply food-safe oil like tung or linseed oil, creating a smooth, safe eating utensil you’ll actually use.


