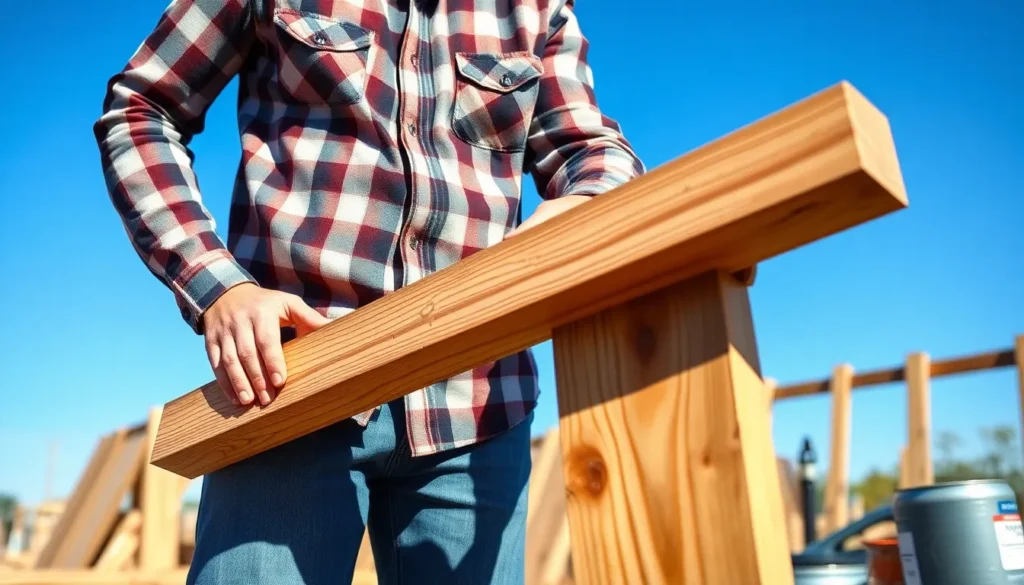
Wondering when you can finally paint that pressure treated lumber in your backyard? You’re not alone. Many DIY enthusiasts and homeowners find themselves puzzled by the timing, and rushing this process can lead to disappointing results that waste both time and money.
We’ve all been there—eager to complete our outdoor projects with a beautiful finish, only to discover that painting pressure treated wood requires patience. The chemicals used to protect the wood from rot and insects need proper time to dry completely before any paint can be applied. In this guide, we’ll reveal exactly when it’s safe to paint pressure treated wood and share professional techniques to ensure your paint job lasts for years to come.
What Is Pressure Treated Wood?
Pressure treated wood is lumber that’s been infused with chemical preservatives to protect it from rot, insects, and fungal decay. These preservatives significantly extend the wood’s lifespan, especially when used outdoors or in contact with moisture. Let’s explore how this treatment works and where it’s commonly used.


MEASURE POST Before ordering These post tops are designed to fit standard 4x4 pressure treated fence posts, these post caps fit 3.5"x 3.5 inch up to 3.75" x 3.75-inch posts and are perfect for any outdoor fence or deck project. They slide down the post 1.5 inches; their widest outside dimension is 5.5 inches. They will install on wood, composite, metal, and vinyl posts

Self-Drilling Point: Together, coarse screw threads and a self-drilling point design eliminate the need for a pilot hole
How Pressure Treatment Works
The pressure treatment process forces preservative chemicals deep into the wood’s cellular structure. Wood is placed in a large cylindrical chamber where air is removed through a vacuum process. The chamber is then flooded with preservative solution, and hydraulic pressure forces the chemicals into the wood fibers. Common preservatives include copper azole (CA), alkaline copper quaternary (ACQ), and micronized copper quaternary (MCQ). After treatment, the wood undergoes a drying period where excess chemicals drain off, though the lumber remains wet with preservatives and requires additional drying time before painting.
Common Uses for Pressure Treated Wood
Pressure treated lumber serves many outdoor applications where decay resistance is essential. Decks, fences, and outdoor stairs benefit from pressure treatment, as they’re constantly exposed to weather elements. Foundation components like joists, beams, and sill plates often use pressure treated wood to prevent moisture damage. Industry timbers, playground equipment, and dock structures typically incorporate pressure treated lumber for longevity. Garden beds can be built with special grades of pressure treated wood that are safe for food-growing environments. Outdoor furniture makers frequently select pressure treated pine for its durability and resistance to rot in wet conditions.
Why Timing Matters When Painting Pressure Treated Wood

Timing is critical when painting pressure treated wood due to its unique composition and treatment process. Freshly treated lumber contains high moisture levels and active chemicals that can undermine your painting efforts if you rush the process. Let’s explore the main concerns that make proper timing essential.
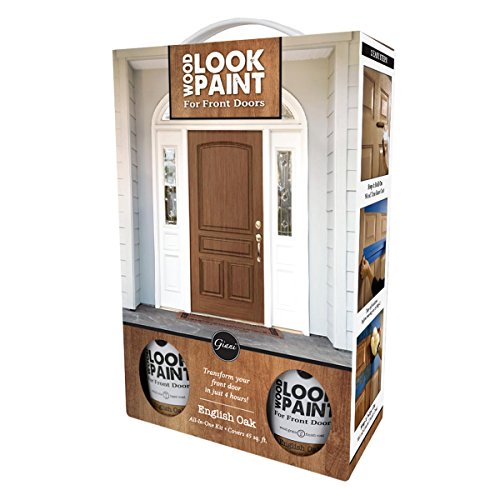
Add instant curb appeal to your home in just 4 hours

Paint Brush Set: The wall paint brushes include 12 angled 2.5-inch brushes designed to meet your everyday painting and replacement needs. Greatly suited for intricate work on corners and edges, ensuring a smooth and flawless finish.

Ready to use, pre-mixed door and trim paint offers a fresh new look on interior or exterior metal, wood and fiberglass
Moisture Content Concerns
Pressure treated wood retains important moisture from the preservation process, making it unsuitable for immediate painting. This excess moisture creates problems when trapped beneath paint, resulting in warping and poor adhesion of your finish. Typically, pressure treated lumber requires 4-6 months to dry completely, though kiln-dried options can be painted right away. A simple test determines if your wood is ready: sprinkle water on the surface—if it’s absorbed, you can proceed with painting; if the water beads up, more drying time is needed. Patience during this drying phase prevents future headaches and costly repairs.
Chemical Treatment Considerations
The preservatives used in pressure treatment, such as alkaline copper quaternary (ACQ), actively repel water and can interfere with paint bonding. These chemicals need time to stabilize within the wood fibers, which occurs gradually as the lumber dries. Latex-based primers and paints perform better on treated wood because oil-based products often fail to adhere properly to surfaces with residual treatment chemicals. Most professionals recommend exterior latex primer followed by two coats of water-based exterior latex paint for the most durable finish. This combination creates a protective barrier that works with, rather than against, the wood’s chemical treatment.
How Long to Wait Before Painting Pressure Treated Wood

Pressure-treated wood requires a exact drying period before applying paint for optimal results. The waiting time varies based on factors like treatment recency, wood thickness, storage conditions, and local climate, typically ranging from 3 to 6 months for adequate drying.

✅【Accurate & Trusted Measures, Identify Moisture Level】With accurate & trusted performance, Mecurate moisture meter can detect moisture content from wood to building material. A reliable must-have tool for home owners, woodworkers, painters & architects to detect moisture level and spot hidden damage, which would save potential expensive repairs.

High Accurate Measurement: The wood moisture meter could help you to measure wood by sensitive pins at the range of 0-99.9% and the accuracy is less than ±0.5%.

Wide measuring range:0~99.9%;Accuracy:± 0.5%,resolution:0.1%
New Pressure Treated Lumber Waiting Periods
Standard pressure-treated lumber follows a predictable drying timeline before it’s paint-ready. Freshly treated wood needs at least 2-4 weeks for initial drying under optimal conditions, though this doesn’t indicate complete readiness for painting. Most lumber requires 3-4 months for important moisture reduction according to industry standards. Complete drying, which ensures proper paint adhesion, takes approximately 4-6 months in average conditions. Kiln-dried pressure-treated wood offers a faster alternative for those unwilling to wait, though it comes at a premium price point.
Testing Wood Readiness for Paint
The water drop test provides a reliable method to determine if your pressure-treated wood has dried sufficiently for painting. Simply place a few water drops on the wood surface and observe the reaction. When water beads up and remains on the surface, moisture levels remain too high for painting. Conversely, when water absorbs into the wood rather than pooling, the lumber has reached appropriate dryness levels for paint application. This simple test helps prevent wasted time and materials on premature painting that would likely fail to adhere properly.
Preparing Pressure Treated Wood for Painting

Pressure-treated lumber requires a 3-4 month drying period before painting to ensure proper adhesion and longevity. Kiln-dried treated wood offers an exception, as it can be painted immediately after installation. Testing readiness is simple—pour water on the wood surface and if it absorbs rather than beads up, your wood is ready for the next steps.

Revitalizing blend prevents drying and cracking of hardwoods and bamboo
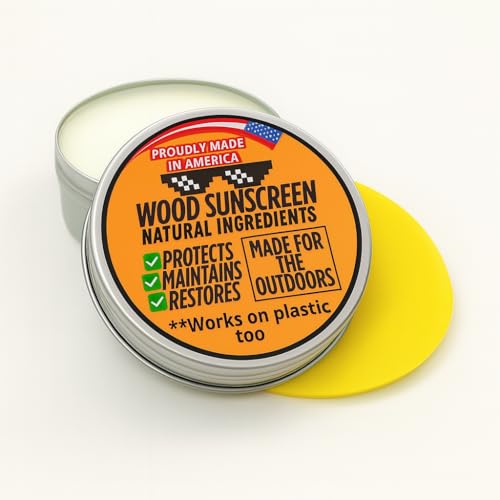
Advanced UV Defense & Sun Fade Protection. Shield your outdoor wood furniture from harmful UV rays that cause fading, dryness, and cracking. Our sun block formula acts as a protective barrier, preserving natural tones and extending the life of patio tables, chairs, decks, and garden benches exposed to direct sunlight. Proudly Made in the USA

FDA Compliant & safe for food contact
Cleaning and Sanding Tips
Thorough cleaning removes contaminants that interfere with paint adhesion on pressure-treated wood. Start by washing the surface with a wood cleaner or mild detergent to eliminate dirt, mildew, and chemical residues that accumulate during installation and exposure. Light sanding with 80-100 grit sandpaper creates a smooth surface by removing splinters and rough patches while improving paint adherence. After sanding, rinse the wood completely to remove dust particles and allow it to dry thoroughly before moving to the priming stage. This preparation process significantly extends the lifespan of your paint job by creating an optimal surface for the primer to bond with.
Choosing the Right Primer
Exterior latex primer specifically formulated for pressure-treated wood creates the foundation for a successful paint job. These specialized primers penetrate the wood fibers effectively and accommodate the unique chemical composition of treated lumber. Application should be even and consistent using a brush, roller, or sprayer depending on your project size and complexity. Allow the primer to cure completely according to manufacturer instructions, typically about 24 hours, before applying paint. Oil-based primers generally perform poorly on pressure-treated wood and should be avoided unless specifically recommended by the wood manufacturer. Environmental factors like temperature and humidity affect drying times, so adjust your project timeline accordingly during extreme weather conditions.
Best Paints for Pressure Treated Wood

Water-based exterior latex paint provides the most reliable and durable finish for pressure-treated wood. For optimal results, applying a latex primer before painting significantly increases adhesion and extends the life of your paint job.
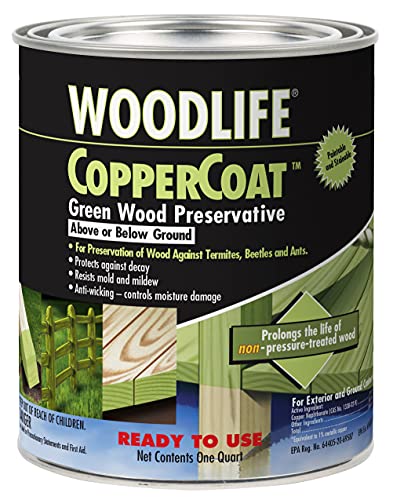
EPA-registered, insecticidal exterior wood preservative prevents attacks from termites and other wood boring insects while protecting against rot and decay

Waterproofs & Seals Softwood Timber – Advanced silicone wood sealer penetrates deeply to create a durable waterproof wood protection barrier, ideal for pressure treated wood, pine, fencing, decking, and outdoor lumber

Ready to use clear sealant and waterproofer
Oil-Based vs. Water-Based Options
Water-based paints offer superior performance on pressure-treated lumber due to their excellent adhesion properties and long-lasting durability. These paints create a breathable coating that allows any remaining moisture in the wood to escape, preventing bubbling and peeling issues over time. Oil-based alternatives can be used on pressure-treated surfaces but typically don’t adhere as effectively and may require more extensive surface preparation. Many professional painters prefer water-based options because they dry faster, produce less odor, and are easier to clean up with just soap and water. The flexibility of water-based formulations also helps them expand and contract with the wood during seasonal temperature changes, reducing the likelihood of cracking.
Specialty Formulations for Treated Lumber
While exact “specialty formulations” aren’t widely marketed for pressure-treated wood, several manufacturers produce exterior paints designed to withstand the harsh conditions these treated surfaces often face. The key to successful application isn’t necessarily a specialized product but rather proper preparation and primer selection. Primers formulated to seal porous surfaces create an ideal base for any high-quality exterior paint. Some brands have developed paint-and-primer combination products that can simplify the process on properly dried treated lumber. Remember that regardless of the paint chosen, allowing the wood to thoroughly dry and applying primer remains crucial for achieving a durable finish that resists peeling, cracking, and premature failure. For high-traffic areas like decks, porch stairs, or handrails, considering deck-exact paints with added durability features can provide extra protection against wear and tear.
Application Techniques for Long-Lasting Results

Applying paint to pressure-treated wood requires exact techniques to ensure durability and longevity. Following the right application methods creates a beautiful, protective finish that stands up to the elements.

Formulated to increase wood’s durability and enhance its resistance to weathering and aging.

Self-Drilling Point: Together, coarse screw threads and a self-drilling point design eliminate the need for a pilot hole

MEASURE POST BEFORE ORDERING: Fits pressure treated 8x8 Posts: Designed to fit on 8x8 posts measuring 7.5"x7.5 inches up to 7.75"x 7.75 inches, these caps are perfect for use on decks, fences, mailboxes, and more. They slide down the post 2.75 inches.
Priming Process
Latex primer forms the foundation for successful paint adhesion on pressure-treated lumber. Apply the primer using long, even strokes with a high-quality brush or roller designed for exterior surfaces. One thin, complete coat typically provides better results than thick application. Allow the primer to dry completely according to manufacturer instructions—usually 24 hours—before moving to the paint application phase.
Paint Application Methods
Water-based exterior latex paint delivers optimal performance on pressure-treated wood surfaces. Apply the first coat in the direction of the wood grain using smooth, overlapping strokes. Two thin coats create a more durable finish than a single thick layer. Let each coat dry thoroughly—typically 4-6 hours—before applying subsequent coats to prevent bubbling or peeling issues.
Weather Considerations
Temperature and humidity significantly impact paint application success on pressure-treated wood. Paint when temperatures range between 50-85°F and humidity remains below 85% for best results. Avoid painting in direct sunlight, which causes the paint to dry too quickly and potentially crack. Morning or late afternoon applications typically provide ideal conditions, allowing proper curing before evening moisture sets in.
Maintenance Tips
Regular maintenance extends the life of painted pressure-treated wood surfaces. Clean the painted surface annually using mild soap and water to remove dirt and contaminants. Touch up any damaged areas promptly to prevent moisture intrusion. Repainting every 3-5 years maintains protection and appearance, with proper preparation being essential for each repainting cycle.
Common Mistakes to Avoid When Painting Treated Wood

Painting pressure-treated wood properly requires avoiding several critical errors that can compromise your finished project. Many DIYers rush the process, not allowing the wood to dry completely before applying paint. This impatience leads to poor adhesion, bubbling, and premature peeling since the wood needs 3-4 months to release its moisture and chemical content.
Skipping primer ranks as another frequent mistake that undermines paint performance. A quality exterior latex primer specifically formulated for pressure-treated lumber creates the foundation for lasting results by improving paint adhesion and providing an additional protective barrier.
Choosing inappropriate paint types can waste both time and money. Water-based exterior latex paints work best with pressure-treated wood, while oil-based formulations often struggle to bond properly with the chemical preservatives in the lumber.
Inadequate surface preparation causes many paint failures on treated wood. Dirt, mildew, and mill glaze prevent proper adhesion, so cleaning with appropriate wood cleaners and light sanding is essential before applying any coating.
Ignoring weather conditions during application frequently ruins otherwise well-planned projects. Painting in direct sunlight, excessive humidity, or temperatures outside the 50-85°F range compromises the paint’s ability to form a proper film and bond with the wood surface.
| Common Mistake | Consequence | Prevention |
|---|---|---|
| Painting too soon | Peeling, bubbling paint | Wait 3-4 months for proper drying |
| Skipping primer | Poor adhesion, reduced lifespan | Apply exterior latex primer designed for treated wood |
| Using oil-based paint | Inadequate bonding with preservatives | Select water-based exterior latex paint |
| Insufficient cleaning | Paint failure, uneven finish | Clean thoroughly and sand lightly before painting |
| Painting in poor conditions | Improper curing, adhesion problems | Paint in moderate temperatures with low humidity |
Use for a variety of indoor and outdoor project surfaces including wood, metal, plaster, masonry or unglazed ceramic
Use for a variety of indoor and outdoor project surfaces including wood, metal, plaster, masonry or unglazed ceramic
Use for a variety of indoor and outdoor project surfaces including wood, metal, plaster, masonry or unglazed ceramic
Conclusion
Painting pressure treated wood properly requires patience timing and attention to detail. By waiting 4-6 months for conventional lumber to dry or selecting kiln-dried options for immediate use you’ll set yourself up for success.
The water drop test serves as your reliable guide to paint-readiness while proper cleaning sanding and primer selection create the foundation for a lasting finish. Remember that water-based exterior latex paints offer the best performance on treated lumber.
We’ve shared professional application techniques and common pitfalls to avoid ensuring your outdoor projects maintain their beauty for years to come. With these insights you’re now equipped to transform your pressure treated wood into durable attractive surfaces that stand the test of time and weather.
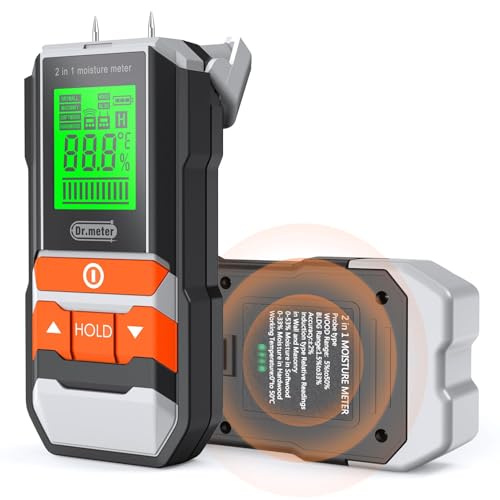
2-in-1 Moisture Meter: The 2-in-1 Dr.meter moisture meter offers ideal dual functions of pin-type and pinless scanning in one. The pinless scanning mode with non-invasive measurement is ideal for high-end wood and building materials. The pin-type mode with faster response and higher accuracy is great for all kinds of wood and building materials.

INSTANT & ACCURATE READINGS – Quickly measures moisture content to a depth of approximately 12 mm in wood, drywall, concrete, and building materials. Easily capture precise readings using the convenient hold function, ideal for woodworking, home inspections, and detecting water damage

【WIDE USE WOOD MOISTURE TESTER】 Integrated electrode pins, electrode length: 10mm (0.4") , this pin type digital moisture meter is perfect for wood, firewood, logs, cardboard, paper, etc
Frequently Asked Questions

PLANT-BASED WOOD CLEANING SPRAY & POLISH: Mint Naturals plant-forward formula designed to remove everyday dust, fingerprints, smudges, and light kitchen film from sealed wood surfaces. Works as an effective wood cleaner and wood polish spray for tables, cabinets, trim, shelves, and furniture without harsh chemical cleaners.

16 FL OZ FOOD CONTACT SAFE WOOD CONDITIONER: Formulated with food grade mineral oil for cutting boards, organic beeswax, and carnauba wax. This wood conditioner food grade formula is safe for surfaces that come into direct contact with food.
Formulated to increase wood’s durability and enhance its resistance to weathering and aging.
How long should I wait before painting pressure treated wood?
Wait 4-6 months for standard pressure treated lumber to dry completely before painting. Kiln-dried pressure treated lumber can be painted immediately. To test readiness, perform the water drop test – if water beads on the surface, it’s not ready; if it absorbs into the wood, you can proceed with painting.
What is the best type of paint for pressure treated wood?
Water-based exterior latex paint is the best choice for pressure treated wood. It provides superior adhesion, flexibility, and breathability compared to oil-based alternatives. Always pair with a latex primer specifically formulated for pressure treated wood for optimal results and longest-lasting finish.
Do I need to use a primer on pressure treated wood?
Yes, using a primer is essential. An exterior latex primer specifically formulated for pressure treated wood creates the necessary bond between the chemically treated surface and your paint. Skipping this step often leads to adhesion problems, bubbling, and premature peeling of the paint.
How should I prepare pressure treated wood for painting?
Clean the wood thoroughly with a wood cleaner or mild detergent to remove dirt, grime, and mill glaze. Lightly sand the surface with medium-grit sandpaper to improve paint adhesion. Ensure the wood is completely dry before applying primer and paint. Remove any loose debris before beginning the painting process.
Can I paint newly purchased pressure treated lumber?
Not immediately. Most newly purchased pressure treated lumber contains high moisture content and active chemicals that will prevent proper paint adhesion. Standard treated lumber needs 4-6 months to dry adequately. Look for kiln-dried pressure treated lumber if you need to paint sooner.
How can I tell if pressure treated wood is dry enough to paint?
Perform the water drop test by sprinkling a few drops of water on the wood surface. If the water beads up, the wood is still too wet to paint. If the water is absorbed within 10 minutes, the wood is dry enough for painting. You can also use a moisture meter – aim for 15% moisture content or less.
What weather conditions are best for painting pressure treated wood?
Paint during mild weather with temperatures between 50-85°F (10-29°C) and moderate humidity levels (40-70%). Avoid painting in direct sunlight, extreme heat, or when rain is expected within 24 hours. Early morning or late afternoon on clear days provides ideal conditions for optimal paint application and drying.
How many coats of paint should I apply to pressure treated wood?
Apply one coat of primer followed by two thin coats of paint for the most durable finish. Allow the primer to dry completely according to manufacturer recommendations before applying the first coat of paint. Wait at least 4 hours between paint coats, though following the specific drying times on your paint can is best.
Will stain work better than paint on pressure treated wood?
Stain can be a good alternative to paint, especially for horizontal surfaces like decks. Semi-transparent stains penetrate rather than coat the wood, allowing moisture to escape more easily. However, stains offer less protection and typically need to be reapplied more frequently than quality paint jobs.
How can I maintain painted pressure treated wood?
Clean painted surfaces annually with mild soap and water to remove dirt and prevent mildew growth. Inspect regularly for chips or peeling, and touch up damaged areas promptly to prevent moisture penetration. Expect to repaint every 5-7 years, depending on exposure to elements and foot traffic.