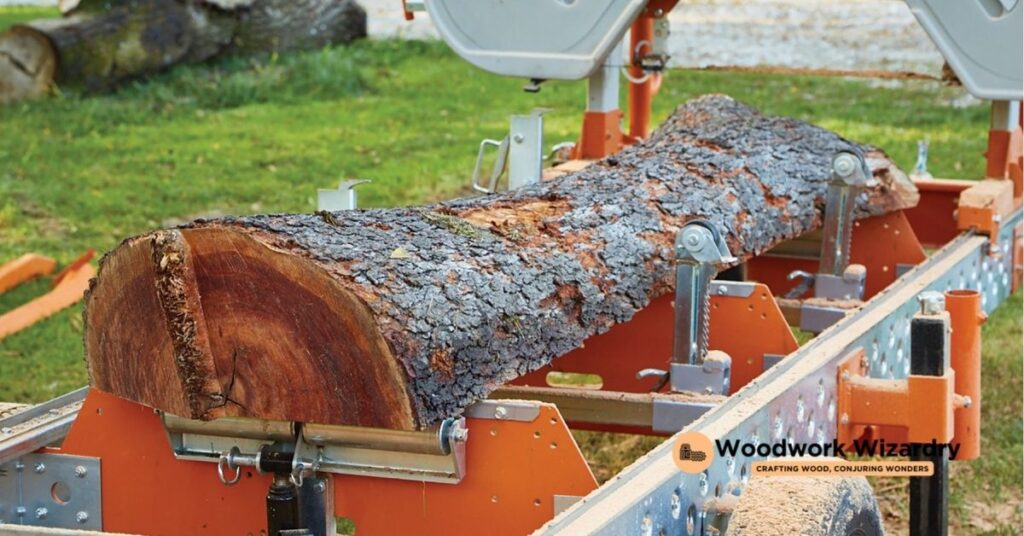
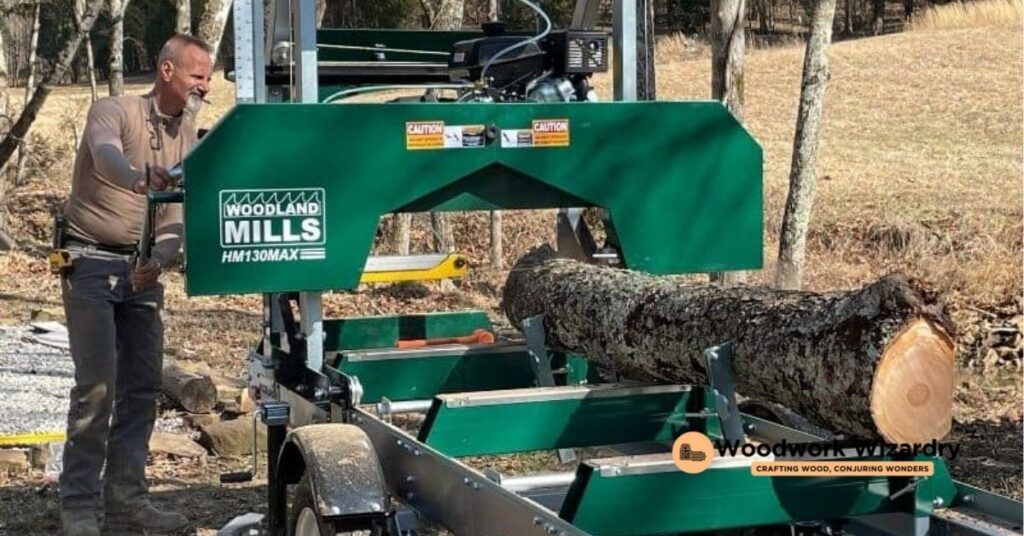
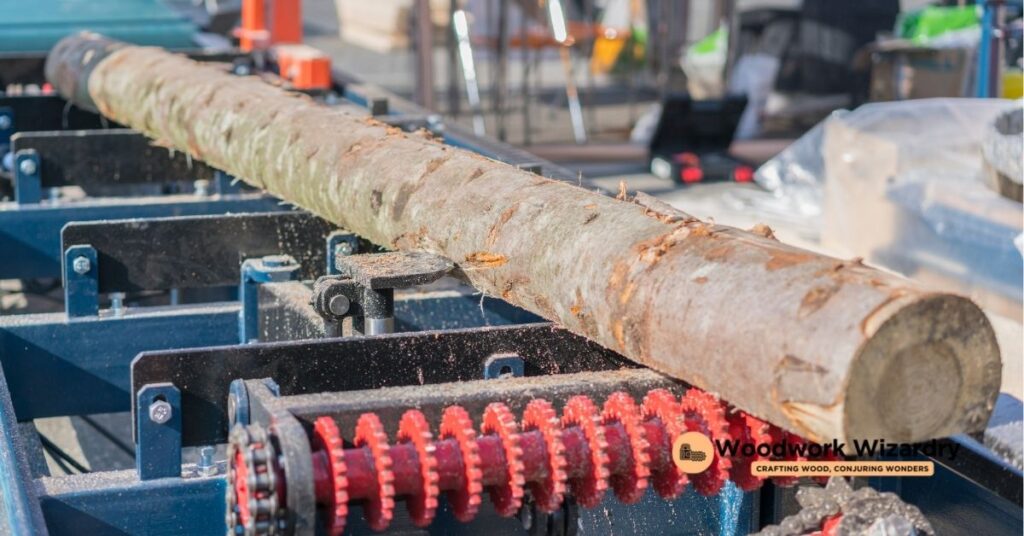
Venturing into the world of woodworking and lumber crafting, we’ve discovered a tool that’s both incredibly powerful and surprisingly accessible: the chainsaw mill. It’s a game-changer for anyone looking to transform raw logs into beautiful, custom pieces of lumber, right from their backyard. The idea of milling your own wood may seem daunting at first, but we’re here to guide you through the process, making it as smooth as a freshly planed board.
We’ll dive into the essentials of using a chainsaw mill, from setting up your workspace to the final cut. It’s a journey that’ll not only save you money but also connect you with the very material you’re working with on a whole new level. So, let’s roll up our sleeves and get ready to turn those logs into potential projects, one slice at a time.
Choosing the Right Chainsaw Mill
After outlining the transformative process of chainsaw milling, it’s essential to select the appropriate chainsaw mill for your projects. The right equipment can significantly impact efficiency, quality, and enjoyment of the milling experience.
Factors to Consider
When choosing a chainsaw mill, several key factors influence the decision:
- Bar Length: Ensure the chainsaw bar length matches or exceeds the width of the logs you plan to mill. Chainsaw mills are compatible with various bar lengths, ranging typically from 14 to 36 inches.
- Power of Chainsaw: Opt for a chainsaw with enough power to handle the type of wood you’ll be cutting. A chainsaw with a minimum of 50cc is recommended for most milling jobs.
- Portability: If milling at different locations, consider a lightweight and portable chainsaw mill. Portability is crucial for those who plan to mill logs in remote areas.
- Material Quality: Look for a chainsaw mill made from high-quality materials such as aircraft aluminum and stainless steel, ensuring durability and longevity of the equipment.
- Ease of Use: Choose a model that offers straightforward assembly and operation, especially if you are new to chainsaw milling. Some mills also feature adjustability for thickness and width, offering versatility in milling different sizes of lumber.
Popular Models and Their Features
Several chainsaw mills stand out for their reliability, performance, and user satisfaction:
- Granberg MK-IV Alaskan Chainsaw Mill:
- Compatible with bars up to 36 inches
- Constructed from high-quality aluminum and zinc-plated steel
- Offers adjustability for cutting thickness and width according to project needs
- Carmyra Portable Chainsaw Mill:
- Suitable for bars 14 to 36 inches
- Made from aluminum and steel for durability
- Lightweight design enhances portability, making it ideal for milling in various locations
- Norwood PortaMill PM14:
- Converts your chainsaw into a fully functional sawmill
- Allows for milling logs up to 14 inches in diameter
- Designed for easy transport and setup, suitable for remote milling sites
Choosing the right chainsaw mill involves balancing your needs regarding bar length, power, portability, material quality, and ease of use. By considering these factors, alongside popular models and their features, finding a chainsaw mill that fits your requirements becomes a straightforward process, paving the way for successful milling projects.
Necessary Equipment and Safety Gear
Transitioning from choosing the right chainsaw mill to actually using it, it’s crucial to discuss the equipment and safety gear essential for an efficient and safe milling operation. Ensuring personal safety while operating such powerful machinery can’t be overstated, and the right tools further streamline the milling process.
Personal Protective Equipment (PPE)
Prioritizing protection maximizes safety during chainsaw milling. Key PPE items include:
- Hearing Protection: Chainsaws create significant noise, which can lead to hearing loss over time. Earplugs or earmuffs provide necessary protection.
- Eye Protection: Flying debris poses a risk to the eyes. Safety goggles or face shields prevent injury from sawdust and wood particles.
- Chainsaw Safety Chaps: These special chaps protect legs from accidental cuts by rapidly stopping the chainsaw blade upon contact.
- Gloves: Gloves not only improve grip on the chainsaw handle but also protect hands from abrasion and cuts.
- Steel-Toed Boots: Durable boots with steel reinforcements safeguard feet against heavy falling logs and slipping on uneven terrain.
- Hard Hat with Face Shield: For overhead protection, a hard hat prevents injuries from falling branches, while an attached face shield offers additional face and eye safety.
Tools and Accessories for Chainsaw Milling
Having the right tools enhances efficiency and accuracy in chainsaw milling. Essential tools and accessories include:
- Felling Wedges: Insert these plastic wedges into the cutting line to prevent the saw from getting pinched in the log.
- Cant Hook or Peavey: These tools assist in turning and positioning logs for optimal cuts.
- Chainsaw File or Grinder: Keep the chainsaw sharp for efficient, clean cuts. A sharp blade also reduces the physical effort needed.
- Auxiliary Oiler: Since chainsaw milling demands more oil than typical chainsaw use, an auxiliary oiler ensures the chain stays lubricated, reducing wear.
- Alaskan Mill Ripping Chain: Specifically designed for ripping logs along the grain, these chains produce smoother and faster cuts compared to standard chains.
- Level and Tape Measure: Use these for precise measurements and to ensure cuts are straight and to the desired dimensions.
Preparing with the appropriate safety gear and having the right tools at hand not only ensures a safe working environment but also contributes to achieving the best results with your chainsaw mill.
Setting Up Your Chainsaw Mill
With the right chainsaw mill selected and essential equipment on hand, setting up your chainsaw mill is the next crucial step toward crafting your own lumber. Here, we’ll guide you through assembling the mill, attaching your chainsaw, and making the necessary adjustments for the first cut.
Assembling the Chainsaw Mill
Begin by laying out all parts of the chainsaw mill according to the manufacturer’s instructions. Assembly typically involves connecting the main frame to the guide rails and end brackets. Most mills require the use of Allen keys or wrenches, so keep these tools nearby. Ensure every bolt and screw is tightened securely to maintain stability during use. If your model comes with a handle, attach it to the frame as indicated. Proper assembly lays the foundation for accurate and efficient milling.
Attaching Your Chainsaw
Once the mill frame is assembled, focus on securing your chainsaw. Remove the chainsaw’s guide bar and then slide the bar into the mill’s guide slot. Reattach the guide bar to the chainsaw, ensuring it aligns and fits snugly within the mill’s frame. For models that require it, clamp the chainsaw body to the mill to prevent movement. This step is pivotal; a securely attached chainsaw guarantees precision in your cuts and enhances safety during operation.
Adjusting the Mill for the First Cut
Adjusting your chainsaw mill for the first cut involves setting the milling depth. Measure the thickness of the lumber you aim to cut and set the mill’s depth posts accordingly. Most mills have clear markings for depth adjustment, which simplifies this process. Verify the mill is level across the log using a spirit level. A level mill ensures a uniform and straight cut. Double-check all adjustments before starting your first cut to prevent unnecessary errors or adjustments mid-cut. Making these precise adjustments guarantees a smooth milling process and high-quality lumber production.
Preparing the Log for Milling
Moving forward, preparing the log for milling is the next critical step in transforming raw timber into usable lumber. This phase ensures that the log is ready and safe to be milled, setting a strong foundation for optimal results.
Selecting the Right Logs
Identifying suitable logs is paramount for successful chainsaw milling. Opt for logs that are straight and have minimal defects, such as knots and splits. Hardwoods like oak and maple offer durability, while softwoods like pine and cedar are easier to mill and ideal for a variety of projects. Ensure the logs are clean of dirt and debris to prevent excessive wear on the chainsaw blade. Logs with a diameter of at least 18 inches provide a good balance between manageability and the quantity of lumber produced.
Positioning and Securing the Log
Position the log in a stable and level area to ensure it does not shift during milling. Using sawhorses or a custom milling stand elevates the log, making the milling process easier and more comfortable. Secure the log with ratchet straps or heavy-duty chains to prevent movement. If working on uneven ground, level the log by placing wedges or shims underneath. Properly securing and stabilizing the log reduces the risk of accidents and ensures precision in your cuts.
Making the First Cut
After preparing and securing the log, the next critical step in chainsaw milling is making the first cut. This initial cut sets the foundation for all subsequent cuts, ensuring they are level and uniform.
Establishing a Guide Rail or Level Surface
To ensure the first cut is straight and level, establish a guide rail or level surface on the log. Attach a metal or wooden guide rail along the top of the log, ensuring it spans the entire length. If using a ladder as a guide, position it securely and double-check for stability. The guide rail serves as a reference point, guiding the chainsaw to make a precise straight cut.
Setting Depth and Width
Adjust the chainsaw mill to the desired depth and width of the first cut, typically defining the thickness of the slab. Set the cutting depth by adjusting the mill’s height settings, aligning with the guide rail or decided measurement. Ensure the settings are locked in to maintain consistent depth throughout the cutting process.
The Cutting Process: Tips and Techniques
Start the chainsaw and begin the cutting process slowly, keeping the chainsaw steady and aligned with the guide rail. The key is maintaining even pressure and speed, letting the chainsaw do the work without forcing it through the wood. Regularly check the alignment to ensure the cut remains straight and adjust as necessary. For thicker logs, take breaks to avoid overheating the chainsaw or causing unnecessary wear. Upon completing the first cut, remove the slab carefully and prepare for subsequent cuts, using the newly created flat surface as a guide for leveling the chainsaw mill for future cuts. This method ensures uniform thickness across all lumber produced.
Continuing the Milling Process
After setting the stage with the initial cut, it’s paramount to maintain momentum and precision throughout the milling process. Focusing on consistency and safety ensures high-quality lumber production from your chainsaw mill.
Re-adjusting for Subsequent Cuts
Re-adjusting the chainsaw mill for subsequent cuts involves careful planning and precise measurements to maintain the desired lumber thickness. Start by measuring the distance from the bottom of the guide rail to the chainsaw bar, ensuring it aligns with the thickness of the next board. Lock the mill’s depth adjustment firmly in place to prevent movement during cutting. Inspect the bar and chain tension, adjusting as needed to accommodate the thickness of the wood being milled. If the cut requires changes in width, adjust the mill guide accordingly, always double-checking your measurements for accuracy. This step guarantees each board is consistent with the previous one, providing uniformity in your lumber.
Techniques for Consistent Thickness
Achieving consistent thickness in each board requires attention to several techniques throughout the milling process. First, maintain a steady pace while cutting; rushing or moving too slowly can cause variations in board thickness. Utilize a guide rail or level surface on top of the log for the chainsaw mill to ride on, ensuring it stays parallel to the previously cut surface. Monitor the chainsaw mill’s alignment regularly; if it begins to veer off course, stop and make the necessary adjustments. Employing wedges can help prevent the saw cut from closing and binding the chainsaw bar, promoting a consistent cut depth. Lastly, periodic checks with a tape measure or caliper across the width and length of the cut can help catch any deviations early, allowing for quick corrections. These techniques, combined with patience and practice, will help produce evenly milled boards and maximize the yield from your logs.
Maintenance and Troubleshooting
Maintaining your chainsaw mill ensures longevity and optimal performance. Let’s dive into how to keep everything running smoothly and address common issues that may arise.
Regular Maintenance for Your Chainsaw and Mill
Regular maintenance is crucial to ensure both the chainsaw and mill operate efficiently.
- Inspect and Clean Regularly: After each use, inspect the chainsaw and mill for sawdust, debris, and oil buildup. Cleaning them prevents malfunction and wear.
- Sharpen the Chain: A sharp chain cuts more efficiently. Sharpen the chain before it becomes too dull, aiming for after about every 10 hours of use.
- Check the Tension: Maintain proper chain tension. A chain that’s too tight or too loose can cause damage and affects the quality of the cut.
- Lubricate Moving Parts: Apply lubricant to the mill’s rails and the chainsaw’s bar to ensure smooth movement and reduce friction.
- Inspect for Wear: Regularly check all components for signs of wear or damage, particularly the guide bar, chain, and any moving parts on the mill.
- Replace Worn Parts: Replace any parts that show significant wear or damage. This includes chains, sprockets, and the guide bar, as needed.
Troubleshooting Common Issues
Even with rigorous maintenance, issues can arise. Here’s how to troubleshoot some common problems.
- Difficulty in Cutting: If the chainsaw is struggling to cut or seems to “bog down,” first ensure the chain is sharp and correctly tensioned. Then, check if the chainsaw has enough power for the task.
- Uneven Cuts: Check the mill’s alignment and the evenness of the guide rails. Uneven cuts often result from a misaligned mill or uneven guide rails.
- Chain Comes Off: This usually indicates a tension issue. Adjust the tension, ensuring it’s neither too tight nor too loose.
- Saw Overheating: Make sure the saw is adequately lubricated. Overheating can also be a sign of a dull chain or excessive friction on the mill’s guide rails.
- Excessive Vibrations: Inspect the chainsaw and mill for loose components. Tighten any loose bolts and nuts, and ensure the mill is securely attached to the chainsaw.
Addressing these maintenance and troubleshooting steps will help keep your chainsaw mill in optimal condition, ensuring it provides precise and consistent results. Regular attention and care transform milling from a task into a seamless process, ultimately extending the life of your equipment and enhancing your milling experience.
Safety Tips and Best Practices
Ensuring the safe use of a chainsaw mill involves adhering to a set of guidelines that protect the user and maximize efficiency during operations. These safety tips and best practices are pivotal for both beginners and experienced users aiming to produce quality lumber while minimizing risks.
Before You Start
- Inspect Equipment: Check the chainsaw and mill for any signs of damage or wear. Operating with faulty equipment can lead to accidents.
- Wear Protective Gear: Equip yourself with safety glasses, hearing protection, gloves, and sturdy boots. Protective clothing can shield against flying debris and noise.
- Review the Work Area: Ensure the area is clear of obstacles and has stable footing. A clutter-free environment prevents tripping hazards.
- Prepare Emergency Equipment: Keep a first aid kit and a fire extinguisher nearby. Immediate access to emergency equipment can mitigate accidents effectively.
- Familiarize With the Equipment: Understand how to operate the chainsaw mill properly. Knowledge of the tool prevents misuse and potential accidents.
- Maintain a Firm Grip: Hold the chainsaw with both hands and keep a balanced stance. A secure grip and balance enhance control over the tool.
- Take Regular Breaks: Avoid fatigue by taking breaks, especially during extensive milling. Fatigue can impair judgment and physical ability, increasing the risk of accidents.
- Monitor Sawdust Ejection: Ensure sawdust is ejecting correctly. A blockage can indicate issues that may affect the chainsaw’s performance.
- Adjust Settings Incrementally: Make gradual adjustments to the mill’s settings. Sudden changes can cause the chainsaw to react unpredictably.
- Keep Bystanders at a Safe Distance: Ensure others are a safe distance away while operating the mill. Flying debris can pose a risk to nearby individuals.
By incorporating these safety tips and best practices before and during the operation of a chainsaw mill, users can significantly reduce the likelihood of accidents and enhance their milling efficiency. Maintaining vigilance and adhering to these guidelines will foster a safer and more productive milling environment.
Advanced Techniques and Tips
Exploring advanced techniques and tips can significantly enhance the overall efficiency and output quality of chainsaw milling. We dive into methods suited for handling large logs and generating special lumber cuts to elevate the milling craft.
Milling Large Logs
Adopt a Stepwise Approach: Cutting large logs demands a gradual, stepwise approach to manage the log’s size and weight efficiently. Begin by segmenting the log into manageable sections if its diameter greatly exceeds the chainsaw bar length.
Use Auxiliary Oiler: For long cuts, an auxiliary oiler provides additional lubrication, ensuring the chainsaw operates smoothly over extended periods. This tip keeps the chain from overheating and wearing out prematurely.
Employ a Helper: When maneuvering large logs, an extra set of hands can be invaluable. A helper assists in stabilizing the log, adjusting supports, and ensuring safe operation throughout the milling process.
Creating Special Lumber Cuts
Quarter-Sawing Method for Quality: Quarter-sawing produces lumber with unique grain patterns and improved structural integrity. By cutting the log into quarters before sawing it into boards, this technique enhances the wood’s visual appeal and resistance to warping.
Curved Slab Milling for Aesthetics: To mill curved slabs, follow the log’s natural curves rather than forcing straight cuts. This approach yields aesthetically pleasing pieces ideal for furniture or decorative purposes, capitalizing on the wood’s natural shapes.
Custom Thickness for Specialty Projects: Adjust the chainsaw mill to cut slabs at custom thicknesses tailored to specific projects. This flexibility allows for creating unique pieces, such as thick tabletops or custom beams, that standard milling practices may not accommodate.
By integrating these advanced techniques and tips into chainsaw milling practices, we can tackle more significant challenges, produce higher quality lumber, and expand our creative possibilities.
Conclusion
We’ve walked through the essentials of using a chainsaw mill from selecting the right equipment to mastering advanced milling techniques. It’s clear that with the right approach and a bit of practice anyone can produce high-quality lumber right in their backyard. Remember the importance of maintenance and troubleshooting to keep your chainsaw mill running smoothly. And don’t forget to experiment with different cuts and techniques to truly make the most of your milling projects. Here’s to many successful milling adventures ahead!
Related Posts:
- Ultimate Guide: How to Cut Logs into Lumber with a Chainsaw
- DIY Guide: How to Make a Chainsaw Mill & Optimize Performance
- How to Build a Chainsaw Winch: DIY Guide & Innovations
- Ultimate Guide: How to Sharpen Wood Carving Tools Effectively
- Ultimate Guide: How to Use a Chainsaw Mill Efficiently & Safely


