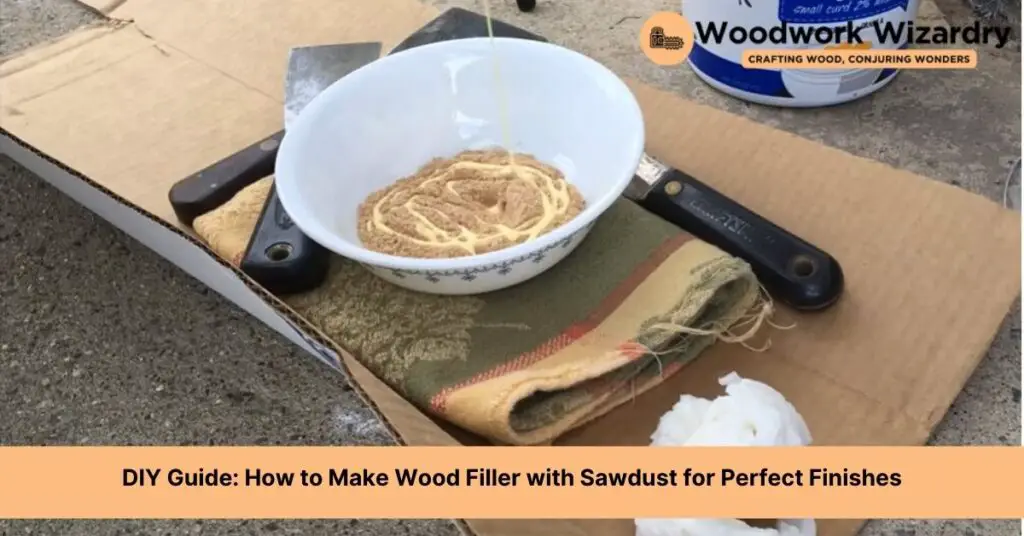
We’ve all been there—midway through a DIY project or furniture restoration, only to notice those unsightly gaps or cracks that seem to scream for attention. But before you consider your hard work a lost cause, we’ve got a little secret that might just save the day. Making your own wood filler with sawdust is not only incredibly easy but also a fantastic way to achieve that seamless look we all aim for.
Why reach for commercial fillers when you likely have everything you need right in your workshop? Using sawdust from your own projects not only ensures a perfect color match but also puts those fine particles to good use, minimizing waste. Let’s dive into how you can turn a simple by-product of your woodworking into an invaluable ally, making your projects look flawless and professional.
Gathering Materials

Creating a seamless and professional finish for woodworking projects starts with having the right materials on hand. We’ll guide you through choosing the perfect sawdust and binder for your DIY wood filler.

Gorilla All Purpose Wood Filler is the go-to product for strong, durable repairs on cracks, gouges and holes.
Gorilla tough: Gorilla Wood Filler is the go-to product for strong water resistant repairs on cracks, gouges and holes
REPAIR DAMAGED WOOD: Fills and rebuilds missing sections to help restore windows, doors, trim, columns, posts, and other elements. Permanently repairs damage caused by weather, moisture, age, and pests.
Choosing the Right Type of Sawdust
Opting for fine sawdust provides the best results. Collect sawdust from your woodworking project to ensure a perfect color match. Sawdust from sanding is often ideal, as it’s fine and uniform. Hardwoods like oak and maple yield durable filler, whereas softer woods like pine are better for projects requiring less hardness. Ensure the sawdust is clean, dry, and free from any contaminants or foreign particles.
Selecting a Binder
A binder is essential to transform the sawdust into a workable wood filler. Wood glue creates a strong bond, making it the most popular choice. For outdoor projects, consider waterproof wood glue to ensure longevity against moisture. Another option is to use clear epoxy resin, offering a hard, clear finish that is sandable and paintable once cured. Remember, the ratio of binder to sawdust will impact the filler’s consistency and workability, so adjustments might be necessary based on the project’s specific needs.
Preparing the Sawdust
Gathering the right materials sets the foundation for making effective wood filler. Now, let’s focus on preparing the sawdust, ensuring it’s in the best condition for mixing.

Gorilla tough: Gorilla Wood Filler is the go-to product for strong water resistant repairs on cracks, gouges and holes
Gorilla tough: Gorilla Wood Filler is the go-to product for strong water resistant repairs on cracks, gouges and holes

JB WOODWELD: Is a fast setting two-part epoxy system formulated for wood bonding and repairs. It provides a lasting permanent bond that is stronger than the wood!
Cleaning the Sawdust
Start by sieving the sawdust to remove any large particles or debris. Using a fine mesh screen, gently shake the sawdust over a clean container, allowing only the finest particles to pass through. This step guarantees a smooth texture for the filler, making application easier and the final product more aesthetically pleasing. Discard the larger particles or save them for other projects where a fine texture is not critical.
Drying the Sawdust
Achieve the optimal moisture level by drying the sawdust before mixing it with the binder. Spread the cleaned sawdust thinly over a flat surface in a well-ventilated area or under direct sunlight. Stir occasionally to expose all particles evenly to air or sunlight, facilitating uniform drying. The sawdust is ready for use when it feels completely dry to the touch, which prevents the wood filler from cracking or shrinking when applied.
Mixing Your Wood Filler

Having prepared our sawdust and selected the ideal binder, we move on to the crucial step of mixing our wood filler. This process ensures that the filler not only blends seamlessly with our woodwork but also possesses the structural integrity needed for durable repairs.
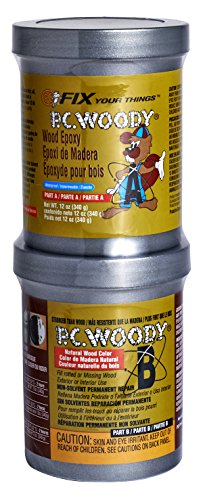
Two-part epoxy paste to replace missing or rotted wood is resistant to dry rot, UV light, fresh and salt water
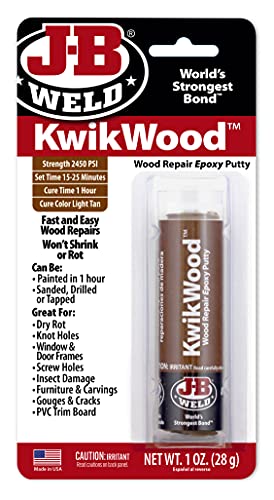
J-B WELD KWIKWOOD: A hand mixable two part epoxy putty stick that is formulated to repair and rebuild wood. J-B Weld KwikWood is designed for all wood household DIY repairs!

Two-part epoxy paste to replace missing or rotted wood is resistant to dry rot, UV light, fresh and salt water
Combining Sawdust and Binder
Begin by gradually adding the prepared sawdust into the binder in a mixing container. Stir the mixture steadily, ensuring each grain of sawdust becomes thoroughly coated with the binder. For wood projects that demand specific color tones, Matching the Color precisely is pivotal. Achieving the perfect color blend often requires using sawdust from the same wood species as your project. Combine the components until the color and texture are consistent throughout, indicating a well-integrated mix.
Adjusting the Consistency
The consistency of the wood filler is critical for easy application and optimal performance. For a smoother filler that can fill narrow cracks or fine gaps, Add More Binder. This adjustment results in a thinner mixture, facilitating easier spread and penetration into smaller imperfections. Conversely, if tackling larger gouges or holes, Incorporate More Sawdust to thicken the filler. A denser mixture ensures it stays in place and fills wider areas without shrinking back. Test the consistency periodically during mixing, aiming for a pliable, moldable paste that adheres well to the wood without being too wet or dry.
Applying the Wood Filler
After achieving the right consistency of wood filler by mixing sawdust and binder, it’s time to apply it to the wood. This step is crucial for a smooth finish and prolonged durability of the repair.
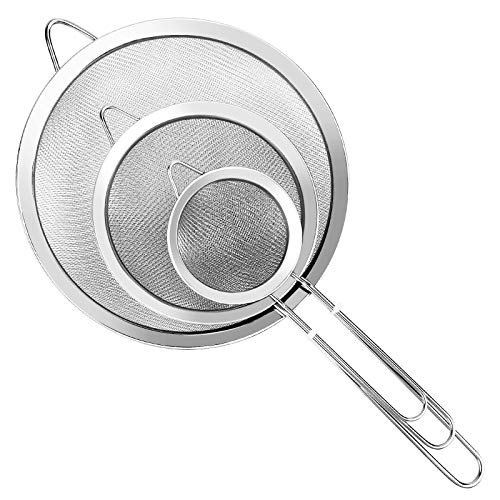
3 Pcs Fine Mesh Strainer With Handle: Three diameters 3.15″ , 5.5″ & 7.87″, ensures that you always have the right strainer for the job. Super wire extra fine mesh strainer with handle are perfect for sifting and straining wet or dry ingredients, repeated use.

✅【Perfect Fit for 5-Gallon Buckets】Specially designed to sit securely on standard 5-gallon buckets, this soil sifter features a top diameter of 11.8 inch and a height of 2.7 inch for effortless use. Its versatile design allows you to sift large amounts of compost, soil, or sand in one go—saving time and energy while delivering smooth, efficient gardening workflow.

Preparing the Wood Surface
Prepare the surface to ensure the wood filler adheres properly. Begin by sanding the area around the hole or crack with fine-grit sandpaper, aiming to create a smooth surface. Clean the dust off with a tack cloth or a slightly damp rag, allowing the area to dry completely. If the wood is varnished or painted, remove the finish around the repair spot to expose the bare wood, enhancing the filler’s grip.
Filling the Hole or Crack
Filling the hole or crack with the prepared wood filler requires attention to detail for an even application. Use a putty knife or a similar tool to press the filler firmly into the hole or crack, ensuring it’s fully packed without air bubbles. Overfill the repair slightly to compensate for any shrinkage during the drying process. Smooth the surface with the flat edge of the knife, aligning the filler level with the wood surface for a seamless repair. Clean off excess filler immediately with a damp cloth to avoid hard-to-remove residue.
Letting the Filler Dry
Allow the wood filler to dry thoroughly, a process that can take several hours depending on the depth of the hole or crack and the humidity levels of the environment. Refrain from speeding up the drying process with heaters or fans, as rapid drying can lead to cracking or uneven drying. Once dry, sand the filled area with fine-grit sandpaper to achieve a smooth, flush finish with the surrounding wood. Dust off the sanding residue, and the wood is now ready for finishing touches such as painting or staining, ensuring the repair blends seamlessly with the rest of the wood.
Sanding and Finishing

Following the drying of the wood filler, sanding and finishing are indispensable steps to ensure your woodworking project looks polished and professional. These stages are crucial for blending the repair into the surrounding wood seamlessly.

Use indoors or outdoors: Give your indoor or outdoor projects a Gorilla Tough bond with waterproof Ultimate Gorilla Wood Glue (passes ANSI/HPVA Type I), our most durable wood glue
Our strongest formula: This heavy duty glue is 2x stronger than Gorilla Heavy Duty Construction Adhesive Ultimate
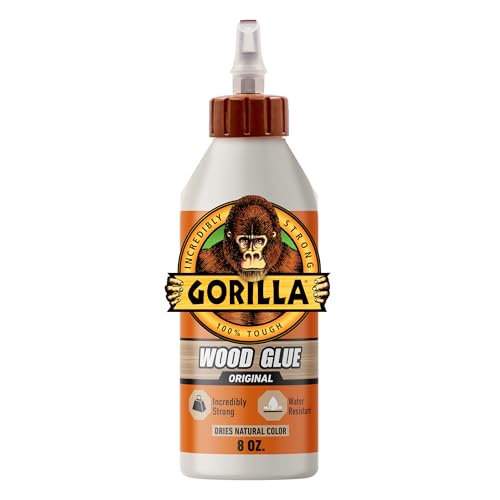
Complete Projects Fast: Requires only 20-30 minutes of clamp time; fully cured in 24 hours. Quickly creates an incredibly strong bond for wood projects.
When to Start Sanding
Begin sanding only after the filler is completely dry. This may take anywhere from a few hours to overnight, depending on the depth of the filled area and the humidity level in the environment. Testing the filler’s dryness can be done by lightly touching the surface. If it feels firm and does not indent under slight pressure, it is ready to be sanded.
Achieving a Seamless Finish
To achieve a seamless finish, start with a medium-grit sandpaper, such as 120-grit. Sand lightly over the filler, using circular movements to avoid creating scratches in a uniform direction. Gradually progress to finer grits, such as 220-grit, to smooth the surface further and ensure there are no visible transitions between the filler and the wood. Wipe the area with a clean, dry cloth between each sanding step to remove dust. This meticulous sanding process will ensure the filler blends perfectly with the wood, making the repair virtually undetectable. Opting for a matching stain or paint afterwards completes the seamless appearance, fully integrating the repaired spot with the surrounding wood.
Troubleshooting
When creating wood filler with sawdust, encountering some issues is part of the process. We detail common problems and their solutions, ensuring success in your woodworking projects.

DAP plastic wood filler looks and acts like real wood; ideal for corners and vertical surfaces on interior or exterior wood

PROFESSIONAL WOOD FILLER – Minwax Color-Matched Wood Filler is a high-quality, no-sand solution for defects in finished wood.

Wood Filler, Wood Repair Kit, Paintable & Stainable Wood Putty Filler, Wood Scratch Cracks Holes Repair Furniture, Exterior Wood Filler Waterproof, Wood Putty
Filler Not Adhering Properly
Achieving optimal adhesion requires ensuring the wood surface is clean and dry before applying the filler. Remove any dust, oils, or debris from the wood surface with a clean cloth and a mild solvent if necessary. If the filler still fails to adhere, increase the ratio of binder in the mixture to improve cohesion.
Issues with Color Matching
Finding the perfect color match between the filler and the wood can be challenging. Mix sawdust from the same wood project into the filler to maintain consistency in appearance. For adjustments, add small amounts of wood stain to the mix until reaching the desired color. Test the color on a scrap piece of wood to ensure accuracy before application.
Cracking or Shrinking
Filler cracking or shrinking as it dries is a common problem that can compromise the finish. To prevent this, apply the filler in thinner layers, allowing each layer to dry thoroughly before adding the next. If cracks appear after drying, mix a small amount of binder with sawdust to form a paste and fill in the gaps. Ensure the repair area is free from dust and has sufficient binder to bond well with the surrounding material.
Common Questions

Following the walkthrough on creating a wood filler using sawdust and binder, it’s natural to have questions about the longevity and versatility of the DIY mixture. Let’s tackle some of the most common queries.

Suitable for both indoor and outdoor wood projects.

Anti-clogging cap:Convenient to use without waste
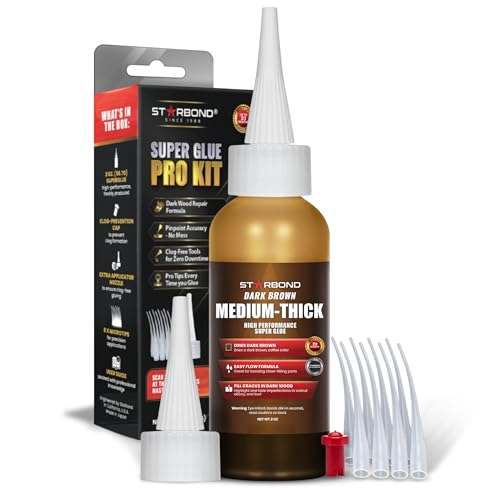
✅ TRUSTED QUALITY SINCE 1988: For over 35 years, Starbond delivers professional-grade cyanoacrylate adhesives crafted in small batches for maximum freshness, longer shelf life, and consistent strength. Perfect for woodworking, hobbies, repairs, and detailed projects.
How Long Does Homemade Wood Filler Last?
Homemade wood filler, when stored properly in an airtight container, can last for about a year. The key to extending its shelf life lies in preventing the mixture from drying out. Storing the wood filler in a cool, dry place further ensures that its quality remains consistent. However, the actual lifespan can vary depending on the types of binder used, with some homemade fillers lasting slightly less or more than a year. Checking the filler for signs of drying or spoilage before use ensures the best results for woodworking projects.
Can I Stain Over This Wood Filler?
Staining over homemade wood filler is possible, especially if the sawdust used originates from the same type of wood as the project. This compatibility ensures that the filler absorbs the stain similarly to the surrounding wood, achieving a coherent finish. However, achieving a perfect match in color and absorption might require experimenting with the stain’s concentration and application method. Some woodworkers recommend sealing the filled area with a clear sealant before applying the stain to help in managing the absorption rate and enhancing the finish.
Conclusion
We’ve walked through the steps of making your own wood filler with sawdust, highlighting the importance of careful preparation, application, and the final touches that make your woodworking projects stand out. Remember, the key to a long-lasting filler is storing it properly, so it’s ready for your next project. Don’t shy away from experimenting with stains to get that perfect match, understanding that a bit of trial and error might be necessary. Armed with these tips, we’re confident you’ll see great results in your woodworking endeavors. Happy crafting!
Related Posts:
- Spray Polyurethane Flawlessly with an Airless Sprayer: A How-To Guide
- Sanding Between Coats of Shellac: A Must for Smooth Finishes?
- Optimal Soaking Time for Bending Wood: A Complete Guide
- DIY Guide: How to Make Wood Filler with Sawdust for Perfect Finishes
- Quiet Your Workspace: Tips on How to Reduce Table Saw Noise Effectively
- Miter Saw Showdown: 10 Inch vs 12 Inch – Which Suits Your Project?
- Mortise vs Firmer Chisel: Discover the Key Differences

TWO-PART FORMULA chemically bonds with surface to adhere permanently

High-Strength Structural Repair Wood Putty: REHOUPTY Epoxy Wood Filler is crafted from quality-epoxy resin and hardener, 2-part epoxy wood putty boasts exceptional structural strength and adhesion. Epoxy wood filler fills cracks, holes, and even rebuilds missing sections caused by aging, moisture, or weathering, restoring damaged wood to a stable state

【Repair kit included】Our wood putty filler repair kit includes 1 wood putty (280g), 2 scrapers, 2 sandpapers.