Have you ever found yourself puzzled by the sticky situation of sap oozing out of your wood furniture or flooring? You’re not alone. Many of us have faced this tacky dilemma, wondering how to preserve the beauty of our wood without the mess. Whether it’s a cherished wooden heirloom or a new piece that’s started to weep sap, we’ve got some insights to share.
Stopping sap from seeping out of wood might seem daunting, but it’s a challenge we can tackle together. With a few tried-and-true methods and a bit of elbow grease, we can prevent our wooden treasures from turning into sticky nightmares. Let’s dive into the world of wood care, exploring effective ways to keep our wood looking pristine and sap-free.
Understanding Sap in Wood
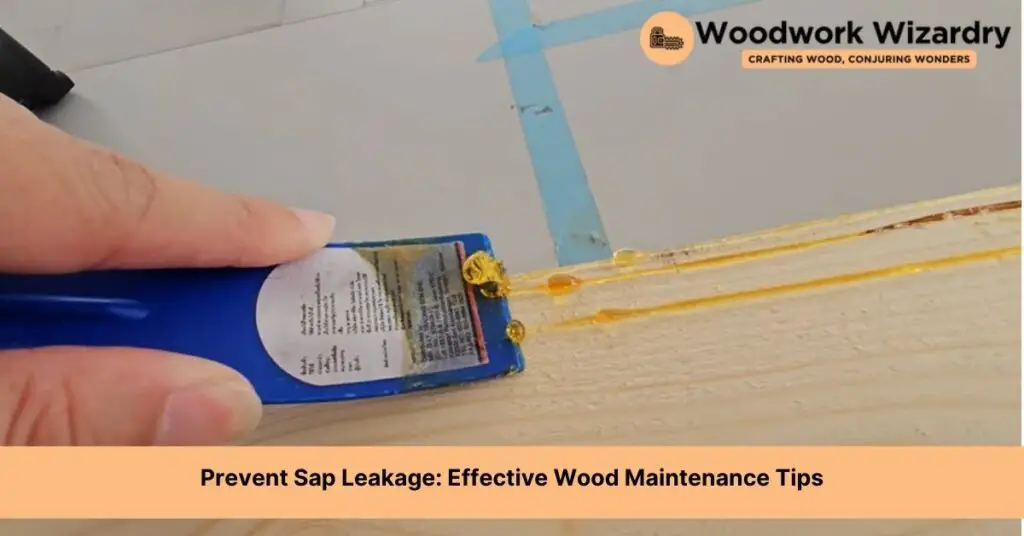
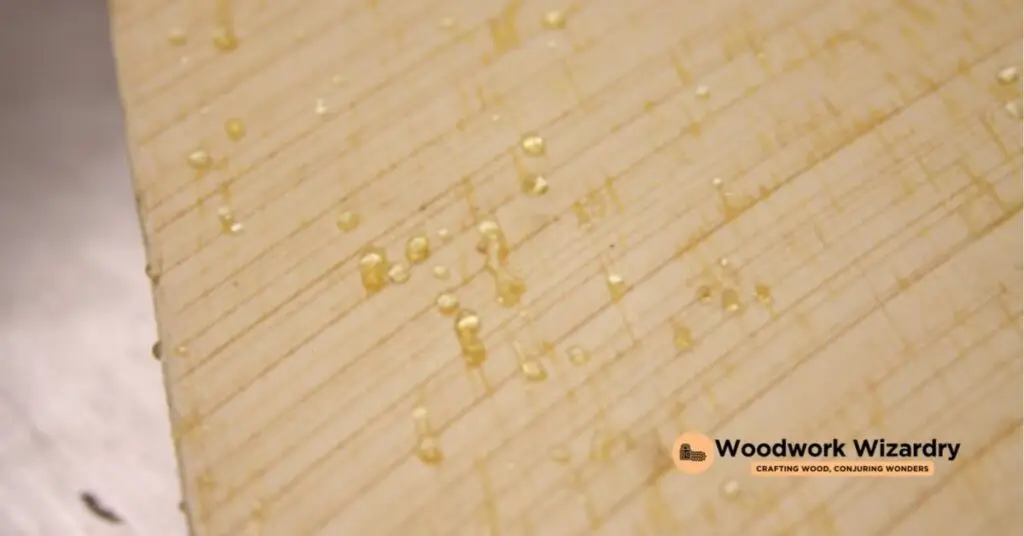
Sap, the lifeblood of trees, plays a crucial role in their growth and survival. It transports nutrients and water throughout the plant. In wood furniture or flooring, however, sap can become a nuisance, manifesting as a sticky substance that seeps out. Grasping why sap oozes and identifying the wood types most susceptible can guide us in preventing and managing this issue effectively.
Why Does Sap Come Out of Wood?
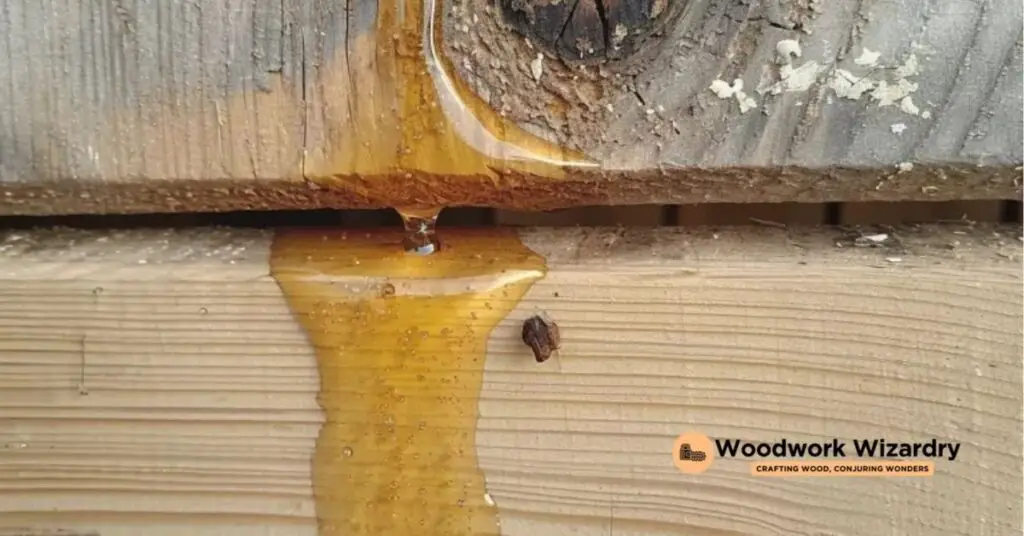
The primary reason sap comes out of wood is due to the wood not being fully dried or cured. Trees cut for lumber still contain sap, which can move to the surface as the wood dries. Environmental factors like temperature and humidity changes can exacerbate this movement, causing the sap to ooze out of the pores of the wood. Moreover, damage or cuts to the wood surface can also create pathways for sap to escape. Understanding these triggers is vital in developing strategies to keep sap under control.
Types of Wood More Prone to Sap Leakage
Certain types of wood have a higher tendency for sap leakage, primarily due to their natural resin content and grain structure. Softwoods, such as pine, spruce, and fir, are more likely to ooze sap because they contain more resin that aids in their growth and healing processes. Among hardwoods, cherry and walnut have been noted for occasional sap leakage, though less frequently than their softwood counterparts. Recognizing the wood types more prone to sap leakage allows us to anticipate and mitigate potential issues, maintaining the pristine appearance of wood furniture or flooring.
Necessary Materials and Tools
To ensure success in stopping sap from coming out of wood, gathering the right materials and tools is crucial. This preparation phase is key to addressing the challenge effectively.
List of Materials
- Sandpaper: Essential for smoothing the wood surface, sandpaper prepares the area by removing any rough spots where sap may seep out.
- Sealant: A polyurethane, shellac, or epoxy sealant, which, when applied over the sanded wood, creates a barrier that prevents sap from emerging.
- Cloths: Clean, lint-free cloths are necessary for applying sealant and for clean-up tasks.
- Mineral Spirits: Useful for cleaning the wood surface and removing any residual sap before applying the sealant.
- Brushes: Required for applying the sealant evenly across the wood surface. Brushes come in various sizes, so select one that best fits the wood item being treated.
- Sander: An electric sander can significantly speed up the sanding process, especially for larger wood surfaces. A hand sander may be used for smaller or more delicate items.
- Safety Gear: Safety glasses and gloves protect against dust and chemicals during the preparation and application processes.
Preparing the Wood Surface
Effective treatment of sap leakage from wood starts with thorough preparation of the wood surface. This stage lays the foundation for a clean, polished finish free from sap.
Cleaning the Surface
Firstly, clean the wood surface to ensure it’s free from dust, dirt, and, most importantly, any sap residue. Use a cloth dampened with mineral spirits for this task. Mineral spirits effectively dissolve sap without damaging the wood. Apply the mineral spirits gently on the affected areas and wipe clean with a dry cloth. This step not only cleans the surface but also prepares it for the next crucial stage, sanding.
Sanding the Wood
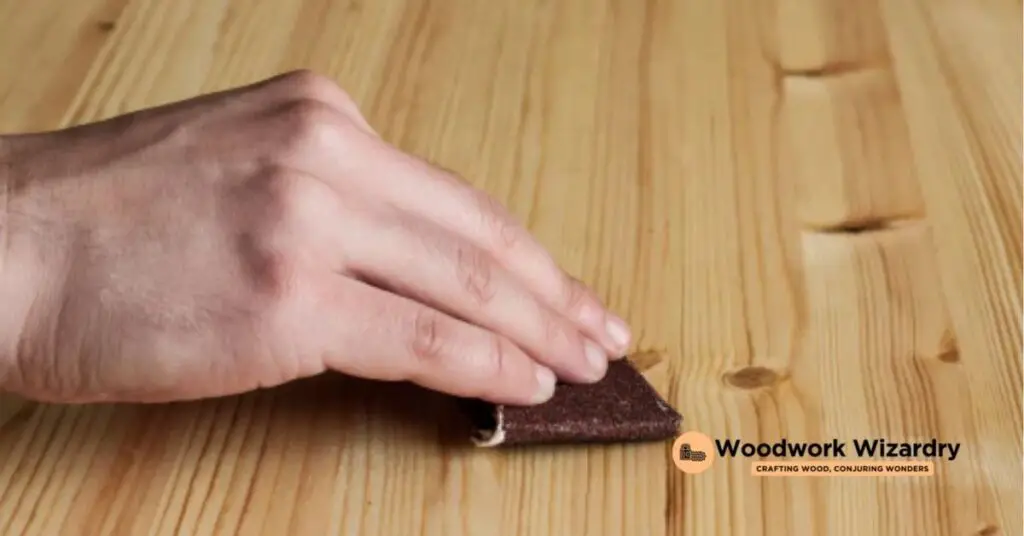
After cleaning, proceed to sand the wood. Start with a coarse-grit sandpaper, such as 80 grit, to remove the top layer and any remaining sap. Sand the area evenly, applying consistent pressure to avoid gouges or uneven surfaces. Once the majority of sap is removed and the surface feels smooth, switch to a finer-grit sandpaper, like 150 or 220 grit, to achieve a smooth finish. Sanding not only removes the last traces of sap but also prepares the wood for the sealant, ensuring it adheres properly and extends the life of the wood. Always wear safety gear, like a dust mask and goggles, during sanding to protect yourself from wood dust.
Methods to Stop Sap From Coming Out of Wood
To effectively halt sap from seeping out of wood, applying targeted treatments ensures both the preservation and enhancement of the wood’s natural beauty. Below, we delve into three proven methods that facilitate this process.
Applying a Sealant
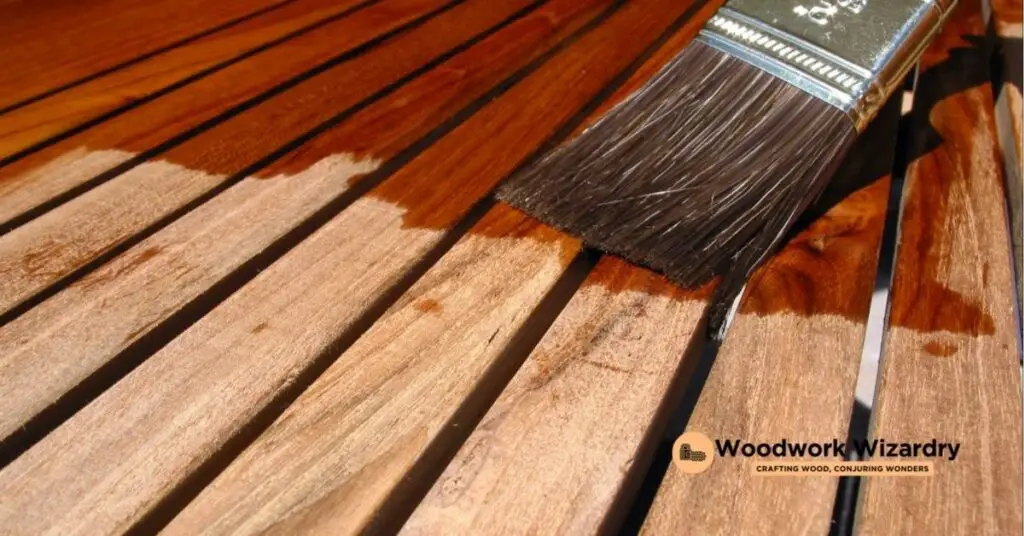
Applying a sealant stands out as a primary strategy. Begin by selecting a high-quality wood sealant, preferably one that is clear and suitable for the type of wood in question. Following the clean-up of the wood surface with mineral spirits and ensuring it’s thoroughly sanded, evenly apply the sealant using a clean brush. It’s essential to cover all surfaces, including ends and edges, to create a barrier that locks the sap within the wood. Allow the sealant to dry completely, adhering to the manufacturer’s specified drying time which usually ranges between 24 to 48 hours. A second coat might be necessary for woods with high sap content, enhancing the seal and providing additional protection.
Using a Sap Stabilizer
Opt for a sap stabilizer for a more intensive approach, especially effective in woods known for their high resin content. A sap stabilizer works by penetrating the wood and hardening the sap, preventing it from oozing out. Clean the area with mineral spirits and ensure the wood is sanded smoothly before application. Apply the sap stabilizer with a brush, ensuring even coverage. It dries quicker than sealants, typically within a few hours, but always verify the product’s instructions for optimal results. This method not only stops sap leakage but also strengthens the wood against further damage.
Kiln Drying Process
Consider the kiln drying process for new wood installations or when working with raw lumber. Kiln drying effectively removes moisture from wood, significantly reducing the chances of sap leakage. This process involves placing the wood in a controlled environment where temperature and humidity levels are meticulously managed to speed up the drying process without causing the wood to crack or warp. Though kiln drying is a preemptive measure taken before sap begins to leak, it’s a valuable method for large-scale wood projects or when preparing wood for furniture making and construction. Because kiln drying requires specific equipment and space, it’s often outsourced to professionals specializing in wood treatment.
Preventive Measures
Preventive measures are key in stopping sap from exiting wood, building on our strategies of sealant application, sap stabilizer use, and the kiln drying process. Let’s focus on the foundational steps: selecting the right wood and ensuring proper storage.
Selecting the Right Wood
Choosing the right type of wood plays a pivotal role in preventing sap leakage. Certain species, like cedar and pine, are known for their high sap content, making them more prone to sap leakage. If the project allows, opt for wood species with lower sap content, such as oak or maple. When selecting wood, inspect for dryness and signs of excessive sap on the surface. Wood that appears too wet or has visible sap residues might not be the best choice for projects where sap leakage could pose a problem.
Proper Wood Storage
After selecting the ideal wood, storing it properly ensures the reduction of sap emergence. Keep wood in a cool, dry place with a steady temperature to discourage sap flow. Elevate the wood off the ground to enhance air circulation around it, speeding up the drying process and reducing sap leakage likelihood. If the wood is being stored for an extended period, consider wrapping it in a breathable material to protect it from moisture while still allowing air movement. Keeping wood dry and well-ventilated significantly cuts down on the chances of sap leakage, ensuring the wood remains in the best condition for your project.
Troubleshooting
Encountering sap leakage even after taking preventive steps can be frustrating. In this section, we address how to handle excessive sap and the necessary steps for reapplying sealants effectively.
Dealing With Excessive Sap
First, identify areas with significant sap leakage. Use fine-grit sandpaper to gently sand the sap-rich areas, ensuring the wood is smooth and free from any sap residue. Clean the sanded area with a dry cloth to remove dust and remaining sap particles.
Apply a thin layer of sap stabilizer over the sanded areas, following the product’s instructions for the best results. Allow the stabilizer to dry completely, typically between 24 to 48 hours, before proceeding with any further wood treatment.
If sap continues to seep, consider applying another coat of stabilizer or moving on to a stronger sealant designed for high-sap content wood. Always test these products on a small, inconspicuous area of the wood first to ensure they do not negatively affect the wood’s appearance.
Reapplication of Sealants
Check the condition of the existing sealant, looking for signs of wear or damage. If the sealant appears intact but sap leakage persists, a thorough cleaning of the area is necessary before reapplication. Remove any loose or peeling portions of the sealant using a soft-bristled brush or a scraper, taking care not to damage the wood underneath.
Clean the surface with a mild detergent and water solution, rinsing thoroughly to remove any soap residue. Allow the wood to dry completely, which may take up to 48 hours, depending on humidity levels and temperature.
Once the wood is dry, apply a new layer of sealant, following the manufacturer’s directions for application and curing times. Opt for sealants specifically formulated for outdoor use and resistant to high moisture levels if the wood is exposed to the elements.
Remember, maintaining the wood’s condition and regular inspection for sap leakage are key to preventing damage and ensuring the wood’s longevity. Regularly check the wood, especially during warmer months when sap movement is more active, and address any issues promptly to keep your wood projects looking their best.
Common Issues and Solutions
Addressing the common challenges of sap leakage is pivotal for maintaining the beauty and integrity of wood projects. Below, we outline effective solutions for frequent issues such as sap bleeding through paint and dealing with sticky surfaces after treatment.
Sap Bleeding Through Paint
To prevent sap from bleeding through paint, applying a primer specifically designed to block stains before painting proves essential. These primers, available in oil-based and shellac forms, create a barrier that prevents sap residue from penetrating the final paint layers. For optimal results, perform thorough sanding on the affected area and cleanse with a solvent like mineral spirits to remove sap residue. Apply the primer evenly and allow ample drying time before applying the topcoat. This method ensures a smooth, sap-free painted surface.
Sticky Surfaces After Treatment
Cleaning and additional sealing offer the best solution for sticky surfaces after treatment. If surfaces become sticky following sap stabilizer or sealant application, it often indicates incomplete drying or excessive sap still present. First, clean the sticky area with a cloth dampened with mineral spirits, which helps dissolve the sap. After the surface dries, assess the need for sanding to remove any remaining stickiness. Finally, apply another coat of sap stabilizer or wood sealant, ensuring to follow product instructions for drying times. Adequate ventilation during drying accelerates the process, helping prevent future stickiness and preserving the wood’s appearance and functionality.
Conclusion
We’ve walked through a comprehensive guide to keep sap at bay, from choosing the right wood to tackling unexpected leaks. Remember, the key to success lies in prevention and timely intervention. Don’t let sap issues dampen your woodworking projects. With the right approach and a bit of maintenance, you can ensure your wood remains beautiful and functional for years to come. And if you ever find yourself facing a sticky situation, you now have all the tools and knowledge at your disposal to address it effectively. Here’s to many more sap-free projects ahead!
Related Posts:
- Top Woods for Dremel Carving: Expert Picks & Tips
- Can Chainsaws Cut Through Bone? Debunking Myths and Facts
- Can You Dig a Trench with a Chainsaw? Safety & Efficiency Explored
- Staining Over Linseed Oil Finish: A Complete Guide
- How Long Does Wood Glue Take to Dry? Tips for Quick Drying
- Ultimate Guide: How to Stain Douglas Fir for Lasting Beauty
- Prevent Sap Leakage: Effective Wood Maintenance Tips
- Metabo C10RJS Review: Top Choice for Safety & Precision
- Choosing Between a Table Saw vs Miter Saw: Key Features Compared
- Top Picks for Best Plywood for Laser Cutting: Safety & Buying Guide
- Why Are Milwaukee Tools So Expensive? Unpacking the Premium Price
- Maximize Your Woodworking on a Budget: Tools, Tips, & Savings

