We’ve all seen those stunning outdoor spaces, with beautiful wooden decks, furniture, and accents that seem to withstand the test of time and weather. Ever wonder how these wooden pieces maintain their beauty and durability outdoors? The secret lies in treating the wood properly before it braves the elements. Treating wood for outdoor use isn’t just about enhancing its appearance; it’s crucial for protecting it from rot, decay, and insect damage.
In this article, we’re diving into the best practices for treating wood for outdoor use. Whether you’re planning to build a deck, spruce up your garden with some wooden planters, or give your patio furniture a new life, we’ve got you covered. Let’s explore how to ensure your wood stays beautiful and durable for years to come, turning your outdoor space into a timeless sanctuary.
Understanding the Importance of Treating Wood for Outdoor Use
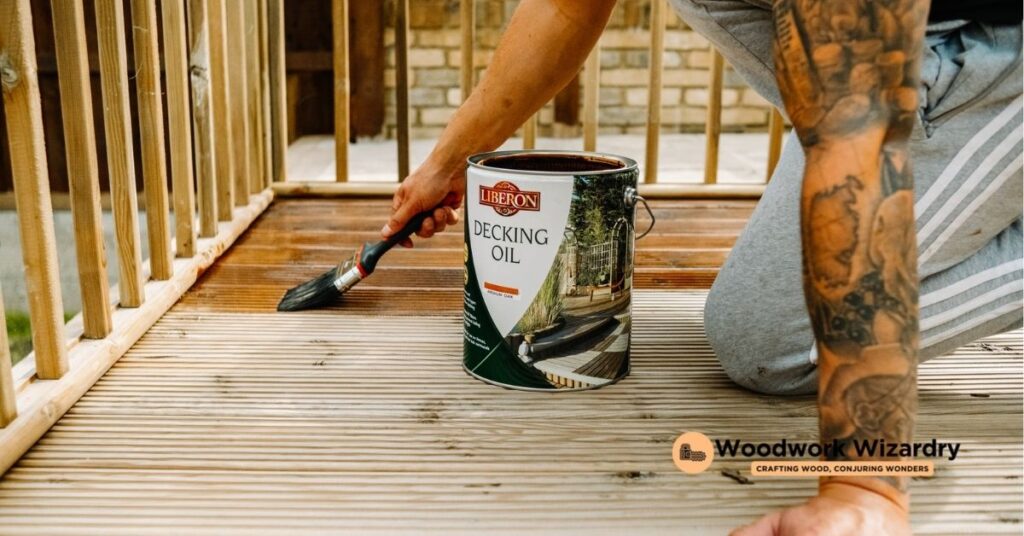
Treating wood for outdoor use is a crucial step in ensuring its longevity and maintaining its aesthetic appeal. This process protects against external elements that can cause damage over time.
Why Treat Wood?
Protecting wood from weathering, insects, and decay ranks as the foremost reason for treatment. Without appropriate treatment, wood absorbs moisture, leading to swelling, warping, and eventually rot. Similarly, untreated wood becomes an inviting habitat for termites and other wood-boring insects, which can compromise its structural integrity. UV radiation from the sun also degrades wood, fading its color and weakening its surface. By treating wood, these issues are prevented, extending the life of outdoor wooden structures and furnishings.
Different Types of Wood and Their Natural Durability
Woods vary in their natural resistance to decay, insects, and weathering. Hardwoods like teak, cedar, and redwood inherently possess high levels of durability when used outdoors, thanks to their natural oils and dense grain patterns that repel water and pests. Conversely, softwoods such as pine, spruce, and fir generally lack these natural defenses and require more intensive treatment to withstand outdoor conditions. Understanding the specific characteristics of the wood chosen for an outdoor project influences the treatment approach, ensuring optimal protection and durability.
Materials Needed for Treating Wood
Now that we understand the importance of treating wood for outdoor use, let’s explore the materials necessary to ensure a successful treatment process.
Types of Wood Treatments
Selecting the right type of treatment guarantees the longevity and beauty of wood when exposed to outdoor conditions. Depending on the chosen wood and its usage, options vary.
- Sealers: Applied to prevent moisture absorption, sealers protect against warping and rot. Ideal for woods that retain natural oils and durability, such as cedar.
- Stains: Enhance the grain while offering protection. Stains come in transparent, semi-transparent, and opaque varieties, catering to aesthetic preferences without compromising protection.
- Paints: Provide the highest level of UV protection and color customization. Require more preparation but offer a solid barrier against moisture and insects.
- Oil-based treatments: Penetrate deep into the wood, preserving its natural texture and offering water resistance. Common oils include teak and linseed.
- Water-based treatments: Easier to apply and clean, water-based options reduce the risk of fire hazards and emit fewer volatile organic compounds (VOCs).
Protective Gear and Tools
Safety and precision in application are crucial for effective wood treatment. Ensure you have the following gear and tools:
- Protective eyewear: Shields eyes from splashes and dust.
- Gloves: Chemical-resistant gloves protect hands during the application of treatments, especially when handling solvents or oils.
- Respirator or mask: Essential when working with treatments that emit VOCs or during sanding processes.
- Brushes or rollers: Choose natural bristle brushes for oil-based treatments and synthetic for water-based. Rollers cover larger surfaces efficiently.
- Sprayer: A sprayer is effective for even application over large areas. Suitable for both water-based and thinner oil-based treatments.
- Sanding equipment: Sandpaper or an electric sander prepares the wood surface, ensuring it is smooth and ready for treatment.
- Clean-up supplies: Have rags, painter’s tape, and plastic sheeting on hand to protect surrounding areas and for easy clean-up.
Preparing with the appropriate materials ensures not only the protection of the wood but also a safe and efficient treatment process.
Preparing the Wood for Treatment
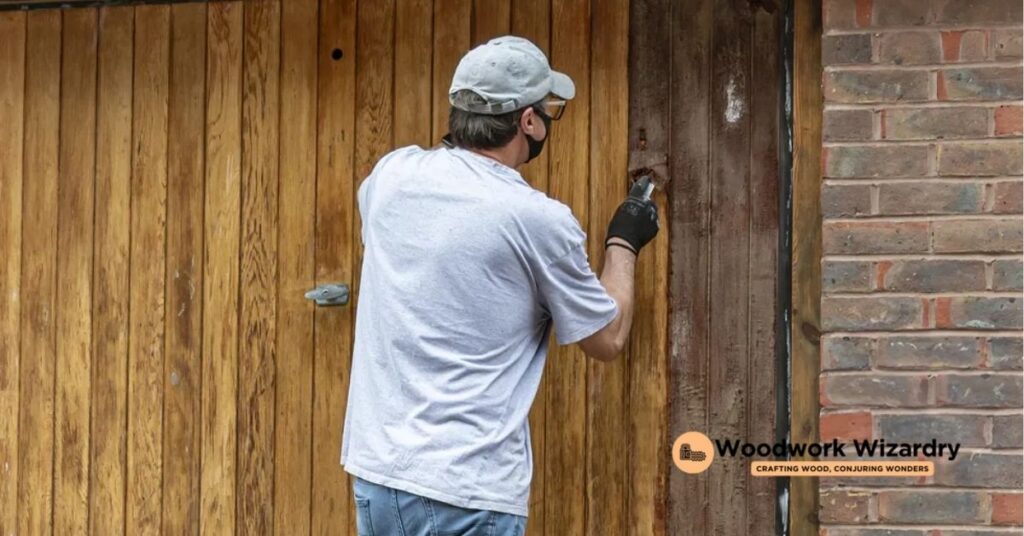
Before any treatment begins, preparing the wood ensures the longevity and efficacy of the protective measures we plan to apply. This step is vital for achieving the best results.
Cleaning the Surface
Begin by removing any debris, dirt, or old paint from the wood. Use a stiff brush for this task. If mold or mildew is present, apply a mixture of water and mild bleach, scrubbing gently to avoid damaging the wood fibers. Rinse the wood thoroughly with clean water and allow it to dry completely before proceeding. This step is essential, especially if you’re working on previously treated wood or materials that have been exposed to the elements.
Sanding the Wood
After cleaning, sanding the wood is the next step. Start with a coarse-grit sandpaper, around 80-grit, to remove any rough spots or remaining finishes. Progress to a finer grit, such as 120 or 150, to smooth the surface. Always sand in the direction of the wood grain to prevent scratches that could affect the appearance and integrity of the wood. This process not only smooths the surface but also opens the pores of the wood, making it more receptive to the treatment products.
- Inspect the wood for any signs of damage, such as cracks or rot, and repair or replace as necessary.
- Ensure the wood is completely dry before starting the treatment process. Moisture in the wood can hinder the absorption of sealants or treatments.
- Use protective gear, such as gloves and masks, during the preparation phase, especially when handling chemicals or sanding.
- Allocate sufficient time for preparation. Rushing this step can lead to suboptimal results, affecting the wood’s appearance and durability.
- Consider the environment, ensuring good ventilation and avoiding water bodies to prevent contamination when using chemicals.
By adhering to these steps closely, the wood becomes an ideal canvas, ready for further treatment, which will protect and enhance its appearance for outdoor use.
Choosing the Right Treatment for Your Wood
Selecting the right treatment enhances both the longevity and appearance of wood for outdoor use. Consideration of the wood’s exposure to elements guides the choice of treatment.
Oil-Based vs. Water-Based Treatments
Oil-based treatments penetrate deeply, providing excellent moisture resistance and a rich finish. Ideal for woods like cedar and redwood, they offer extended protection against decay. However, reapplication is less frequent compared to water-based options. If the wood will be in constant contact with the ground or subject to heavy moisture, oil-based treatments prove more efficient.
Water-based treatments, on the other hand, dry faster and emit lower levels of toxic fumes, making them safer for enclosed spaces. They adhere well to the wood’s surface, preventing mold and mildew growth. Water-based treatments are suitable for a variety of woods and conditions, particularly when quick drying times and ease of cleanup are priorities.
Sealants for Weatherproofing
Sealants provide a clear or tinted barrier that prevents water absorption, crucial for avoiding rot and warping. Application of sealants, such as polyurethane or varnish, provides a durable layer that shields the wood from the sun’s harmful UV rays. When a natural look is desired with emphasis on grain visibility, sealants are the best choice. They are especially recommended for furniture pieces and outdoor decks that face continuous sun exposure.
Stains for Color and Protection
Stains do more than add color; they offer an added layer of protection from the elements. Semi-transparent stains allow the wood grain to show through, while solid stains provide a paint-like appearance with the added benefit of revealing texture. Stains integrate UV inhibitors and mildewcides, enhancing wood’s resistance to sunlight and moisture. For areas exposed to direct sunlight and varying weather conditions, staining is beneficial both aesthetically and functionally.
The Role of Paint in Wood Protection
Paint serves as a strong protective layer against moisture, UV light, and insects. A thorough application of exterior-grade paint can seal the wood from the environment, extending its life significantly. Additionally, paint offers an unparalleled range of color choices, allowing for full customization of outdoor projects. For surfaces that will encounter a lot of wear and tear, such as fences and outdoor furniture, paint is a reliable choice for ensuring durability and maintaining aesthetic appeal.
Applying the Treatment
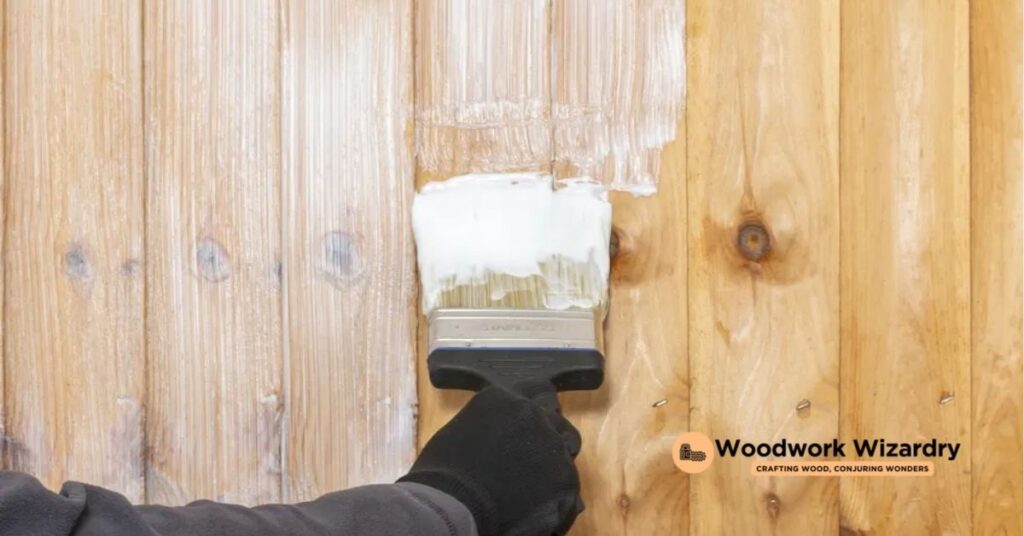
Having prepared the wood and chosen the right treatment, it’s time to apply the treatment properly to ensure maximum protection and longevity of the wood for outdoor use.
Safety First: Protective Gear and Proper Ventilation
Ensuring safety during the application process is paramount. Protective gear, including gloves, safety goggles, and a mask, becomes essential when handling chemical treatments or paints. Work in a well-ventilated area, preferably outdoors, to avoid inhalation of fumes. Open windows and use fans if working inside to facilitate airflow.
Step-by-Step Application Process
Following a methodical application process ensures even coverage and optimal protection.
- Stir the treatment thoroughly to mix any settled particles throughout.
- Apply the first coat of treatment using a clean, wide brush, roller, or sprayer, depending on the product instructions and wood size.
- Cover all surfaces evenly, paying special attention to end grains and joins which absorb more material.
- Allow the treatment to penetrate the wood for the time specified by the product, usually 10-20 minutes.
- Wipe away any excess treatment with a clean cloth to prevent sticky residues.
- Apply additional coats if recommended by the treatment product, allowing sufficient drying time between coats as specified.
Drying and Curing Time
Allowing the wood to dry and cure properly after treatment is crucial for its effectiveness. Drying times vary based on the treatment type, wood species, and environmental conditions. Generally, a 24-hour drying period is advisable before handling the treated wood. However, full curing might take up to several days or weeks. Check the treatment product’s specifications for precise drying and curing times, and plan your project timeline accordingly to avoid premature use or exposure to harsh conditions.
Maintenance and Care of Treated Wood
Maintaining and caring for treated wood ensures its durability and beauty for years to come. Let’s dive into how to keep your outdoor wood structures in top condition.
Routine Cleaning Tips
Regular cleaning plays a pivotal role in extending the life of treated wood. Start by gently removing debris with a soft brush to prevent scratches. For deeper cleaning, mix mild soap with water and use a soft brush or cloth to wipe down the surface. Avoid using harsh chemicals or pressure washers that can strip the protective layers of treatment. Rinse the wood thoroughly with clean water to remove any soap residue. Perform this cleaning process at least twice a year or as needed to keep the wood looking its best.
Reapplying Treatments: When and How
Reapplication of treatments is essential to uphold the wood’s resistance to the elements. Identify the need for reapplication by observing the wood’s appearance and water resistance. If water no longer beads on the surface, it’s time for a new coat. Before reapplying, clean the wood surface as mentioned earlier and allow it to dry completely. Use the same type of treatment previously applied, following the manufacturer’s instructions for best results. Applying a fresh coat every 2 to 3 years maintains the wood’s protective barrier and appearance.
Protecting from Insects and Rot
Effective protection from insects and rot is achievable through vigilant inspection and prompt action. Inspect the wood periodically for signs of infestation or decay, such as tunnels, sawdust-like frass, or softened areas. If any signs are detected, treat the affected areas with an insecticide or fungicide approved for your specific wood treatment. Keeping the ground around the wood structure clear of debris, leaves, and stagnant water reduces the risk of insect attraction and moisture buildup that can lead to rot. Ensuring good air circulation around the wood also helps prevent these issues, keeping your outdoor wood structures strong and attractive.
Troubleshooting Common Issues
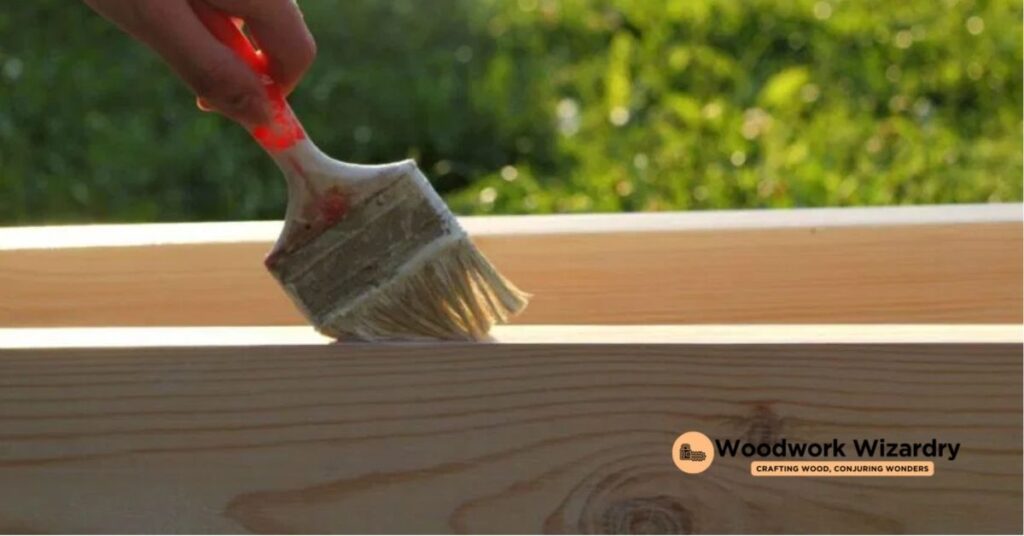
Even with diligent maintenance, outdoor wood surfaces can encounter several common problems. Let’s tackle these issues to keep your wood looking great and lasting longer.
Tackling Peeling and Flaking
Peeling and flaking often occur when the wood treatment fails to adhere properly. Begin by gently sanding the affected area to remove all loose and peeling finish. Ensure the wood is dry and clean before applying a thin, even coat of treatment. Choosing a product designed for outdoor use ensures better adhesion and longevity. If peeling happens consistently, consider switching to a different type of wood treatment that might be more compatible with your wood.
Handling Mold and Mildew Growth
Mold and mildew thrive in damp conditions, posing a threat to treated outdoor wood. Clean the affected area with a solution of one part bleach to three parts water, wearing protective gloves and eyewear. Apply the solution, scrub gently with a soft brush, then rinse thoroughly with clean water. Allow the wood to dry completely. To prevent future growth, ensure the wood has adequate air circulation and sunlight, reducing moisture accumulation.
Solutions for Fading and Discoloration
Fading and discoloration are common due to UV exposure and weathering. Restore the wood’s appearance by cleaning it according to the maintenance instructions provided with your specific wood treatment. After cleaning, reapply a protective finish or stain that includes UV protection. Selecting products with pigments or dyes can also help combat fading, offering additional protection against the sun’s harsh rays. Regular maintenance checks help catch fading early, making treatment more effective.
Alternative Natural Treatments for Wood
Exploring alternatives to chemical treatments for outdoor wood utilizes resources from nature, offering safety and environmental benefits. Natural oils and homemade solutions provide effective means to preserve wood while maintaining its natural beauty.
Using Natural Oils
Natural oils penetrate wood fibers deeply, enhancing durability against weather and decay. Linseed and tung oil stand out as prime examples, both derived from natural sources and celebrated for their protective qualities.
- Apply linseed oil for a versatile treatment. Extracted from flax seeds, linseed oil works well on most wood types, offering water resistance and a smooth finish. Ensure the wood is clean and dry before application, using a soft brush or cloth to apply thin layers. Allow each layer to dry completely, typically 24 hours before applying the next, for maximum absorption and protection.
- Utilize tung oil for a tough, waterproof seal. Originating from the seeds of the tung tree, this oil is ideal for woods exposed to direct rain or moisture. Similar to linseed oil, prepare the wood surface by cleaning and drying, then apply tung oil with a brush or cloth in thin, even layers. Tung oil requires more drying time between coats, often up to 48 hours, making it a longer process with durable results.
Homemade Wood Treatment Solutions
Creating homemade wood treatments allows for customization and control over the ingredients, often using items found in the household.
- Vinegar and olive oil mixture serves as a natural cleanser and wood conditioner. Combine one part vinegar to two parts olive oil to create a solution that cleans, polishes, and moisturizes wood, enhancing its natural grain and protection against the elements. Apply with a soft cloth, rubbing in the direction of the grain, and wipe off any excess.
- Beeswax and oil polish provides a protective, water-resistant layer while giving wood a gentle sheen. Melt beeswax and mix it with an equal amount of linseed or olive oil, stirring until combined. Apply the warm mixture to the wood surface with a cloth, letting it penetrate before buffing to a shine. This polish works especially well for wood furniture, giving it additional longevity and beauty.
By choosing natural oils or creating homemade treatments, we embrace an eco-friendly approach to preserving outdoor wood, ensuring it remains resilient and attractive through the seasons.
Conclusion
We’ve walked through the essentials of treating wood for outdoor use, from preparation to maintenance. It’s clear that with the right approach, we can extend the life and beauty of our outdoor wood projects. Remember, it’s not just about applying a treatment once and forgetting it. Regular maintenance, including cleaning and reapplication, is key to combating the elements and keeping our wood in top condition. Let’s not overlook the value of natural treatments either. They offer a sustainable option that’s kind to our planet while providing the protection our projects need. So here’s to taking these insights and turning our outdoor spaces into enduring, beautiful retreats that stand the test of time.
Related Posts:


