When tackling a woodworking project, achieving that smooth, glossy finish on your pieces can feel like the ultimate reward. It’s the moment where all your hard work truly shines through, quite literally! But let’s face it, applying polyurethane with a brush can sometimes leave behind those pesky brush marks, detracting from the beauty of your piece. That’s where the idea of using an airless sprayer comes in, promising a flawless finish with minimal effort.
We’ve all wondered whether it’s possible to spray polyurethane with an airless sprayer. It sounds like a game-changer, doesn’t it? Imagine being able to coat your projects evenly with that protective layer, all while avoiding the hassle of brush strokes. Well, we’re here to dive into this topic, exploring the ins and outs of using an airless sprayer for polyurethane application. Let’s embark on this journey together and discover if it’s the solution we’ve been looking for.
Understanding Polyurethane Application
Diving deeper into our exploration, we tackle the mechanics of applying polyurethane effectively, especially when considering the use of an airless sprayer. Polyurethane, a versatile finish, offers protection and shine to woodworking projects, making its application a critical step in achieving the desired aesthetics and durability.
Key factors to grasp include understanding the types of polyurethane available and their respective suitability for airless sprayer application. Essentially, polyurethanes come in two main types: water-based and oil-based. Water-based polyurethane cleans up easily with water and dries quickly, making it a convenient choice for fast-paced projects. Oil-based variants, known for their durability and rich finish, however, require more time to dry and a solvent for cleanup.
The viscosity of the polyurethane plays a pivotal role in the process. Airless sprayers, designed to handle a range of viscosities, can efficiently spray both water and oil-based polyurethanes, provided the material is thinned correctly to meet the sprayer’s specifications. Thinning polyurethane not only ensures a smooth flow through the sprayer but also avoids clogging and uneven application.
Preparation becomes a crucial step before spraying. Ensuring the polyurethane is mixed well and at the right viscosity, matched with the sprayer’s capability, sets the stage for a successful application. Test spraying on a scrap piece of wood allows for adjustments before the final application, ensuring the settings and technique will produce the desired result.
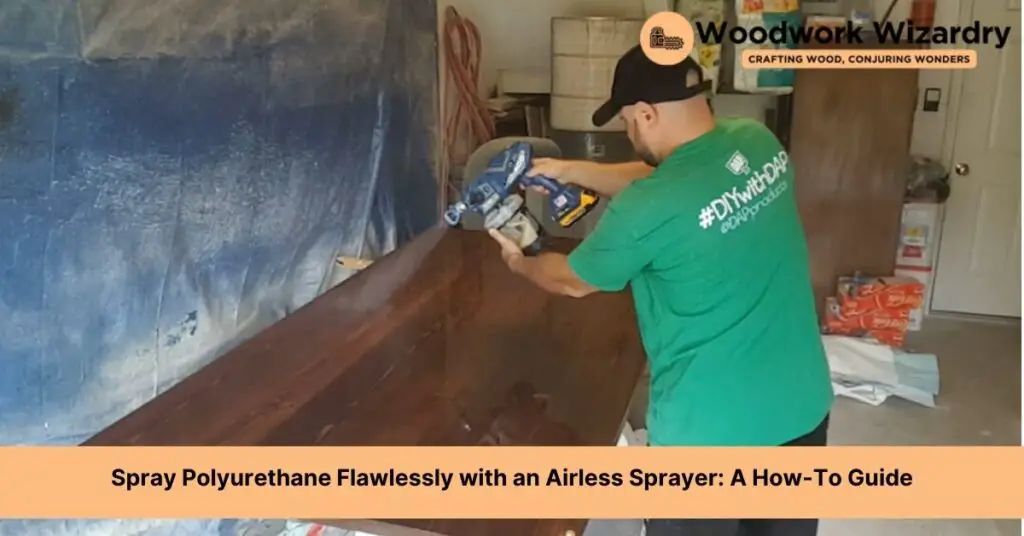
In managing the spraying process, maintaining a consistent distance and motion is key to achieving even coverage without drips or sags. Overlapping each pass slightly helps prevent missed spots and ensures a uniform coat.
As we progress, we’ll delve into the specifics of setting up the airless sprayer for polyurethane application, focusing on achieving that perfect, brush stroke-free finish that can elevate any woodworking project.
Can You Spray Polyurethane With an Airless Sprayer?
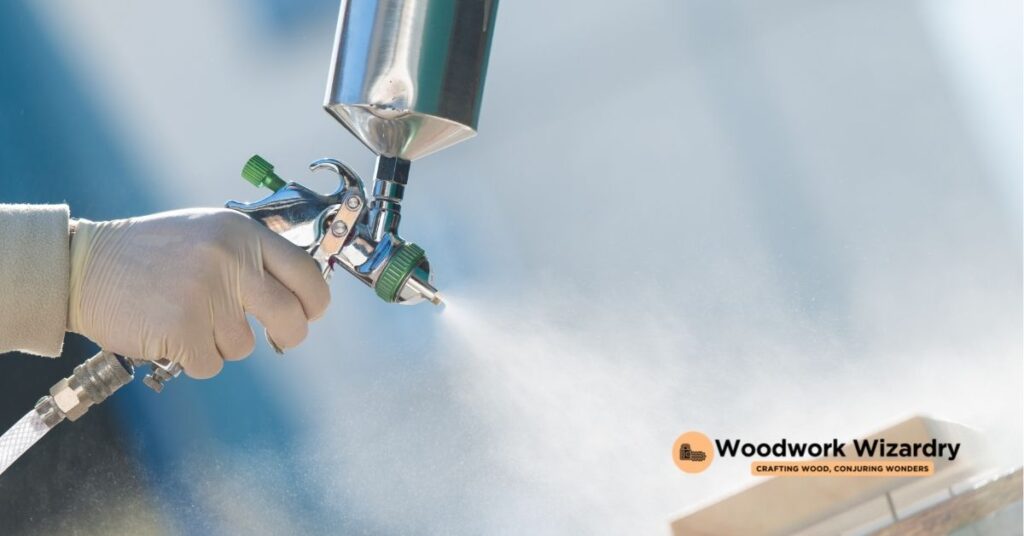
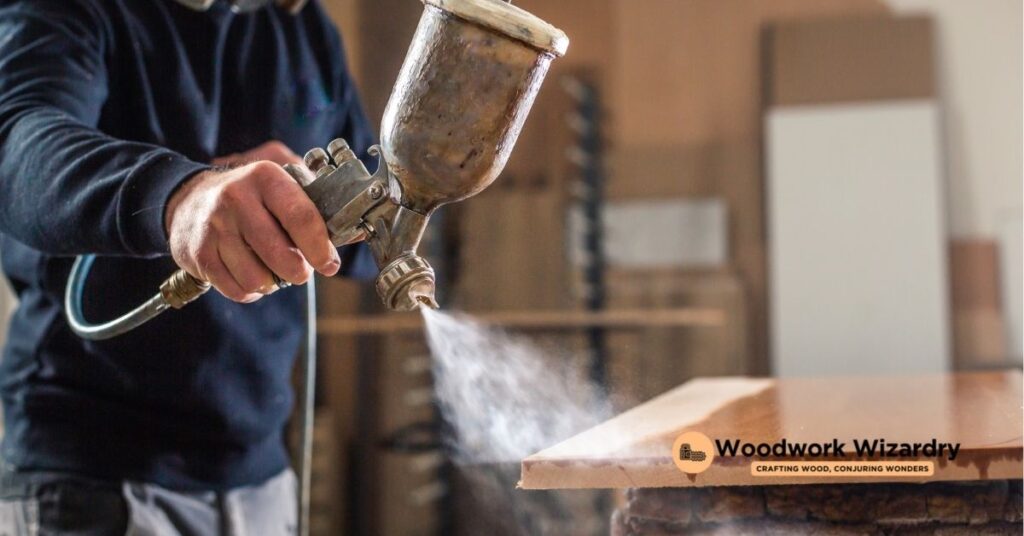
Building on our exploration of achieving smooth finishes on woodworking projects, we find ourselves asking, can you spray polyurethane with an airless sprayer? The answer distinctively leans toward yes, you absolutely can. Spraying polyurethane with an airless sprayer presents a series of advantages, primarily by dispensing a fine mist that settles into an even, brush stroke-free finish on your woodwork.
First, let’s navigate through selecting the right polyurethane for your airless sprayer. Both water-based and oil-based polyurethanes can be used, but each requires specific preparations to ensure compatibility and optimal finish quality. Water-based polyurethanes, being thinner, usually adapt well to spraying without needing significant thinning. Oil-based types, on the other hand, might require a bit of reduction to meet the viscosity requirements of the sprayer.
Preparation plays a pivotal role in spraying polyurethane effectively. Ensuring that the polyurethane is properly mixed and filtered can prevent clogging and contribute to a smooth application process. Equally important, the selection of the appropriate tip size for your airless sprayer can make a vast difference. A tip size ranging from .009 to .013 inches often works best for polyurethane, providing a balance between coverage and control.
Technique also matters when spraying polyurethane. Keeping a consistent distance and speed, as well as applying multiple thin coats, can drastically improve the finish quality. It allows for better drying and reduces the chances of runs or sags.
Utilizing an airless sprayer for polyurethane not only is feasible but also upgrades the finishing process of woodworking projects. By choosing the right type of polyurethane, preparing it accordingly, selecting the suitable sprayer tip, and applying proper spraying techniques, achieving a flawless, brush mark-free finish becomes a more accessible goal.
Preparing to Spray Polyurethane
Before we dive into the actual spraying process, getting polyurethane ready for a flawless application is key. Preparing to spray polyurethane with an airless sprayer involves several important steps that ensure a smooth, even finish on our woodworking projects.
First, selecting the right polyurethane formula is crucial. Depending on the project, we choose between water-based and oil-based polyurethane. Water-based polyurethane cleans up with water, dries quickly, and has a lower odor, making it an excellent choice for indoor projects. Oil-based polyurethane, on the other hand, offers a more durable finish suitable for high-traffic areas or surfaces.
Second, thinning the polyurethane to the correct viscosity is a step we cannot skip. Although airless sprayers can handle various viscosities better than other types of sprayers, adjusting the thickness of the polyurethane ensures a smooth flow through the sprayer and prevents clogging. For water-based polyurethane, we often use water to thin it down, while mineral spirits work for oil-based polyurethane. It’s essential to check the manufacturer’s recommendations for thinning ratios to avoid over-thinning.
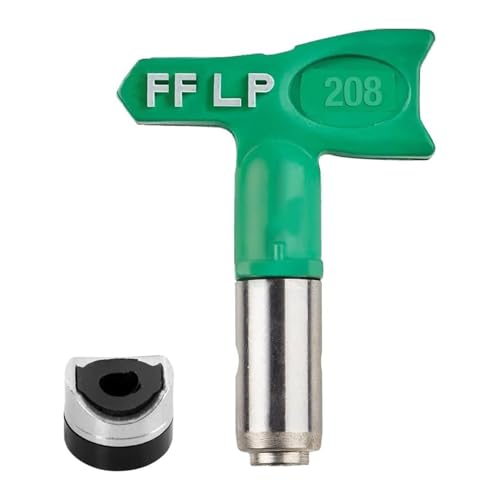
Third, choosing the right sprayer tip size for the polyurethane we’re using is vital. A too-narrow tip might clog, while a too-wide tip can overspray and waste our finish. The tip size affects the spray pattern and fineness of the mist. For most polyurethane applications, a fine-finish tip designed for lacquers and stains provides the best results.
Lastly, testing the spray pattern on scrap wood or cardboard is something we always do before spraying the actual project. This step lets us adjust the sprayer settings and practice our technique to ensure even coverage and prevent runs or sags.
By thoroughly preparing, we set ourselves up for success in applying polyurethane with an airless sprayer, paving the way for a smooth, durable finish on our woodworking projects.
Step-by-Step Guide to Spraying Polyurethane
Building on the foundation we’ve set regarding the preparation of polyurethane and the essential steps to ensure a smooth application with an airless sprayer, let’s dive into a detailed step-by-step guide. This guide aims to equip you with the knowledge needed for a flawless finish on your woodworking projects.
- Prepare Your Workspace
- First, ensure your workspace is clean, dust-free, and well-ventilated. Cover any areas or items you want to protect from overspray with drop cloths or plastic sheeting.
- Safety Equipment
- Wear appropriate safety gear, including a respirator mask, gloves, and safety glasses, to protect yourself from inhaling fumes and polyurethane particles.
- Prepare the Polyurethane
- Based on the type of polyurethane you’re using, thin it according to the manufacturer’s instructions to achieve the right viscosity for spraying. This step is crucial for both oil-based and water-based polyurethanes.
- Select the Right Tip
- Choose an airless sprayer tip that’s suitable for the type of polyurethane you’re spraying. The tip size is vital for ensuring a smooth, even coat.
- Test Spray Pattern
- Before you start spraying your project, test the spray pattern on a piece of scrap wood. Adjust the pressure settings on your airless sprayer until you achieve a consistent and even spray pattern.
- Spraying Technique
- Hold the sprayer nozzle approximately 6 to 8 inches away from the surface. Begin spraying with a smooth, continuous motion, overlapping each pass by about 50% to avoid missed spots or uneven coverage.
- Applying Multiple Coats
- Allow the first coat to dry completely, following the recommended drying time on the polyurethane’s label. Sand lightly between coats with fine-grit sandpaper to ensure a smooth base for the next coat. Wipe away any dust with a tack cloth before applying subsequent coats.
- Cleanup
- After completing your project, clean your airless sprayer thoroughly according to the manufacturer’s instructions. Proper cleaning ensures your equipment remains in good condition for future projects.
Tips for Achieving a Smooth Finish
Transitioning from the detailed step-by-step guide for spraying polyurethane with an airless sprayer, we now focus on crucial tips that ensure a perfectly smooth finish, which is often the hallmark of a professional-quality job. Applying polyurethane requires precision, and by adhering to these tips, we can elevate the quality of our finish.
First and foremost, Dilute the Polyurethane for better flow. Depending on the viscosity of the product, thinning polyurethane with a suitable solvent improves its ability to level out, reducing the risk of orange peel texture. Manufacturers often recommend the ideal ratio, so it’s wise to start there.
Next, Select the Right Spray Tip for polyurethane. A fine-finish tip, typically in the range of a .009 to .013-inch orifice, provides a smooth, even coat. The correct tip size ensures a mist fine enough for polyurethane to lay down smoothly without excessive overspray.
Test the Spray Pattern before starting on the final piece. Practice on scrap wood or cardboard to adjust the sprayer settings for an even and consistent pattern. This preparation helps identify and correct potential issues with the spray pattern or technique.
Maintain a Consistent Distance while spraying. Holding the sprayer too close or too far from the surface can cause uneven application. A distance of about 6 to 10 inches usually offers the best results, but always follow the sprayer manufacturer’s recommendations.
Apply Multiple Thin Coats rather than a single thick coat. Thin layers of polyurethane dry faster and more evenly, reducing drips and sags. Lightly sanding between coats, using a fine-grit sandpaper (220 grit or higher), not only smooths out imperfections but also aids in the adhesion of subsequent coats.
Lastly, Control Environmental Factors such as dust and humidity. A clean, well-ventilated workspace minimizes dust particles that can mar the finish. Meanwhile, moderate humidity levels help polyurethane to cure properly without clouding or blushing.
By following these tips and paying close attention to each detail, we can achieve a smooth, professional-quality finish that showcases the beauty of woodwork. Whether for a DIY project or a professional task, the right preparation and technique make all the difference.
Cleaning and Maintenance
Maintaining the quality of our airless sprayer, especially after using polyurethane, is crucial for ensuring it serves us well for many projects to come. Cleaning and maintenance are necessary steps that, when done correctly, can significantly extend the lifespan of our equipment. Here, we’ll guide you through the essential practices to keep your airless sprayer in top condition.
First, it’s vital to clean the sprayer immediately after use. Polyurethane can dry and harden inside the equipment, leading to clogs and potentially damaging the sprayer. Start by flushing out the polyurethane with a suitable solvent. For water-based polyurethane, warm, soapy water works well, whereas mineral spirits are suitable for oil-based varnishes. Make sure to run the solvent through the sprayer until it comes out clear, ensuring all remnants of polyurethane are removed.
Once the initial cleaning with solvent is complete, disassemble the sprayer parts that came into contact with the polyurethane. This typically includes the spray tip, hose, and gun filter. Clean these parts individually, again using the appropriate solvent. A soft brush can be helpful for removing stubborn residues.
After cleaning the components, dry them thoroughly before reassembling the sprayer. Moisture can lead to rust or corrosion, which may harm the sprayer’s internal mechanisms. Reassemble the parts carefully, following the manufacturer’s instructions to avoid any damage.
Regular maintenance also involves checking for wear and tear on components such as the spray tip and hose. Replacing these parts when they show signs of damage is important for maintaining the performance and safety of the sprayer.
Lastly, store the sprayer in a clean, dry place. Proper storage prevents dust accumulation and potential moisture damage, ensuring the sprayer is ready for its next use.
By following these cleaning and maintenance tips, we ensure our airless sprayer remains a reliable tool for achieving professional-quality finishes on our woodworking projects.
Conclusion
We’ve walked through the ins and outs of using an airless sprayer for polyurethane application and it’s clear that with the right approach we can all achieve those smooth, flawless finishes we aim for. By understanding the type of polyurethane we’re working with and preparing it correctly we set ourselves up for success. Remember to choose the right sprayer tip and test our setup before diving into the actual project. It’s all about those thin, even coats and controlling the environment around us. And let’s not forget the cleanup—keeping our equipment in top shape is key to consistent results. Here’s to elevating our woodworking projects with a technique that might just become our new favorite.
Related Posts:
- Spray Polyurethane Flawlessly with an Airless Sprayer: A How-To Guide
- Sanding Between Coats of Shellac: A Must for Smooth Finishes?
- Optimal Soaking Time for Bending Wood: A Complete Guide
- DIY Guide: How to Make Wood Filler with Sawdust for Perfect Finishes
- Quiet Your Workspace: Tips on How to Reduce Table Saw Noise Effectively
- Miter Saw Showdown: 10 Inch vs 12 Inch – Which Suits Your Project?
- Mortise vs Firmer Chisel: Discover the Key Differences

