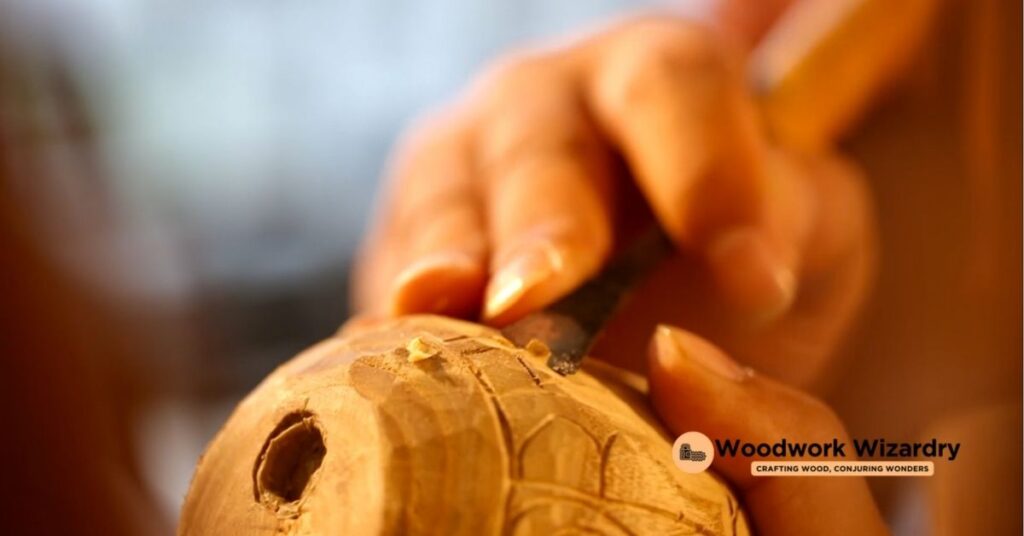
Diving into the world of relief carving is like opening a door to endless creativity and craftsmanship. It’s not just about chiseling away at wood; it’s about bringing visions to life, one cut at a time. But before we can start creating masterpieces, we need the right tools in our arsenal.
Choosing the right tools can be overwhelming, especially for beginners. That’s why we’re here to guide you through the essentials, ensuring you’re well-equipped to start your journey in relief carving with confidence. From chisels to gouges and everything in between, we’ll help you understand what you really need and why each tool is important.
So, let’s get ready to carve out our niche in the world of woodworking, one tool at a time.
Understanding Relief Carving
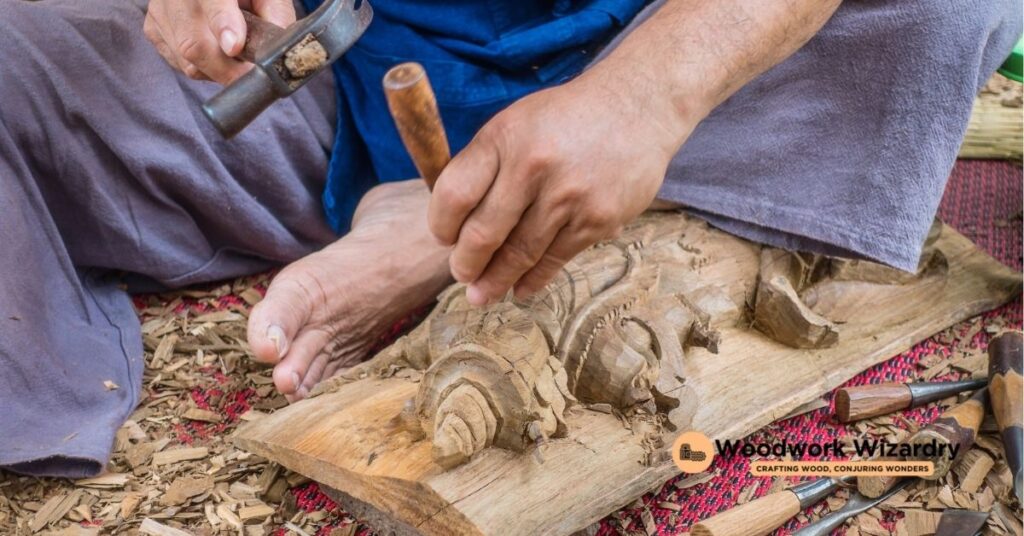
Relief carving transforms wood into stunning pieces of art by removing material to create a raised image from a flat panel. This technique involves a meticulous process, where the depth of the carving creates a lifelike, three-dimensional appearance. Navigating through the world of relief carving, we recognize the essence of mastering various tools and techniques to breathe life into wood.
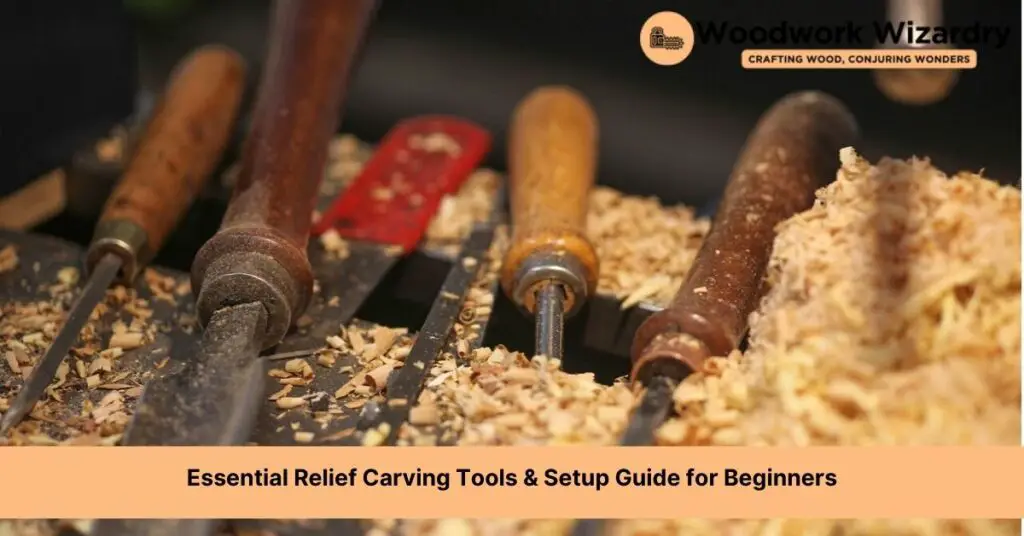
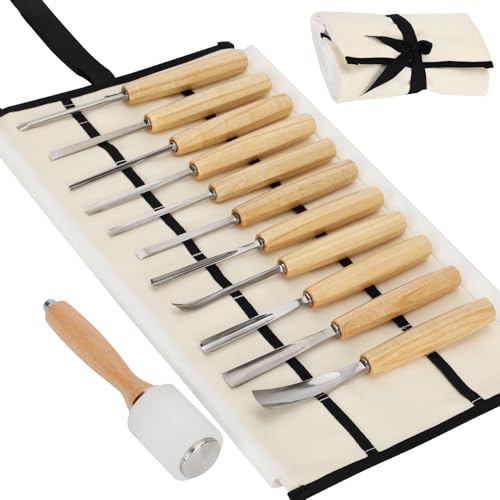
In relief carving, the depth and shadows play crucial roles, distinguishing it from other forms of carving. Artists manipulate these elements to give their creations depth, making the designs pop. Considering the intricacies involved, selecting the right set of tools isn’t just beneficial; it’s necessary. Tools such as chisels, gouges, and V-tools make up the fundamental kit for any carver, enabling them to effectively execute cuts ranging from rough shaping to adding fine details.
Chisels come in handy for making straight cuts and cleaning flat surfaces. Gouges, with their curved blades, are ideal for creating curves and hollows, essential for adding dimension. V-tools, the versatile members of the carving toolkit, excel at creating sharp lines and clearing corners. Together, these tools allow carvers to navigate the complexities of relief carving, from the initial outlining to the final touches that bring pieces to life.
Beyond the basic kit, relief carving calls for a sturdy workbench and clamps to secure the wood piece, ensuring stability during the carving process. Sharp tools are paramount for clean cuts, thus, maintaining a set of sharpening stones and honing accessories becomes a part of the carver’s routine. Additionally, understanding wood grain and selecting the right type of wood are critical factors that influence the outcome of the artwork.
As we delve deeper into the world of relief carving, it becomes apparent that success hinges on the synergy between skill, creativity, and the right tools. Each element in the carver’s toolkit plays a pivotal role in transforming a simple piece of wood into a masterpiece, embodying the carver’s vision and craftsmanship.
Essential Tools for Beginners
Understanding the synergy between skill, creativity, and the right tools is crucial for any aspiring relief carver. To dive into the world of relief carving, there are a few must-have tools that beginners shouldn’t overlook. These instruments play a pivotal role in transforming a simple piece of wood into a detailed three-dimensional artwork, reflecting the carver’s vision and craftsmanship.
- Carving Gouges: Carving gouges are indispensable for creating curved cuts and adding depth to your work. They come in various shapes and sizes, with different sweep numbers indicating the curvature of the cut. U-shaped gouges, for instance, are great for scooping out large areas, while V-shaped gouges excel at making sharp lines and detailing.
- Chisels: Essential for straight cuts and cleaning up flat surfaces, chisels help in defining the outlines and bringing precision to the artwork. A set of chisels with different widths offers versatility for tackling various aspects of relief carving.
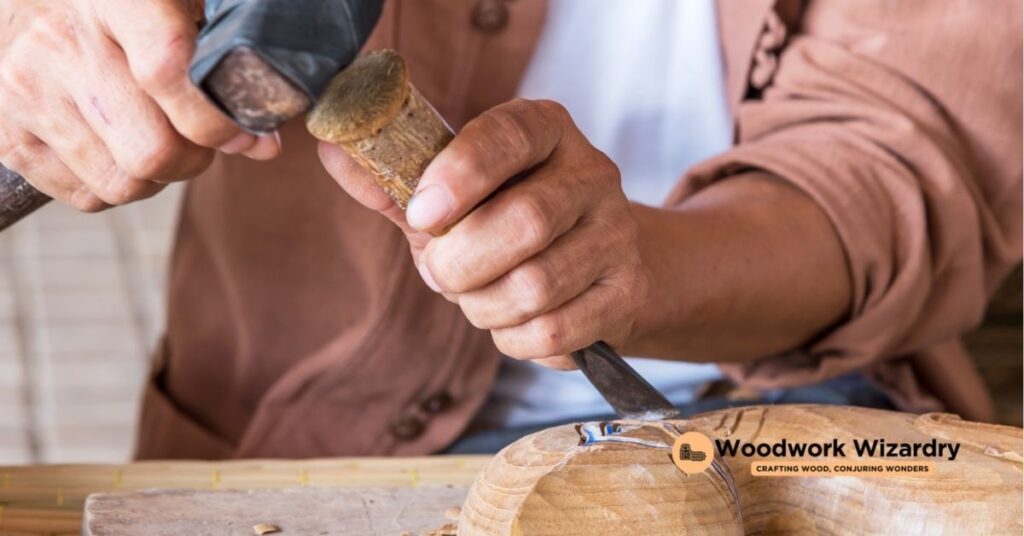
- Mallets or Light Hammers: A mallet or light hammer is used to strike the end of the chisel or gouge, providing the force needed for carving through the wood. A wooden mallet is preferred for its soft impact, which helps in controlling the cuts without damaging the tools.
- Sharpening Tools: Keeping your carving tools sharp is crucial for efficient and precise carving. A set of sharpening stones or a honing guide ensures that your gouges and chisels are always in top condition, ready to make clean cuts.
- Workbench or Clamp: Having a stable surface to work on makes a significant difference in relief carving. A sturdy workbench or a reliable wood clamp holds the wood piece securely, allowing for accurate and safe carving.
These basic tools set the foundation for beginners, making it possible to start exploring the art of relief carving. As you gain experience, you’ll learn the importance of each tool and how to use them effectively to bring your artistic visions to life. Remember, mastering these tools takes time and practice, but with patience, you’ll see your skills grow and your projects evolve into intricate works of art.
Selecting Your First Project
After exploring the essential tools needed for relief carving, such as carving gouges, chisels, and sharpening tools, it’s time to dive into picking the perfect first project. This step is crucial, as it ensures a balanced challenge that promotes skill development while keeping enthusiasm high.
Choosing a simple design is key for beginners. Opt for projects with straightforward patterns that require the use of basic tools. Examples include floral motifs, geometric shapes, or small animals. These subjects offer a solid foundation in understanding how to maneuver tools and work with the wood grain without overwhelming complexity.
Material selection plays a pivotal role in this early stage. Softwoods like basswood or pine are ideal for starters due to their forgiving nature. Their softer texture allows for easier cutting, making them perfect for practicing carving techniques.
Consider the project size. Starting with smaller pieces can be advantageous, as they’re more manageable and require less time and material. A project size of 6″x8″ or similar is a good starting point, offering enough space for creativity without being too ambitious.
Lastly, templates can be incredibly helpful for beginners. Utilizing pre-drawn patterns or stencils can guide your carving process, ensuring that you maintain proportions and symmetry in your design. With time and experience, you’ll gain the confidence to create your own designs and tackle more complex projects.
Embarking on your first relief carving project is an exciting step in your woodworking journey. By selecting an approachable project that aligns with your skill level, you set the stage for a rewarding experience that nurtures your carving abilities and sparks your passion for this timeless art form.
Safety Gear and Best Practices
Transitioning from choosing our first relief carving project to practicing safety, we understand that ensuring a safe environment is paramount. In this segment, we delve into essential safety gear and adopt best practices to keep ourselves protected while indulging in relief carving.
Essential Safety Gear
Protective Wear:
- Gloves: Invest in cut-resistant gloves to safeguard our hands against sharp tools and wood splinters.
- Safety Glasses: Use safety glasses to shield our eyes from flying wood chips and dust.
- Hearing Protection: For those of us planning to use power tools, earmuffs or earplugs are a must to protect our hearing.
First Aid Kit:
Keeping a first aid kit nearby is wise, ensuring it’s stocked with band-aids, antiseptic wipes, and sterile gauze for any minor injuries.
Best Practices for a Safe Carving Experience
Workspace Setup:
Ensure our workspace is well-lit and organized. A clutter-free area will not only keep distractions at bay but also minimize the risk of accidents.
Tool Maintenance:
- Sharpening: Keeping our carving tools sharp can seem counterintuitive for safety, but a sharp tool is safer since it requires less force to cut through wood, giving us better control.
- Storage: Properly storing tools when not in use protects us from accidental cuts and keeps the tools in good condition.
Technique:
Adopting the right carving techniques also contributes to our safety. Carving away from our body ensures that if the tool slips, we’re not in its path.
Following these guidelines, our relief carving journey will not only be enjoyable but safe as well. Let’s not forget, prioritizing safety enhances our overall carving experience, allowing us to focus on mastering the art without the hindrance of injury.
Setting Up Your Workspace
Following our emphasis on safety, preparing an ideal workspace emerges as the next pivotal step in beginning relief carving. Organizing a conducive environment not only streamlines the carving process but also further reduces the risk of accidents. Let’s break down the essential components of an effective carving workspace.
Adequate Lighting
Good lighting is non-negotiable. Natural light is preferable, but if it’s not adequate, incorporating bright, shadow-free artificial lighting ensures that every detail can be seen clearly. This minimizes the risk of mistakes caused by poor visibility.
Sturdy Workbench
A workbench that doesn’t wobble is crucial for precision work. It should be at a comfortable height to promote proper posture and reduce strain during long carving sessions. Adding a non-slip mat or securing your carving material with clamps can prevent your project from moving unexpectedly.
Tool Organization
Keeping tools well-organized not only saves time but also prevents accidents. Using a tool rack or a pegboard can keep sharp tools out of the way when not in use yet easily accessible. Assigning a specific place for each tool helps in maintaining a clutter-free workspace.
Workspace Cleanliness
Regularly cleaning your workspace contributes to both safety and efficiency. Wood shavings and dust should be cleared away frequently to maintain a clear work area and prevent slip-and-fall accidents. Employing a dust extraction system or using a simple brush and pan can make cleanup easier.
Comfort Measures
Ensuring comfort while carving enhances focus and endurance. Consider adding a comfortable chair or a standing mat if you prefer standing while working. Maintaining a comfortable temperature and adequate ventilation makes the environment pleasant and safe, particularly when using finishes or adhesives that might emit fumes.
Adhering to these guidelines, we create a workspace that not only boosts our productivity in relief carving but also ensures our well-being, allowing us to fully immerse in the intricacies of our projects with confidence and safety.
Enhancing Your Skills
Following the setup of an ideal workspace for relief carving, focusing on enhancing our skills is crucial to progress in this art form. Mastering relief carving requires not only familiarity with tools and workspace optimization but also a dedication to continuous learning and practice. Here, we explore ways to refine our skills and elevate our craftsmanship.
Practice with Different Wood Types
Exploring various wood types, such as basswood for beginners due to its softness and maple or walnut for more advanced carvers, offers insights into handling different grain patterns and hardness. Each wood type reacts uniquely, encouraging adaptability in our carving techniques.
Experiment with Carving Techniques
Diving into different carving techniques, from low relief to high relief, broadens our understanding of depth, perspective, and shadowing in relief carving. Experimenting with techniques sharpens our ability to visualize and execute complex designs.
Utilize Online Resources and Workshops
Engaging with online tutorials, video courses, and attending workshops provides access to expert advice and new perspectives. These resources are invaluable for learning new methods, enhancing precision, and staying updated with carving trends and tools.
Join Carving Communities
Participating in carving communities, both online and in-person, offers a support network for feedback, inspiration, and motivation. Sharing experiences and challenges with fellow carvers enriches our learning journey, revealing new techniques and problem-solving strategies.
Set Personal Projects and Challenges
Setting personal goals and challenging ourselves with projects slightly beyond our current skill level fosters growth. Tackling diverse and increasingly complex projects builds confidence and mastery over time.
By integrating these approaches into our relief carving practice, we continually evolve our skills, ensuring every carving project brings us nearer to our artistic and technical goals. Engaging actively with the carving community, seizing learning opportunities, and pushing the boundaries of our comfort zone are key steps in our journey toward becoming proficient relief carvers.
Conclusion
We’ve journeyed through the essentials of starting in relief carving from selecting your first tools and project to creating an ideal workspace. We’ve also touched on the importance of safety gear and the benefits of diving into various carving techniques and community resources. Remember, the key to mastering relief carving lies in practice and persistence. So grab your tools, set up your space, and let’s start carving our path to artistic fulfillment. Here’s to the many projects and beautiful creations ahead!
Related Posts:

