In our quest to spruce up our living spaces, we often find ourselves asking, “Can we stain over varnish?” It’s a question that pops up when we’re looking to rejuvenate or change the color of our wooden furniture, floors, or trim without stripping away years of character and memories. The thought of giving our beloved wood pieces a facelift, without the hassle of completely stripping them down, is certainly appealing.
We’ve all been there, standing in the aisle of our local hardware store, staring at the array of stains and finishes, wondering if it’s really possible to layer new life over the old. It’s a journey of transformation we’re eager to embark on, but not without a bit of guidance. Let’s dive into the possibilities and considerations that come with staining over varnish, ensuring our projects turn out just as we envision.
Understanding Varnish and Stain

In our journey to transform wooden pieces effortlessly, it’s crucial to dive deep into the realm of varnish and stain. Knowing these elements well helps us ensure our projects turn out exactly as we envision.
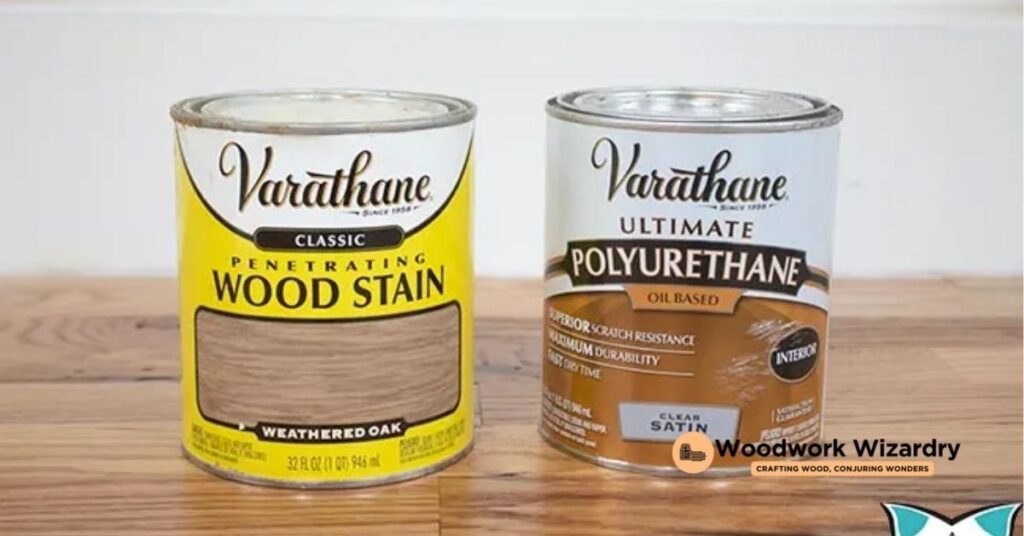
Varnish, primarily serving as a protective finish, adds durability and shine to wood surfaces. It’s a transparent coating that protects the wood from damage caused by water, UV light, and scratches. Its ingredients include resins, oils, and solvents, which form a hard layer once dried. Interestingly, varnishes come in various finishes, from gloss to matte, allowing us to achieve the desired aesthetic. However, its glossy surface can pose challenges when applying a stain, as stain requires absorption into the wood.
Stain, on the other hand, is about enhancing or changing the wood’s natural color while not providing significant protection. It penetrates the wood, offering a variety of shades that range from light to dark. The beauty of using a stain lies in its ability to highlight the wood grain, giving it a refreshed look. Unlike varnish, stains don’t form a surface layer. Instead, they soak into the wood, which is why staining over varnish isn’t straightforward. The presence of varnish prevents the stain from penetrating the wood, often leading to unsatisfactory results if not handled correctly.
Given these properties, when contemplating whether to stain over varnish, we’re essentially looking at how to introduce color to a surface already sealed against absorption. This doesn’t mean it’s impossible, but it requires careful preparation and choosing the right products to ensure success. In the next segment, we’ll explore various techniques and products that can make staining over varnish a viable option, keeping our project’s vision intact.
Preparing the Surface
Before we dive into the staining process, it’s crucial to properly prepare the surface of the varnished wood. This preparation is key to ensuring the new stain adheres well and the final look meets our expectations. Here, we’ll guide you through the steps needed to get your varnished surface ready for a fresh stain.
- Clean the Surface: First, we start by giving the varnished wood a good cleaning. We use a mild soap and water solution to remove any dirt, grease, or grime that’s built up over time. After washing, we make sure the surface is completely dry before proceeding.
- Sand the Surface: Next comes sanding, which is critical for helping the stain adhere to the varnished surface. Using a fine-grit sandpaper, we lightly sand the entire area in the direction of the wood grain. This step roughens up the glossy finish of the varnish, creating a more receptive surface for the stain. It’s important to sand lightly to avoid damaging the wood underneath.
- Remove Dust: After sanding, we use a tack cloth or a soft, lint-free cloth to wipe away all the dust created during sanding. Ensuring the surface is free of dust is essential for a smooth stain application.
- Apply a Primer (If Necessary): Depending on the type of stain and the specific project, we might apply a primer designed for stained surfaces. This step is especially important if we’re moving from a dark varnished surface to a lighter stain color. The primer helps create an even base for the new stain, improving color consistency and adherence.
By following these preparation steps, we ensure the varnished surface is ready for a successful staining process. Proper preparation not only facilitates better stain adherence but also contributes significantly to the longevity and aesthetics of the finished project. With the surface now prepared, we’re ready to move on to the actual staining, confident in the foundation we’ve set for a beautiful update to our wood pieces.
Choosing the Right Stain

After preparing the varnished surface by cleaning, sanding, and removing dust, it’s crucial to select the appropriate stain for the project. Stain selection involves understanding the types of stains available and their compatibility with varnished surfaces. We’ll guide you through the process of identifying the best stain to achieve your desired outcome.
Oil-Based Stains
Oil-based stains are popular for their long-lasting durability and ease of application. They penetrate deeply into the wood, offering rich colors that enhance the wood’s natural grain. However, when staining over varnish, oil-based stains require a thoroughly sanded surface to ensure proper adhesion. If you choose an oil-based stain, make sure the varnished surface is well-prepared to absorb the stain.
Water-Based Stains
Water-based stains are known for their quick drying times and low odor. They’re an excellent choice for indoor projects, particularly in well-ventilated areas. On varnished surfaces, water-based stains tend to adhere better than oil-based options, provided the surface is properly prepared. They’re also easier to clean up, requiring only soap and water.
Gel Stains
Gel stains are thick and don’t drip or run, making them ideal for vertical surfaces. Their consistency offers unique advantages when working with varnished surfaces, as they can sit on the surface and create a uniform look without deep penetration. Gel stains are particularly useful for intricate areas where detailed application is necessary.
Stain-Sealer Combos
Stain-sealer combos are a convenient option, combining the color application and protective sealing in one step. They’re particularly advantageous for projects on a tight timeline or where simplicity is key. On a prepared varnished surface, these products can simplify the process, but it’s essential to select a product specifically designed for use over varnish.
Choosing the right stain involves considering the project’s specifics, such as the desired finish, the wood’s condition beneath the varnish, and your personal preferences for maintenance and aesthetics. Each type of stain offers distinct benefits, and selecting the one that aligns with your project’s needs ensures a successful and satisfying result.
Staining Over Varnish: Step-by-Step Guide

After understanding the importance of correct preparation and selection of stain for your varnished wood, let’s dive into the practical step-by-step guide to staining over varnish. This hands-on approach ensures the stain adheres well and your wood surfaces look stunning.
- Surface Preparation: Begin by cleaning the varnished surface with a mild detergent and water. Make sure to remove all dust, grime, and grease. The surface needs to be clean for the stain to adhere properly.
- Sanding the Surface: Once the surface is dry, sand it lightly with a fine-grit sandpaper, preferably 220-grit. Sanding helps to roughen the slick varnish surface, providing a better grip for the new stain. Always sand in the direction of the wood grain to avoid scratches.
- Dust Removal: After sanding, remove all the sanding dust with a tack cloth or slightly dampened rag. It’s critical to have a dust-free surface before starting the staining process.
- Applying a Primer (Optional): Depending on the type of stain you’re using and the condition of your varnished surface, applying a primer might be necessary. A primer can help improve the adherence of the new stain to the varnished surface.
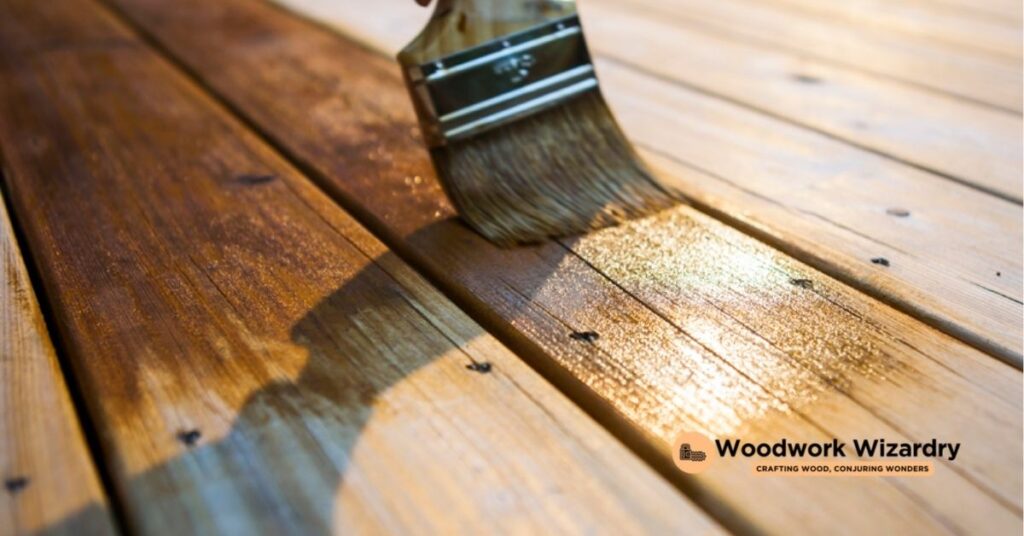
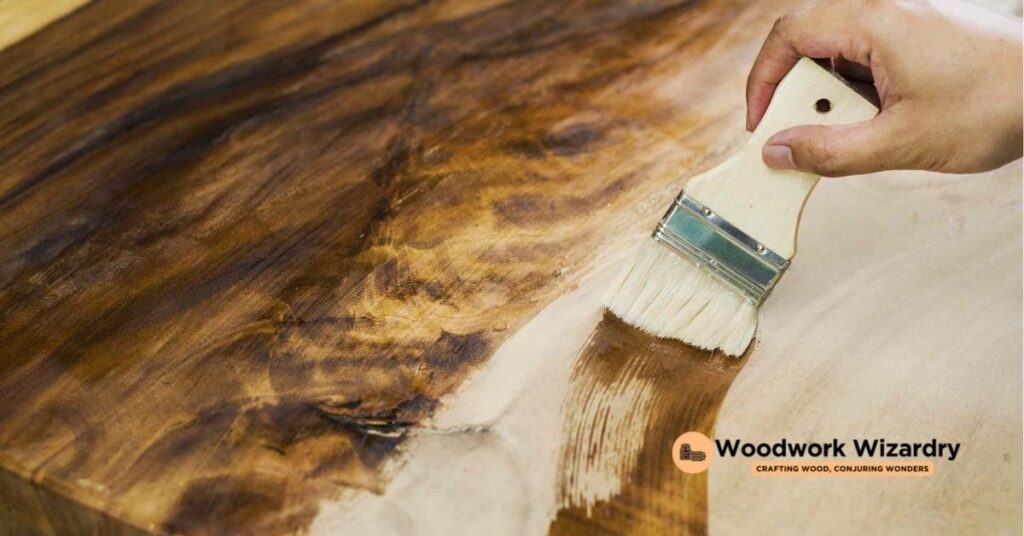
- Applying the Stain: Choose the right applicator (brush, rag, or sponge) for your stain type and apply the stain evenly along the grain of the wood. Gel stains work particularly well for this step since they’re thicker and adhere better to varnished surfaces.
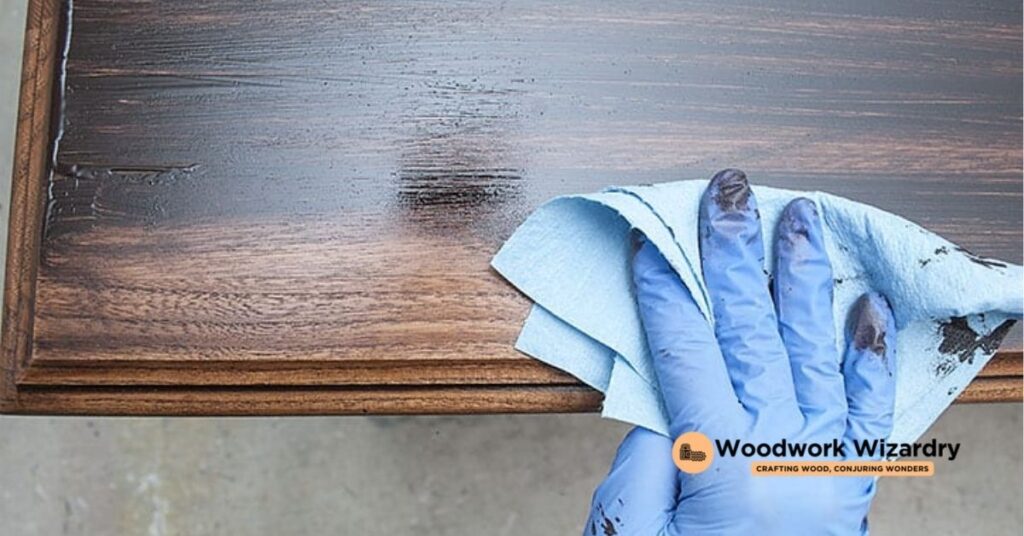
- Wiping Off Excess Stain: After waiting the recommended time specified by the stain manufacturer, gently wipe off any excess stain with a clean rag. This step ensures an even color and avoids tackiness.
- Letting It Dry: Allow the stain to dry completely, as per the manufacturer’s instructions. Drying times can vary depending on the type of stain, humidity, and temperature.
- Applying a Sealer (Optional): Once the stain is dry, and you’re satisfied with the deepness of the color, applying a sealer can add an extra layer of protection. It also helps in giving the surface a finished look.
Alternative Methods

After diving into the primary method of staining over varnish by preparing the surface and applying stain directly, we now explore alternative strategies that can achieve similar, if not more unique, finishes on varnished wood. These techniques, while differing in approach, aim to enhance the wood’s appearance without compromising the integrity of the varnish or the wood itself.
Gel Stain Application
Gel stains provide a thicker consistency than traditional liquid stains, making them ideal for use over varnished surfaces. Their formulation allows for better adherence to varnished wood without the need for extensive surface preparation. To apply a gel stain:
- Clean the surface thoroughly to remove any dirt or grime.
- Lightly scuff the varnish with fine-grit sandpaper to promote adhesion.
- Apply the gel stain using a clean cloth or brush, working in small sections.
- Wipe away excess stain to achieve the desired color intensity.
Paint Over Varnish
For those looking for a more drastic transformation, painting over varnish is a viable option. This method covers the wood grain but offers a fresh, new look.
- Prepare the surface by cleaning and lightly sanding.
- Apply a high-quality primer designed for varnished surfaces to ensure paint adhesion.
- Once the primer is dry, paint the surface with your chosen color and finish, using either a brush or roller for an even coat.
Tinted Varnish
Tinted varnishes combine the protective qualities of varnish with a touch of color. This method enriches the existing wood color or subtly changes the hue without obscuring the wood grain.
- Start by cleaning the varnished surface to remove any contaminants.
- Choose a tinted varnish that complements or enhances the current wood color.
- Apply the tinted varnish with a brush, following the grain of the wood.
- Allow it to dry completely, applying additional coats as needed to achieve the desired depth of color.
Each alternative method offers a distinct way to update and personalize varnished wood surfaces, whether you’re seeking a subtle enhancement or a dramatic transformation.
Maintenance and Care
After successfully enhancing the appearance of varnished wood surfaces, proper maintenance and care become crucial to preserving their beauty and durability. Our chosen methods, such as using gel stains, painting, or applying tinted varnish, all need specific care to ensure the finish remains attractive and protected over time.
For surfaces treated with gel stains over varnish, regular dusting with a soft, dry cloth helps maintain the sheen and prevents dust accumulation. Avoid using harsh cleaners that can strip the stain, opting instead for mild, soapy water for occasional cleaning, and be sure to dry the surface thoroughly afterward.
If we’ve painted over varnish, the key to longevity lies in gentle cleaning. Wipe spills and marks promptly with a soft, slightly damp cloth, avoiding abrasive materials that could scratch the paint. Every few months, a mild detergent solution can be used for a deeper clean, followed by a rinse with a clean, damp cloth to remove any soap residue.
For those who have chosen to apply a tinted varnish, maintenance is somewhat similar to caring for traditional varnish finishes. Dusting with a soft cloth keeps the surface looking fresh, while spills should be wiped up quickly to prevent staining. If a more thorough cleaning is necessary, a soft cloth dampened with water and a mild detergent can be effective, though it’s essential to avoid soaking the wood. Always finish by wiping with a dry cloth to remove any moisture.
Regardless of the method chosen to update varnished wood surfaces, regular maintenance is key to ensuring the longevity of the finish. Taking care to protect the surface from excessive moisture and heat will help maintain its appearance. Placing coasters under drinks, using protective mats, and avoiding placing hot items directly on the wood can prevent damage and preserve the beauty of the surface.
By following these care guidelines, we can enjoy the refreshed look of our varnished wood for years to come.
Conclusion
We’ve walked through the nuances of staining over varnish, from the initial challenges to the innovative solutions that allow us to breathe new life into our wooden treasures. Whether we opt for gel stains, a fresh coat of paint, or a tinted varnish, each method opens up a realm of possibilities for enhancing the character and longevity of our wood surfaces. Remember, the key to a stunning finish lies not just in the application but in the care that follows. By adopting regular maintenance practices, we ensure our efforts stand the test of time, keeping our wood looking splendid for years to come. Let’s embrace these techniques and make every piece of wood in our home a testament to our love for renewal and transformation.
Related Posts:


