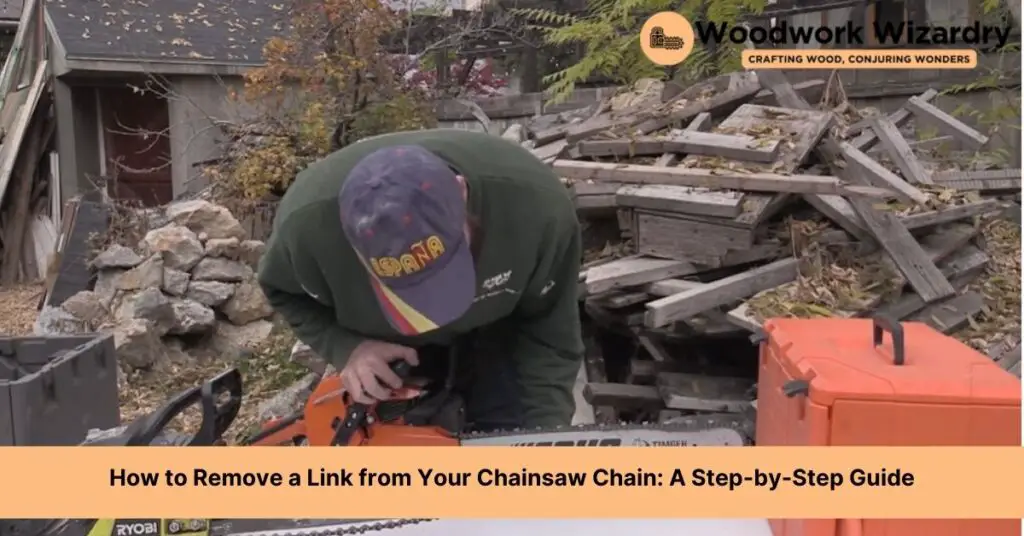
We’ve all been there, standing in our backyards or at a worksite, ready to tackle some serious cutting, only to find our chainsaw chain is too loose or too tight. It’s a common hiccup that can throw a wrench in our plans, but thankfully, it’s a fixable one. Adjusting the length of your chainsaw chain by taking a link out isn’t as daunting as it might seem.
Let’s dive into the world of chainsaw maintenance together. We’ll guide you through the process step by step, ensuring you’re back to cutting in no time. This task doesn’t require a professional’s touch, just a bit of patience and the right know-how. So, grab your tools, and let’s get started on making your chainsaw chain fit just right.
Understanding the Basics of a Chainsaw Chain
Having touched on the adjustment of chainsaw chains, let’s dive into the fundamentals of a chainsaw chain. Knowing these basics is crucial before you embark on removing a link to adjust the chain length.
First, a chainsaw chain consists of several key components: cutters, tie straps, and rivets. The cutters do the actual cutting work, while the tie straps hold the chain together. Rivets, on the other hand, connect these pieces.
There are different chain designs, each with its own set of advantages. Some are designed for smooth, fast cuts, while others are built to minimize kickback, enhancing safety during use. The type of wood you’re cutting and the chainsaw you use often determine the most suitable chain design.
The pitch, gauge, and drive links are vital specifications you need to understand. The pitch measures the distance between three rivets divided by two and affects how well the chainsaw cuts. The gauge corresponds to the thickness of the drive links and ensures the chain fits snugly in the chainsaw’s guide bar. Lastly, drive links are the part of the chain that fits into the guide bar, determining the chain’s length.
Adjusting a chainsaw chain, specifically removing a link, requires a careful approach. You need to ensure compatibility with your chainsaw’s specifications; otherwise, performance issues may arise. Always refer to your chainsaw’s user manual for specific details related to the pitch, gauge, and recommended chain types.
Our step-by-step guide aims to equip you with the knowledge to confidently adjust your chainsaw chain, ensuring your chainsaw performs optimally for your cutting tasks. Whether you’re adjusting for a tighter fit or removing links to prevent slippage, understanding these basics is the foundation to maintaining your chainsaw’s efficiency.
Tools Needed to Remove a Link from a Chainsaw Chain

Having explored the nuances of chainsaw chain adjustments, it’s crucial to have the right tools on hand for removing a link. A precise set of tools ensures a smooth adjustment process, complementing our guide’s aim to boost your chainsaw’s performance. Let’s delve into the essential tools for this task.
- Chain Break: This tool is indispensable for safely pushing out the chain’s pins. It ensures that the link separation is clean and without damage to surrounding components.
- Chainsaw File: Sometimes, after removing a link, the need to smooth out rough edges arises. A fine chainsaw file does the job perfectly, maintaining the chain’s integrity.
- Locking Pliers: These are vital for holding the chain in place while you work. Their strong grip prevents the chain from slipping, allowing for precise adjustments.
- Chain Rivet Tool: To rejoin the chain once the adjustment is made, a chain rivet tool comes in handy. It ensures the links are securely fastened for safe operation.
- Flat-Head Screwdriver: This common tool is useful for adjustments and to pry open link connections lightly. A flat-head screwdriver is a multipurpose tool that aids in various steps of the process.
- Safety Glasses: Safety should never be compromised. Wearing safety glasses protects your eyes from metal filings or debris that could become airborne during the process.
- Gloves: Durable gloves protect your hands not only from the chain’s sharp edges but also from grease and oil. They provide a better grip on the tools and chain.
Equipped with these tools, you’re prepared to remove a link from your chainsaw chain confidently. Each tool plays a specific role in the process, ensuring that adjustments to the chain are done efficiently and safely. Remember, working methodically and patiently guarantees the best outcome, keeping your chainsaw in top condition for any task.
Step-by-Step Guide to Taking a Link Out of a Chainsaw Chain

Moving forward from understanding the tools needed for the job, let’s delve into the actual process of taking a link out of a chainsaw chain. This operation might sound daunting, but with our guidance, you’ll manage it with confidence. The process not only aids in achieving the perfect chain tension but also enhances the chainsaw’s cutting efficiency and safety.
- Prepare the Work Area: First, make sure you’re working in a well-lit, clean, and flat area. Lay the chainsaw securely on the bench and ensure your working space is free from distractions. Safety always comes first, so don your safety glasses and gloves before starting.
- Identify the Link to Remove: Examine the chain closely and decide which link you need to remove to achieve the desired chain length. Mark this link with a marker or a piece of chalk for better visibility during the removal process.
- Secure the Chain: Using locking pliers, clamp the chain on the bench, ensuring that the marked link is clearly accessible and stable. This prevents the chain from moving and makes the link removal process more manageable.
- Remove the Rivets: Position the chain rivet tool over the marked link. Carefully align it with the rivet you intend to remove. Press the tool’s handle down firmly to push the rivet out of the link. Repeat for the rivet on the opposite side of the link. In some cases, you might need to use the flat-head screwdriver to assist in removing the rivet heads.
- Detach the Link: Once both rivets are removed, the marked link should come free easily. Gently separate the chain at the removal point and remove the marked link. Keep adjacent links and components in order, as this will facilitate the chain reassembly.
- Reassemble the Chain: With the link removed, it’s time to rejoin the ends of the chain. Make sure the direction of the cutters faces away from the chainsaw body in the direction of rotation. Insert a new connecting link if necessary, aligning its rivets with the holes in the drive links.
- Secure the Connecting Link: Using the chain rivet tool again, attach the new connecting link to the chain by pressing in the rivets. Ensure they are firmly in place to prevent any future dislodging during operation.
Safety Measures to Consider

Having covered the essential tools and steps required to remove a link from a chainsaw chain, it’s crucial to turn our attention to safety measures. Ensuring safety while performing any chainsaw maintenance cannot be overstated. Here’s what you need to keep in mind:
- Wear Protective Gear: Before beginning the process, make sure you’re wearing the right safety gear. This includes safety glasses to protect your eyes from metal filings and gloves to safeguard your hands from sharp edges and potential slippage.
- Secure the Work Area: Keep your work area clean, well-lit, and free of any clutter. A stable, flat surface is ideal for performing chainsaw maintenance. Stability is key to preventing accidents.
- Unplug the Chainsaw: If you’re using an electric chainsaw, ensure it’s unplugged before starting any work on it. For gas-powered models, make sure the engine is turned off and the chainsaw is cool to the touch.
- Handle Tools with Care: The tools used in removing chain links, like the chain break and rivet tool, are sharp and require careful handling. Always direct tools away from yourself and others when in use.
- Follow the Manufacturer’s Instructions: Consulting the chainsaw’s user manual for specific safety warnings and recommendations is always a good practice. Each model might have unique features that necessitate certain precautions.
- Work with Confidence but Caution: While confidence is necessary to perform maintenance tasks, caution should always be at the forefront. If at any point you feel uncertain, it’s advisable to consult with a professional or refer to instructional materials.
By keeping these safety measures in mind, you’re not only protecting yourself but also ensuring a smooth and successful adjustment to your chainsaw chain. Safety fosters efficiency and peace of mind, allowing you to focus on getting the task done right.
Maintaining Your Chainsaw Chain

Maintaining your chainsaw chain is essential for ensuring your tool runs efficiently and safely. After adjusting the chain to the right length, regular maintenance becomes the next crucial step. Let’s dive into some key maintenance practices that will help extend the life of your chainsaw chain and keep it cutting effectively.
First and foremost, proper lubrication cannot be overstated. Chainsaws require constant lubrication to prevent the chain from becoming dry and overheated. Always check the oil level before starting your chainsaw and refill it if necessary. Using the recommended oil type for your chainsaw model ensures the best performance and longevity of the chain.
Sharpening the chain is another vital maintenance task. A dull chain makes cutting more difficult and dangerous, as it requires more force and can lead to uneven cuts or even accidents. Invest in a good-quality chainsaw file that matches the size of your chain’s teeth, and follow the manufacturer’s guidelines for sharpening angles and techniques. Regular sharpening, based on usage, keeps your chain in top condition and your cuts precise.
Inspecting the chainsaw chain for damage after each use is also critical. Look for bent or broken links, and inspect the drive links for wear. Wear gloves to protect your hands during inspection. If you find damaged links, it’s often safer to replace the chain than to try repairing it. Using a damaged chain not only poses a safety risk but can also damage your chainsaw.
Cleaning the chain and the guide bar regularly prevents the build-up of dirt and debris, which can cause the chain to run slow or jam. Disassemble the chain from the chainsaw, if you’re comfortable doing so, and clean it using a brush and an appropriate cleaner. Make sure to clean the guide bar’s groove, where most of the dirt accumulates, ensuring smooth operation of the chain.
Lastly, proper storage plays a non-negligible role in the maintenance of your chainsaw chain. Store your chainsaw in a dry, clean place away from the elements. A well-maintained chainsaw chain not only ensures efficiency and safety but also prolongs the life of your chainsaw, providing peace of mind during maintenance tasks and cutting operations.
Conclusion
We’ve walked through the essentials of adjusting and maintaining your chainsaw chain to ensure it’s always in top-notch condition. Remember, knowing your chain’s specs and ensuring they match your chainsaw’s requirements is key to a smooth adjustment process. Don’t forget the importance of regular maintenance practices like lubrication, sharpening, and cleaning. These steps aren’t just about keeping your chainsaw running efficiently; they’re about your safety and the longevity of your equipment. With the right care and attention, you’ll keep your chainsaw cutting cleanly and safely for years to come. Happy cutting!
Related Posts:


