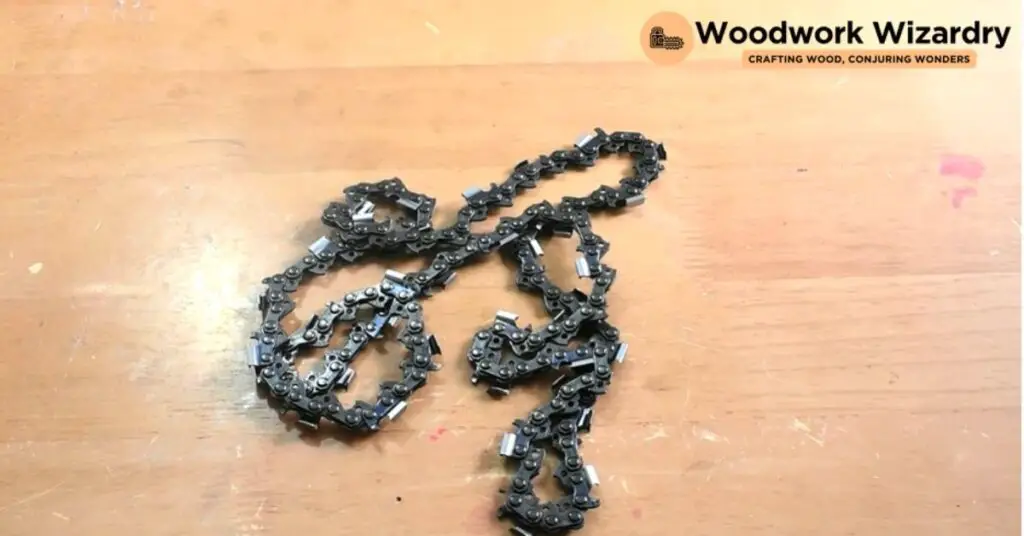
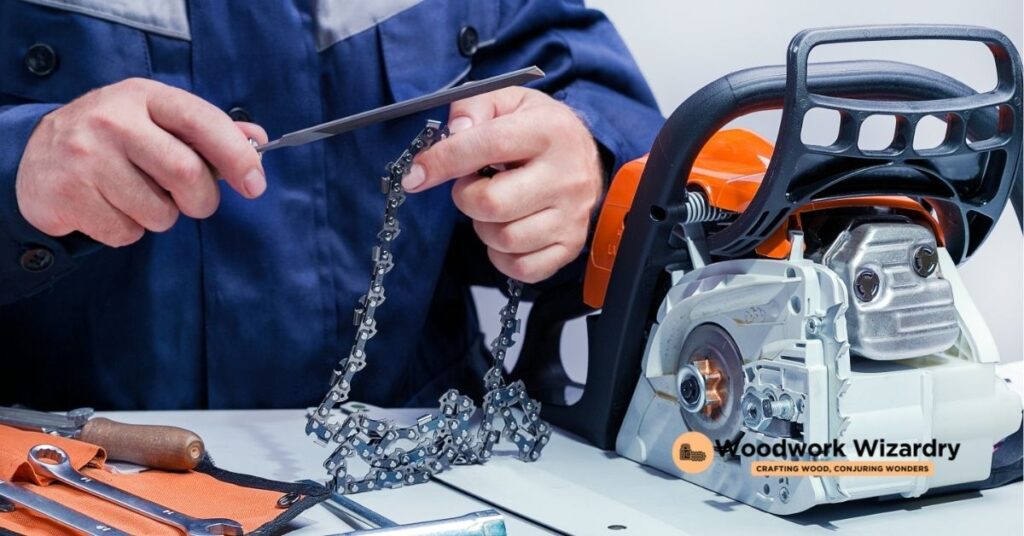
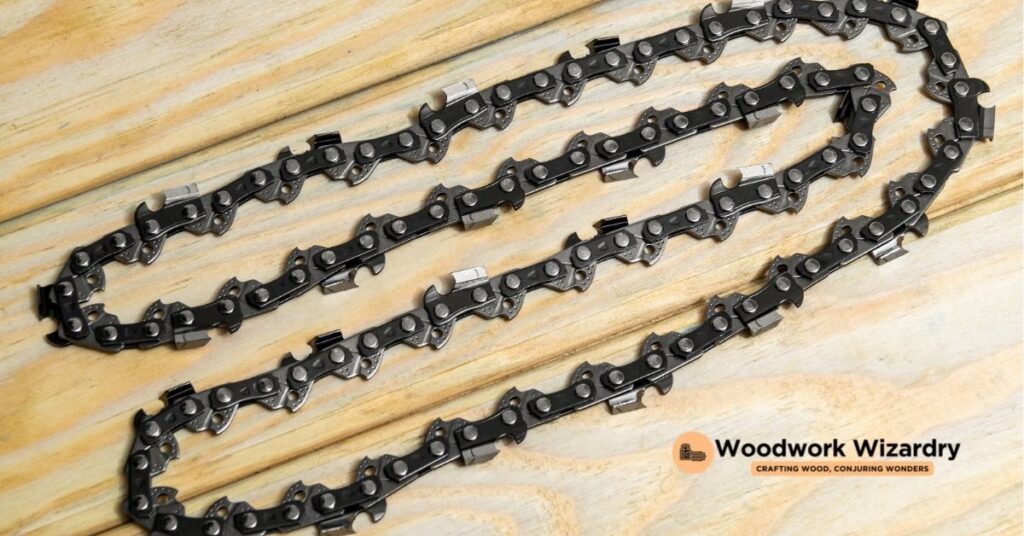
We’ve all been there. You’re ready to tackle some yard work, you reach for your trusty chainsaw, and there it is: a tangled mess of a chain that looks more like a metal knot than a cutting tool. It’s frustrating, isn’t it? But don’t worry, we’re here to help you out. Untangling a chainsaw chain might seem daunting, but with the right approach, it’s a task you can master in no time.
In this guide, we’ll walk you through the steps to get that chain untangled quickly and safely. We’ll share some tips and tricks we’ve learned along the way, making sure you can get back to your project with minimal fuss. Let’s dive into the world of chainsaw maintenance together and turn that tangled mess into a well-oiled machine ready for action.
Preparing to Untangle a Chainsaw Chain
Before diving into the process of untangling, it’s essential to set up a safe and efficient workspace. This preparation ensures the untangling goes smoothly, allowing readers to quickly get back to their tasks.
Gather Necessary Tools
To start, collect all the tools required for untangling a chainsaw chain. These tools include:
- Flat workspace: Choose a stable, flat surface such as a workbench or a sturdy table. The workspace should offer enough room for the entire length of the chain.
- Gloves: Wear thick gloves, preferably made of leather, to protect hands from the sharp edges of the chain.
- Needle-nose pliers: These will help in grabbing and manipulating small or tight links within the chain.
- Screwdriver: A flat-head screwdriver can assist in prying apart tangled sections.
- Lubricant spray: A light application of lubricant can make the untangling process smoother and protect the chain from corrosion.
Collecting these tools beforehand ensures everything needed is within reach, facilitating a more efficient untangling process.
Safety First
Prioritizing safety is crucial when handling a tangled chainsaw chain, given the potential for injury from its sharp edges. Here are safety measures to implement:
- Wear protective gloves: Before starting, ensure the gloves are on to protect hands from cuts.
- Engage the chain brake: If the chain is still attached to the chainsaw, activate the chain brake. This precaution prevents the chain from moving while it’s being handled.
- Work in a well-lit area: Good lighting helps in seeing the tangles clearly, reducing the risk of accidental injury.
- Keep distractions away: Ensure the workspace is free from distractions. Focused attention on detangling the chain minimizes accidents.
- Inspect the chain: Look for any damaged links or teeth before beginning. If the chain is severely damaged, it’s safer to replace it than to attempt untangling.
By following these preliminary steps, readers can create a conducive environment for untangling a chainsaw chain, ensuring both efficiency and safety.
Understanding the Tangle
After setting up a safe workspace and equipping ourselves with the necessary tools and safety gear, our next step involves comprehending the nature of the tangle in the chainsaw chain. This understanding is crucial for untangling the chain efficiently without causing damage.
Identifying the Starting Point
Locating the beginning of the tangle acts as our initial task in this process. Carefully examine the chainsaw chain to find an area where the links are not entwined. This spot, usually less tangled than the rest of the chain, provides an excellent starting point for the untangling process. Begin by gently pulling apart the chains at this area, using the tools if necessary, to initiate the untangling.
Recognizing the Direction of the Tangle
Observing the pattern of the tangle comes next. Chainsaw chains can tangle in complex patterns that might seem daunting at first glance. Pay close attention to the direction in which the chain links are twisted. Understanding whether the tangle moves inward, outward, or doubles back on itself is key to applying the right technique for untangling. Recognizing the tangle’s direction helps in strategically applying force where it’s most effective, ensuring the chain becomes free of knots with minimal effort and risk of damage.
Step-by-Step Guide to Untangling
Understanding the tangle in a chainsaw chain sets the stage for the untangling process. We now move to the practical steps to untangle the chain efficiently and safely.
Loosen the Tangle Gently
Begin by laying the chainsaw chain on a flat, clean surface to ensure clear visibility of the tangle. Identify the loose ends and gently pull them apart. Avoid using force, as this could further tighten the knot or cause damage to the links. Find the main knot or loop causing the tangle and work around it by slightly lifting and separating the intertwined sections. Patience plays a crucial role here, as hasty movements can complicate the tangle.
Applying Lubricant for Ease
If the chain does not easily come apart with gentle manipulation, applying a lubricant offers a smooth way to facilitate the process. Use a spray-on lubricant, ensuring even coverage over the tangle and the rest of the chain. After application, allow the lubricant to soak in for a few minutes to penetrate the links fully. This step not only aids in untangling but also prepares the chain for further maintenance by cleaning and protecting it from rust.
Using Tools for Difficult Knots
In cases where knots are tight and resistant to the above methods, tools can provide the necessary assistance. Opt for narrow tools such as needle-nose pliers or a small flathead screwdriver. Insert the tool gently into the knot to pry open or push apart the tangled links. Exercise caution to avoid damaging the chain’s links or cutting edges. Always maintain a grip on the tool and the chain to control the untangling process, ensuring each movement contributes toward loosening the knot.
Reassembling the Chainsaw Chain
After successfully untangling the chainsaw chain, the next crucial step involves reassembling it onto the saw. This process requires attention to detail to ensure safety and optimal performance during use.
Placing the Chain Back on the Saw
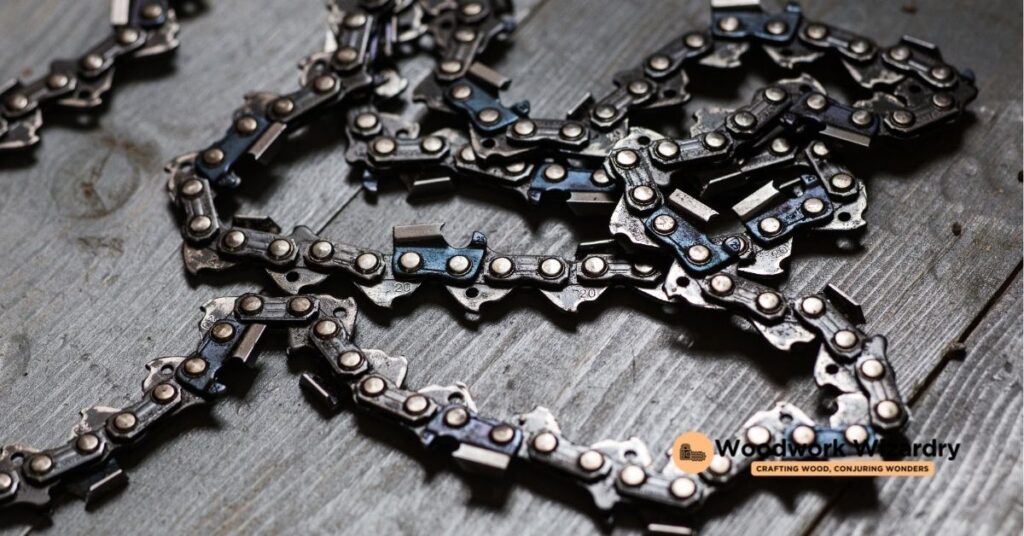
Begin by locating the chain’s drive links, the protruding teeth that fit into the chainsaw’s guide bar. Place the chain around the sprocket, aligning the drive links with the guide bar’s groove. Ensure the cutting edges of the blades are facing forward on the top side of the bar, indicating the correct direction for effective cutting.
Carefully position the chain over the guide bar, fitting each drive link into the bar’s groove. Slide the guide bar towards the chainsaw to create slack, making it easier to fit the chain correctly. Once in place, gently rotate the chain around the bar with your hands to confirm it moves freely without kinks or resistance.
Adjusting the Tension
Adjusting the tension is critical for both safety and performance. A chain that’s too loose can come off the bar during operation, while a chain that’s too tight can damage the saw or break the chain.
Locate the tensioning screw located near the chainsaw’s guide bar. Turn the tensioning screw clockwise to tighten the chain and counterclockwise to loosen it. Aim for a tension that allows the chain to snap back into place when pulled away from the bar but does not sag from the bar’s underside.
Lift the chain off the guide bar and release it to check for proper tension. The chain should snap back into place promptly. If it hangs loose or is difficult to pull, adjust the tension accordingly. Once the tension feels right, ensure the guide bar is secure, and the chain moves smoothly around it.
By carefully placing the chain back on the saw and adjusting the tension properly, individuals can ensure their chainsaw is ready for efficient and safe operation.
Troubleshooting
After detailing the process of safely untangling a chainsaw chain, we might still encounter some challenging scenarios. Let’s address these with effective troubleshooting techniques.
Dealing With Stubborn Knots
Facing stubborn knots demands patience and the right approach. Gently apply lubricant directly to the stubborn knot to reduce friction and make the untangling process smoother. Use needle-nose pliers to carefully pull apart tight links. If a knot resists initial efforts, apply more lubricant and let it sit for a few minutes. This step allows the lubricant to penetrate deeper, facilitating easier manipulation. Persistently work around the knot’s perimeter, easing one link at a time to prevent causing any damage to the chain.
What to Do if the Chain Becomes Damaged
Inspect the chain for signs of damage such as bent links, nicks, or cracks. If the damage is minor and involves only a few links, a chain repair kit might provide a viable solution. To address damaged links, remove them using a chain breaker tool and replace them with corresponding links from the repair kit. Ensure that the replacement links match the size and type of the original chain. When the damage is extensive or compromises the structural integrity of the chain, replacing the entire chain becomes necessary. Operating a chainsaw with a damaged chain poses significant safety risks and can lead to poor cutting performance. Always prioritize safety and efficiency by opting for a replacement when repairs are not sufficient.
Maintenance Tips to Prevent Future Tangles
After addressing how to untangle and manage damaged chainsaw chains, let’s explore how to avoid these issues in the future. Preventive maintenance plays a crucial role in ensuring your chainsaw chain remains untangled and in good condition.
Regular Cleaning and Lubrication
Keeping the chainsaw chain clean and well-lubricated is essential for its smooth operation and to prevent tangles. Dust, debris, and sap can accumulate on the chain, leading to knots and operational inefficiencies.
- Clean the chain after each use by removing debris and dirt with a soft brush or cloth. Specific areas, like the drive links and chain teeth, require careful attention to ensure they are free from buildup.
- Lubricate the chain regularly to reduce friction that can cause tangling. Use a high-quality bar and chain oil, applying it evenly across the chain. If the chainsaw is used frequently, check the oil level before each use and refill as necessary.
Proper Storage Techniques
How you store your chainsaw can significantly impact the likelihood of chain tangles. Proper storage methods prevent unnecessary stress and deformation of the chain.
- Relax the Chain Tension before storing for extended periods. A chain that’s kept too tight can warp or bend, increasing the risk of tangles.
- Hang the Chainsaw vertically when not in use. This position helps maintain the chain’s shape and prevents kinks or loops from forming.
- Store in a Clean, Dry Place to avoid rust and corrosion. Moisture and humidity can damage the chain, making it more susceptible to tangling.
By implementing these maintenance tips, you can significantly reduce the chance of facing a tangled chainsaw chain in the future. Regular cleaning and lubrication, paired with proper storage techniques, ensure your chainsaw remains in top condition, ready for efficient and safe use.
Conclusion
We’ve walked through the steps to untangle a chainsaw chain and shared some key tips to prevent this issue in the future. Remember, patience and the right approach can make a big difference. Regular maintenance isn’t just about avoiding tangles; it’s about ensuring your chainsaw is always ready for action. So keep your workspace tidy, your protective gear on, and your chainsaw chain in top shape. With these practices in place, we’re confident you’ll spend more time cutting and less time untangling. Here’s to smooth, efficient chainsaw operation from here on out!
Related Posts:
- Top Beginner-Friendly Woods: Find Your Perfect Match for Woodworking
- Top 10 Best Woods for Turning: Softwoods to Exotics
- Ultimate Guide: How to Carve a Wood Spirit – Techniques & Care
- Prevent Splitting: How to Keep Green Wood Intact
- Ultimate Guide: How to Oil a Mini Chainsaw for Peak Performance
- Easy Guide: How to Untangle a Chainsaw Chain Safely & Quickly
- Is Woodworking Hard? Debunking Myths & Mastering the Craft
- What Is a Mandrel? Exploring Its Types and Industrial Applications
- Why Is Teak Wood So Expensive? Unveiling the Reasons

