Have you ever looked at a beautifully carved piece of wood and thought, “I wish I could do that”? Wood carving isn’t just an art form—it’s a deeply satisfying hobby that lets you create something truly unique with your own hands. Whether you’re drawn to intricate designs or simple, rustic projects, this create offers endless possibilities to express your creativity.
Getting started with wood carving might seem intimidating, but it doesn’t have to be. With the right tools, a little patience, and some basic techniques, you’ll be well on your way to transforming raw wood into stunning works of art. Imagine the pride you’ll feel as you shape your first piece and see your vision come to life. Ready to pick up that chisel and start carving your own path? Let’s jump into the essentials and help you take the first step in this rewarding journey.
What Is Wood Carving?
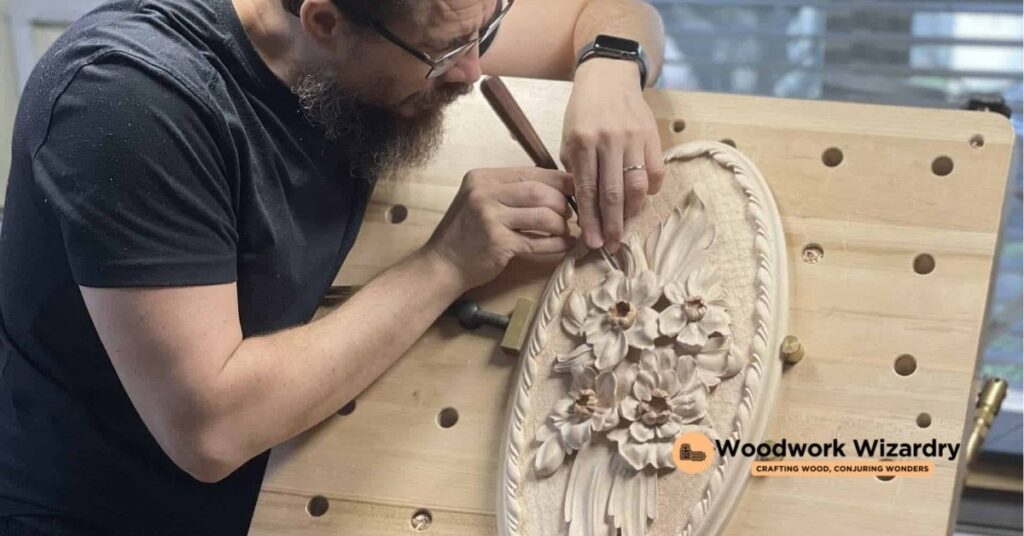
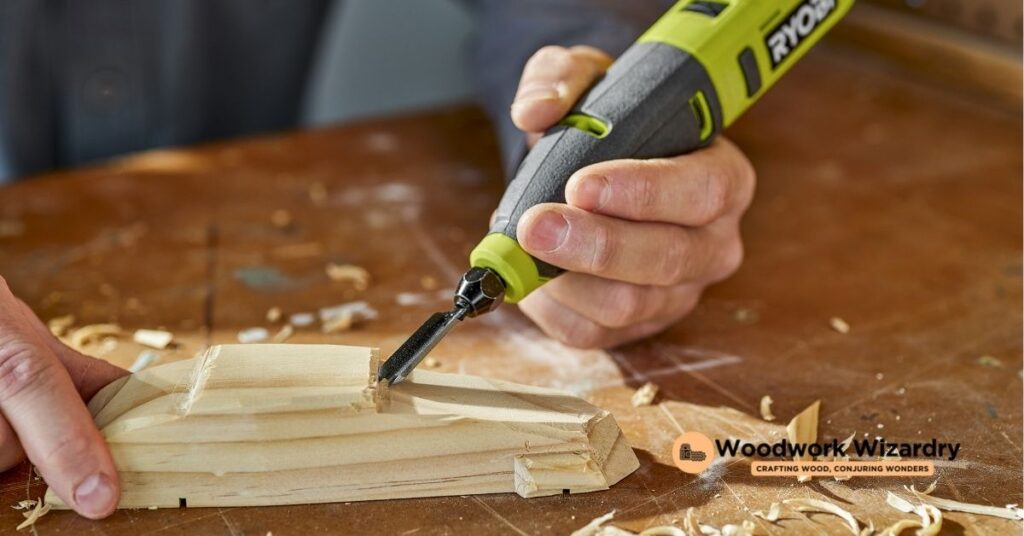
Wood carving is the process of shaping wood into decorative or functional objects using various tools. It offers a way to transform a simple piece of wood into an intricate design. By utilizing techniques such as whittling, chip carving, and relief carving, you can achieve different styles and complexities.
Carving involves materials like basswood, walnut, or cherry, chosen for their ease of use and unique grain patterns. Techniques vary depending on the tools you use, including knives, gouges, and chisels. Each tool helps create detailed lines, textures, or smooth shapes based on your desired outcome.
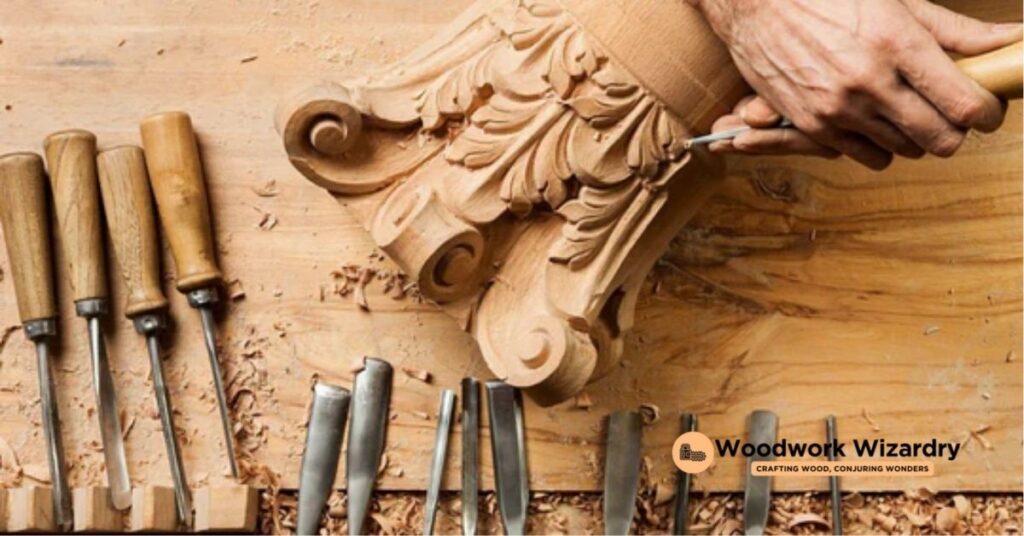
Traditionally, artisans have used carving for sculptures, furniture, and even architectural details. Today, it’s both a creative pursuit and a relaxing hobby for beginners and experienced individuals alike.
Tools And Materials Needed For Wood Carving
Getting started with wood carving requires the right tools, suitable wood, and essential safety equipment. Each plays a vital role in creating a safe and enjoyable carving experience.
Essential Tools For Beginners
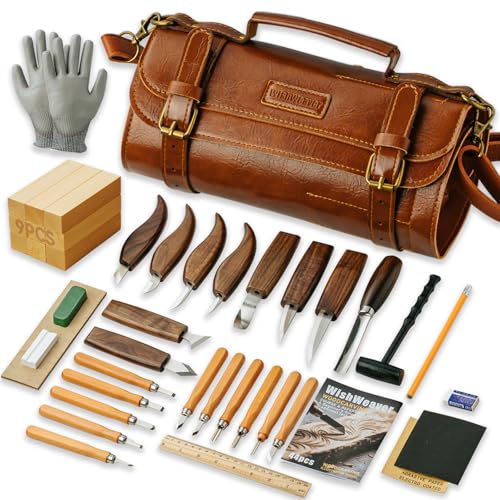
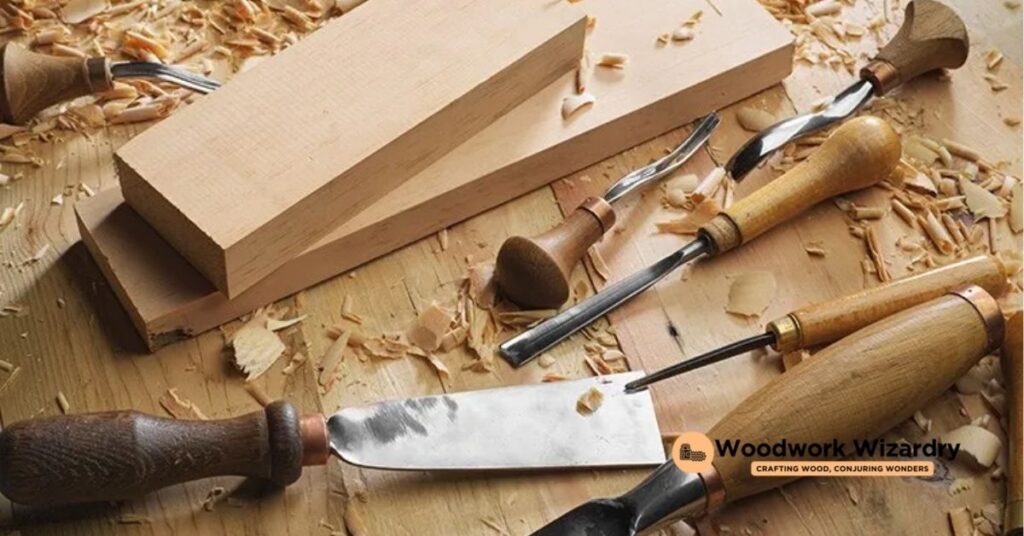
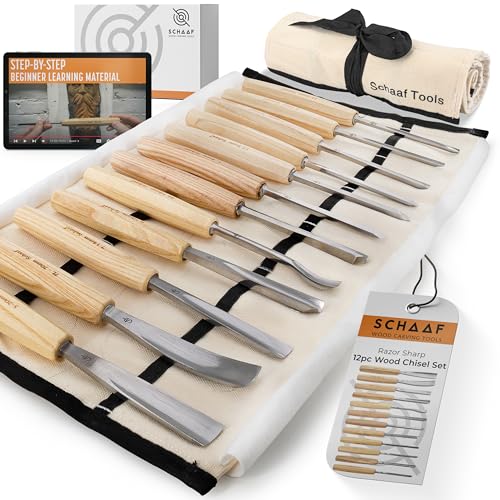
Begin with a carving knife, as it’s versatile for making clean and precise cuts. Add gouges to your kit for scooping out wood and creating curves. Chisels are also important for removing larger sections and detailing flat surfaces. For sharpening your tools, a honing stone keeps edges sharp and effective. A mallet helps when driving chisels for controlled cuts. Finally, small detail knives are ideal for fine lines and intricate textures.
Best Types Of Wood For Carving
Choose basswood for its soft texture and minimal grain, making it perfect for beginners. Walnut works well if you’re seeking durability and decorative grain patterns. Opt for cherry for its medium hardness and smooth finish, ideal for experienced carvers. Pine is another beginner-friendly option due to its soft fibers. Each wood type provides a unique carving experience, matching different skill levels and projects.
Safety Equipment And Tips
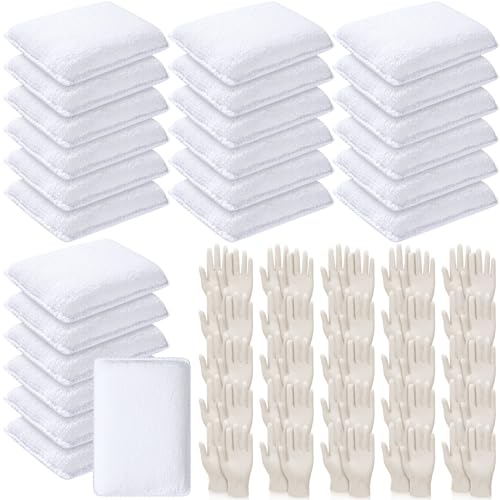
Wear cut-resistant gloves to protect your hands from slips. Use a carving glove on the hand holding the piece for added safety. Safety glasses prevent dust and chips from harming your eyes. Secure your wood using clamps or vices to avoid sudden movements during carving. Always carve away from your body and keep tools sharp to ensure better control. Never rush your work to maintain precision and safety.
Step-By-Step Guide On How To Start Wood Carving
Starting wood carving becomes easier when you follow a structured approach. Focus on setting up your workspace, mastering foundational techniques, and experimenting with beginner-friendly projects.
Preparing Your Workspace
Organize a clean, well-lit, and ventilated area to work in. A sturdy table provides stability for carving. Include clamps to secure wood and prevent movement during work. Arrange tools like carving knives, chisels, and gouges within reach for efficiency. Safety equipment, such as cut-resistant gloves and safety glasses, should be readily available. Use a protective mat or board to shield surfaces from accidental tool damage.
Learning Basic Techniques
Understand the proper ways to hold and use carving tools. Practice controlling cuts by carving away from your body. Explore basic strokes like push cuts, pull cuts, and stop cuts. A sharp tool improves precision and reduces errors, so regularly sharpen with a honing stone. Study techniques such as whittling for small details, chip carving for geometric patterns, and relief carving for creating depth. Begin with softwoods like basswood, as they’re easier to manipulate.
Practicing Simple Projects
Choose beginner projects such as carving small animals, geometric shapes, or utensils. Focus on simple designs to build confidence and skill. Plan your project by sketching the design on wood before you carve it. Work on achieving clean cuts and smooth surfaces with each attempt. Repeat projects to refine your precision and experiment with different woods like pine and walnut.
Tips For Improving Your Wood Carving Skills
Developing your wood carving abilities takes persistence, curiosity, and creativity. Focusing on consistent learning and exploration enhances both technique and confidence.
Joining A Wood Carving Community
Engage with wood carving communities to connect with like-minded individuals. Many groups, such as local clubs or online forums, offer a supportive environment for sharing tips, showcasing projects, and resolving challenges. Participate in discussions to learn from experienced carvers who often provide valuable advice for beginners. Networking within these communities also introduces you to new tools and techniques.
Taking Classes Or Watching Tutorials
Take advantage of structured learning resources to refine your skills. In-person classes often provide hands-on experience led by skilled instructors, helping you build precision and proper technique. Watch video tutorials online for flexible learning opportunities; platforms like YouTube and specialized websites host content for all skill levels. Analyze different teaching styles to find one that matches your learning pace.
Experimenting With Different Styles
Practice diverse carving techniques to discover your artistic preferences. Try methods like whittling for simple shapes, chip carving for detailed patterns, or relief carving for three-dimensional designs. Working with various woods, such as pine, walnut, or cherry, reveals how grain and texture affect designs. By stepping outside your comfort zone, you’ll gradually build versatility in your carving approach.
Common Mistakes To Avoid In Wood Carving
Choosing the wrong wood type complicates carving and impacts results. Beginners often select hardwoods like oak or mahogany, which are harder to cut and shape. Start with softwoods such as basswood or pine for ease of carving and control.
Using dull tools reduces precision and increases effort. Dulling happens quickly with regular use, so sharpen your tools frequently. Invest in a quality honing stone or strop to maintain the sharpness necessary for cleaner cuts.
Ignoring safety precautions leads to unnecessary injuries. Many carvers skip wearing cut-resistant gloves or overlooking secure clamps, which increases the risk of accidents. Always prioritize safety gear to create a safer carving environment.
Applying excessive force causes wood to split or tools to slip. Let the sharpness of your tools do the work instead of forcing them through the wood. Controlled, gentle strokes produce better results and prevent mistakes.
Skipping proper tool care shortens their lifespan and affects carving quality. Neglected tools may rust or lose edge durability, so clean and store them properly. Oiling your tools keeps them in good condition for future use.
Rushing through designs results in poor craftsmanship and frustration. Without clearly planning your design, mistakes can occur mid-project. Sketch detailed outlines and think through the carving process before beginning.
Neglecting to understand grain direction makes carving harder. Working against the wood grain creates rough, splintered surfaces. Observe the wood’s grain pattern and carve along it to achieve smoother finishes.
Conclusion
Wood carving offers you a chance to connect with your creativity while working with your hands. As you explore this create, you’ll discover the joy of transforming raw wood into meaningful pieces that reflect your personal style.
With the right tools, materials, and techniques, you can build skills and confidence over time. Embrace the learning process, stay patient, and let each project inspire you to keep carving. Your journey in wood carving is as rewarding as the art you create.

