When we’re diving into a new project, especially one that involves plywood, choosing the right adhesive can make all the difference. It’s not just about sticking two pieces together; it’s about creating a bond that lasts, withstands the elements, and holds up under pressure. With so many options on the market, it can feel overwhelming to pick the perfect glue for your plywood projects.
That’s where we come in. We’ve sifted through the vast array of adhesives to bring you a rundown of the best options out there. Whether you’re crafting a piece of furniture, working on home repairs, or embarking on a creative DIY project, we’ve got you covered. Let’s dive into the world of adhesives together and find the perfect match for your plywood needs.
1. PVA Glue: A Go-To Adhesive for Plywood Projects
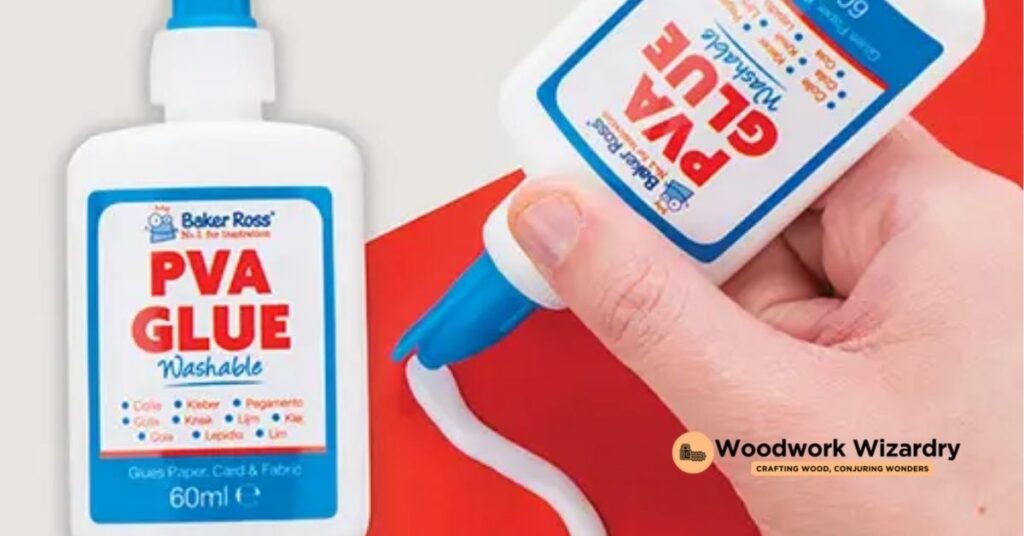
PVA Glue, or Polyvinyl Acetate, has long been a favorite among woodworking enthusiasts and professionals alike for its reliability and ease of use. It’s perfect for a range of plywood projects, from crafting furniture to general home repairs.
Benefits of using PVA Glue on Plywood
- Strong Bond: Once it dries, PVA glue creates a very strong bond that’s exactly what you need for plywood constructions. It’s why cabinets, desks, and shelving units hold together so well.
- Easy to Work With: It’s water-based, so you can apply it smoothly and clean up any excess with just water before it dries. Plus, it’s non-toxic, making it safe for use in homes and classrooms.
- Versatile: PVA glue works well on a wide range of porous materials besides plywood, such as paper, cloth, and other woods, giving you flexibility in your projects.
- Affordable: It’s one of the most cost-effective adhesives out there, letting you take on big projects without a big price tag.
- Prep Your Surfaces: Make sure the plywood surfaces are clean, dry, and free from dust. A smooth surface ensures a stronger bond.
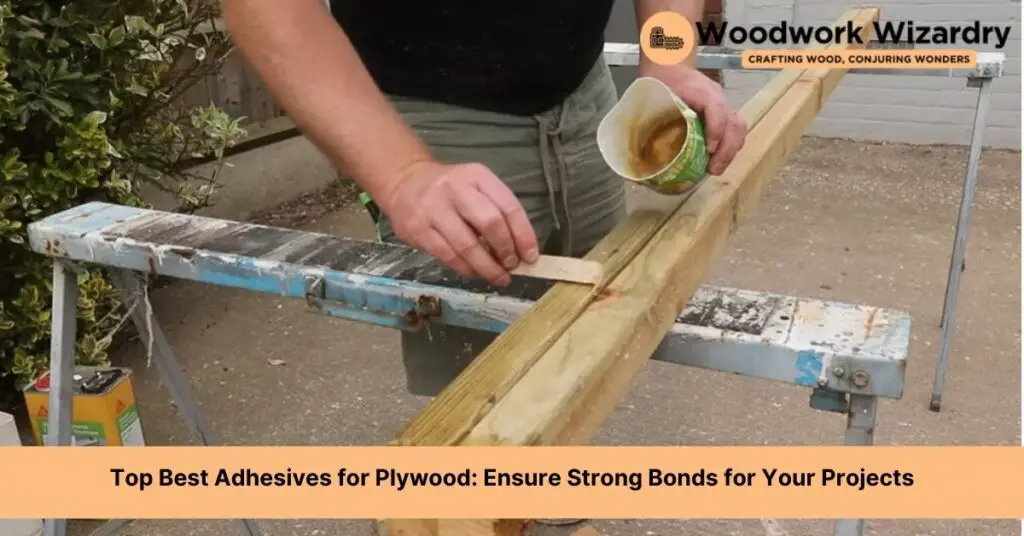
- Apply Evenly: Use a glue spreader or a brush to apply an even coat of PVA glue on the surface. Too much glue can cause it to squeeze out when pressed together and take longer to dry, while too little won’t hold well.
- Clamp It Down: After joining the pieces, clamp them together to ensure a tight bond. Leave the clamps on for at least 30 minutes to an hour, though the glue fully cures in 24 hours.
- Wipe Away Excess: If any glue oozes out, wipe it away with a damp cloth before it dries to avoid any messy cleanup later.
By following these steps, you’ll ensure your plywood project stays together, standing the test of time. PVA glue’s user-friendly nature makes it an excellent choice for both beginners and seasoned crafters, reinforcing its status as a go-to adhesive for plywood projects.
2. Epoxy Resin: Strong and Durable Bonding for Plywood
After exploring the wonders of PVA Glue for plywood projects, we’re diving into the realm of epoxy resin, known for its robust and lasting bonds. It’s a go-to for tasks demanding high strength and resistance.
Why Epoxy Resin Stands Out for Plywood Adhesion
Epoxy resin is a powerhouse when it comes to adhesion, particularly for plywood applications. Its standout feature is the ability to form a bond that’s not only incredibly strong but also resistant to moisture, chemicals, and heat. Unlike PVA Glue, epoxy sets through a chemical reaction between its two components, resulting in a rigid, plastic-like finish. This quality makes it ideal for environments subjected to harsh conditions or for projects where durability is paramount. Another bonus is its versatility. Epoxy can fill gaps, making it perfect for imperfect surfaces or for bonding different materials together. Whether it’s for outdoor furniture, boats, or high-impact areas, epoxy resin ensures your plywood projects withstand the test of time and elements.
Tips for Mixing and Applying Epoxy Resin
Getting the best out of epoxy resin hinges on proper mixing and application. Here’s how we do it right:
- Measure Precisely: Epoxy resin comes in two parts: the resin and the hardener. It’s crucial to measure these components accurately, according to the manufacturer’s instructions. An off-ratio mix can result in a bond that’s weak, remains tacky, or doesn’t set properly.
- Mix Thoroughly: Once measured, mix the resin and hardener intensely for at least 3 to 5 minutes. Make sure to scrape the sides and bottom of the mixing container to ensure an even mixture. Any unmixed portions can affect the strength of the final bond.
- Apply Carefully: Use a brush or a spatula to apply the epoxy to the plywood. Spread it evenly to cover the entire surface that will be bonded. If you’re looking for a gap-filling bond, don’t hold back on applying a bit extra to ensure all gaps are filled.
- Clamp Securely: After joining the plywood pieces, use clamps to hold them in place. This doesn’t just keep the pieces together but also ensures a tight bond without any gaps. Unlike PVA, epoxy doesn’t require a lot of pressure; just enough to keep the pieces securely together until the resin cures.
- Cure Patiently: Epoxy resin takes longer to cure than many other adhesives, often up to 24 hours for a solid bond, and achieving maximum strength can take even longer. It’s essential to allow the project to sit undisturbed during this time for the best results.
3. Polyurethane Glue: Waterproof Solutions for Plywood
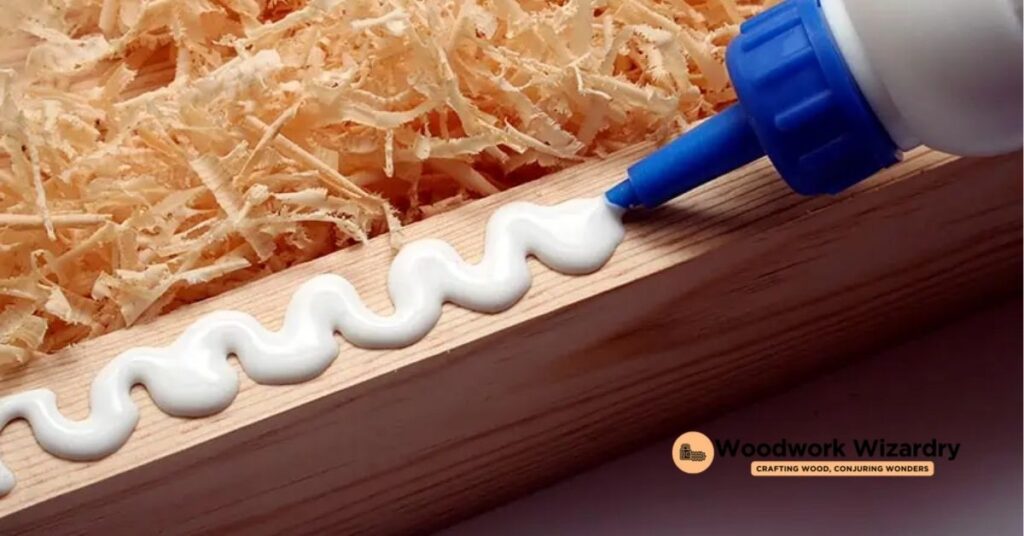
Following the discussions on the effectiveness of PVA Glue and Epoxy Resin, let’s delve into another excellent choice for plywood projects—Polyurethane Glue. This adhesive is renowned for its waterproof capabilities, making it a standout solution for outdoor and moisture-prone applications.
Advantages of Polyurethane Glue in Plywood Application
Polyurethane glue offers several benefits that make it an ideal choice for bonding plywood. Firstly, it’s incredibly waterproof, ensuring that projects exposed to moisture maintain their integrity over time. Secondly, this glue expands as it cures, filling in any voids or gaps within the plywood, which results in a stronger bond. It also has a fast setting time, significantly speeding up the project timeline. Another notable advantage is its versatility; it adheres well not only to wood but also to a variety of other materials, making it perfect for complex projects that involve multiple types of surfaces. Lastly, polyurethane glue is highly durable and resistant to temperature changes, chemicals, and solvents, ensuring the longevity of the bond.
Application Techniques for a Secure Bond
Applying polyurethane glue for a secure bond requires attention to detail. First, ensure both surfaces are clean and dry before application. Given its expansive properties, apply a thin layer to one surface, as this adhesive expands up to three times its original volume. Clamping the pieces together tightly is crucial for creating a strong bond. Polyurethane glue cures best in the presence of moisture, so lightly dampening one of the surfaces before application can improve adhesion. It’s also important to wear gloves, as this glue can be difficult to remove from skin once cured. Finally, give it adequate time to set—usually about 24 hours for full strength to be achieved. By following these techniques, you’ll ensure a durable and watertight seal on your plywood projects.
4. Contact Cement: Immediate Adhesion for Plywood Layers
Continuing our journey through the best adhesives for plywood, let’s turn our attention to Contact Cement. This adhesive stands out for its ability to bond instantly, making it an ideal choice for projects requiring immediate adhesion.
The Unique Properties of Contact Cement
Contact Cement is truly one-of-a-kind when it comes to bonding plywood layers. Unlike other adhesives, it doesn’t need to be clamped for a long time to ensure a secure bond. Instead, its magic lies in creating a durable, flexible bond that’s resistant to water, making it perfect for both indoor and outdoor projects. Its rubber-based formula allows for some repositioning before the bond becomes permanent, offering a bit of leniency during the application process. This immediate grab ability significantly reduces waiting time, streamlining project timelines.
Best Practices for Applying Contact Cement on Plywood
When using Contact Cement, we’ve found that success lies in the preparation and application process. Firstly, ensure that the surfaces are clean and dry. This helps achieve the strongest possible bond. Application is unique with Contact Cement; you’ll need to apply it to both surfaces you’re bonding, unlike other adhesives where application on one surface suffices. The next step is crucial and involves waiting for the adhesive to become tacky before joining the pieces together. Once it’s tacky, align the pieces carefully and press them together. Given its immediate bonding nature, there’s little room for error after the surfaces touch. Finally, applying pressure across the surface ensures a bond without air pockets or weak spots. We recommend using a J-roller for this final step to evenly distribute pressure and ensure a smooth, robust bond.
By following these best practices, you’re sure to achieve quick and durable adhesion for your plywood projects, making Contact Cement a reliable ally in your woodworking arsenal.
5. Cyanoacrylate (CA) Glue: For Fine and Quick Plywood Fixes
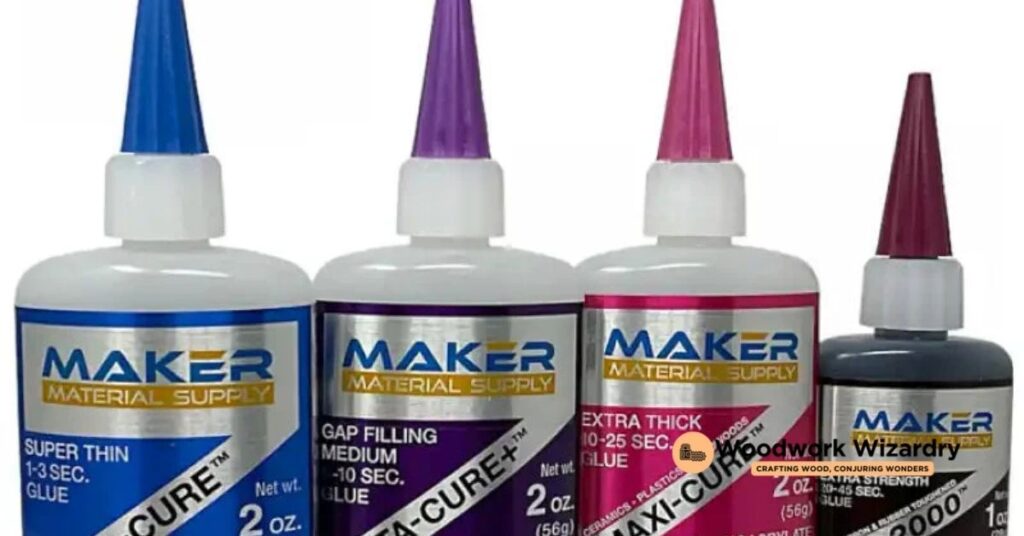
Moving on from Contact Cement, let’s dive into the benefits of Cyanoacrylate, or CA Glue, known for its rapid bonding capabilities. This adhesive is a go-to for quick and precise plywood fixes.
When to Use CA Glue on Plywood
CA Glue shines when you’re working on small-scale projects or in need of speedy repairs. It’s perfect for tasks requiring swift joining without the wait. Think of it as your best friend for crafting detailed models, fixing edges, or joining small pieces where clamps can’t reach. CA Glue’s fast curing time makes it ideal for projects on a tight schedule, allowing you to move forward without lengthy dry times. It’s also great for filling small gaps in plywood, ensuring a neat finish even in the most intricate applications.
Applying CA Glue for Precision Bonding
When using CA Glue, the application process is as critical as the project itself. First, ensure both surfaces are clean and dry. A light sanding can help create a more receptive surface for the adhesive. Apply a small amount of CA Glue to one surface; a little goes a long way with this potent adhesive. Press the pieces together firmly. Within seconds, you’ll notice the bond starting to take hold. For added strength, consider applying an activator to the glue. This step accelerates curing, solidifying the bond almost instantaneously. It’s essential to work quickly and accurately, as CA Glue sets rapidly, leaving little room for adjustment. Using CA Glue for precision bonding in your plywood projects guarantees quick fixes and durable bonds, perfectly aligning with the need for efficiency and reliability in woodworking.
How to Choose the Right Adhesive for Your Plywood Project
Choosing the right adhesive for your plywood project can feel overwhelming with so many options available. Let’s break down the process to make it easier for you.
Assessing the Project Needs
Before diving into the vast sea of adhesives, it’s crucial to thoroughly assess the needs of your project. Here are a few questions to help guide your decision:
- Indoor or Outdoor Use? If your project will be exposed to the elements, you’ll need an adhesive that’s waterproof or water-resistant, like Polyurethane Glue.
- Stress and Load? Consider the amount of weight or stress the bond will need to withstand. For high-stress areas, Epoxy Resin offers exceptional strength.
- Open Time? This refers to how much time you have to work with the adhesive before it begins to set. Projects requiring more time for alignment might benefit from PVA Glue due to its longer open time.
- Curing Time? If you’re on a tight schedule, adhesives like Cyanoacrylate (CA) Glue, which cures rapidly, could be your best bet.
- Appearance? Some adhesives dry clear for less visible bonds, while others might require painting or staining to match your project’s finish.
Matching the Adhesive to the Plywood Type
Not all plywood is created equal, and the type of plywood you’re working with can influence the choice of adhesive:
- Softwood Plywood: Typically used for indoor applications, works well with most PVA Glue or Polyurethane Glue for a reliable bond.
- Hardwood Plywood: Often used for furniture and cabinets, may require a stronger adhesive, like Epoxy Resin, to handle the added weight and stress.
- Marine Plywood: Designed for outdoor or high-moisture applications, pairs best with a waterproof adhesive such as Polyurethane Glue to ensure durability.
- Particle Board Plywood: Contains more gaps and may benefit from adhesives like Epoxy Resin that can fill and bond effectively.
By taking into account the specific requirements of your plywood project and the unique qualities of each adhesive type mentioned previously, you can select the optimal adhesive that’ll bring durability and excellence to your work.
Tips for Applying Adhesives to Plywood Successfully
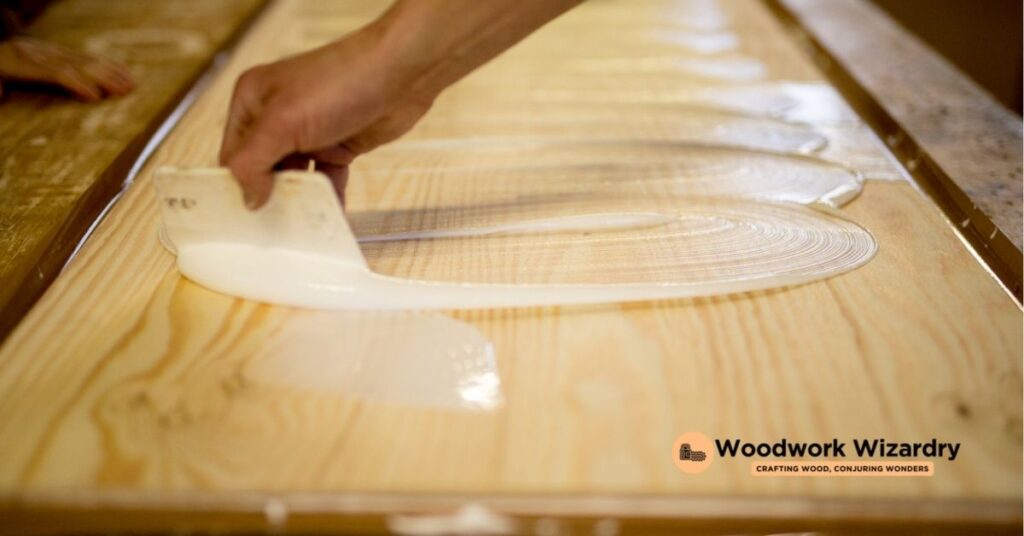
After choosing the right adhesive for your plywood project, ensuring a successful application is key. We’ll share some indispensable tips to make your bonding experience both effective and efficient.
Preparing the Plywood Surfaces
- Clean the Surface Before applying any adhesive, it’s crucial to ensure the plywood surfaces are clean. Remove any dust, grease, or oils that could interfere with adhesion. A quick wipe with a damp cloth followed by a dry one usually does the trick.
- Sand for Better Adhesion Smoothing out the surfaces with sandpaper can significantly improve adhesive grip. We recommend using medium to fine-grit sandpaper to lightly sand the surfaces, then clean off any residue.
- Dry Fit Before Gluing To avoid any surprises, always place the plywood pieces together as they will be after gluing. This step ensures everything aligns correctly and helps you identify any issues before it’s too late to adjust.
- Apply the Right Amount of Adhesive Too little adhesive won’t hold the pieces together well, but too much can create a mess and weaken the bond. Follow the manufacturer’s instructions on the amount to use, typically a thin, even layer.
- Use a Spreader A notched spreader or even an old credit card can help apply adhesive evenly across the surface. This ensures every inch is covered without overdoing it.
- Clamp It Up For most adhesives, applying pressure with clamps during the curing time is essential. Ensure the clamps are tightened enough to hold the pieces securely but not so tight that they cause the wood to warp.
- Mind the Curing Time Adhering to the recommended curing time is essential for a strong bond. Resist the temptation to move or stress the joint before the adhesive has fully set.
Following these tips will help you apply adhesive to plywood like a pro, achieving strong, durable bonds that last. Whether you’re working on a small craft or a large construction project, the right preparation and application techniques can make all the difference.
Conclusion: Securing Your Projects with the Best Adhesives for Plywood
Choosing the right adhesive for your plywood project is crucial for ensuring a strong, durable bond that stands the test of time. Whether you’re working on an outdoor project and need the waterproof strength of Polyurethane Glue or tackling a small repair that requires the quick-setting capabilities of CA Glue, there’s an adhesive tailored to meet your needs. By considering the specifics of your project, such as the type of plywood and the conditions it will face, you can select the perfect adhesive to secure your work. Remember, applying your adhesive correctly is just as important as choosing the right one. Follow our tips for surface preparation, application, and curing to achieve professional results. With the right approach, your plywood projects will not only look great but also last for years to come.
Related Posts:
- Ultimate Guide: Best Plywood for Shelves & Maintenance Tips
- Top Best Adhesives for Plywood: Ensure Strong Bonds for Your Projects
- Top Plywood Picks for Durable Workbenches: A Buyer’s Guide
- Top Plywood Picks for Durable & Stylish Doors: A Guide
- Top Choice: Finding the Best Plywood for Durable, Eye-Catching Signs
- Top Plywood Tools for Woodworking: A Comprehensive Guide
- Top Plywood Ideas: Transforming Interiors from Floors to Ceilings
- Understanding Exterior Plywood: Grades, Types, and Maintenance Tips

