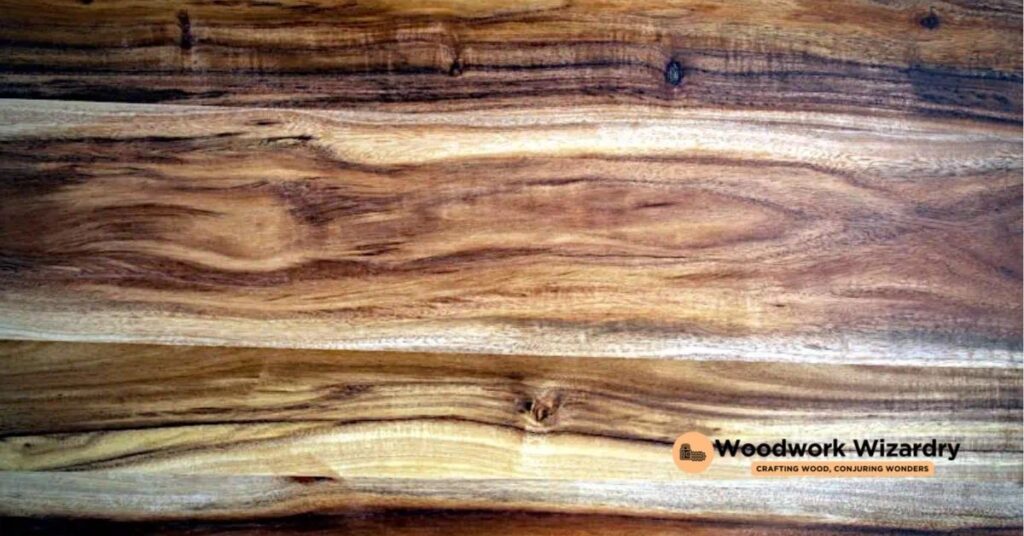
We’ve all been there, staring at a piece of acacia wood and wondering how to bring out its natural beauty. Whether it’s a new project or reviving an old piece, staining acacia wood can transform it into a stunning masterpiece. But where do we start? The process might seem daunting, but we’re here to guide you through it, making it as smooth and enjoyable as possible.
Staining acacia requires a bit of know-how and the right approach to enhance its unique grain and rich colors. We’ll walk you through the essentials, from selecting the perfect stain to the final touches that will make your woodwork stand out. So, roll up your sleeves and let’s dive into the world of wood staining, where creativity meets craftsmanship.
Choosing the Right Stain for Acacia Wood
Selecting the correct stain for acacia wood contributes significantly to highlighting its natural beauty and achieving the desired finish. We dive into the differences between oil-based and water-based stains and suggest colors that compliment acacia wood’s rich tones.
Oil-Based vs. Water-Based Stains
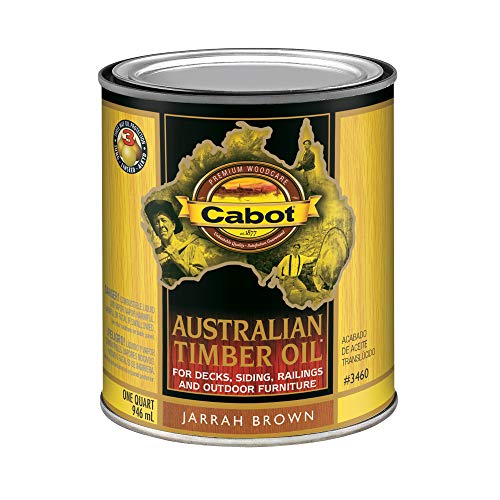
Oil-based stains penetrate deeply into acacia wood, enhancing its grain and providing a durable finish. They take longer to dry, offering more working time, and result in a richer color. If time permits and a more vibrant effect is sought, oil-based stains make a great choice.
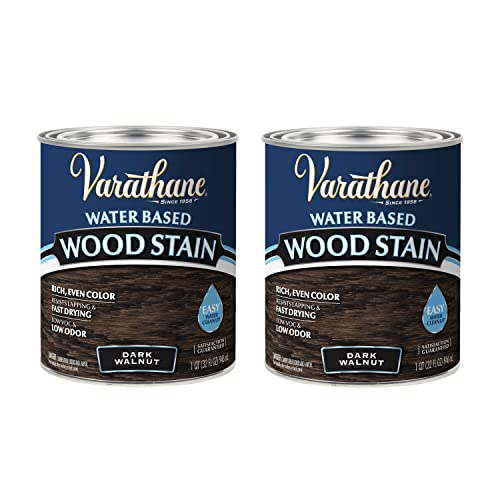
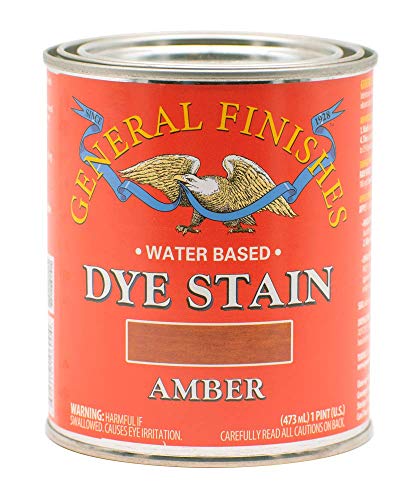
Water-based stains dry faster and are easier to clean up, requiring only soap and water. They emit fewer odors and volatile organic compounds (VOCs), making them an eco-friendlier option. Opt for water-based stains if a quick project turnaround is necessary and minimal environmental impact is preferred.
Recommended Stain Colors for Acacia Wood
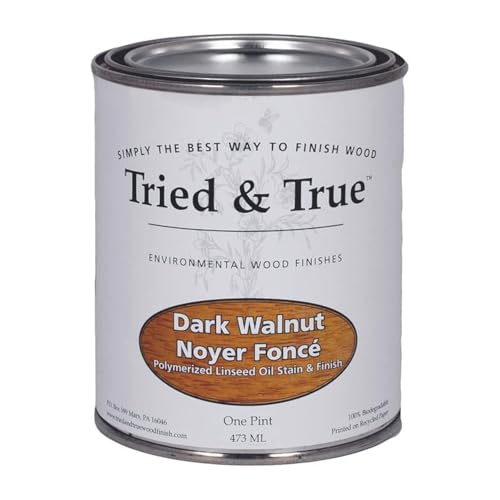
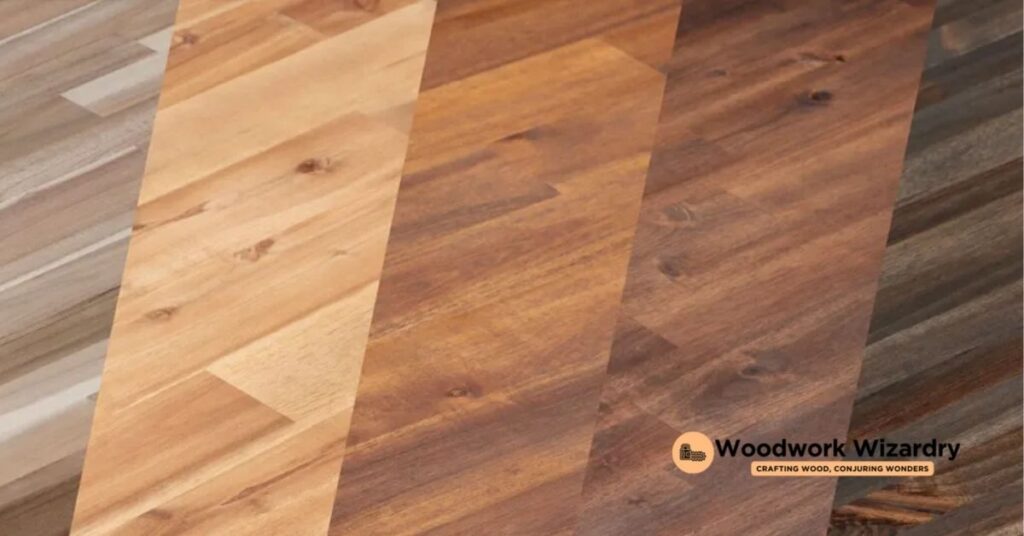
Choosing the right stain color can accentuate acacia wood’s natural beauty. For a warm, traditional appearance, dark walnut or mahogany stain colors complement the wood’s inherent richness. These colors enrich acacia’s natural patterns without overpowering them.
For a more contemporary look, light oak or natural cedar offer a subtler enhancement, keeping the wood’s color light and airy. These colors are ideal if the goal is to maintain the wood’s natural hue while still providing protection and a slight enhancement of the grain.
Both color categories ensure the woodwork stands out, further showcasing acacia wood’s versatility and unique appeal. Select based on the final look desired and the specific project needs, keeping in mind the type of stain that will best achieve that result.
Preparing Acacia Wood for Staining
Transitioning from selecting the perfect stain, preparing acacia wood for staining is crucial for achieving a smooth, uniform finish. Proper preparation ensures the stain penetrates evenly, highlighting acacia wood’s natural beauty.
Cleaning the Wood
Begin by removing any debris, dust, or grease from the acacia wood surface. Utilize a soft cloth or brush to gently wipe away particles. For tougher stains or residue, apply a mild soap solution with a damp cloth and rinse with clean water. Allow the wood to dry completely before moving to the next step. Cleaning the wood prevents dirt from getting trapped under the stain, which can lead to an uneven finish.
Sanding the Surface
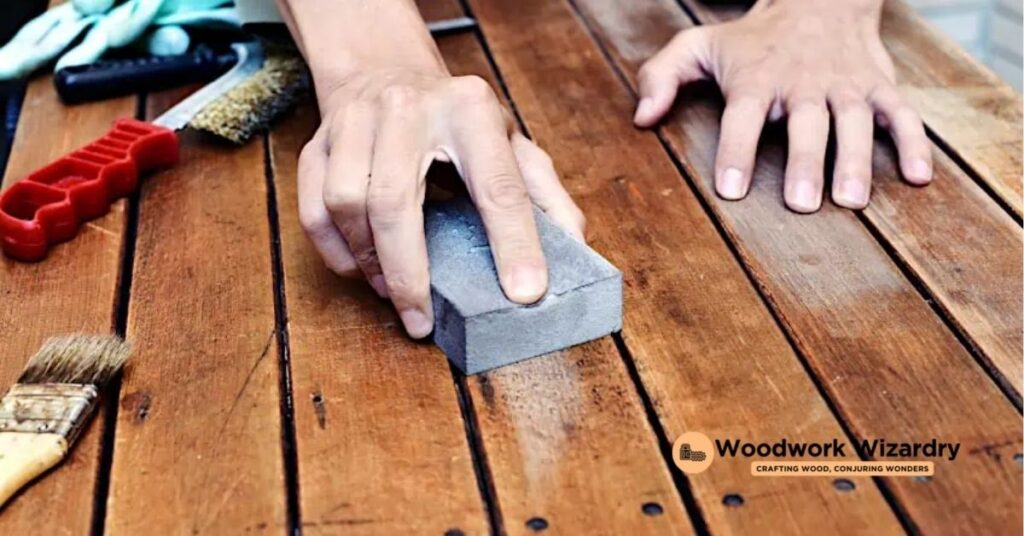
Sand the acacia wood surface with fine-grit sandpaper, starting with a 120-grit and progressing to a 220-grit for the best results. Sand in the direction of the wood grain to avoid scratching the surface. After sanding, remove all the dust using a vacuum with a brush attachment followed by a tack cloth to pick up any lingering particles. Sanding smooths out imperfections, preparing the wood to absorb the stain uniformly.
Applying Pre-Stain Wood Conditioner
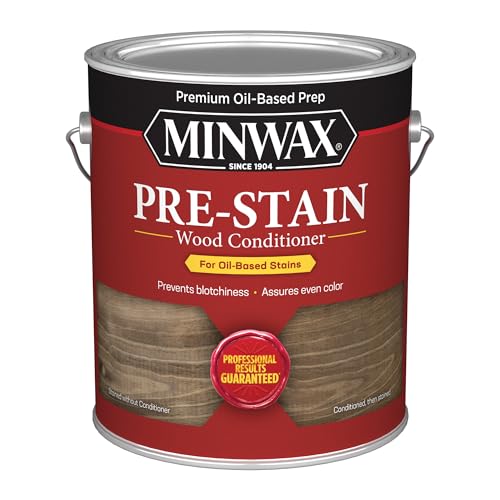
Apply a pre-stain wood conditioner to the acacia wood, especially if choosing a water-based stain. Use a clean cloth or brush to apply the conditioner evenly, covering all surfaces. Let the conditioner penetrate the wood for about 5 to 15 minutes, then wipe away any excess with a clean cloth. The pre-stain conditioner helps in achieving an even stain application by conditioning the wood to accept the stain uniformly.
Tools and Materials Needed
Now that we’ve covered the importance of selecting the appropriate stain and detailed the preparatory steps for staining acacia wood, it’s time to gather the necessary tools and materials. Having everything on hand before starting ensures a smooth and efficient staining process.
List of Tools
- Sandpaper: Begin with a coarser grit, such as 120, and finish with a finer grit, such as 220, to ensure a smooth surface.
- Clean Cloth: Use lint-free cloths for wiping the wood after sanding and for applying the stain.
- Brushes: Opt for natural bristle brushes for oil-based stains and synthetic brushes for water-based stains.
- Orbital Sander: While not mandatory, an orbital sander speeds up the sanding process, especially for larger surfaces.
- Gloves: Protect hands with nitrile or latex gloves to prevent skin irritation from chemicals.
- Respirator Mask: Ensure adequate ventilation and use a respirator mask to avoid inhaling dust and fumes.
- Acacia Wood Stain: Choose either an oil-based or water-based stain depending on the desired finish and color.
- Pre-Stain Wood Conditioner: Apply this to the wood to promote even stain absorption.
- Tack Cloth: After sanding, use tack cloth to remove all dust from the acacia wood surface.
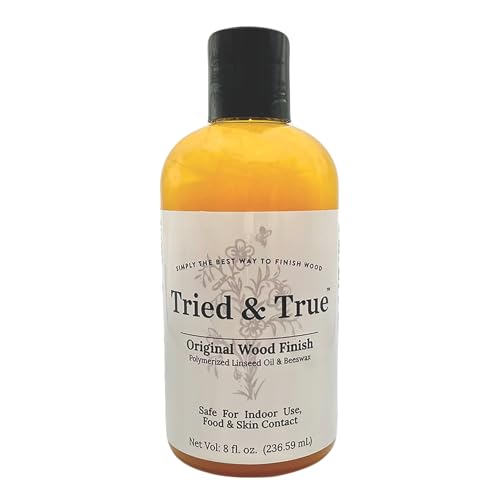
- Wood Finish: After staining, protect the wood with a clear finish like polyurethane or varnish to enhance durability.
- Paint Thinner or Mineral Spirits: These are necessary for clean-up if using oil-based stain and brushes.
How to Stain Acacia Wood Step by Step
After selecting the right stain and preparing the acacia wood, it’s time to move on to the application process. Here, we’ll guide you through each step to ensure your acacia wood gets a beautiful, even finish.
Applying the Stain
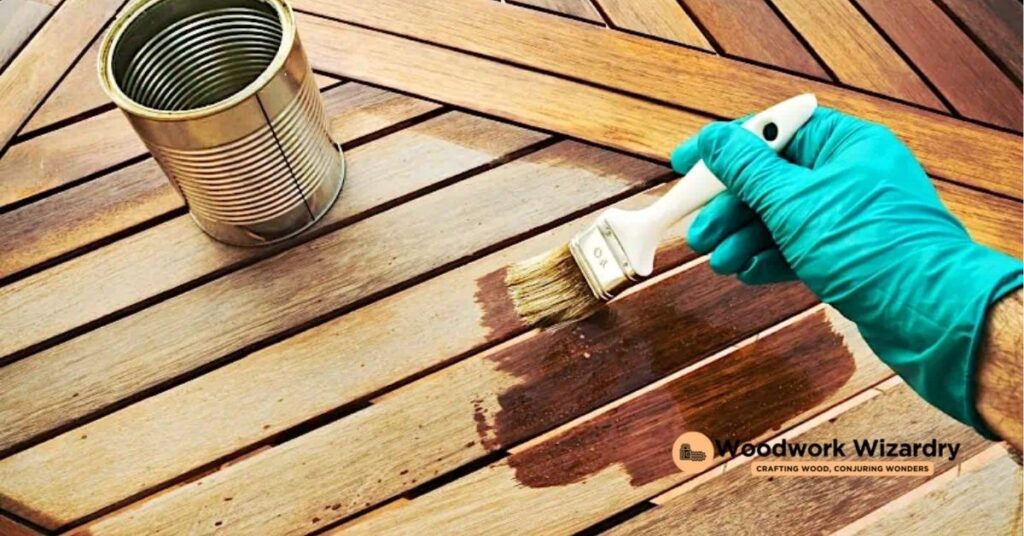
Begin by stirring the acacia wood stain thoroughly but gently to avoid creating bubbles. Dip a clean brush or a lint-free cloth into the stain, soaking up a moderate amount. Start applying the stain along the grain of the wood, covering small sections at a time to maintain control over the finish. Apply the stain generously, ensuring to get into all the nooks and crannies of the acacia wood. If applying with a cloth, use circular motions to work the stain into the wood, followed by straight strokes to even it out.
Wiping Off Excess Stain
Wait for about 5 to 10 minutes before wiping off the excess stain, adjusting the waiting time based on the depth of color you desire. The longer the stain sits, the deeper the color will be. Use a clean, dry cloth to gently wipe the wood, moving along the grain. This step is crucial for preventing a tacky finish and ensuring the wood surface is uniformly colored. Check the piece from various angles to make sure no excess stain remains.
Drying and Curing Time
Allow the stained acacia wood to dry for at least 24 hours in a well-ventilated area. Keep the wood away from direct sunlight and dust during this time. After the initial dry time, assess the wood’s surface. The stain should feel completely dry to the touch. However, full curing might take up to three days, depending on the specific product used and the environmental conditions. Avoid using or placing anything on the wood surface until it has fully cured to prevent marks or damage.
Following these steps helps achieve a beautiful, lasting finish on acacia wood, enhancing its natural beauty and protecting it for years to come.
Applying a Finish for Enhanced Durability
After staining acacia wood to highlight its natural beauty, applying a finish is essential for enhanced durability. This step protects the wood and ensures the stain maintains its appeal over time.
Choosing the Right Finish
Selecting the appropriate finish for acacia wood involves considering the intended use of the piece and the desired aesthetic. Polyurethane offers a tough, protective layer ideal for furniture that faces regular use. Tung oil, derived from the seed of the tung tree, enriches the wood’s grain and color with a more natural look. For outdoor items, spar varnish ensures excellent protection against sun and moisture, essential characteristics for patio furniture. Each finish type has specific benefits, like added durability with polyurethane, the natural beauty enhancement with tung oil, and outdoor resilience with spar varnish.
- Prepare the Surface: Ensure the stained acacia wood is clean, dry, and free from dust. If necessary, perform a light sanding with fine-grit sandpaper to smooth any irregularities.
- Mix the Finish: Stir the chosen finish thoroughly but gently to avoid creating bubbles. For finishes that require it, follow the manufacturer’s instructions for proper mixing or dilution.
- Apply the First Coat: Using a high-quality brush or a clean cloth, apply the finish in the direction of the wood grain. Spread evenly, avoiding excess buildup.
- Let It Dry: Allow the first coat to dry completely. Refer to the finish’s instructions for drying times, as they can vary.
- Light Sanding: Once dry, lightly sand the surface with fine-grit sandpaper to ensure a smooth base for the next coat. Wipe away all sanding dust.
- Apply Subsequent Coats: Repeat the application and drying process for at least two more coats, sanding lightly between each. The number of coats depends on the finish type and the desired durability and appearance.
- Final Drying: After applying the final coat, wait for the finish to fully cure. This process can take several days, depending on environmental conditions and the specific product used.
Following these steps guarantees a durable and protective layer over the stained acacia wood, enhancing its longevity and preserving its beautiful finish.
Maintenance Tips for Stained Acacia Wood
Maintaining the beauty and durability of stained acacia wood requires consistent care. Let’s explore the best practices for keeping your acacia wood in top condition.
Regular Cleaning
To keep stained acacia wood looking its best, regular cleaning is essential. Utilize a soft cloth or a brush with soft bristles to remove dust and debris. For more thorough cleaning, mix mild soap with water and apply with a non-abrasive sponge. Rinse the solution with a damp cloth, then dry the surface immediately with a clean, dry cloth to prevent water spots. Avoid using harsh chemicals or abrasive cleaners, as they can damage the wood’s finish.
Avoiding Excessive Moisture
Stained acacia wood thrives in moderate conditions. Protect surfaces from excessive moisture to prevent warping, swelling, or other water-related damage. Use coasters under drinks, wipe spills promptly, and ensure that acacia wood furniture or decor is not placed in overly humid environments. If acacia wood becomes wet, dry it promptly with a soft, lint-free cloth.
Sunlight Protection
Direct sunlight can fade and deteriorate the finish of stained acacia wood over time. Position acacia wood furniture away from direct sunlight or use curtains, blinds, or UV-protective window films to minimize sun exposure. For outdoor acacia furniture, consider using protective covers or moving items to shaded areas during peak sunlight hours to maintain the wood’s vibrancy and integrity.
Troubleshooting Common Issues
In our journey to perfect the staining of acacia wood, sometimes we encounter a few bumps along the way. It’s important to know how to address these issues effectively. Here, we detail solutions for the most common problems encountered during the staining process.
Stain Not Adhering Properly
Ensuring stain adherence is crucial for a lasting finish. If stain does not adhere well, check the wood’s surface for any remaining finish or residues. Sand the area with fine-grit sandpaper, aiming for a smooth, clean surface. Additionally, confirm that the stain is suitable for acacia wood. Using the right type of stain enhances adhesion.
Uneven Stain Color
Achieving an even stain color requires consistent preparation and application. If encountering unevenness, sand the area lightly to remove excess stain, focusing on achieving uniformity in the surface texture. Applying a wood conditioner before staining can help, especially in preventing uneven absorption. Test the stain on a hidden section first to ensure even application.
Blotches and Splotches
Blotches and splotches often occur due to uneven absorption of the stain. To correct this, lightly sand the affected area and reapply a thin coat of stain. Using a pre-stain wood conditioner helps minimize these issues by promoting uniform absorption. Always apply stain with even strokes and maintain a wet edge to avoid overlapping marks.
Conclusion
We’ve walked through every step of staining acacia wood to bring out its natural elegance and protect its surface. Remember, the key lies in choosing the right stain, preparing the wood carefully, and finishing it with a product that suits your project’s needs. Whether you opt for polyurethane, tung oil, or spar varnish, applying it with patience and attention to detail will ensure a durable and beautiful result. Don’t forget the importance of maintenance to keep your acacia wood looking its best. Regular cleaning and protection from harsh elements will preserve its finish for years to come. If you encounter any hiccups along the way, our tips for tackling common issues should help you achieve a flawless finish. So here’s to your next project—we can’t wait to see the beauty you’ll create with acacia wood!
Related Posts:


