Transforming your space with tongue and groove flooring doesn’t just add charm—it’s a game-changer for durability and style. Whether you’re upgrading a single room or an entire home, this timeless flooring option offers a seamless, polished look that’s hard to beat. The best part? You don’t need to be a professional to install it yourself.
Imagine the satisfaction of walking on a beautiful floor you installed with your own hands. With the right tools and a step-by-step approach, you can tackle this project confidently and save on installation costs. Ready to take your home improvement skills to the next level? Let’s jump into how you can bring your flooring vision to life.
What Is Tongue And Groove Flooring?
Tongue and groove flooring features interlocking edges that secure planks together. One side of each plank has a protruding tongue, while the opposite side has a matching groove. These components fit snugly, forming a seamless and stable surface.
This flooring type is commonly crafted from hardwood, softwood, or engineered wood. Each material offers unique benefits, allowing you to choose based on style and durability needs. Examples include oak for strength or pine for a rustic look.
The design ensures minimal gaps between boards, preventing dirt or moisture from collecting easily. This makes it ideal for high-traffic areas or homes requiring low-maintenance flooring.
Many homeowners prefer tongue and groove flooring because of its versatility. It’s suitable for various installations, including floating floors, or secured by nails or glue. The compatibility simplifies both professional and DIY projects.
Tools And Materials Needed
Installing tongue and groove flooring efficiently requires exact tools and high-quality materials. Proper preparation ensures a smooth installation process and durable results.
Essential Tools
Gathering tools beforehand helps streamline the project. Key tools include:
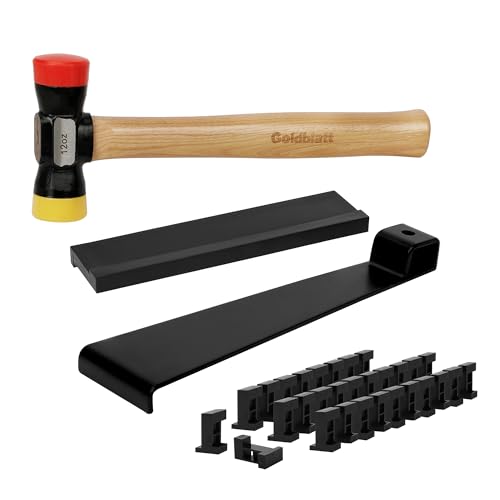
- Tape measure to precisely measure flooring dimensions and ensure accurate cuts.
- Circular saw or miter saw for cutting planks to the desired length.
- Rubber mallet to gently tap planks into place without causing damage.
- Flooring nailer or stapler for securing planks, especially with nailed installation methods.
- Pull bar to fit planks snugly in tight spaces near walls or corners.
- Spacers to keep consistent gaps between planks and walls for expansion.
- Clamps to hold boards steady during installation.
Recommended Materials
Ensure the right materials are on hand for durability and design. Use:
- Tongue and groove flooring planks made from hardwood, softwood, or engineered wood based on your preferences.
- Underlayment for cushioning and soundproofing between subfloor and flooring.
- Adhesive or glue for stability if not using nails or staples.
- Wood screws or nails when securing planks directly to the subfloor.
- Trim or molding to cover expansion gaps and create a polished finish.
- Wood filler for minor gaps or imperfections post-installation.
Prioritize quality tools and materials to achieve a professional-looking floor that withstands daily use.
Preparing The Subfloor
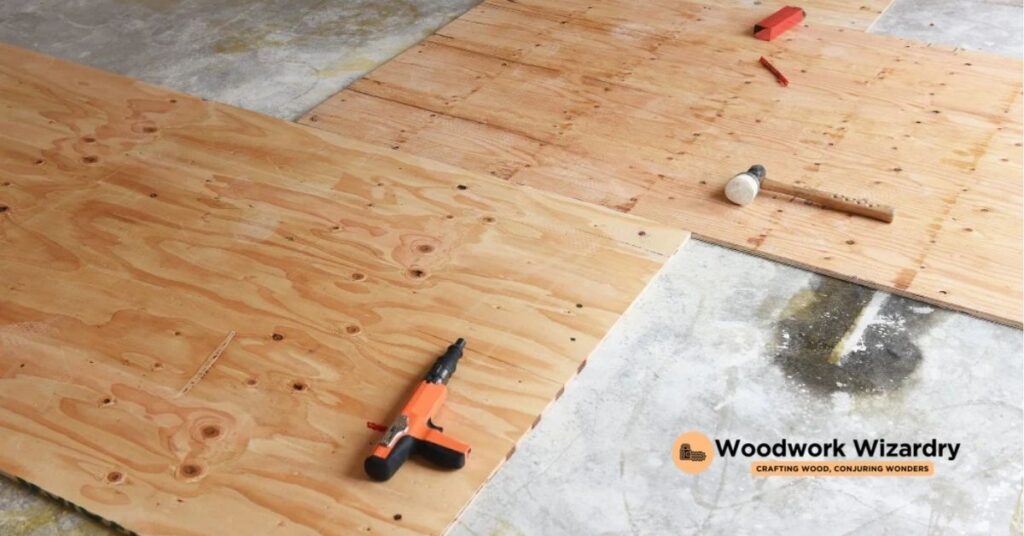
Proper subfloor preparation ensures your tongue and groove flooring installation is smooth, durable, and visually appealing. Addressing foundational issues before laying planks helps maintain the flooring’s longevity.
Cleaning And Leveling
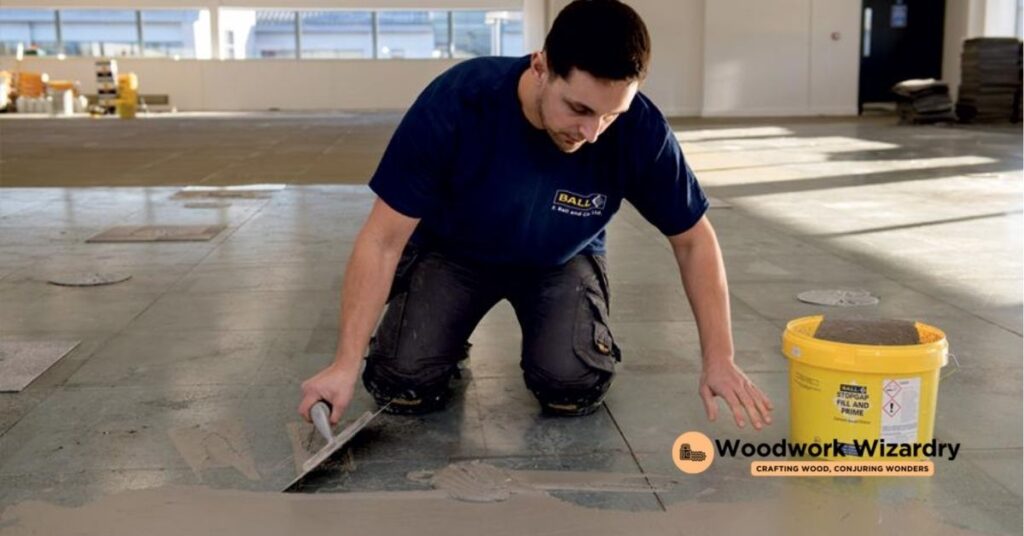
Remove all debris, dust, and dirt from the subfloor to create a clean work surface. Use a vacuum or broom followed by a damp mop if necessary, allowing the subfloor to dry completely. Inspect for uneven areas or damage, such as cracks or holes, that might compromise the flooring.
Level the surface by sanding high spots or using a leveling compound for low areas. Check for stability if the subfloor squeaks or shifts under pressure. Secure loose boards with wood screws or nails to eliminate movement. Prioritize evenness since it prevents gaps and ensures a seamless installation.
Acclimating The Flooring
Store your tongue and groove flooring planks in the installation room for 48 to 72 hours. Lay them flat to avoid warping as they adapt to the room’s temperature and humidity levels. Verify the room’s climate conditions meet the manufacturer’s specifications before acclimation begins.
Monitor the subfloor’s moisture content with a moisture meter to prevent future expansion or contraction of the planks. Address high moisture readings by improving ventilation or using a dehumidifier. Proper acclimation stabilizes the materials, minimizing post-installation issues and improving the floor’s performance.
Step-By-Step Guide On How To Install Tongue And Groove Flooring
Installing tongue and groove flooring involves precision, preparation, and the right approach. Follow these steps for a seamless installation process:
Laying The First Row
Position the first plank along the longest wall in the room. Make sure the groove side is facing the wall to simplify aligning the next rows. Use spacers between the plank and the wall to leave a 1/4-inch expansion gap, ensuring room for floor movement with humidity changes. Check the straightness of this row carefully, as it sets the foundation for the rest. Secure the first row by nailing or gluing it to the subfloor, depending on your installation method.
Installing Subsequent Rows
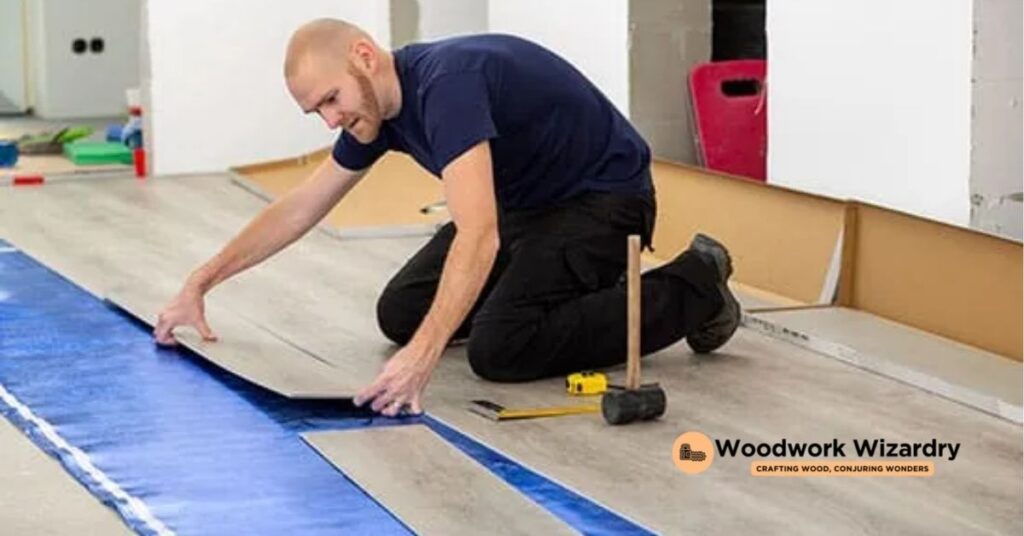
Align the tongue of each new plank into the groove of the previous row. Tap the planks gently with a rubber mallet to ensure a snug fit without damaging edges. Stagger the planks by cutting the starting piece of every row to create an offset, which strengthens the floor structure. Check regularly for alignment to avoid noticeable shifts across rows.
Cutting And Fitting Around Obstacles
Measure carefully before making any cuts, especially for sections around corners, door frames, and vents. Use a circular saw or jigsaw for precise trimming to fit planks around fixed obstacles. Template guides made of cardboard can help in marking tricky shapes. Test-fit the planks to ensure they sit perfectly before securing them in place.
Finalizing The Installation
Remove all spacers once the main flooring area is installed. Install baseboards or quarter-round molding to cover the expansion gaps and add a polished finish. Inspect the floor for visible gaps or uneven sections, addressing any issues immediately. Clean the surface to eliminate debris, highlighting your newly installed flooring’s smooth appearance.
Tips For A Perfect Finish
Begin by sanding any uneven edges to create a flush surface. This simplifies the process of aligning the planks and gives a cleaner outcome. Cleaning the flooring after installation ensures no debris is trapped between the boards.
Use a rubber mallet to gently tap planks into place without damaging the wood. This step helps achieve a snug fit and minimizes visible gaps. Protect the boards by placing padding on tools that come into direct contact with the wood.
Apply a flooring sealant suited for your material to enhance durability. It guards against moisture and wear, maintaining the floor’s appearance for years. Check the manufacturer’s recommendations before selecting a sealant.
Inspect the installed floor for gaps or misaligned planks before completing the work. Correcting any issues early prevents long-term problems with stability or wear. Installing baseboards or trim covers the expansion gaps while adding a polished look.
Regularly monitor indoor humidity levels to protect your new flooring. Maintaining consistent environmental conditions prevents warping and boosts longevity. Use a dehumidifier or humidifier as necessary to maintain balance.
Common Mistakes To Avoid
Skipping subfloor preparation often leads to uneven or unstable flooring. Always clean, level, and address any underlying issues before installation begins. Failing to do so can compromise the floor’s appearance and longevity.
Neglecting to acclimate the planks results in improper fitting over time. Ensure the flooring adjusts to the room’s temperature and humidity by storing it in the installation area for 48 to 72 hours first. This step prevents unnecessary expansion or contraction of the material.
Incorrectly spacing the boards can cause buckling or gapping. Maintain a consistent expansion gap by using spacers along walls to allow for natural movement. Without these, your flooring’s performance and durability may suffer.
Using low-quality tools or materials often produces subpar results. Invest in proper tools like a rubber mallet, flooring nailer, and circular saw, as well as durable flooring materials, ensuring a professional finish. Cutting corners in this area can lead to costly repairs later.
Not staggering plank seams weakens the floor’s structural integrity. Offset the end joints of adjacent rows to distribute weight evenly and create a cohesive look. Overlapping seams near each other detracts from both strength and appearance.
Ignoring moisture levels in the subfloor can lead to warping or damage. Use a moisture meter to confirm acceptable levels before installation. High moisture content in the subfloor undermines the flooring’s stability over time.
Forgetting to test-fit planks around obstacles risks uneven cuts and misalignment. Measure each section carefully and dry-fit pieces before securing them in place to avoid errors and material waste.
Conclusion
Installing tongue and groove flooring is a rewarding project that combines functionality with style. By taking the time to prepare properly, using quality tools, and following a methodical approach, you can achieve a professional-looking floor that enhances your space.
With attention to detail and a focus on avoiding common mistakes, your new flooring will not only look stunning but also stand the test of time. Whether you’re upgrading a single room or transforming your entire home, this DIY project is well worth the effort.


