We’ve all been there, in the middle of a project, hands covered in sawdust, when we reach for the wood glue. But then, we pause. How long do we need to wait for it to dry? Understanding the drying time for wood glue is crucial for any woodworking project, whether you’re a seasoned carpenter or a weekend warrior. It’s the difference between a project that holds strong and one that falls apart.
Let’s dive into the world of wood glue together. We’ll explore not just the drying times but also the factors that affect how quickly or slowly it sets. From the type of wood glue to the humidity in your workspace, we’ll cover the essentials you need to know to plan your projects more effectively. Join us as we stick to the facts, ensuring your next project goes off without a hitch.
Understanding Wood Glue Drying Time
Following our discussion on the significance of drying times in woodworking projects, we’re diving deeper into what factors into the drying time of wood glue. Recognizing these variances can radically transform our project planning and execution for the better.
Firstly, the type of wood glue we choose plays a crucial role. For instance, PVA (Polyvinyl Acetate), common in many woodworking projects, typically sets within 15 to 30 minutes but requires 18 to 24 hours to cure completely. In contrast, epoxy-based glues might need anywhere from several minutes to an hour to set, with a complete cure time of up to 72 hours.
Humidity and temperature significantly impact drying times as well. Lower temperatures and higher humidity levels can extend the drying process, while warmer, drier conditions can speed it up. For optimal results, working in an environment with a temperature around 70°F (21°C) and a humidity level between 40% and 60% is advisable.
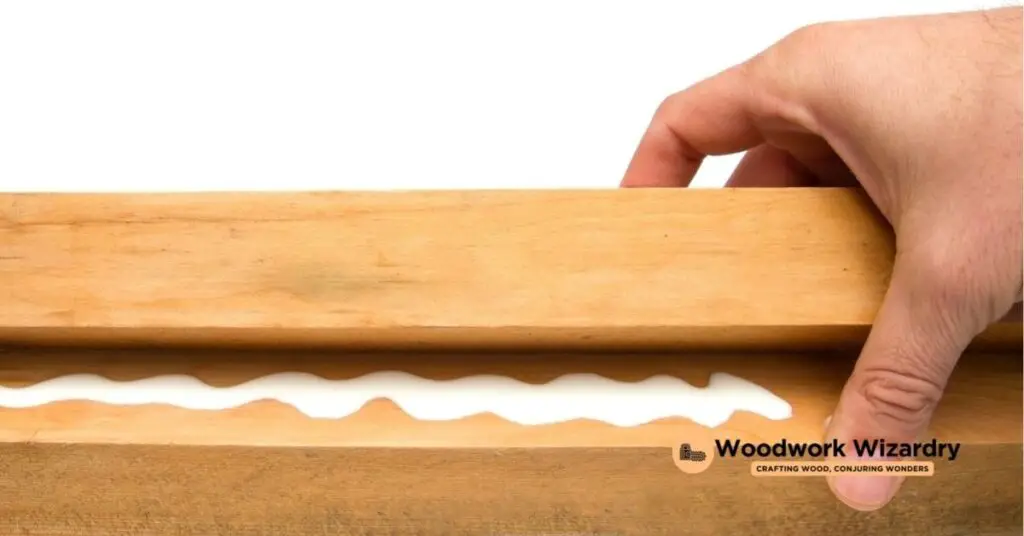
The thickness of the glue applied also matters. Thinner applications will dry more swiftly than thicker ones. Hence, applying just enough glue to form a strong bond without overdoing it is essential.
Lastly, the type of wood impacts the drying time. Woods that are denser or have a lower porosity might slow down the absorption and, consequently, the drying process. Softwoods, being more porous, generally allow the glue to dry faster.
Understanding the drying time of wood glue involves considering the glue type, environmental conditions, application thickness, and wood type. This knowledge enables us to anticipate drying times accurately, allowing us to plan our projects more effectively and avoid potential pitfalls related to premature handling or stress on the joints.
Preparing for Wood Glue Application
Before applying wood glue to your projects, ensuring everything is ready for a smooth and successful bonding process is essential. Proper preparation can significantly affect the glue’s drying time and the overall strength of the bond. Here’s what we need to do to prepare for wood glue application:
Clean the Wood Surfaces
First, clean any dust, oil, or grease from the wood surfaces. Impurities can interfere with the adhesive’s ability to bond properly, potentially leading to weaker joints.
Measure and Cut Accurately
Ensure all pieces fit together well before gluing. Poorly fitted joints may require excess glue, which can extend drying times unnecessarily.
Choose the Right Type of Wood Glue
Recall the previous discussion on various glue types? Now’s the time to pick the most suitable one based on our project’s requirements. For most woodworking tasks, PVA glue is a good choice due to its strength and ease of use. However, for projects exposed to moisture or needing a stronger bond, epoxy or polyurethane glue might be more appropriate.
Consider the Environment
Adjust for humidity and temperature. High humidity and low temperatures can prolong glue drying time. If possible, work in a controlled environment or choose a glue formula that is less sensitive to these conditions.
Test the Glue
If we’re unsure about how the glue will behave with our wood type or under specific environmental conditions, conducting a small test can save time and prevent issues later on. Apply a small amount of glue to scrap pieces of wood and allow it to dry completely to check the adhesion quality and drying time.
Prepare Clamps and Tools
Have all necessary clamps and tools at hand before beginning. Clamping the wood properly after applying the glue ensures a tight bond and helps achieve an even clamp pressure, which is crucial for a strong joint.
By following these steps, we set our woodworking project up for success from the beginning. Proper preparation helps minimize surprises related to drying times and bonding issues, ensuring a durable and beautiful result.
How to Speed Up Wood Glue Drying Time
After ensuring we’ve properly prepared for our wood glue application, knowing how to speed up the drying time can further optimize our woodworking projects. Several practical steps can help achieve this, allowing us to continue our work with minimal delays.
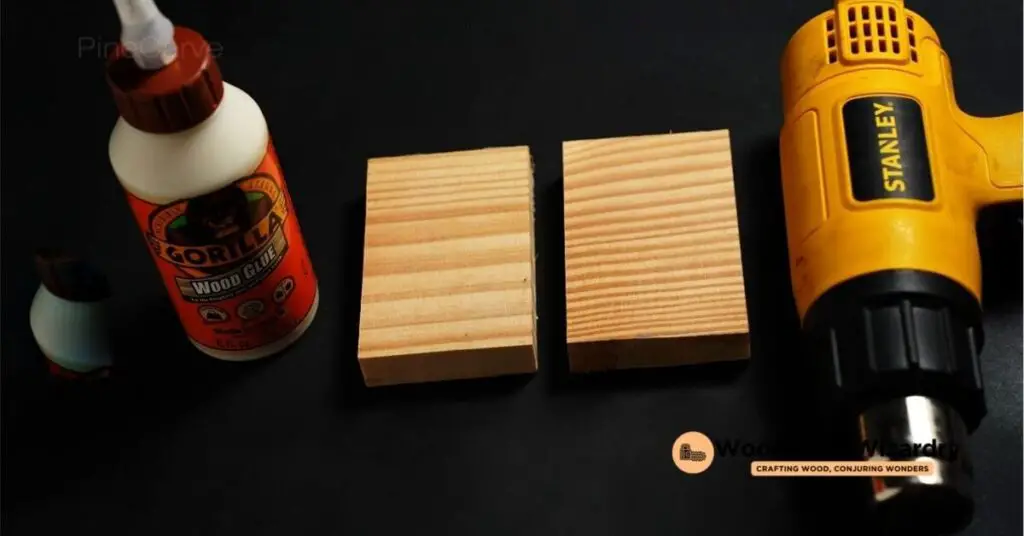
First, we focus on increasing airflow. By circulating air around the glued pieces, moisture evaporates faster, reducing drying time. Fans or air conditioning units can provide the necessary airflow, especially in confined or poorly ventilated spaces.
Second, we consider raising the temperature. Wood glue dries more quickly in warm conditions. Using a space heater to gently increase the temperature of the working area can effectively decrease drying time. However, it’s crucial to ensure the heat is not too intense, as it could negatively affect the glue’s properties.
Applying thin layers of glue can also dramatically impact drying times. Thicker layers take longer to dry, so applying glue sparingly can speed up the process. It’s a balance to maintain enough glue for a strong bond without overdoing it.
Additionally, choosing the right glue plays a significant role in drying speed. Some wood glues are formulated to dry faster than others. For projects that require quick turnaround times, selecting a fast-drying wood glue can be a wise choice.
Lastly, employing dehumidifiers in very humid conditions can be beneficial. By reducing the moisture content in the air, wood glue can dry more quickly. This is particularly useful in climates where humidity is a constant battle.
By implementing these strategies, we can significantly reduce the waiting time for wood glue to dry. This allows us to move forward in our projects more efficiently, without compromising the strength or quality of our work.
Common Mistakes to Avoid
In our journey through understanding how long wood glue takes to dry, we’ve uncovered efficient strategies to speed up the drying process. To ensure the success of your woodworking projects, it’s equally vital to be aware of the common mistakes that can hinder the effectiveness of wood glue. Avoiding these errors not only helps in achieving the desired bond strength but also saves time by reducing the need for reapplication or repairs.
- Applying Too Much Glue: While it might seem that more glue would result in a stronger bond, over-application can actually extend drying times unnecessarily and may weaken the bond. A thin, even layer of glue is often more than sufficient for a strong joint.
- Ignoring Manufacturer’s Instructions: Different types of wood glue have varying drying times and requirements. Neglecting the guidelines provided by the manufacturer can lead to improper curing of the glue, affecting the durability of the bond.
- Inadequate Clamping: Proper clamping pressure is crucial for the success of any glue-up. Without it, joints may not bond correctly, leading to weak points. Ensure clamps are evenly spaced and provide sufficient pressure without being overly tight.
- Working in Unsuitable Conditions: Humidity and temperature play significant roles in the drying time of wood glue. Working in conditions that are too humid or too cold can drastically slow down the curing process.
- Neglecting Surface Preparation: As mentioned, the preparation of the wood surfaces before applying glue is essential. Failing to clean and properly roughen the surfaces can prevent the glue from adhering well, leading to a weaker joint.
By keeping these common mistakes in mind and applying the strategies previously discussed, we can optimize our use of wood glue in woodworking projects. The right balance of technique and knowledge ensures not only faster drying times but also the strength and longevity of our creations.
Testing for Dryness
After discussing how to expedite the drying process and identifying common pitfalls, it’s crucial to understand how to test for the dryness of wood glue effectively. Ensuring the glue is fully dry before proceeding with the next steps in a woodworking project is vital for the integrity and strength of the final product.
One of the simplest methods to test for dryness is the touch test. Gently press your finger against the glue joint; if it feels firm and does not adhere to your skin, it’s a good sign that the glue has dried. However, this method requires a bit of experience, as prematurely disturbing the bond might weaken it.
Another strategy involves observing the color change. Many wood glues become translucent or significantly change color as they dry. Following the manufacturer’s guide on what color change to expect can provide a good indication of dryness.
Using a moisture meter provides a more scientific approach. Woodworkers can use this tool to measure the exact moisture content where the glue was applied. Comparing these readings with the recommended moisture levels from the glue manufacturer offers a precise assessment of dryness.
Lastly, time is a reliable indicator. By adhering strictly to the recommended clamping and drying times provided by the glue manufacturer, you can be relatively certain the glue has dried appropriately. It’s always better to err on the side of caution and allow extra drying time if uncertain.
By incorporating these techniques, we can accurately assess the dryness of wood glue, moving forward with our projects confidently, knowing the bond is secure and ready for the next phase.
Conclusion
We’ve explored the journey of working with wood glue and how its drying time can impact our projects. By understanding the factors at play and utilizing techniques to check for dryness we’re better equipped to create durable and successful works. Remember it’s not just about waiting but ensuring we’re doing it right. Let’s put these insights into practice and see the difference in our next project. Happy woodworking!
Related Posts:
- Top Woods for Dremel Carving: Expert Picks & Tips
- Can Chainsaws Cut Through Bone? Debunking Myths and Facts
- Can You Dig a Trench with a Chainsaw? Safety & Efficiency Explored
- Staining Over Linseed Oil Finish: A Complete Guide
- How Long Does Wood Glue Take to Dry? Tips for Quick Drying
- Ultimate Guide: How to Stain Douglas Fir for Lasting Beauty
- Prevent Sap Leakage: Effective Wood Maintenance Tips
- Metabo C10RJS Review: Top Choice for Safety & Precision
- Choosing Between a Table Saw vs Miter Saw: Key Features Compared
- Top Picks for Best Plywood for Laser Cutting: Safety & Buying Guide
- Why Are Milwaukee Tools So Expensive? Unpacking the Premium Price
- Maximize Your Woodworking on a Budget: Tools, Tips, & Savings

