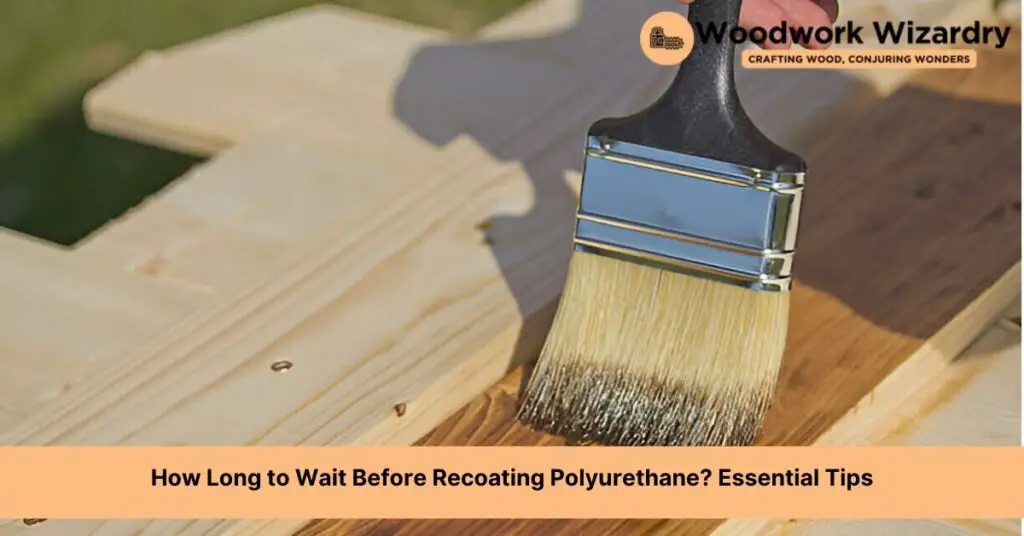
We’ve all been there, staring at our freshly applied polyurethane coat, wondering when we can add another layer to achieve that perfect finish. It’s a common question for DIY enthusiasts and professionals alike: How long should we wait before recoating polyurethane? The answer isn’t as straightforward as we’d hope, but don’t worry, we’re here to guide you through it.
Understanding the drying time and factors affecting polyurethane curing is crucial for a flawless finish. Whether you’re working on a cherished piece of furniture or adding a protective layer to your hardwood floors, getting the timing right can make all the difference. So, let’s dive into the nuances of recoating polyurethane, ensuring your next project turns out just as you envisioned.
Understanding Polyurethane
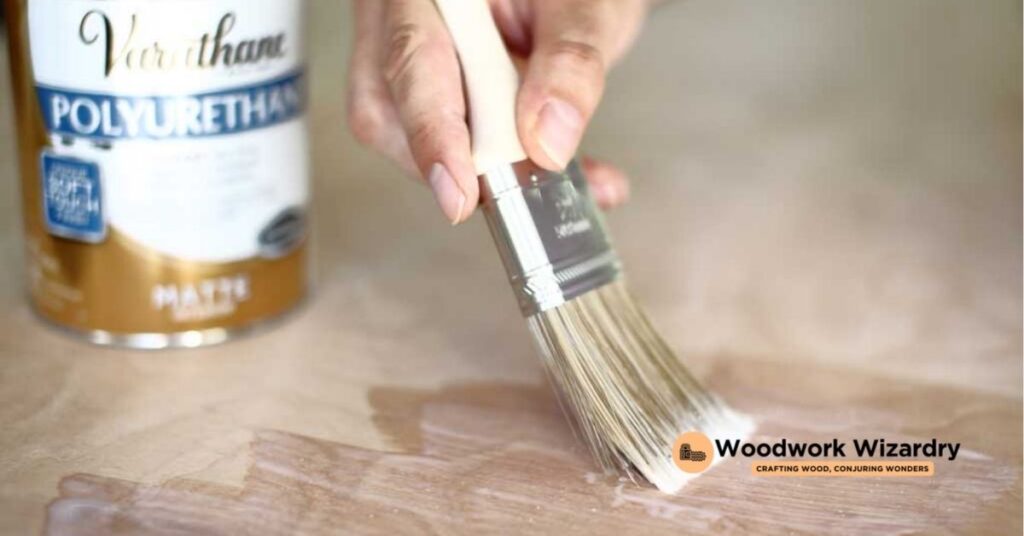
In diving deeper into how long to wait before recoating polyurethane, it becomes crucial to grasp what polyurethane is and why its drying and curing times are significant. Polyurethane serves as a protective finish applied to wood, offering resistance against water, scratches, and other external elements. This durability makes it ideal for both furniture and hardwood floors.
There are primarily two types of polyurethane: oil-based and water-based. Each comes with its own set of characteristics and drying times. Oil-based polyurethane generally offers a warmer finish and requires longer drying times, typically 24 hours between coats. On the other hand, water-based polyurethane dries faster, allowing recoating in as little as 2 to 4 hours but might necessitate more coats for equivalent durability.
Temperature and humidity play pivotal roles in the drying and curing process. Optimal conditions include a temperature range of 70-77°F and a humidity level below 50%. Deviations from these conditions can extend drying times and affect the finish quality.
Ventilation is another key factor; adequate airflow helps speed up the drying process by removing the solvent vapors faster but beware of too much wind or direct sunlight, as these can cause uneven drying or bubbles.
Understanding these fundamental aspects of polyurethane—its types, ideal conditions for application, and factors influencing drying and curing times—sets a solid foundation for achieving impeccable finishes on wood projects. As we tailor our work practices around these insights, we enhance our ability to plan projects more efficiently, ensuring each coat of polyurethane not only protects but also beautifies the wood surface.
Preparing to Apply Polyurethane

Preparing the surface properly before applying polyurethane ensures a smooth, flawless finish that enhances the beauty of wood while offering protection. Our focus now turns to the essential steps we must follow for optimal preparation.
Assess the Surface
Inspect the wood for any imperfections, such as dents, scratches, or uneven areas. These imperfections require attention before proceeding with the application of polyurethane. A smooth, flawless surface is key to a successful finish.
Clean Thoroughly
Remove all dust, dirt, and grease from the surface. We recommend using a tack cloth or a damp cloth to wipe down the wood effectively. This step is crucial, as residual particles can become trapped under the polyurethane, leading to a rough finish.
Sand the Surface
Sanding is vital to ensure maximum adhesion of the polyurethane to the wood. Start with a coarser grit sandpaper and gradually move to a finer grit for a smooth finish. Between each coat of polyurethane, light sanding helps the next layer adhere better and ensures a smooth outcome.
Check for Compatibility
If the wood has been previously treated or finished, check the compatibility of the old and new finishes. In some cases, a barrier coat might be necessary before applying polyurethane to prevent unwanted reactions that can spoil the finish.
Ensure Adequate Ventilation
Working in a well-ventilated area is not only important for drying but also for your safety. Polyurethane fumes can be harmful, so we always ensure there’s ample airflow in our workspace.
By diligently following these preparation steps, we set the stage for a successful polyurethane application. A well-prepared surface not only makes the application process smoother but also significantly enhances the longevity and appearance of the finish.
The Application Process
Building on the foundational steps of preparation we’ve discussed, let’s delve into the nuances of the polyurethane application process. This phase is just as crucial as preparation, determining the durability and aesthetics of your finish.
First, selecting the right tools makes a significant difference. Brushes, rollers, or spray guns are common choices, with brushes often preferred for oil-based polyurethane and rollers or spray guns favored for water-based types. It’s essential to choose tools that won’t introduce bubbles into the finish, as these can mar the smoothness of the surface.
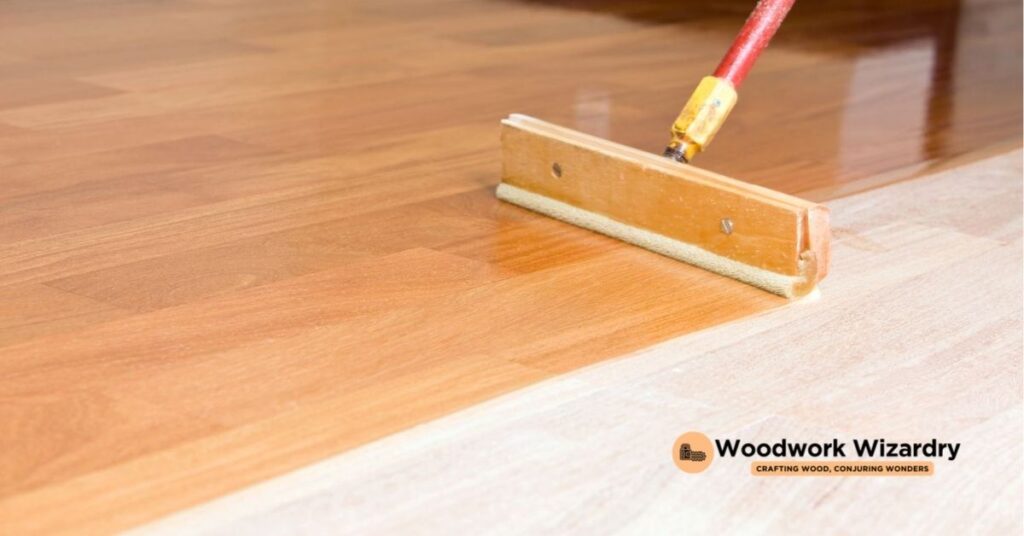
Second, applying the first coat of polyurethane properly sets the stage for subsequent layers. It’s critical to follow the product’s instructions regarding application thickness and method. Generally, thin, even coats work best, minimizing the risk of drips or brush marks. For hardwood floors, applying with the grain ensures a more natural finish, while furniture might require a more meticulous approach to reach corners and crevices.
Third, understanding the correct waiting period before recoating can significantly impact the project’s outcome. For oil-based polyurethane, waiting at least 24 hours before applying the next coat is advisable. However, this can extend up to 48 hours if conditions are less than ideal, such as low temperatures or high humidity. Water-based polyurethane dries faster, often allowing for recoating in as little as 2 to 4 hours under optimal conditions. Always consulting the product’s specific recommendations will provide the best guidance.
Finally, ensuring adequate ventilation during the application and drying process not only speeds up drying times but also reduces the inhalation of potentially harmful fumes, especially important with oil-based polyurethane. After each coat, inspecting the surface for tackiness can serve as a good indicator that more drying time is needed before recoating.
By meticulously following these steps, we ensure the polyurethane application process is executed with precision, leading to a stunning, durable finish. Maintaining patience through each phase, especially when waiting to recoat, guarantees our work not only looks professional but also stands the test of time.
How Long to Wait Before Recoating Polyurethane
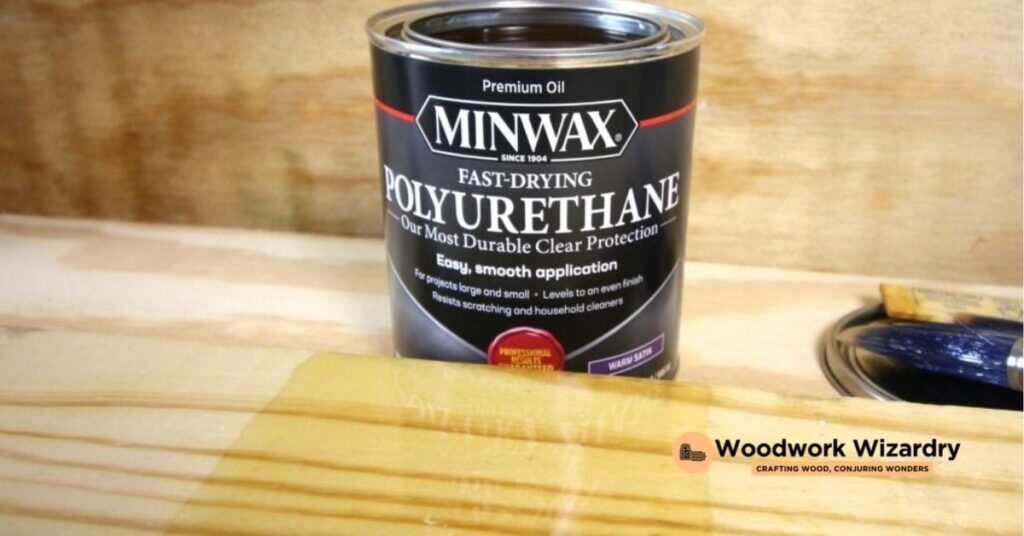
Building on the importance of drying times, ventilation, and the differentiation between oil-based and water-based polyurethane, we’ll dive into the specifics of how long professionals and DIY enthusiasts should wait before applying additional coats. This information is crucial to achieving that professional, long-lasting finish we all strive for in furniture or hardwood floor projects.
For water-based polyurethane, the waiting period is relatively short. Manufacturers typically recommend allowing the coat to dry for about 2 to 3 hours before applying the next one. However, given the right conditions of low humidity and adequate ventilation, some may find it’s ready for a recoat in as little as 2 hours. This quick turnaround is one of the advantages of using water-based polyurethane, making it possible to apply multiple coats in a single day.
On the other hand, oil-based polyurethane requires a bit more patience. The recommended waiting time before recoating is usually 24 hours. This longer drying period is due to the solvent-based formula, which takes more time to evaporate and cure. It’s important to note, though, that in environments with high humidity or lower temperatures, the wait time could extend to 48 hours to ensure the coat is thoroughly dry.
Regardless of the type, always check the manufacturer’s instructions as drying times can vary slightly between products. Using a tack cloth to remove any dust or debris between coats can also help ensure a smooth, professional finish.
Let’s also emphasize the role of environmental conditions in the drying process. Optimal conditions—low humidity, mild temperatures, and good ventilation—can significantly decrease waiting times and improve the overall quality of the final project. Conversely, recoating too soon, or under less-than-ideal conditions, can result in a finish that’s not only aesthetically displeasing but also compromises the durability of the protective coat.
Adhering to the specified waiting periods for recoating polyurethane is a key step in the application process, aligning with our goal to achieve a durable and attractive finish on our projects.
Common Mistakes to Avoid
When applying polyurethane to furniture or hardwood floors, ensuring a smooth and durable finish requires avoiding some common mistakes. Given the significance of drying times and the impact of environmental conditions, here are the missteps we aim to steer clear of:
- Ignoring Humidity Levels: Not accounting for humidity can significantly extend or reduce drying times. High humidity slows down the drying process, so we make sure the room is well-ventilated or use a dehumidifier to speed things up.
- Skipping Sanding Between Coats: Failure to sand lightly between coats can lead to a rough finish. We always sand lightly with fine-grit sandpaper (220-320) to ensure a smooth, professional outcome. It also helps the next coat adhere better.
- Applying Coats Too Thickly: Thick coats don’t just take longer to dry; they can also result in runs or bubbles. We apply thin, even coats, ensuring each layer has enough time to dry fully before recoating.
- Rushing the Recoating Process: Impatience can ruin a polyurethane project. We follow the manufacturer’s recommended drying times to the letter, understanding that rushing can lead to tacky surfaces or incomplete curing.
- Neglecting Test Areas: It’s easy to dive right in, but we always test the polyurethane on a small, inconspicuous area first. This helps us understand how it reacts with the surface and under the present humidity and temperature conditions.
- Improper Ventilation: We ensure that the area is well-ventilated not just for drying, but also for safety reasons. Proper ventilation helps avoid the buildup of fumes and aids in achieving a quicker and even drying process.
- Using Old or Contaminated Polyurethane: Finally, we check that the polyurethane hasn’t exceeded its shelf life or been contaminated. Old or contaminated materials can lead to poor adhesion, uneven finishes, or failure to cure properly.
By avoiding these common mistakes, we help ensure that our furniture and hardwood floor projects are successful, leaving us with a durable and aesthetically pleasing polyurethane finish.
Caring for Your Polyurethane Finish
Maintaining the longevity and aesthetic appeal of your polyurethane finish on furniture and hardwood floors extends well beyond the application process. Proper care ensures your surfaces remain durable and visually pleasing for years. Here are essential tips to help you care for your polyurethane-coated surfaces effectively.
Regular Cleaning
Keeping your polyurethane surfaces clean is crucial. Dust and debris can scratch or dull the finish over time. We recommend using a soft, dry cloth for daily dusting. For a deeper clean, a slightly damp cloth can remove grime, but avoid using harsh chemicals or abrasive cleaners that could damage the finish.
Immediate Spill Cleanup
Spills should be wiped up immediately to prevent the polyurethane from discoloring or degrading. Use a soft, absorbent cloth to blot spills gently. It’s important not to let water or other liquids stand on the surface for a prolonged period.
Use Protective Pads
Furniture often gets moved around, which can risk scuffs and scratches to your polyurethane finish. We advise placing felt pads under furniture legs, especially on chairs and tables that are frequently used. These pads act as a barrier, protecting your floors from potential damage.
Avoid Direct Sunlight
Prolonged exposure to direct sunlight can cause the polyurethane finish to fade or yellow over time. We suggest using curtains, blinds, or UV protective films on windows to minimize sun exposure, maintaining the sheen and color of your polyurethane-coated surfaces.
By following these care instructions, your polyurethane finish on furniture and hardwood floors will retain its protective qualities and aesthetic value for many years. Taking these steps ensures not only the longevity of your finish but also keeps your living spaces looking their best.
Conclusion
We’ve walked through the ins and outs of recoating with polyurethane, highlighting the need to pay close attention to drying times, environmental conditions, and the specific type of polyurethane you’re working with. Remember, patience and attention to detail are your best friends in achieving that perfect finish. By avoiding common pitfalls and embracing the care tips we’ve shared, you’ll ensure your furniture and floors not only shine but are protected for years to come. Let’s keep our spaces looking their best with minimal effort and maximum satisfaction. Happy recoating!
Related Posts:

