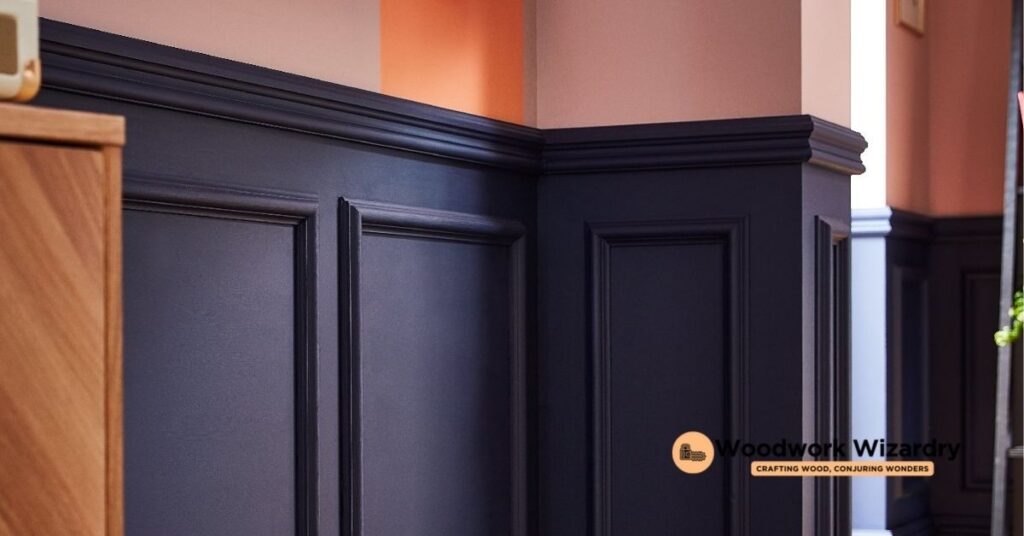
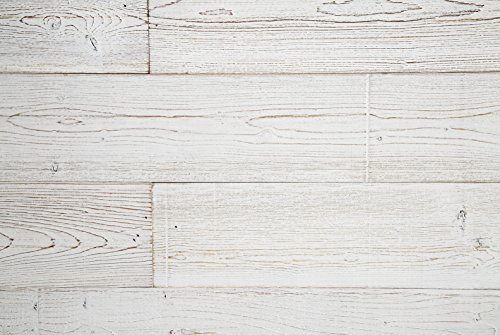
Transforming your space doesn’t have to be overwhelming or expensive. Wood paneling is a timeless way to add warmth, texture, and character to any wall. Whether you’re aiming for a cozy rustic vibe or a sleek modern look, wood panels can elevate your room’s style instantly. The best part? You don’t need to be a professional to pull it off.
Imagine walking into a room that feels completely refreshed, all thanks to your own handiwork. With the right tools and a bit of guidance, you can create a stunning feature wall that turns heads and sparks conversations. Ready to roll up your sleeves and bring your vision to life? Let’s jump into the steps to make your wood paneling project a success.
Why Choose Wood Paneling
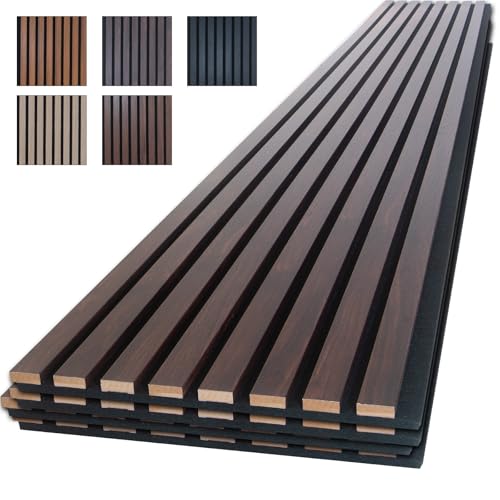
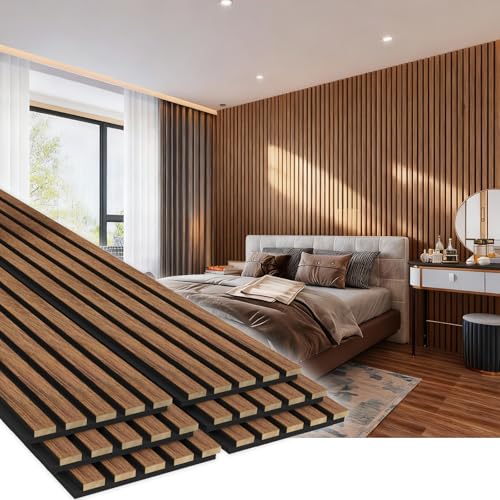
Wood paneling adds warmth and character to any room. Its ability to enhance interiors makes it a popular choice for homeowners. You can achieve styles ranging from traditional to contemporary by selecting the right wood type and finish.
This option improves wall durability while offering natural insulation properties. It helps maintain a comfortable indoor temperature, reducing energy costs over time. Panels serve as an excellent solution to hide imperfections, like uneven walls or wiring, without extensive renovations.
Installation is straightforward, especially with pre-cut options. You can customize designs, such as horizontal or vertical layouts, to suit your vision. Easily stain or paint panels to match your décor preferences for a seamless look.
Wood paneling also benefits the environment when sustainably sourced. It uses renewable materials and often lasts longer than other wall treatments, making it an eco-conscious decision.
Tools And Materials Needed
Begin with essential tools to ensure precise wood panel installation. A tape measure is necessary for accurate measurements, while a level helps align panels evenly. Use a saw, like a miter or jigsaw, for cutting panels to size.
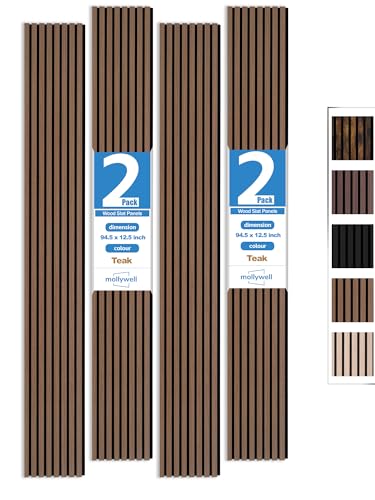
Prepare materials that simplify the process. Wood panels are the core element and come in various finishes. Adhesive or nails securely attach panels to the wall, depending on your preference. Sandpaper smooths edges or surfaces before installation.
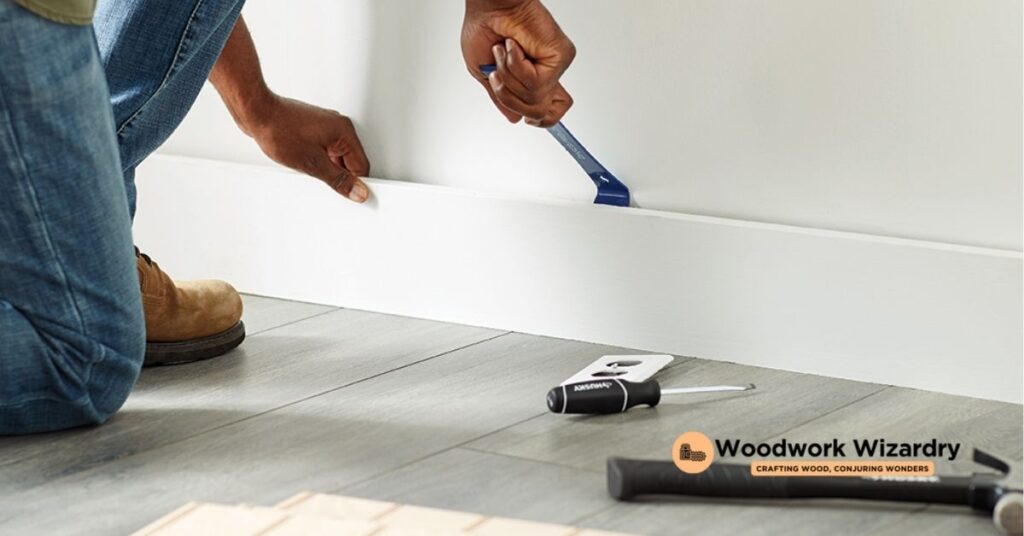
Gather tools for marking and fastening. A pencil marks cutting lines and panel positioning. A hammer or nail gun drives nails efficiently. If adhesive is chosen, a caulking gun aids application. Safety gear, including gloves and goggles, protects you while working.
Keep tools organized for a smoother workflow. Store small items like screws and nails in a container. A step ladder provides access to high sections of your wall. By collecting these tools and materials, you’re ready to begin your wood paneling project.
Preparing To Wood Panel A Wall
Effective preparation sets the foundation for a successful wood paneling project. Begin with thorough measurements and proper surface preparation to ensure long-lasting results.
Measuring And Planning
Start by measuring the height and width of the wall to determine the amount of material required. Use a reliable tape measure to get precise dimensions. Divide the wall into sections if you’re working on a large area to simplify the process. Calculate the number of panels needed based on their size, leaving room for adjustments.
Mark the wall with a pencil to outline where each panel will be placed. Double-check these marks with a level to guarantee straight alignment. Plan the installation layout by deciding whether panels will be horizontal, vertical, or patterned. Consider your chosen design scheme and the room’s existing aesthetic to enhance visual appeal. Order additional panels to account for cutting errors or irregular wall shapes.
Preparing The Wall Surface
Clean the wall thoroughly before starting. Remove dust, grease, and debris using a damp cloth or a gentle cleaner. Inspect the surface for imperfections like cracks or holes, which could impact panel adhesion. Fill these gaps with spackle and smooth them with sandpaper once dry.
Ensure the wall is even by using a level to identify any irregularities. Sand protruding areas for a uniform surface. Remove old paint or wallpaper if present, as these can interfere with proper bonding. Prime the wall for added adhesive grip, especially if it’s porous or previously untreated. Attach wooden battens to the wall if you’re opting for a paneling method requiring additional support.
Step-By-Step Guide On How To Wood Panel A Wall
Wood paneling transforms walls into striking focal points. Following a clear process ensures professional-looking results.
Cutting The Wood Panels
Start by measuring each panel to match your wall’s layout. Mark precise dimensions on the wood with a pencil before cutting. Use a circular saw or a handsaw based on the thickness of the panels. Sand the edges to smooth out any splinters for a polished fit. Double-check measurements before cutting additional panels to avoid errors.
Attaching The Panels To The Wall
Position each panel against the wall according to your planned layout. Apply a suitable adhesive to the back of the panel, focusing on the edges and center. Press the panel firmly onto the wall, ensuring it’s aligned with adjacent panels. Use a level frequently to keep the panels straight. For extra support, consider using a nail gun to secure panels to wooden battens if attached earlier.
Sealing And Finishing Touches
After attaching all the panels, seal any gaps with wood filler for a seamless appearance. Once dried, sand the filled areas lightly for smoothness. Apply your desired finish, such as paint, stain, or a clear varnish, to enhance the wood’s appearance and durability. Add moldings or trim to frame the panels and conceal edges for a refined look. Let the finish dry completely before cleaning up the workspace.
Tips For Maintaining Wood Panels
Regular dusting keeps wood panels free of debris. Use a soft, dry cloth or a vacuum with a brush attachment to prevent scratches. For enhanced maintenance, clean weekly or as needed based on room use.
Avoid exposing panels to high humidity to prevent warping. Dehumidifiers or ventilation work well in moisture-prone areas like kitchens and bathrooms.
Inspect panels periodically for damage. Look for cracks, gaps, or loose sections, and repair immediately with wood filler or adhesive to maintain durability.
Protect against direct sunlight to reduce fading. Install curtains, blinds, or UV-protective films on windows to preserve the panel’s finish.
Resealing enhances the lifespan of wood panels. Apply a wood protector, oil, or stain annually or as recommended to prevent wear and maintain appearance.
Use gentle cleaners for spills or stains. Avoid abrasive chemicals, using mild soap and water instead to preserve the finish and texture of the panels.
Prevent damage by securing furniture from making direct contact. Add felt pads or bumpers to minimize scratches or dents on the surface.
Common Mistakes To Avoid
Rushing the preparation process often leads to poor results. Skipping steps like cleaning the wall, filling holes, and priming prevents proper adhesion and may reduce the lifespan of the installation. Ensure every surface is smooth and ready before attaching panels.
Using incorrect measurements creates alignment issues. Panels that don’t fit the designated spaces can leave gaps or overlaps. Measure each section carefully and double-check dimensions before cutting.
Choosing low-quality materials compromises durability. Inexpensive or unsuitable wood can warp, crack, or deteriorate over time. Opt for sustainable, high-grade wood panels for a longer-lasting finish.
Improperly securing panels risks them becoming loose. Relying on adhesive alone without nails or screws might not provide sufficient support, especially on uneven surfaces. Combine attachment methods for a more secure installation.
Ignoring the weight of the panels may cause damage to walls. Heavy panels require proper support, such as adding battens. Account for the weight during planning to prevent wall stress or failure.
Failing to account for wall imperfections reduces the aesthetic appeal. Uneven walls, protrusions, or dampness can cause issues after installation. Address surface flaws thoroughly to achieve a polished look.
Skipping sealing and finishing steps leaves panels vulnerable to damage. Wood panels exposed to moisture, sunlight, or wear can deteriorate quickly without protective coatings. Apply finishes like paint, varnish, or sealant to enhance durability and appearance.
Avoid these mistakes by focusing on careful preparation, quality materials, and thorough execution.
Conclusion
Wood paneling is a rewarding way to elevate your space with style and functionality. By taking the time to plan, prepare, and execute carefully, you can create a stunning feature wall that reflects your personal taste and enhances your home’s appeal.
With the right tools, quality materials, and attention to detail, you’ll not only achieve a professional-looking finish but also enjoy the lasting benefits of warmth, durability, and charm. Your effort will transform your space into something truly remarkable.


