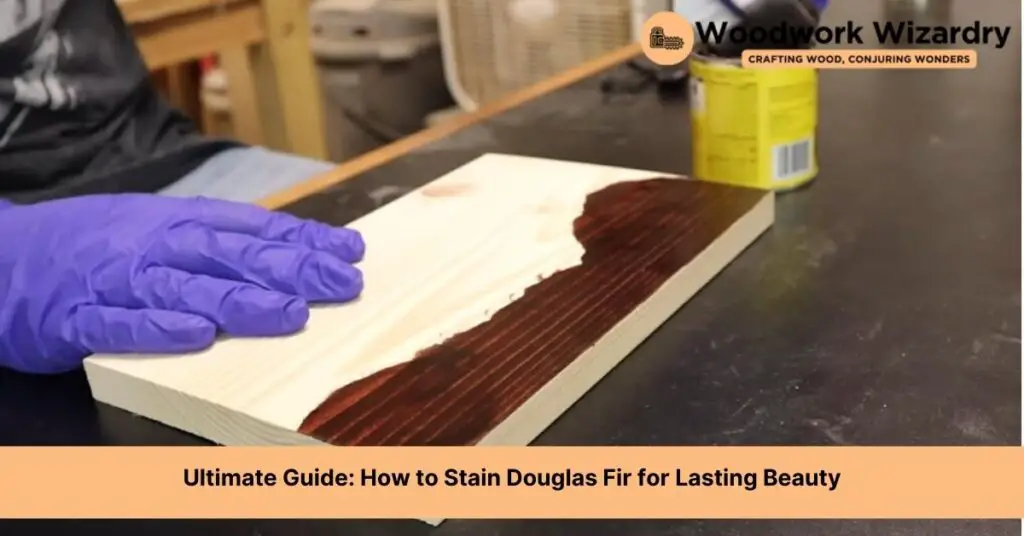
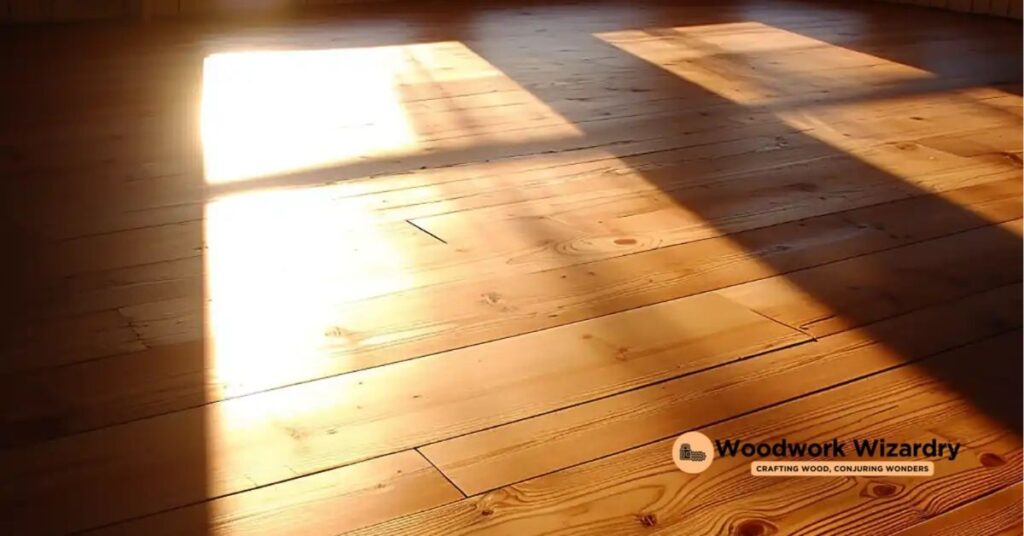
Staining Douglas Fir isn’t just a task; it’s an art that transforms the ordinary into the extraordinary. It’s about enhancing the natural beauty of the wood, highlighting its unique grain patterns, and protecting it for years to come. Whether you’re a seasoned DIY enthusiast or a first-timer looking to revamp your space, we’ve got you covered.
In this journey, we’ll guide you through the ins and outs of choosing the right stain, preparing the wood, and applying the stain to achieve that perfect finish. Staining Douglas Fir can seem daunting at first, but with our tips and tricks, you’ll be equipped to tackle the project with confidence. Let’s dive into the world of wood staining and turn those pieces of Douglas Fir into works of art.
Tools and Materials Needed
To ensure a successful staining project on Douglas Fir wood, gathering the correct tools and materials before starting is paramount. This section outlines the essentials needed to achieve the perfect finish on your wood projects.
Choosing the Right Stain
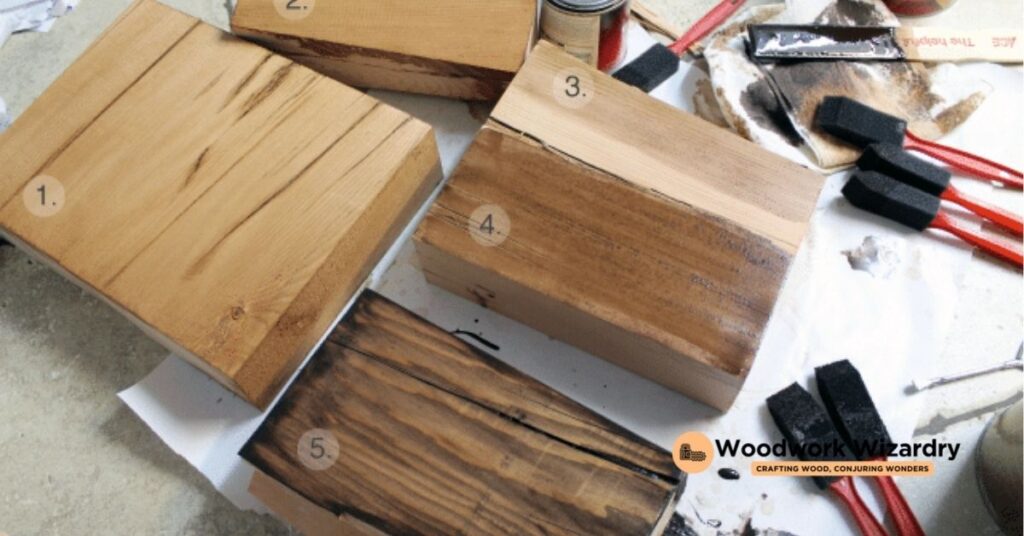
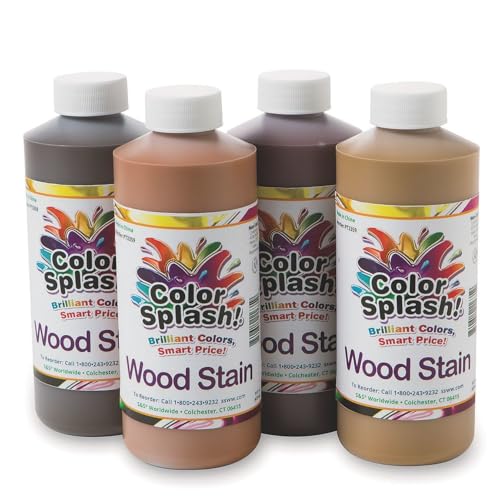
Selecting the appropriate stain for Douglas Fir is crucial for enhancing the wood’s natural beauty and protecting it from wear and tear. Oil-based stains penetrate deeply, bringing out the grain patterns while providing durable protection. Water-based stains, while easier to clean up and quicker to dry, may not penetrate as deeply but are environmentally friendly. Gel stains are another option, especially useful for woods like Douglas Fir that can absorb stain unevenly due to their soft nature. They provide a more uniform color and are easier to control. Always test the stain on a scrap piece of Douglas Fir to ensure it yields the desired color and finish.
Prepping Your Workspace
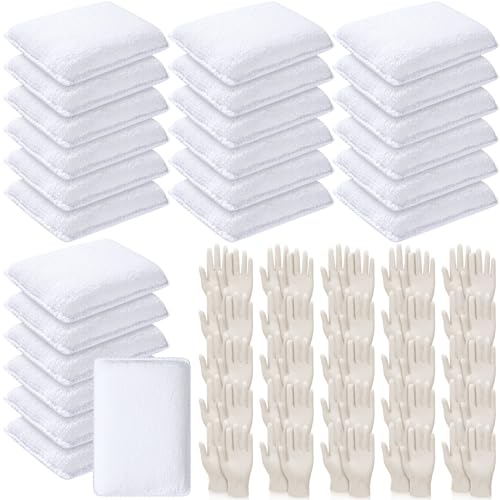
Preparing your workspace lays the foundation for a smooth staining process. Start by choosing a well-ventilated area to work in, ideally with access to natural light to accurately see the stain color application in real-time. Cover the workspace with plastic sheets or old newspapers to protect against spills and drips. Gather clean rags, brushes, or a foam applicator for applying the stain. Ensure all tools are on hand, such as sandpaper (ranging from coarse to fine grit), wood cleaner, and tack cloth for pre-staining wood preparation. Wearing protective gear, such as gloves and a mask, will protect you from fumes and contact with chemicals. Having everything prepared and within reach will streamline the staining process, making it efficient and enjoyable.
Preparing the Douglas Fir for Staining
Transitioning from selecting the perfect stain to the actual application requires careful preparation of the Douglas Fir wood. Ensuring the wood is properly prepared will highlight its natural grain and optimize stain absorption for a beautiful finish.
Cleaning the Wood
Begin by meticulously cleaning the Douglas Fir surface. Remove all dust, dirt, and grease with a clean, damp cloth. If the wood has been previously finished or treated, use a wood cleaner or a mixture of water and mild detergent to strip away any residues. Cleaning must be thorough; even small particles of dust or dirt can interfere with the staining process, leading to an uneven finish.
Sanding the Surface
After the wood dries, proceed to sanding the surface. Start with a medium-grit sandpaper, such as 120-grit, to remove imperfections and smooth out the wood. Sand in the direction of the grain to avoid scratches that could become more apparent once the stain is applied. Follow up with a finer grit, such as 220-grit, for a smooth finish. Wipe the wood with a tack cloth after sanding to remove all sawdust. This step is crucial for ensuring the stain adheres evenly and penetrates deeply, showcasing the Douglas Fir’s natural patterns and texture.
Applying Wood Conditioner
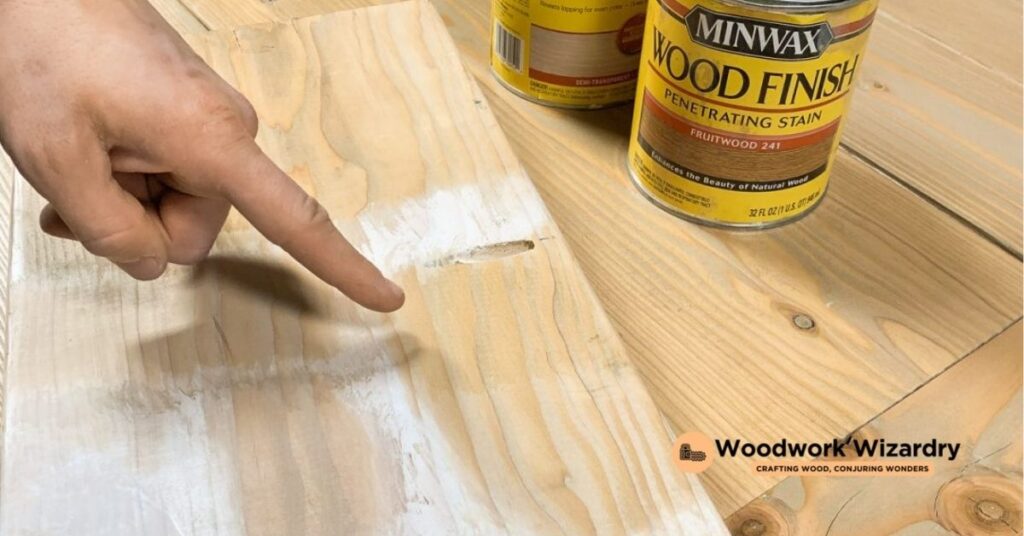
Douglas Fir, characterized by its porous nature, benefits significantly from the application of a pre-stain wood conditioner. Apply the conditioner according to the manufacturer’s instructions, typically with a brush or clean cloth. Allow it to penetrate the wood for the recommended time, usually 5 to 15 minutes, before wiping off any excess. This conditioner prepares the wood to absorb the stain uniformly, preventing blotchy or uneven areas. This pre-treatment step ensures a consistent color tone across the Douglas Fir surface, making the next step of staining more effective and the final appearance more professional.
Selecting the Perfect Stain for Douglas Fir
After ensuring the Douglas Fir wood is clean, smooth, and ready for staining, the next critical step is selecting the perfect stain. The choice of stain can significantly affect the wood’s final appearance and durability. We will explore the types of stains that work best with Douglas Fir, each offering unique benefits.
Oil-Based Stains
Oil-based stains penetrate deeply into Douglas Fir, emphasizing the natural grain and beauty of the wood. They provide a rich, durable finish that stands up well to wear and tear, making them ideal for furniture and flooring. These stains take longer to dry, allowing more working time to achieve an even finish. However, they require proper ventilation due to their fumes.
Water-Based Stains
Water-based stains are environmentally friendly and easy to clean up with soap and water. They dry faster than oil-based options and exhibit less odor, which makes them suitable for projects with time constraints or in less ventilated spaces. Water-based stains work well on Douglas Fir, offering a wide range of colors. They tend to raise the grain of the wood slightly, so a light sanding before the final finish is often necessary.
Gel Stains
Gel stains have a thicker consistency, providing more control over the application and minimizing drips and runs. This feature makes them excellent for vertical surfaces or detailed work. They’re particularly useful for Douglas Fir when aiming to achieve a uniform color on wood that may otherwise absorb stain unevenly. Gel stains typically require no conditioner and can be easier for beginners to use, though they might not penetrate as deeply as oil-based stains.
The Staining Process
After choosing the perfect stain for Douglas Fir wood, the next step focuses on the staining process itself. This includes testing the stain, applying the initial layer, allowing it to dry, and then adding additional coats as necessary.
Testing the Stain
Before fully committing to staining the entire piece of wood, perform a patch test on a small, inconspicuous area. This test reveals the actual color and helps adjust the application technique if needed. Following the test, evaluate the color once the stain dries to ensure satisfaction with the outcome.
Applying the First Coat
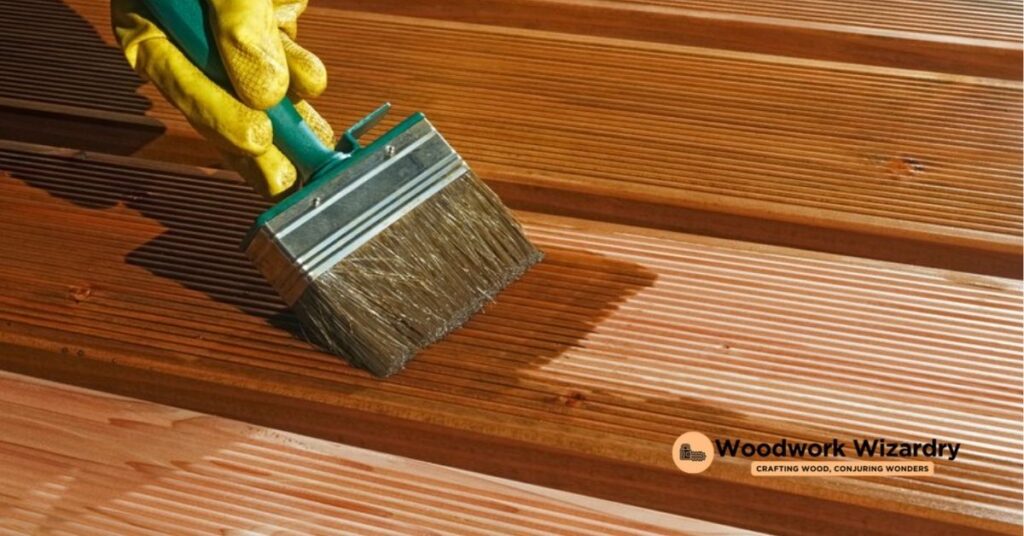
Start with a clean, prepared surface, free from dust and debris. Using a brush or cloth, apply the stain evenly along the grain of the wood. Work in manageable sections to maintain a wet edge, which helps avoid lap marks. For areas with intricate details or hard-to-reach spots, consider using a smaller brush to ensure even coverage.
Letting the Stain Dry
After applying the first coat, allow the stain to dry completely. The drying time can vary based on the type of stain used, humidity levels, and temperature. Typically, oil-based stains require longer drying times compared to water-based options. Ensure the surface is dry to the touch before proceeding to the next step.
Applying Additional Coats
Assess the color depth after the first coat dries. If the desired richness and uniformity are not achieved, apply a second coat following the same method as the first. Remember, each additional layer darkens the color slightly and enhances durability. Allow ample drying time between coats for the best results.
Finishing Touches
After meticulously applying the stain to the Douglas Fir and achieving the desired color, it’s crucial to add finishing touches to protect the wood and enhance its appearance.
Applying a Clear Coat
Apply a clear coat to seal the Douglas Fir, ensuring long-lasting protection and a beautiful finish. Select a clear finish compatible with the chosen stain type—oil-based finishes work well with oil-based stains, while water-based finishes pair with water-based and gel stains. Brush or spray on the clear coat in a thin, even layer, moving along the wood grain. Allow the first coat to dry fully, typically taking between two to four hours, before proceeding with additional coats, if necessary, for extra durability and depth.
Sanding Between Coats
Sanding between coats improves adhesion and results in a smoother finish. Once the initial clear coat is dry, lightly sand the surface with fine-grit sandpaper, such as 220-grit, ensuring not to sand through the stain layer. Focus on achieving a uniform surface without removing too much of the clear coat. Wipe away all sanding dust with a tack cloth or a damp rag, ensuring the wood is clean before applying subsequent clear coats. This step, performed carefully, significantly enhances the final look, feel, and longevity of the Douglas Fir surface.
Troubleshooting Common Staining Issues
In our journey of staining Douglas Fir, sometimes unexpected issues may arise. Here, we address common problems and provide solutions to ensure your project turns out beautifully.
Stain Not Absorbing Evenly
When a stain does not absorb evenly, the result can be a blotchy and unsatisfactory appearance. This issue often stems from uneven wood preparation or applying stain on wood that is not completely dry. To mitigate this, sand the surface evenly before starting the staining process. Ensure all previous finishes are completely removed and the wood is uniformly smooth. Applying a pre-stain wood conditioner specific to Douglas Fir can greatly help. This step balances the wood’s porosity, leading to a more uniform absorption of the stain. Let the conditioner dry as instructed, then proceed with staining. Always test the stain on a small, inconspicuous area to gauge its absorption and color before committing to the entire surface.
Bubbles or Cracking in the Finish
Bubbles or cracking in the finish can mar the overall look of your stained Douglas Fir. These issues usually arise from applying finish layers too thickly or working in an environment with extreme temperatures or high humidity. To avoid bubbles, stir the finish gently before use instead of shaking it, as shaking can introduce air bubbles. Apply the finish in thin, even coats, allowing ample drying time between layers. Use a high-quality brush or cloth to apply the finish smoothly, avoiding the temptation to overwork the area, which can introduce air and lead to bubbling. If working in a particularly humid or hot environment, extend the drying times between coats. For cracking, it’s crucial to ensure the underlying stain and each layer of finish are thoroughly dry before adding another layer. Cracking can occur when layers on top dry faster than those below, so controlling drying times helps prevent this problem. If cracking or bubbling occurs, lightly sand the affected area once dry and reapply a thin coat of finish, taking care to address the conditions that caused the issue initially.
Aftercare and Maintenance
Following the thoughtful application of stain to your Douglas Fir and the careful application of finishing touches, maintaining the beauty and durability of the wood becomes paramount. Our focus shifts to ensuring the stained wood remains in excellent condition over time.
Cleaning Stained Douglas Fir
For effective cleaning, utilize a soft cloth dampened with water and a mild soap. Apply gentle pressure to wipe away dust and dirt without saturating the wood. Rinse the cloth frequently, as a dirty cloth can redeposit grime onto the surfaces. Avoid harsh chemicals, such as ammonia or bleach-based cleaners, as they can strip the wood of its stain and damage the surface. Dry the wood thoroughly with a clean, soft cloth after cleaning. Perform this simple maintenance routine regularly, aiming for once a week or as needed based on the wood’s exposure to dust and everyday use. Maintaining a clean surface not only preserves the wood’s appearance but also contributes to its longevity.
Touch-Up Staining Over Time
Over time, even the best-stained Douglas Fir might show signs of wear or fading, especially in high-traffic areas or when exposed to direct sunlight. To address these issues, assess the area requiring a touch-up and clean it thoroughly. Match the original stain as closely as possible for uniformity. In some cases, a light sanding might be necessary before applying the touch-up stain to ensure the new stain adheres well and blends seamlessly with the existing finish. Apply the stain with a small brush or cloth, feathering it into the surrounding area to avoid noticeable lines. After the touch-up stain dries, evaluate the need for a protective topcoat to seal the surface once again. This additional layer will help protect the stain against future wear and enhance the wood’s resilience. Scheduling an annual inspection of your stained Douglas Fir surfaces can help identify areas that may need attention, allowing you to address them promptly and keep your wood looking its best year after year.
Conclusion
We’ve walked through every step of staining Douglas Fir, from choosing the right stain to applying the finishing touches that ensure durability and beauty. Remember, the key to a successful staining project lies in preparation, patience, and attention to detail. Whether you’re drawn to the durability of oil-based stains, the eco-friendliness of water-based options, or the ease of application with gel stains, the perfect finish starts with choosing the right product for your needs. By testing your stain, applying it carefully, and following up with the right aftercare, you’ll enhance the natural beauty of Douglas Fir and protect it for years to come. So grab your supplies, embrace the process, and let’s make your Douglas Fir project shine!
Related Posts:
- Top Woods for Dremel Carving: Expert Picks & Tips
- Can Chainsaws Cut Through Bone? Debunking Myths and Facts
- Can You Dig a Trench with a Chainsaw? Safety & Efficiency Explored
- Staining Over Linseed Oil Finish: A Complete Guide
- How Long Does Wood Glue Take to Dry? Tips for Quick Drying
- Ultimate Guide: How to Stain Douglas Fir for Lasting Beauty
- Prevent Sap Leakage: Effective Wood Maintenance Tips
- Metabo C10RJS Review: Top Choice for Safety & Precision
- Choosing Between a Table Saw vs Miter Saw: Key Features Compared
- Top Picks for Best Plywood for Laser Cutting: Safety & Buying Guide
- Why Are Milwaukee Tools So Expensive? Unpacking the Premium Price
- Maximize Your Woodworking on a Budget: Tools, Tips, & Savings

