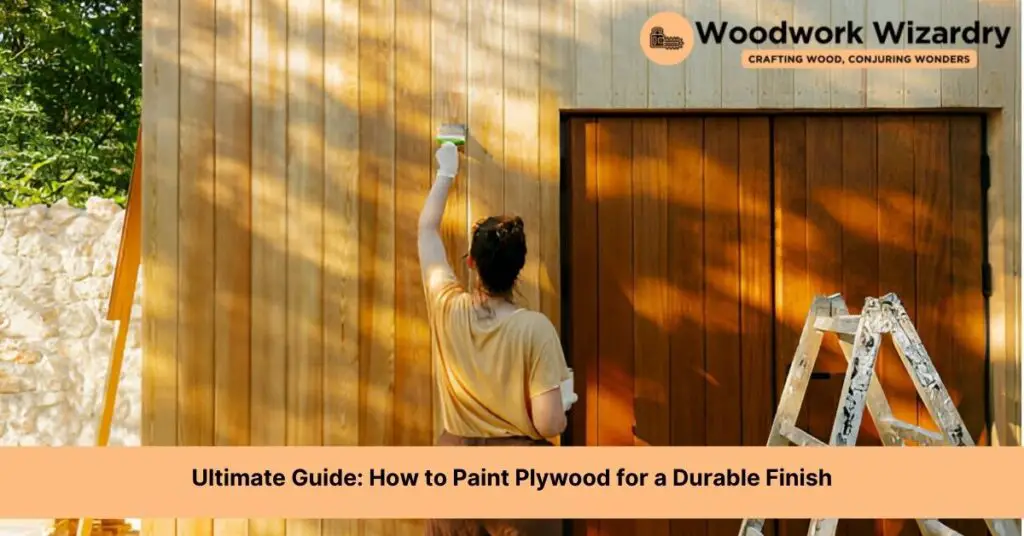
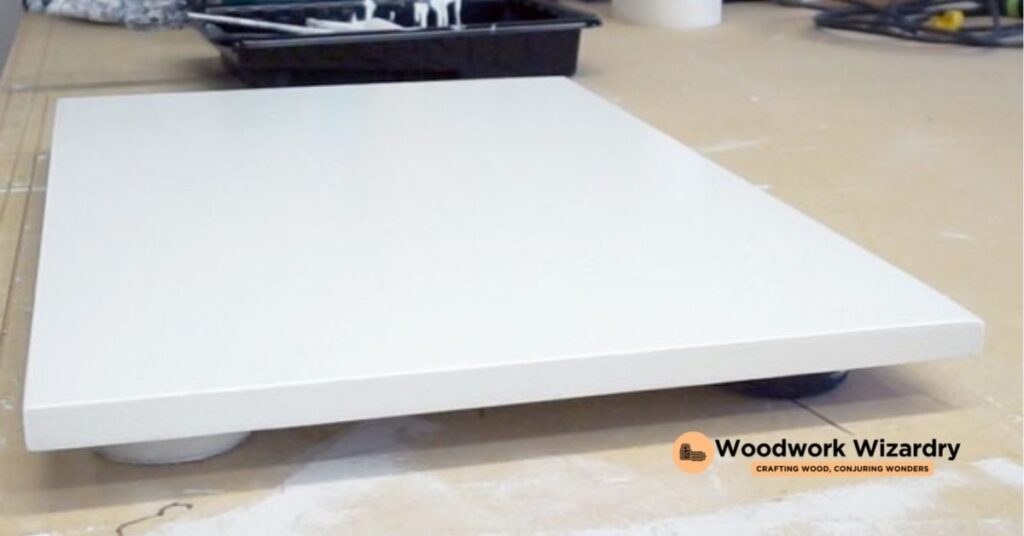
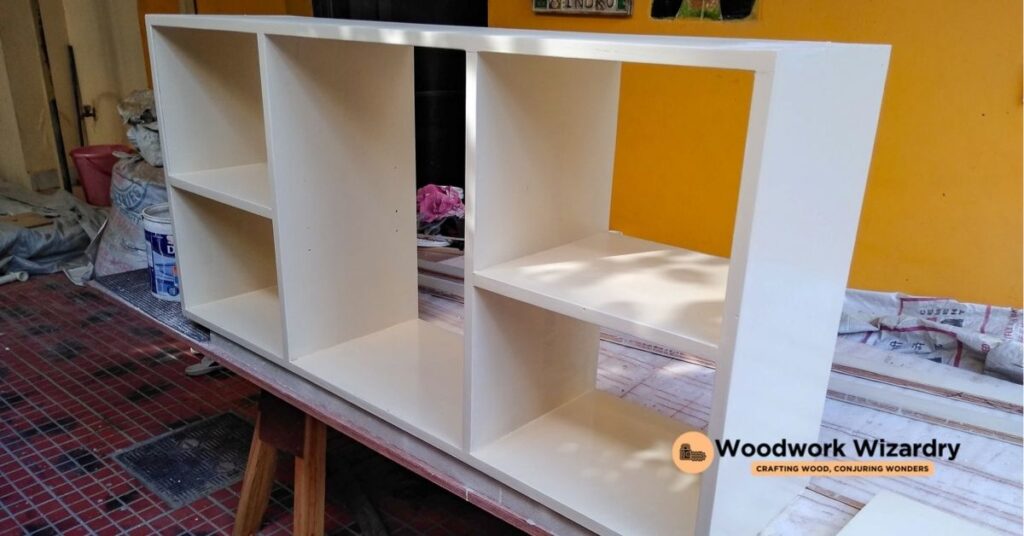
We’ve all been there, standing in front of a piece of plywood, brush in hand, wondering how to transform this blank canvas into something beautiful or functional. Painting plywood might seem straightforward, but it’s a bit more nuanced than slapping on a coat of paint and calling it a day. We’re here to guide you through the process, ensuring your project turns out just as you’ve envisioned.
Whether you’re sprucing up some furniture, working on a DIY project, or giving your space a fresh look, knowing how to properly paint plywood is key. We’ll walk you through the essentials, from selecting the right type of paint to the final touches that make all the difference. So grab your brushes, and let’s dive into the world of painting plywood together.
Materials and Tools Needed
To achieve a smooth and lasting finish on plywood, having the right materials and tools is crucial. We’ll guide you through selecting the best options to ensure your painting project is a success.
Paint Choices
Opt for high-quality latex or acrylic paint, tailored for plywood surfaces. These types of paint offer good coverage and durability, ideal for furniture and home decor projects. For outdoor projects, ensure the paint specifies exterior use to withstand weather conditions.
Primers for Plywood
Select a primer designed for wood surfaces. Primers improve paint adhesion, cover any stains, and provide a uniform surface for painting. For plywood, an oil-based primer works effectively to seal the porous surface, ensuring a smoother finish.
Brushes and Rollers
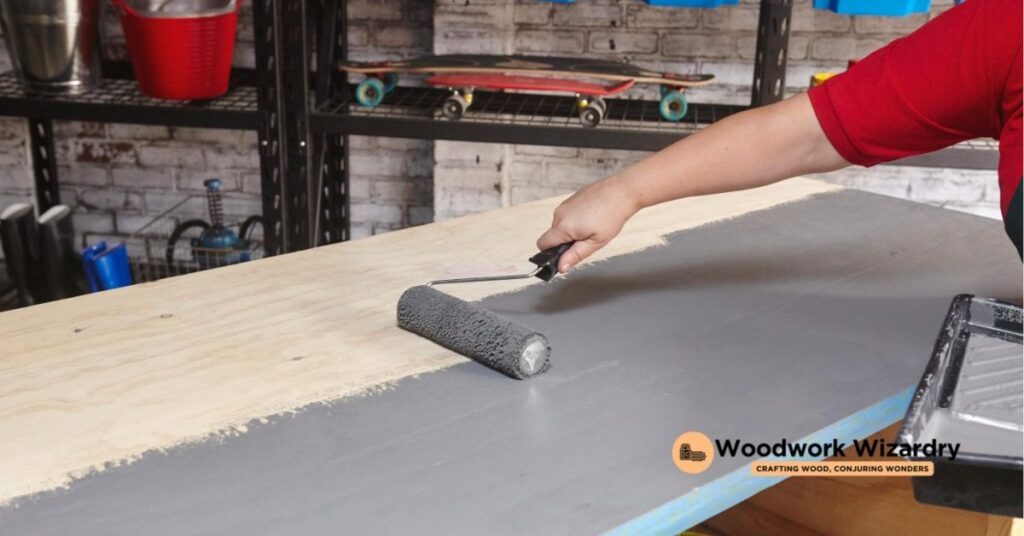
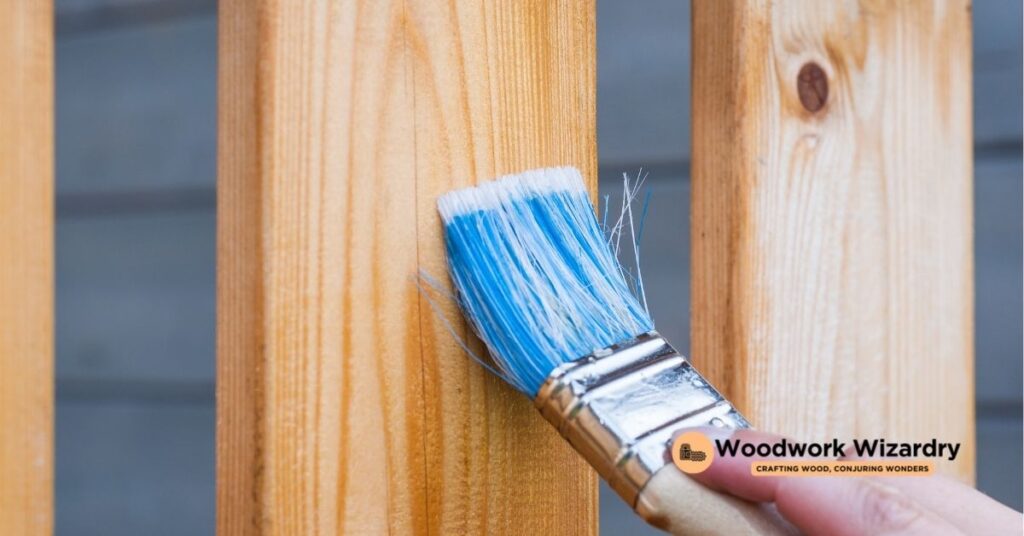
Invest in high-quality brushes and rollers for an even application. For brushes, choose synthetic bristles for water-based paints like acrylic or latex. Use a foam roller for large surfaces to achieve a smooth finish without brush marks.
Protective Gear
Wear protective gear to safeguard your health. This includes goggles to protect your eyes from splashes, gloves to shield your hands from paint and primer chemicals, and a mask to prevent inhalation of fumes. Safety should always come first in any DIY project.
Preparing the Plywood
Having selected the right painting materials, the next step involves preparing the plywood for painting. This preparation is crucial for ensuring the paint adheres well and gives a smooth, lasting finish.
Sanding the Surface
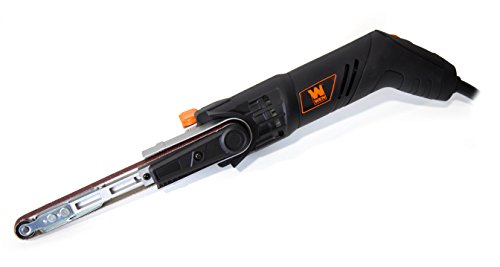
Start with sanding the plywood surface to create a smooth base for the paint. Use a medium-grit sandpaper, such as 120-grit, for the initial sanding process. Sand evenly across the surface to avoid creating grooves or uneven areas. After the medium-grit sanding, switch to a fine-grit sandpaper, like 220-grit, to finish the surface preparation. This second sanding will remove any remaining rough spots and prepare the plywood for primer application. Always sand in the direction of the wood grain to minimize scratching and to enhance the final appearance.
Cleaning the Plywood
Once the surface is sanded smoothly, the next task is cleaning the plywood. Removing all dust and debris is essential for a flawless paint job. Start by using a soft-bristled brush to remove the bulk of the dust. Follow with a damp cloth to pick up any remaining fine particles. Ensure the plywood is completely dry before proceeding. If possible, use a tack cloth for a final wipe-down. Tack cloths are designed to capture even the smallest particles, ensuring the surface is as clean as possible before painting begins. Cleanliness at this stage prevents imperfections in the painted finish and promotes better paint adhesion.
Applying Primer
After meticulously preparing the plywood surface through sanding and cleaning, the next crucial phase is applying primer. This foundational step ensures a uniform and smooth surface, enhancing the paint’s durability and finish.
Choosing the Right Primer
Selecting the appropriate primer is key for achieving optimal results when painting plywood. Opt for a high-quality, acrylic latex primer designed specifically for use on wood surfaces. Such primers offer excellent adhesion, sealing in the plywood’s porous texture, and creating a smooth canvas for the paint. When dealing with exterior plywood projects, ensure the primer is labeled for exterior use to withstand weather elements. For plywood that will be used in moisture-prone areas like bathrooms or kitchens, consider a primer with mold and mildew resistant properties.
- Stir the Primer Thoroughly: Before application, stir the primer well to ensure a consistent mixture. This prevents any sediment at the bottom from affecting the finish.
- Use a High-Quality Brush or Roller: Employ a synthetic bristle brush for edges and corners and a medium-nap roller for the larger surfaces. These tools help achieve a smooth, even coat without brush marks.
- Apply a Thin, Even Layer: Spread the primer over the plywood in a thin, uniform layer. Applying too much primer can result in drips and an uneven surface, affecting the subsequent paint layers.
- Allow Proper Drying Time: Refer to the primer’s label for the recommended drying time. Typically, allow it to dry for at least 24 hours before sanding or applying paint. Rushing this process can trap moisture beneath the paint, leading to peeling or blistering.
- Lightly Sand After Drying: Once the primer is dry to the touch and has had time to fully cure, lightly sand the surface with fine-grit sandpaper. This step smooths out any imperfections, ensuring an optimal base for painting. Remember to clean off the sanding dust with a tack cloth to maintain a clean surface for painting.
By following these primer application tips, the plywood will be perfectly prepped for the final painting stage, resulting in a flawless and enduring finish.
Painting the Plywood
Now that the plywood is well-prepped and primed, it’s time to dive into the heart of transforming its appearance with paint. This stage harnesses the groundwork laid earlier to achieve a spectacular and lasting finish.
Selecting the Paint
Choosing the right paint is as crucial as the preparatory steps. For plywood, high-quality latex or acrylic paint serves best. These paints offer a durable finish, are easy to clean, and come in a vast array of colors and finishes, allowing for customization to one’s liking. Whether the project is for indoor or outdoor use dictates the specific type of paint to opt for. Exterior projects benefit greatly from paints formulated to withstand weather conditions, while interior paints offer a wider range of finishes, such as matte, satin, or gloss, to match the decor style.
Techniques for Smooth Application
Achieving a smooth finish relies on both the application technique and the tools used. Here, we outline a method that ensures a flawless coat:
- Stir the paint thoroughly before application to ensure color uniformity.
- Use a high-quality brush or roller. Brushes work well for edges and smaller areas, while rollers expedite the process on larger surfaces and provide an even finish.
- Apply paint in thin, even layers. This method helps to avoid drips and ensures quicker drying times, allowing for a smoother second coat.
- Overlap each stroke slightly to avoid missed spots and ensure an even application.
- For corners and hard-to-reach areas, a smaller brush ensures detailed and complete coverage.
These techniques, coupled with patience, result in a professional-looking finish.
Number of Coats
The number of coats depends on the paint’s color and quality, the primer used, and the desired final appearance. Typically, two coats are necessary to achieve a uniform and vivid finish. However, darker colors or a significant color change might require an additional coat. Ensure the first coat is completely dry before applying the second to avoid tackiness and to achieve optimal adhesion. Touching lightly between coats to test dryness ensures readiness for the next layer. This diligence pays off in the plywood’s final look and durability.
Finishing Touches
After diligently selecting materials, preparing the plywood, and applying primer and paint, we approach the final steps that will ensure the plywood’s durability and the paint’s longevity.
Sanding Between Coats
Sanding between coats is imperative for a smooth, professional finish. Once the initial coat of paint dries, lightly sand the surface with a fine-grit sandpaper, such as 220-grit. This step removes imperfections and provides a better surface for the next coat. Vacuum up the dust and wipe the surface with a tack cloth to ensure it’s free of debris. Repeat this process after each coat, except the final one.
Applying a Sealant
To protect the painted plywood from moisture, scratches, and stains, applying a sealant is the last critical step. Use a clear polyurethane sealant, either water-based for easier cleanup and a shorter drying time or oil-based for a more durable finish. Apply the sealant with a clean brush or roller, following the product’s directions for the best application method and drying times. Allow the sealant to dry completely before using the painted plywood. This additional layer not only adds protection but can also enhance the paint’s color and sheen, ensuring your project remains vibrant and preserved over time.
Troubleshooting Common Issues
Encountering problems during the painting process can be frustrating. Luckily, we can address the most common issues with straightforward solutions.
Paint Bubbling or Peeling Off
Proper surface preparation prevents paint bubbling or peeling off. Ensuring the plywood is clean, dry, and well-sanded forms a solid foundation for paint adhesion. Applying a suitable primer seals the surface, reducing the likelihood of moisture penetration that causes bubbling. If bubbling or peeling occurs despite these precautions, scraping off the loose paint, re-sanding the area, and applying a fresh coat may be necessary. Conditions like high humidity often contribute to these issues, so painting in a controlled environment optimizes results.
Streaks and Brush Marks
Using the right tools and techniques minimizes streaks and brush marks. High-quality brushes and rollers, designed specifically for the type of paint being used, ensure a smoother application. Diluting paint slightly can improve flow and leveling, but be sure to follow the manufacturer’s recommendations. For the best finish, apply paint evenly in thin layers rather than one thick coat. Sanding between coats with fine-grit sandpaper removes imperfections, contributing to a flawless finish. If streaks or brush marks appear, lightly sand the area and apply an additional coat with careful attention to technique.
Caring for Painted Plywood
After ensuring a smooth and durable finish on your painted plywood, maintaining its appearance and extending its longevity becomes essential. Let’s explore the best practices for care.
Regular Maintenance Tips
Maintain the pristine condition of your painted plywood with these straightforward steps:
- Inspect surfaces regularly for signs of wear or damage, such as chips, cracks, or peeling. If you notice these signs early, you can touch up the paint before larger areas are affected.
- Dust the surfaces lightly with a soft cloth or a duster to prevent buildup. Dust accumulation can lead to scratches if not removed promptly.
- Avoid placing hot items directly on the painted plywood to prevent blistering or discoloration. Use coasters or pads if the plywood serves as furniture.
- Rearrange objects on painted surfaces periodically to prevent discoloration. Sunlight can fade the paint unevenly, so giving the surface an even exposure can reduce this risk.
Cleaning Painted Surfaces
Keeping painted plywood clean not only enhances its appearance but also contributes to its preservation. Follow these tips for effective cleaning:
- Wipe spills immediately with a soft, damp cloth. Prolonged exposure to liquids can seep through and weaken the paint bond, leading to peeling or bubbling.
- Use mild detergent for cleaning tougher stains. Mix a few drops of dish soap with water, dip a soft cloth into the solution, and gently wipe the surface. Rinse the cloth with clean water and wipe the plywood again to remove any soap residue.
- Avoid harsh chemicals such as ammonia or bleach-based cleaners. These can damage the paint finish, leading to dullness or discoloration.
- Dry the surface thoroughly after cleaning to prevent water damage. Use a clean, dry cloth to absorb any remaining moisture.
By incorporating these maintenance and cleaning tips into your routine, you ensure that your painted plywood remains vibrant and intact for years to come.
Conclusion
We’ve walked through the steps to ensure your plywood painting project turns out just as you’ve envisioned. Remember, the key to a stunning finish lies in not skipping the preparation steps and choosing the right materials. With the tips we’ve shared, you’re well-equipped to tackle any plywood painting task with confidence. Don’t forget the importance of regular maintenance to keep your painted surfaces looking fresh and vibrant. Happy painting!
Related Posts:

