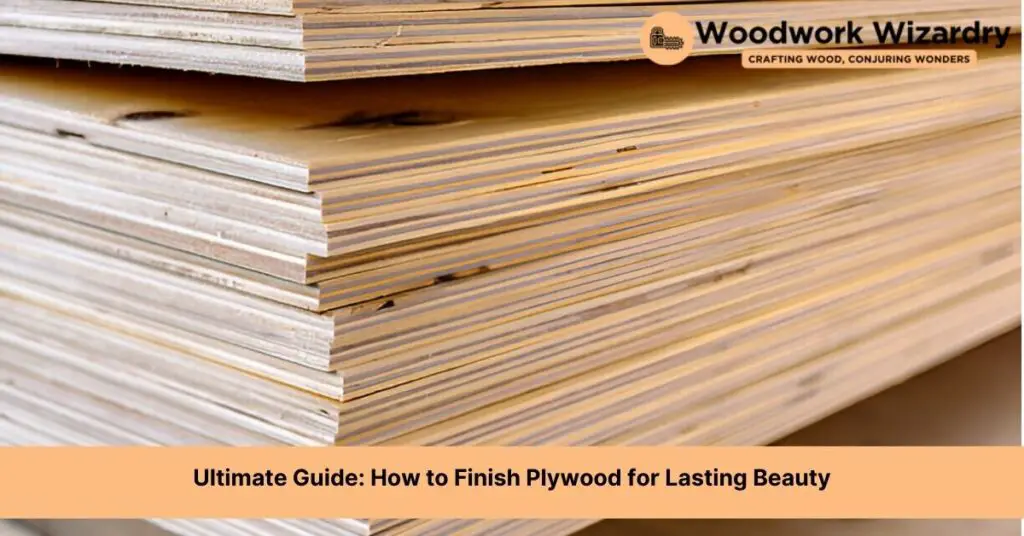
We’ve all been there, standing in the aisle of our local hardware store, staring at that piece of plywood and wondering how we can transform it into something spectacular. Whether it’s for a custom piece of furniture, a home improvement project, or just a creative endeavor, knowing how to finish plywood is a game changer. It’s not just about making it look good, it’s about bringing out the beauty hidden beneath those layers, and we’re here to guide you through it.
Finishing plywood might seem daunting at first, but trust us, it’s a lot simpler than it looks. With the right tools and a bit of patience, we can turn that ordinary sheet of wood into a masterpiece. So, let’s dive in and explore the steps to achieving that perfect finish, making your project stand out. Whether you’re a seasoned DIYer or a curious newbie, we’ve got your back.
Materials and Tools Needed
Embarking on the journey of finishing plywood requires gathering the right materials and tools first. This ensures a smooth process from start to finish, achieving that spectacular look for various projects.
Types of Finishes Suitable for Plywood
Selecting the right finish is critical to highlight the natural beauty of plywood.
- Polyurethane offers a durable, water-resistant coating, making it ideal for surfaces that will see a lot of wear and tear.
- Lacquer provides a smooth finish and quick drying times but requires multiple thin coats for the best results.
- Shellac brings out the rich colors of the wood with a natural gloss, though it’s less resistant to water and alcohol spills.
- Stain penetrates the plywood to enhance its color and grain before applying a protective topcoat, perfect for creating depth and warmth.
Safety Equipment
Ensuring safety during the finishing process protects against potential hazards.
- Safety glasses guard eyes from harmful dust and chemical splashes.
- Gloves protect hands from splinters during sanding and from the chemicals in finishes.
- Respirator or mask is essential to keep harmful fumes and fine dust particles from being inhaled.
Application Tools
Efficient application tools ensure a smooth, even finish on the plywood surface.
- Brushes come in handy for applying most types of finishes, with natural bristle brushes best used for oil-based finishes and synthetic brushes for water-based finishes.
- Rollers can be used for larger surfaces and are especially useful for applying polyurethane evenly.
- Spray systems provide a quick, smooth application especially beneficial for lacquer and shellac, though they require a bit of practice to master the technique.
- Sandpaper with varying grits is crucial for preparing the surface between coats, starting with a coarser grit and moving to finer grits for a polished finish.
Gathering these materials and tools before beginning the finishing process ensures a well-prepared start, leading to exceptional results for any plywood project.
Preparing Plywood for Finishing
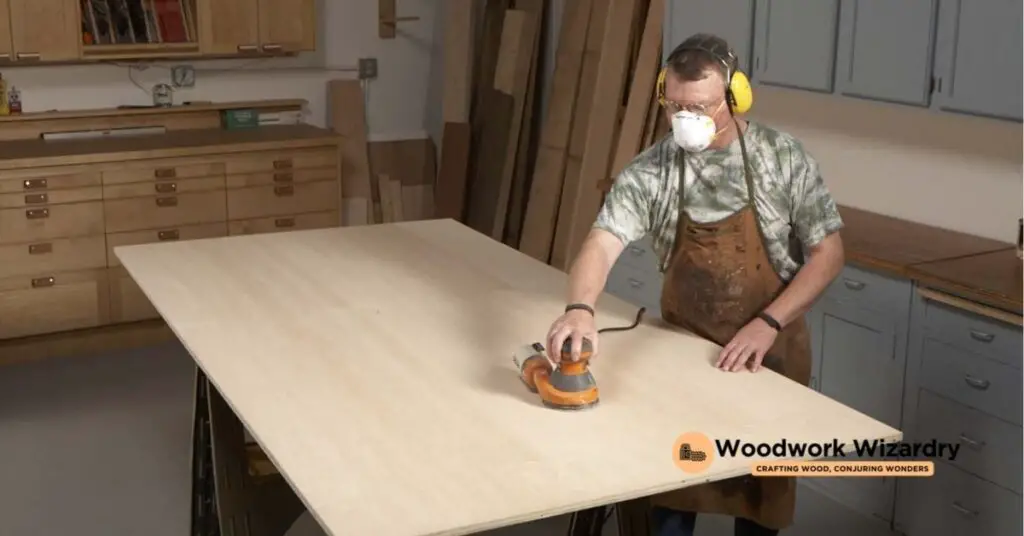
After gathering all necessary materials and tools, preparing the plywood for finishing is a pivotal step. This preparation ensures that the chosen finish, whether polyurethane, lacquer, shellac, or stain, adheres well and looks great on your plywood project.
Sanding the Surface
Begin by choosing the correct grit of sandpaper. Start with a lower grit, such as 80 or 120, to remove any coarse imperfections. Then, gradually move to higher grits, up to 220 or even 320, for a smoother surface. Always sand in the direction of the grain to prevent scratches that can become visible after applying the finish. Sanding blocks or orbital sanders can facilitate this process, especially for larger surfaces. Remember to check the surface between grits to ensure evenness and remove all signs of previous grit sandpaper before moving to a finer one.
Cleaning the Surface
Once sanding is complete, it is essential to remove all dust and debris from the surface. A tack cloth works effectively for this purpose as it picks up fine particles without leaving any residue. Alternatively, a vacuum cleaner fitted with a brush attachment can remove the bulk of the dust, followed by a wipe-down with a lightly dampened cloth. Let the plywood dry completely if using any water-based cleaning method to avoid raising the grain before the finish is applied. Ensuring the surface is clean guarantees a smoother and more professional finish.
Addressing Imperfections
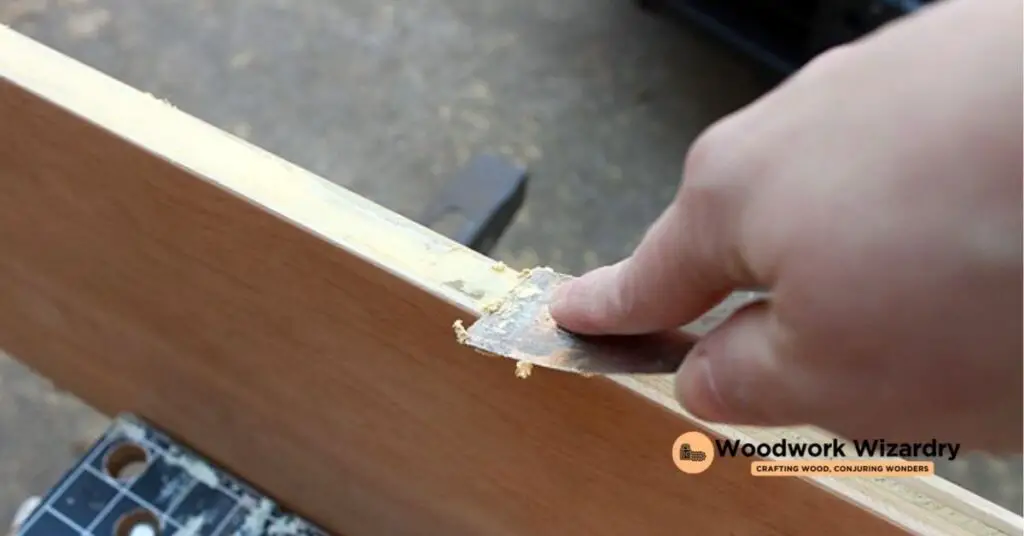
Inspect the surface for any dents, holes, or imperfections. Use wood filler that matches the color of your plywood to fill these areas. Apply the filler with a putty knife, pressing it firmly into the imperfections, and then smooth it out to match the surface level. Allow the filler to dry as per the manufacturer’s instructions before proceeding with another round of light sanding, typically with a high-grit sandpaper, to ensure the filled areas blend seamlessly with the rest of the surface. This attention to detail ensures a flawless final product, enhancing the natural beauty of the plywood with your chosen finish.
Choosing Your Finish
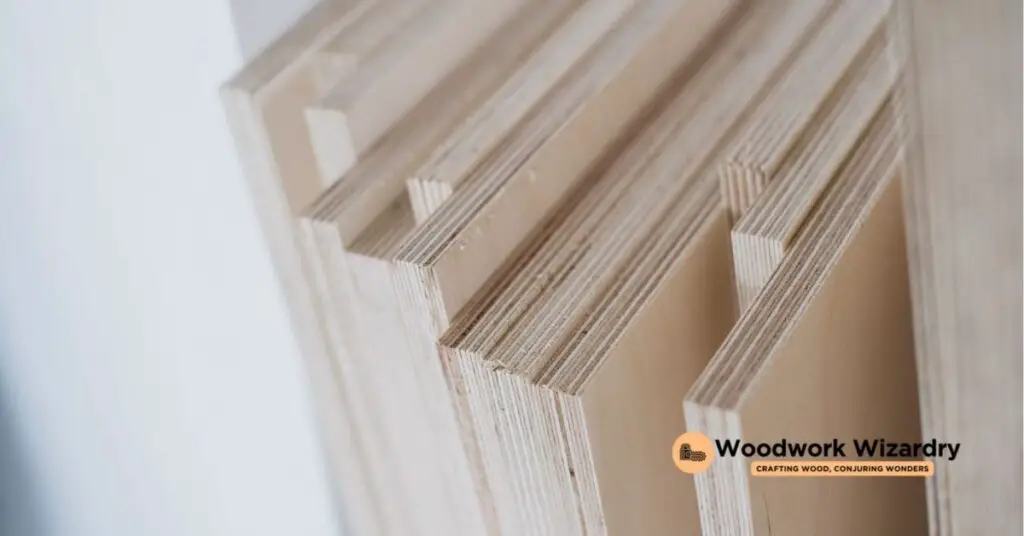
Selecting the right finish for plywood is pivotal to achieving the aesthetic and durability you desire for your project. Each type of finish offers different qualities and outcomes, depending on the use case and personal preference.
Oil-Based Finishes
Oil-based finishes penetrate deep into the wood, enriching the plywood’s natural color and grain. Products like polyurethane and tung oil are popular choices. They provide a robust and long-lasting protective layer. Applying these finishes results in a warm, glossy look, enhancing the wood’s depth and contrast. Ideal for furniture and cabinetry, oil-based finishes require more time to dry and emit stronger odors, necessitating proper ventilation during application.
Water-Based Finishes
Water-based finishes offer a clear, non-yellowing coat that retains the plywood’s original hue. Products such as water-based polyurethane and acrylic varnish dry faster and with less odor compared to oil-based counterparts. These finishes are suitable for projects where preserving the natural color is crucial, like art pieces or light-colored furniture. They provide good durability and are easier to clean up, just requiring soap and water.
Stains for Plywood
Stains are perfect if you aim to alter the plywood’s color while emphasizing its grain. Available in a myriad of colors, stains can be either oil or water-based. They soak into the wood, providing a color tint before finishing with a protective topcoat. Stains require careful application to ensure an even color saturation across the plywood. Undertaking a patch test on a scrap piece before the final application proves to be a smart approach for achieving the desired shade.
Understanding Sheens
The sheen of a finish impacts the final look of your plywood project. Sheens range from matte to high-gloss, each providing a distinct visual and functional benefit. Matte finishes hide imperfections and offer a natural look, while high-gloss finishes reflect light, enhancing color and grain visibility. Semi-gloss and satin sheens offer a balanced luster, making them versatile for both decorative and utilitarian projects. Choosing the right sheen depends on the intended use and desired aesthetic of the plywood piece.
Application Methods
Choosing the right application method ensures a smooth and lasting finish on plywood. Each method caters to different finishes and desired outcomes.
Applying Stains
Begin by preparing the plywood surface, ensuring it is clean and smooth. Apply a pre-stain wood conditioner to promote even absorption of the stain. Using a natural bristle brush or a clean, lint-free cloth, apply the stain evenly across the surface. Work in manageable sections, maintaining a wet edge to avoid lap marks. Allow the stain to penetrate the wood for the time specified by the manufacturer, usually between 5 to 15 minutes, before wiping off the excess with a clean cloth. Depending on the desired depth of color, a second coat may be applied after the first has dried thoroughly, typically overnight.
Sealing Plywood
Once the staining process is complete and the stain has dried fully, apply a sealant to protect the wood. Use a fine bristle brush or foam applicator to apply a thin, even coat of sealant, such as polyurethane or lacquer. Ensure the space is well-ventilated and you’re wearing appropriate safety gear, like gloves and a mask. Start from one corner, moving along the grain of the wood. Allow the first coat to dry completely, then lightly sand the surface with fine-grit sandpaper to remove any imperfections and wipe clean. Apply subsequent coats, sanding between each, until the surface is smooth and the desired finish is achieved, usually after 2 to 3 coats.
Finishing Touches
The final step in finishing plywood involves careful attention to detail to ensure a professional-grade outcome. Inspect the surface for any missed spots, drips, or imperfections. Lightly sand any rough areas with fine-grit sandpaper, being careful not to penetrate the sealant layer. For extra protection and a polished look, apply a final coat of finish, taking care to maintain a light, even application. Allow the final coat to fully dry before using or handling the finished plywood piece. If the finish feels rough in any areas after drying, lightly buff it with steel wool or a fine synthetic pad before cleaning off any residue. This ensures your plywood project boasts a durable and attractive finish, ready for display or use in your intended setting.
Troubleshooting Common Issues
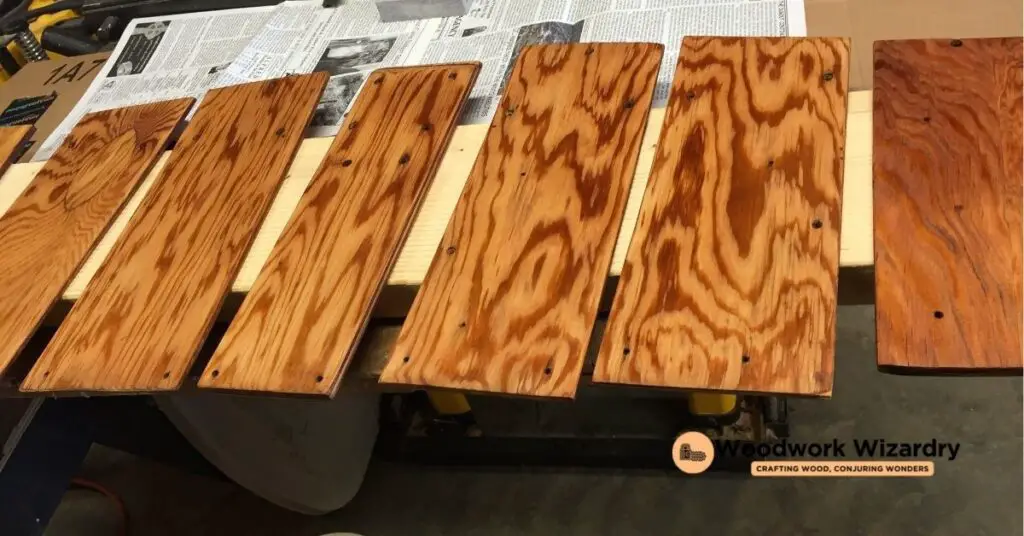
In our journey to achieving the perfect finish on plywood, we’ll occasionally encounter some hurdles. Here’s how to navigate through common issues effectively.
Streaks and Bubbles
Encountering streaks and bubbles in the finish is a common issue. Tackling these requires a gentle approach. Start by allowing the finish to dry thoroughly. Once dry, use a fine-grit sandpaper, like 220-grit, to lightly sand the affected area. Maintain consistent pressure to avoid creating depressions in the surface. After sanding, remove all dust with a tack cloth and apply a thin, even coat of finish. Ensuring a dust-free environment and using a high-quality brush or applicator helps minimize these imperfections.
Uneven Absorption
Uneven absorption often results in a patchy appearance, particularly with stains. Pre-seal the plywood with a thin coat of finish or a specialized pre-stain conditioner. This preparation step equalizes the absorption rate across the plywood surface. Allow the pre-sealant to dry as recommended, then lightly sand the surface with fine-grit sandpaper. Wipe away all sanding residue before applying the stain. Apply the stain in sections, maintaining a wet edge to avoid overlaps, and wipe away excess stain with a clean cloth.
Dust Nibs
Dust nibs are tiny, bumpy specks that appear when dust settles on wet finish. Remove dust nibs by waiting for the finish to fully cure. Then, lightly sand the surface with a very fine grit, such as 320 or higher. It’s crucial to use minimal pressure to avoid sanding through the finish. After sanding, wipe the surface with a tack cloth to remove all dust before applying the final coat. Ensuring a clean, dust-controlled environment during application and drying will significantly reduce the occurrence of dust nibs.
Maintenance and Care
Maintaining and caring for finished plywood ensures its durability and preserves its aesthetic value over time. Let’s explore the essentials of keeping your plywood in top condition.
Cleaning Treated Plywood
To clean treated plywood effectively, start by dusting it with a soft, dry cloth to remove surface dirt and grime. For more stubborn spots, a damp cloth wrung out well works wonders, ensuring the plywood doesn’t soak up excess water. Avoid abrasive cleaners or scrubbers, as these can damage the finish. Instead, opt for mild soap mixed with water for a gentle cleanse, then dry the surface thoroughly with a clean cloth. Regular cleaning not only keeps plywood looking its best but also extends the lifespan of the finish.
When to Reapply Finish
Reapply finish to plywood when signs of wear or damage become apparent. This typically occurs every few years for surfaces with heavy use or more frequently for outdoor projects exposed to the elements. Visible cues include fading, discoloration, or a dullness in the finish, suggesting it’s time for a refresh. Prior to reapplication, lightly sand the surface to ensure the new finish adheres smoothly. Test the finish in an inconspicuous area first to make sure it meets your expectations for appearance and durability. Proper maintenance, coupled with timely reapplication of the finish, will keep your plywood looking splendid and well-protected through the years.
Conclusion
We’ve walked through the steps to ensure your plywood looks its best and lasts for years. Remember, choosing the right finish and applying it with care are just the start. Keeping up with regular maintenance and being ready to reapply the finish when needed will keep your plywood in top shape. Don’t let those little signs of wear and damage go unchecked. A little effort now means your projects will continue to shine, proving that good care is the secret to enduring beauty. So grab your sandpaper and finish of choice, and let’s make sure our plywood creations are as durable as they are beautiful.
Related Posts:

