Wondering how to create stunning wood projects with fabric embellishments? You’re not alone! Gluing cloth to wood is a versatile technique that can transform ordinary wooden items into extraordinary pieces with texture, color, and personality.
We’ve mastered the art of fabric-to-wood adhesion through years of crafting experience and countless projects. Whether you’re looking to upholster a wooden chair, create mixed-media wall art, or add fabric details to home décor items, using the right adhesive and technique is crucial for long-lasting results. In this comprehensive guide, we’ll share our tried-and-true methods for securing fabric to wood surfaces.
Why Glue Cloth to Wood: Common Applications
Gluing fabric to wood serves many practical and decorative purposes across various crafting domains. Furniture restoration projects commonly use this technique to refresh worn upholstery on chairs, benches, and ottomans without complete reupholstering. DIY home décor enthusiasts apply fabric to wooden boxes, frames, and trays to create personalized storage answers and display pieces that complement their interior design scheme.
Crafters frequently attach fabric to wooden surfaces when creating mixed-media artwork, adding dimension and texture impossible to achieve with paint alone. Cabinet door inserts lined with decorative fabric transform ordinary kitchen or bathroom cabinetry into custom statement pieces at a fraction of replacement costs. Headboards covered with fabric-wrapped wood panels offer an affordable alternative to expensive upholstered furniture while allowing complete customization of patterns and colors.
Children’s toys and educational materials benefit from fabric-covered wooden components that provide tactile stimulation alongside visual engagement. Book covers and photo albums with fabric-adorned wooden covers create heirloom-quality items that preserve memories in distinctive, personalized vessels. Musical instruments sometimes incorporate fabric elements glued to wooden parts to improve acoustics or provide grip areas for musicians during performances.
Retail display fixtures often combine fabric and wood to create visually appealing merchandise presentations that highlight products while reinforcing brand aesthetics. Corporate offices use fabric-covered wooden panels for bulletin boards, room dividers, and acoustic treatments that dampen sound while maintaining a professional appearance. Religious institutions frequently employ fabric-adhered wooden elements in ceremonial objects, altar décor, and commemorative plaques that honor traditions while embracing contemporary design approaches.
Essential Materials for Gluing Cloth to Wood
Successful fabric-to-wood adhesion requires exact materials to ensure a strong, lasting bond. The right combination of adhesives, preparation tools, and application techniques creates professional-looking results for your fabric-covered wood projects.
Types of Glue That Work Best
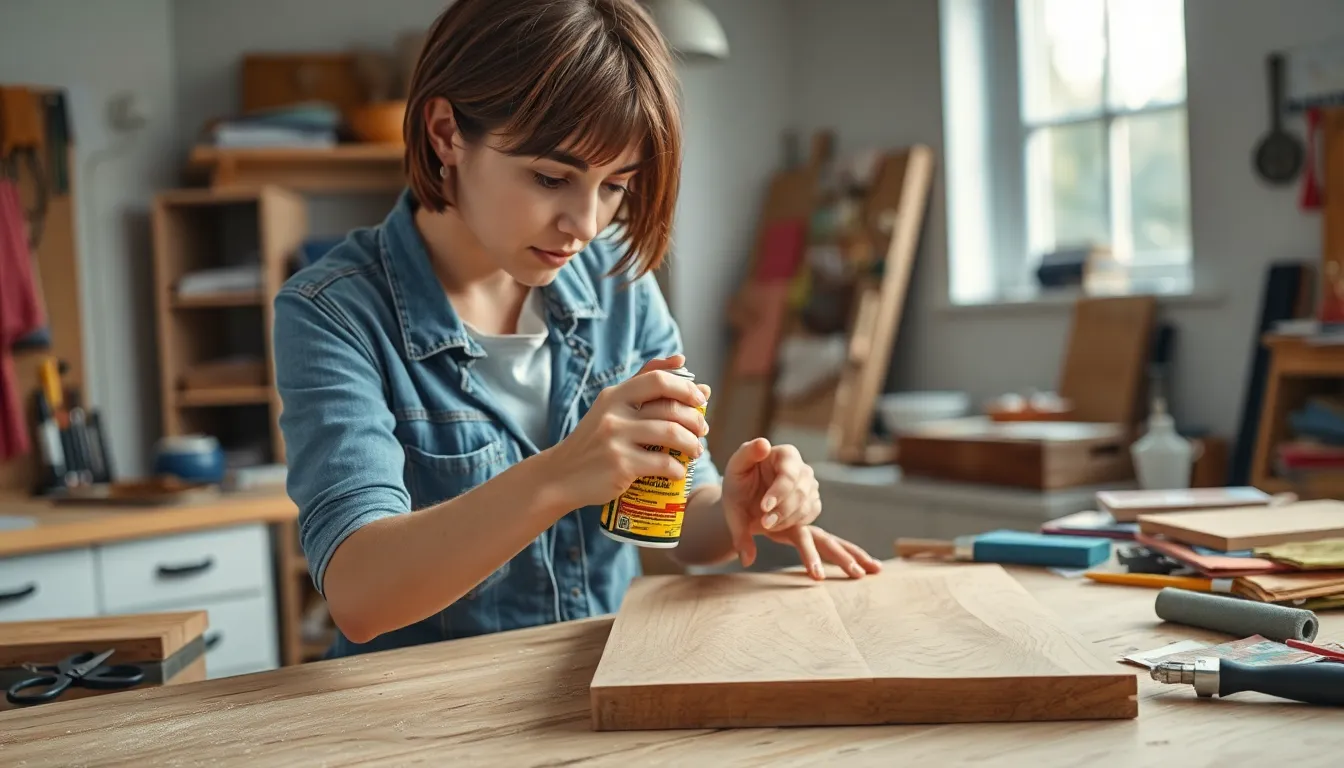
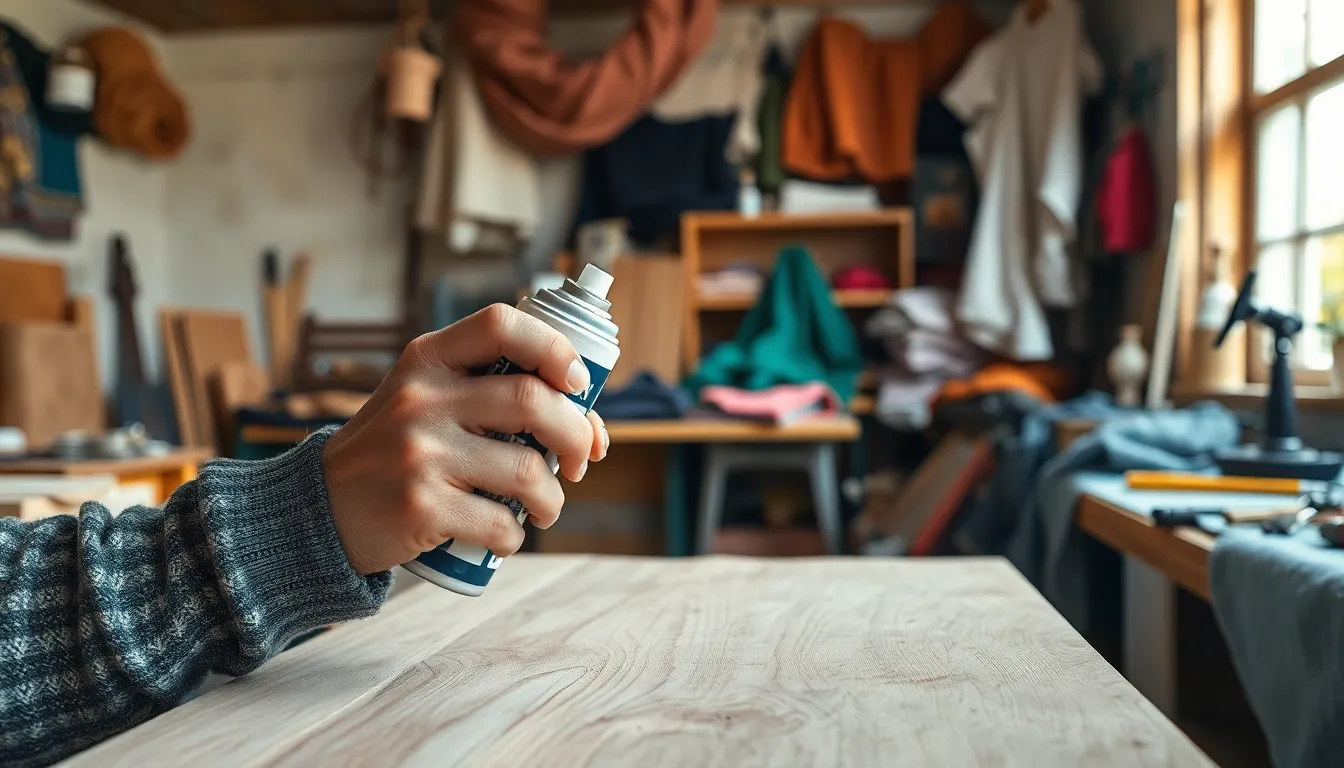
Spray adhesives like UniBond and Loctite offer even, non-saturating coverage ideal for lightweight fabrics and instant bonding. Apply spray adhesive to the wood surface only for standard projects, or to both surfaces when working with heavier fabrics for maximum adhesion. Mod Podge provides an excellent alternative as its water-based formula prevents fabric discoloration, delivers strong hold, and functions as a protective topcoat simultaneously. This versatile product works particularly well with textured fabrics and porous wood surfaces. Liquid alternatives aren’t recommended for fabric-to-wood projects due to risks of seepage, uneven application, and potential fabric distortion.
Cloth Preparation Materials
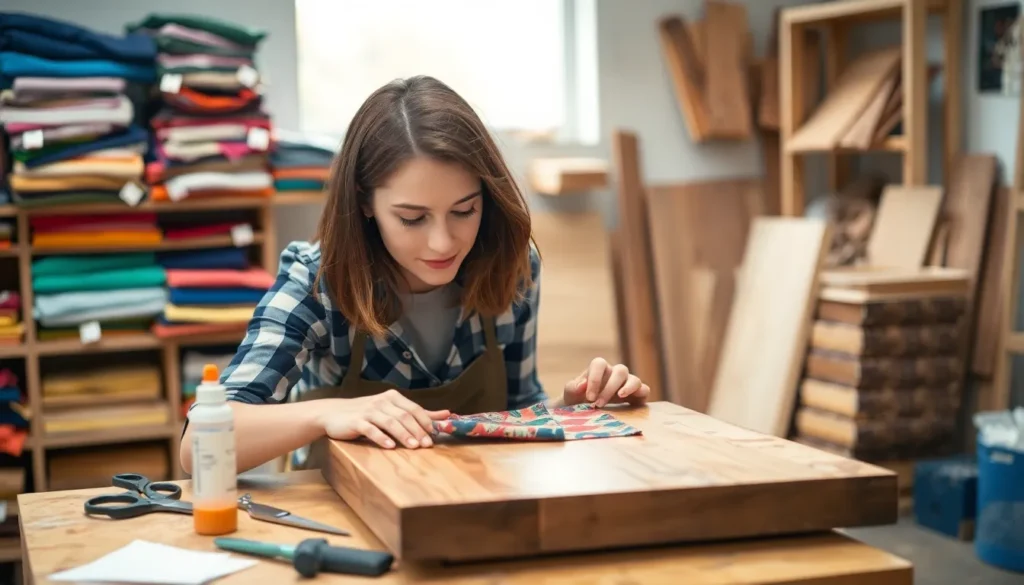
Sharp scissors are essential for precise trimming after applying your fabric to the wood surface. Temporary fixation tools like weights, pins, or painter’s tape help hold the fabric securely in position during the glue drying process, preventing shifting or wrinkling. Lint-free cloths remove dust and debris from your fabric if pre-cleaning is necessary, ensuring better adhesion and a cleaner final appearance. A brayer or roller proves invaluable for eliminating air bubbles that might form between the fabric and wood, creating a smooth, professional finish.
Wood Preparation Tools
Sandpaper in 120-220 grit smooths rough areas and enhances adhesion on wooden surfaces before applying fabric. Scrap paper or cardboard protects your workspace from adhesive overspray, preventing unwanted messes during application. Drop cloths offer additional protection for larger projects where spray adhesive might travel beyond the immediate work area. Clean, dust-free wooden surfaces create the best foundation for fabric application, so cleaning materials may be necessary depending on your wood’s condition. Allow 24 hours for full curing before handling completed projects, especially for items that will bear weight or see regular use.
Preparing Your Wood Surface for Adhesion
Proper surface preparation creates the foundation for successful cloth-to-wood adhesion. The quality of your bond depends significantly on how well you prepare the wooden surface before applying any adhesive.
Cleaning and Sanding Techniques
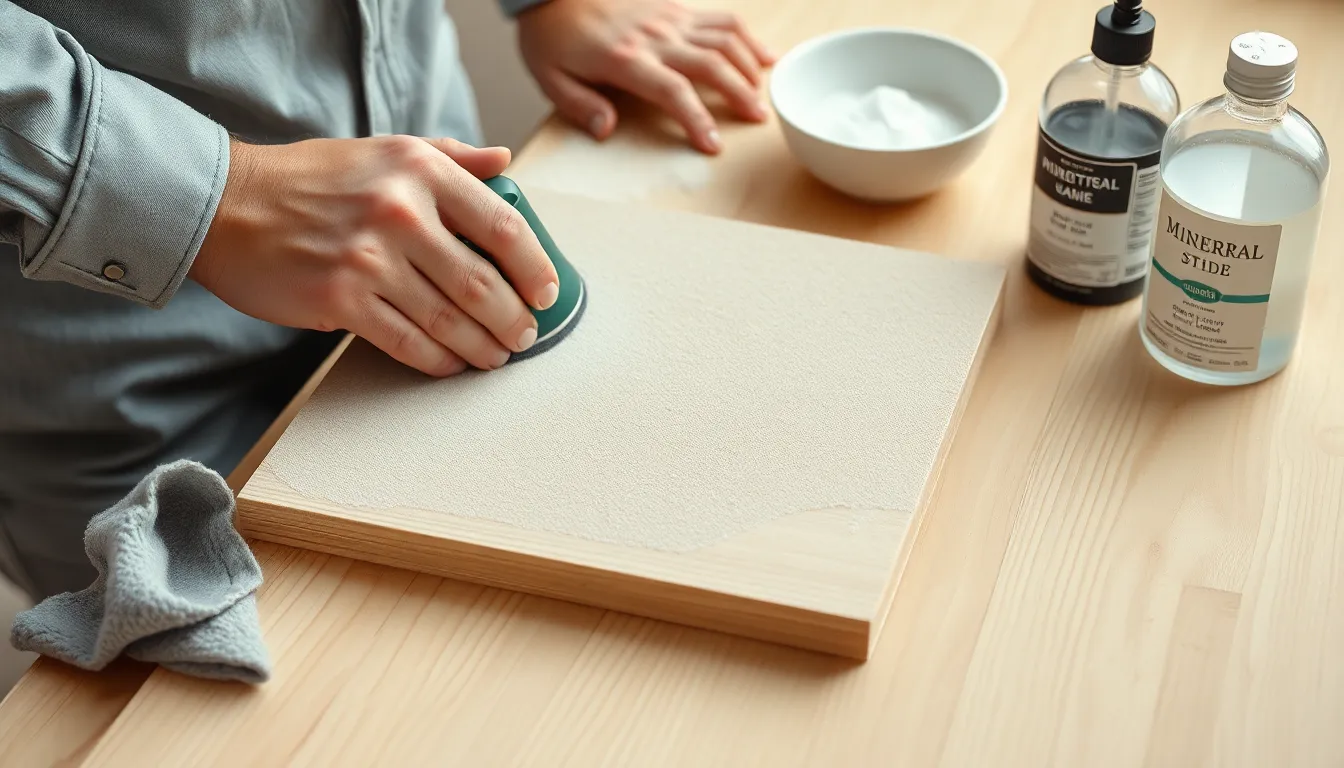
Wood surfaces require thorough cleaning to remove any substances that might interfere with adhesion. Start by wiping the entire surface with a lint-free cloth to eliminate loose dust particles. For oily or greasy spots, a mild solution of dish soap and water works effectively, followed by complete drying. Stubborn stains or residues can be removed with mineral spirits applied sparingly to avoid saturating the wood.
Sanding creates the ideal texture for glue adhesion by slightly roughening the surface. We recommend using 150-220 grit sandpaper for most wooden surfaces, moving with the grain in long, even strokes. Fine-grit sandpaper produces a smoother finish while still providing enough texture for the adhesive to grip. After sanding, it’s essential to remove all dust with a tack cloth or vacuum with a brush attachment, as even tiny particles can create bumps under your fabric.
Applying a Primer or Sealer
Primers and sealers significantly improve adhesion on porous or uneven wood surfaces. These products fill tiny imperfections and create a consistent surface for the adhesive to bond with. For highly porous woods like pine or cedar, a thin coat of primer prevents the adhesive from being absorbed too quickly into the wood.
Water-based primers typically work best for fabric applications, drying quickly and providing a neutral base. Apply the primer with a foam brush in thin, even strokes, working in the direction of the wood grain. Allow the primer to dry completely according to the manufacturer’s instructions—typically 2-4 hours depending on humidity and temperature. Lightly sand the primed surface with very fine sandpaper (320 grit) to remove any raised grain before proceeding with the adhesive application.
Preparing Your Fabric for Application
Proper fabric preparation creates the foundation for a successful cloth-to-wood project. These essential steps ensure your fabric adheres smoothly and remains secure for the long term.
Pre-washing and Ironing
Pre-washing fabric removes manufacturing chemicals and prevents future shrinkage that could compromise your adhesion. Most fabrics contain sizing agents and finishes that create a barrier between the cloth and adhesive, reducing bond strength. We recommend using mild detergent without fabric softener during pre-washing. After washing, thoroughly dry the fabric, then iron it on the appropriate heat setting for your exact material type. Ironing eliminates wrinkles and creases that might trap air bubbles or create uneven surfaces during application. Smooth fabric lays flat against the wood, creating more contact points for the adhesive to grip.
Cutting and Sizing Your Fabric
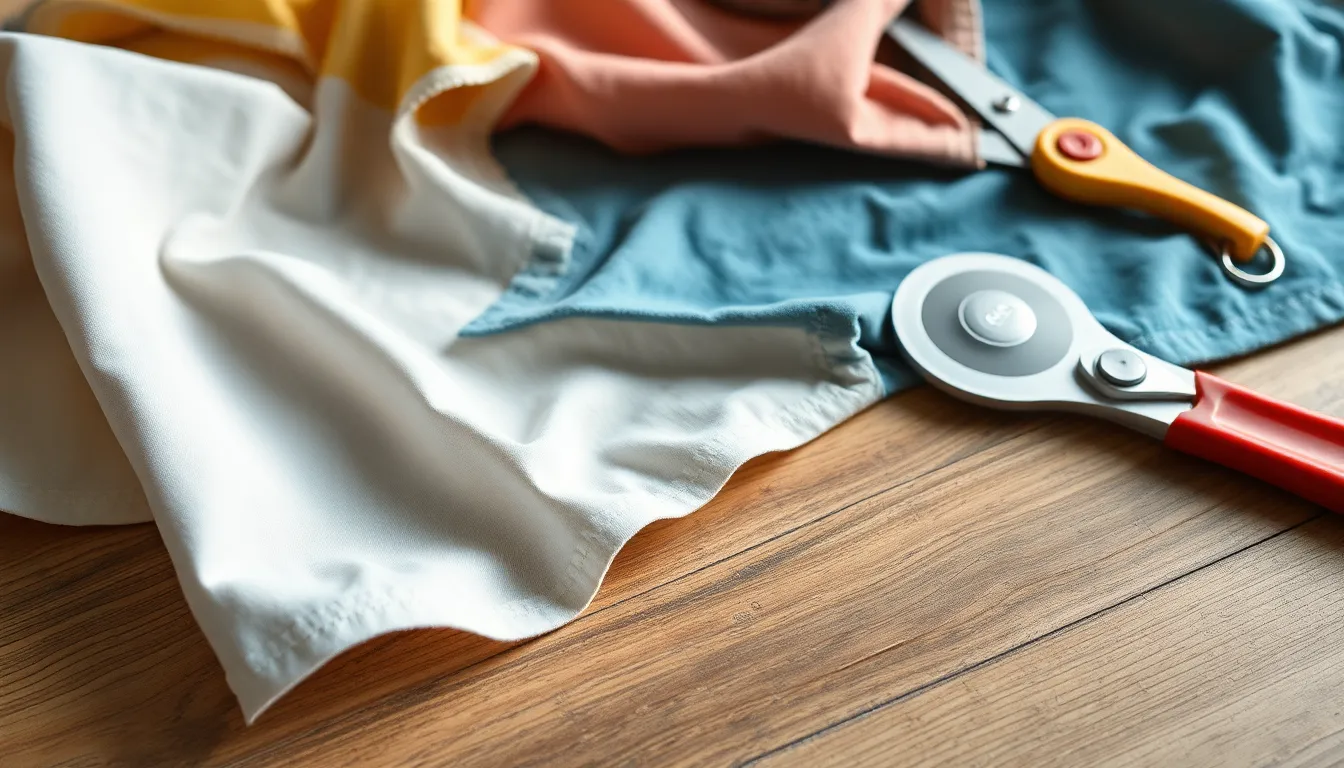
Cutting fabric with approximately 1-2 inches of excess around all edges provides flexibility during application. This extra material allows for adjustments if the fabric shifts during placement and ensures complete coverage of the wood surface. Sharp fabric scissors or a rotary cutter produce clean edges without fraying. Consider the wood’s dimensions and any pattern matching required before making your cuts. Fabrics with directional patterns or designs need special attention to ensure proper orientation on the wood surface. For complex wood shapes, you can create paper templates first to test the fit before cutting your actual fabric.
Step-by-Step Process to Glue Cloth to Wood
Our proven process for attaching fabric to wooden surfaces ensures professional results every time. Following these methodical steps creates a strong bond between the materials while maintaining a smooth, bubble-free finish.
Applying the Adhesive
Proper adhesive application forms the foundation of a successful cloth-to-wood project. Start by ensuring both wood and fabric surfaces are completely clean, dry, and free of any debris that might interfere with adhesion.
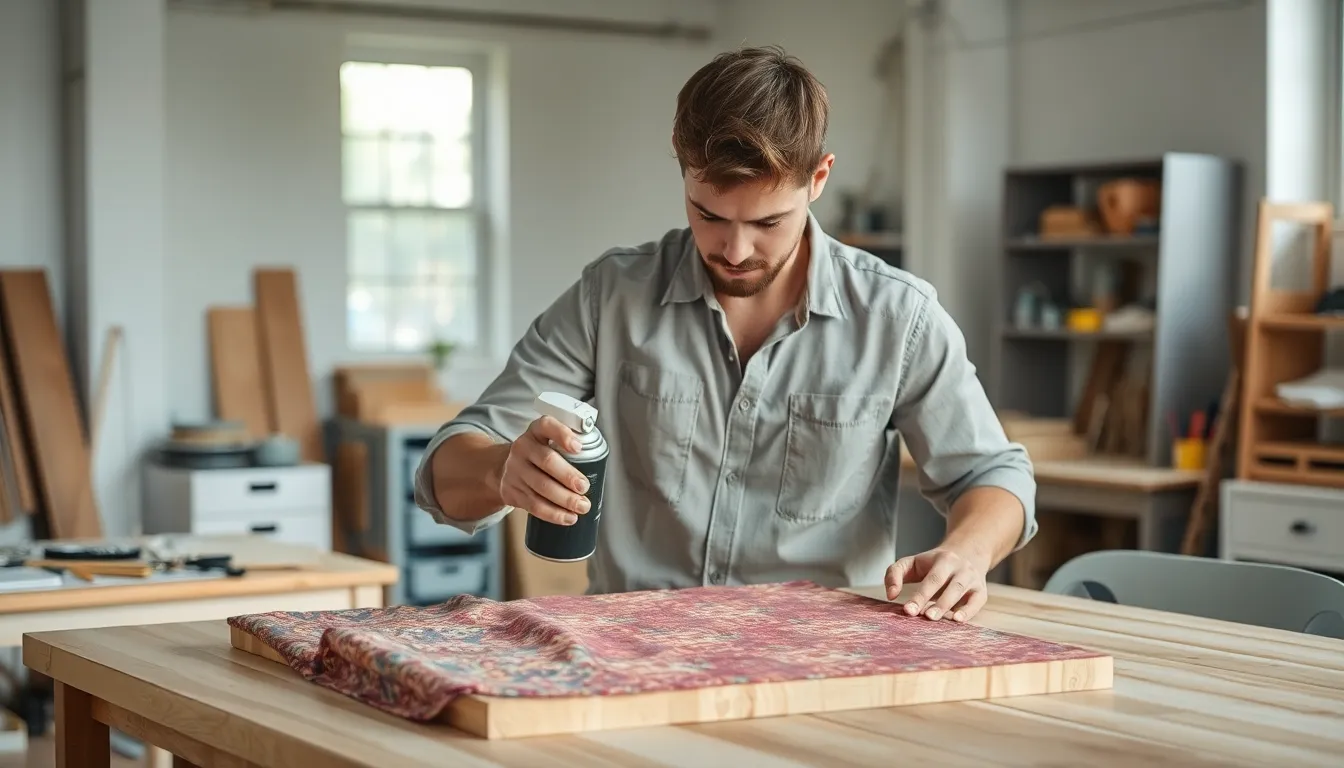
When using spray adhesive, hold the can approximately 10 inches from the wood surface and apply a light, even coat using smooth, continuous motions. Heavy fabrics require spraying both the wood and fabric surfaces, followed by a 1-10 minute waiting period before bonding the materials together.
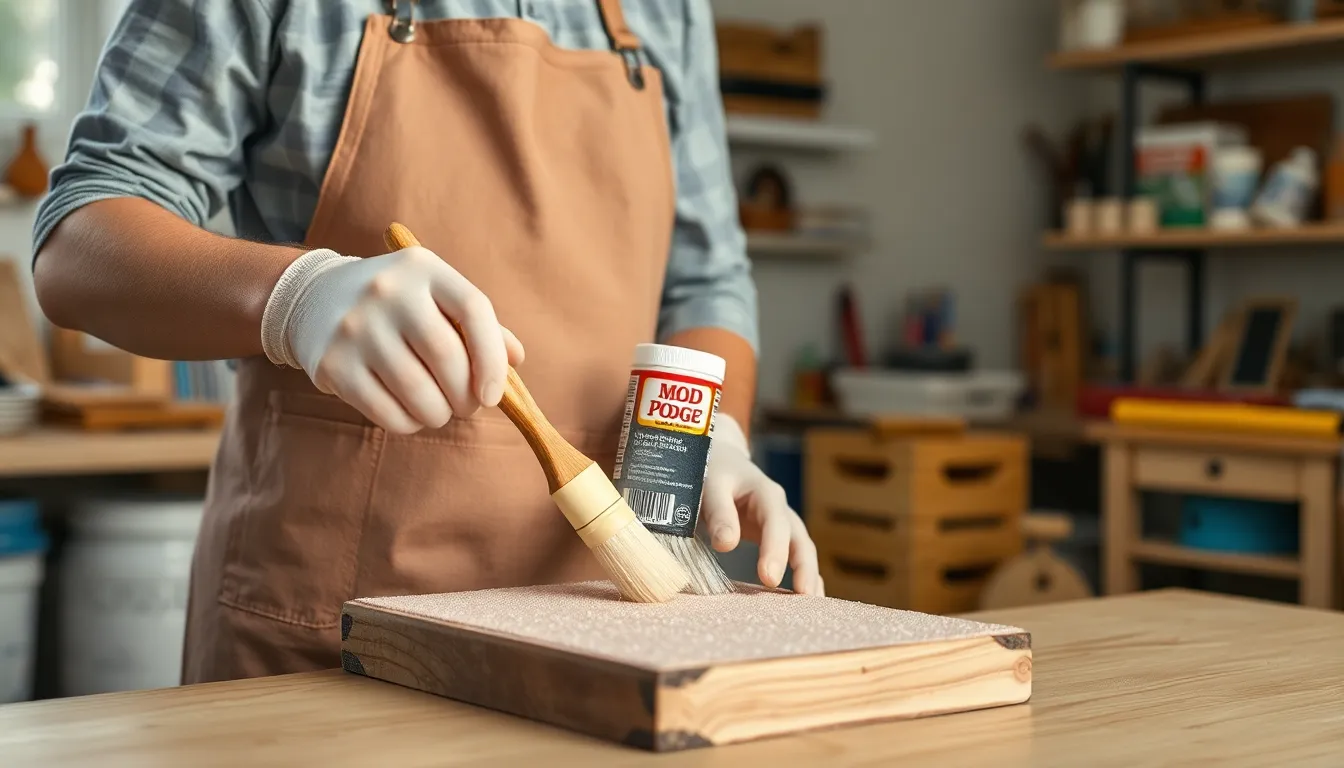
For the Mod Podge method, apply a thin, even layer directly to the wood using a brush. Ensure complete coverage across all areas where the fabric will make contact with the wooden surface. This creates a consistent adhesive base that promotes uniform bonding.
Positioning and Smoothing the Fabric
Precise positioning prevents frustrating misalignments and wasted materials. Place your fabric onto the adhesive-coated wood beginning at one edge and gradually working across the surface to minimize alignment issues.
Smooth the fabric immediately after placement by pressing firmly from the center outward using your hands or a squeegee. This technique effectively eliminates air pockets that might form between the layers.
Fabric can be repositioned if needed, but only immediately after initial placement. For projects using spray adhesive, you’ll need to reapply the adhesive if the bonding strength weakens during repositioning. Quick adjustments preserve the integrity of both materials.
Removing Air Bubbles and Wrinkles
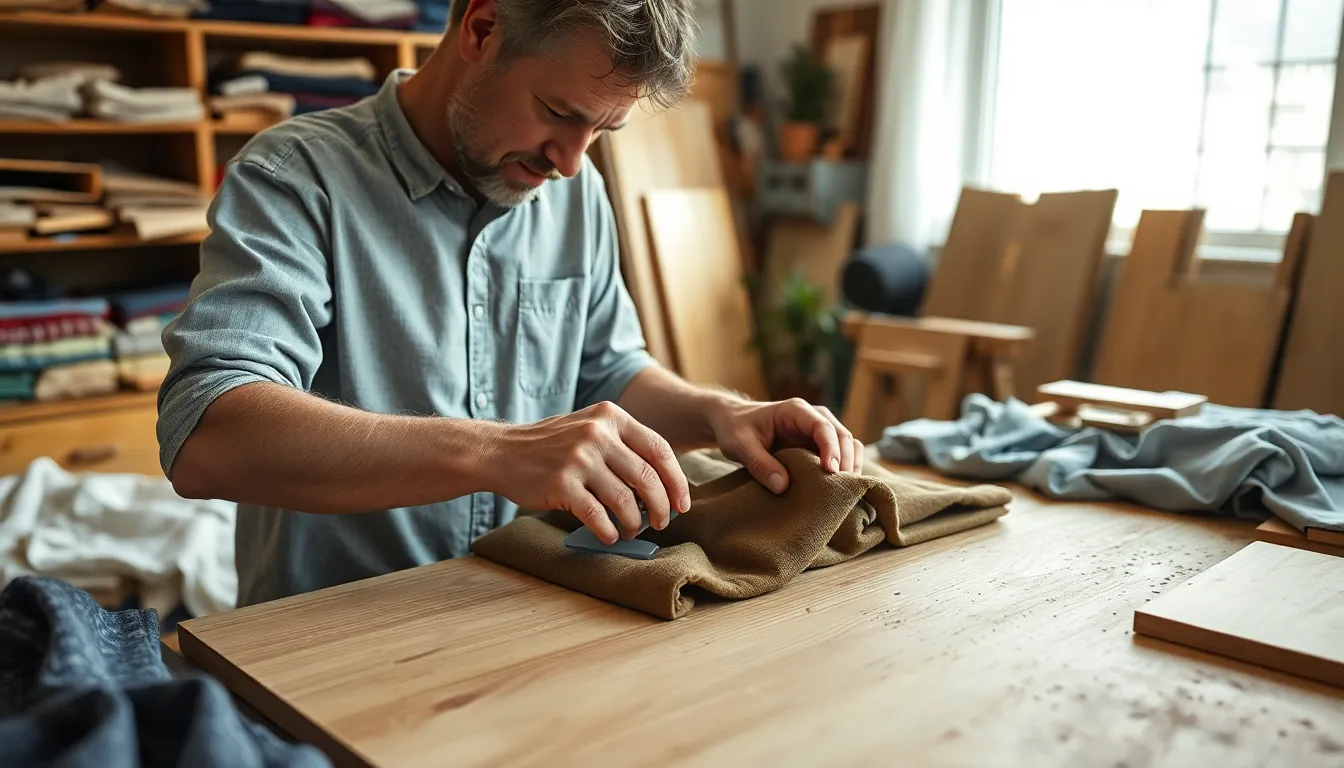
Air bubbles and wrinkles detract from the professional appearance of your finished project. Use a brayer roller or flat-edged tool to smooth the fabric thoroughly and push out any trapped air beneath the surface.
Stubborn bubbles require special attention—pierce small bubbles with a pin and press them flat to release trapped air. Larger wrinkles often necessitate lifting the affected area and reapplying adhesive before smoothing down again.
Allow your project to dry according to the adhesive manufacturer’s specifications—typically 1-10 minutes for spray adhesives (when bonding two coated surfaces) or following Mod Podge’s recommended curing time. Once fully dried, trim any overhanging fabric with sharp scissors for a clean edge.
For added durability, consider applying an optional topcoat of Mod Podge over the fabric. This additional layer enhances longevity and prevents fraying along cut edges, particularly important for items that will see regular handling or use.
Drying and Curing Time Considerations
Understanding the drying and curing times for different adhesives is crucial for successful fabric-to-wood projects. Each adhesive type requires exact waiting periods to ensure a strong, lasting bond between materials.
Spray Adhesive Drying Times
Spray adhesives typically require 1-10 minutes of drying time before attaching the fabric to wood. After applying an even coat to your wood surface, allow the adhesive to become tacky but not completely dry. For projects requiring adhesive on both surfaces, let each side dry for several minutes before pressing them together. Complete curing of spray adhesives generally takes 24 hours, during which the project should remain undisturbed for optimal bonding.
Mod Podge Curing Period
Mod Podge drying times vary based on environmental conditions and application thickness. The initial tack dry occurs within 15-20 minutes, allowing you to handle the project carefully. But, full curing takes significantly longer—typically 24-72 hours depending on humidity levels and room temperature. Projects in humid environments may require additional drying time, while those in dry, warm rooms cure faster. Multiple layers of Mod Podge need adequate drying time between applications to prevent cloudiness or improper adhesion.
PVA Glue Setting Schedule
PVA glue forms an initial bond within minutes, but complete drying takes several hours. The surface typically feels dry to touch within 1-2 hours, though we recommend waiting at least 4 hours before handling projects gently. Full strength develops after 24 hours of uninterrupted drying time. Temperature and humidity significantly impact PVA drying—cooler temperatures below 60°F or high humidity environments may extend these timeframes considerably.
Environmental Factors Affecting Drying
Room temperature and humidity levels dramatically influence adhesive drying times. Optimal conditions include temperatures between 65-75°F and moderate humidity (40-60%). Proper ventilation speeds up the evaporation process while reducing exposure to adhesive fumes. Direct sunlight or heating devices can cause uneven drying or fabric warping, so it’s best to let projects dry naturally in a well-ventilated indoor space away from direct heat sources.
Testing for Complete Curing
Before subjecting your completed project to regular use, verify the adhesive has fully cured. Gently press a fingernail into an inconspicuous area—if it leaves an impression, additional curing time is needed. Fabric corners should remain firmly attached without lifting when lightly tugged. Projects intended for frequent handling or exposure to moisture require complete curing to ensure long-term durability, so patience during this final stage proves worthwhile for professional-quality results.
Adding Protective Finishes
A protective finish creates a durable barrier for your fabric-wood projects, extending their lifespan and improving their appearance. Applying a sealer after the adhesive has fully cured protects against moisture, UV damage, and everyday wear. We’ve found that clear coats of varnish or additional layers of Mod Podge work exceptionally well for this purpose.
Best Protective Finishes for Fabric-Wood Projects
Mod Podge offers an excellent all-in-one solution as both adhesive and sealer. Apply 2-3 thin coats over your adhered fabric, allowing each layer to dry completely between applications. Polyurethane varnish provides superior water and scratch resistance for high-traffic items like furniture pieces. Spray-on fabric protectors add stain resistance without changing the texture or appearance of delicate fabrics.
Application Techniques for Clear Finishes
For optimal results, apply your protective finish in a dust-free environment at room temperature. Use a foam brush for water-based finishes to prevent brush strokes and bubbles. Apply the sealer in thin, even coats moving in one direction across the entire surface. Multiple thin layers create a stronger protective barrier than one thick coat, which may crack or peel over time.
Maintaining Your Finished Projects
Clean sealed fabric-wood projects with a slightly damp cloth rather than harsh chemical cleaners. Touch up protective finishes annually on frequently used items to maintain their protective qualities. Store unused projects away from direct sunlight and extreme temperature fluctuations to prevent premature degradation of both the fabric and protective coating.
Troubleshooting Common Issues
Even with careful preparation, you might encounter some challenges when gluing cloth to wood. These common issues can be resolved with the right techniques and a bit of patience.
Dealing with Wrinkles and Bubbles
Wrinkles and air bubbles frequently appear during fabric application but can be easily addressed. Smooth out bubbles by using a credit card or plastic scraper, working from the center of your project outward with gentle, firm pressure. For stubborn air pockets, try piercing the bubble with a fine needle and pressing down to release trapped air. Fresh wrinkles can be managed by carefully lifting the fabric before the adhesive sets completely and repositioning it with proper tension. A brayer roller proves especially effective for larger projects, creating even pressure across the surface. Heat from a hairdryer (on low setting) can sometimes relax fabric fibers and make wrinkles more manageable when working with cotton or polyester materials.
Fixing Adhesive Bleed-Through
Adhesive bleed-through occurs when glue seeps through fabric fibers, creating visible stains or stiff spots. Prevent this problem by testing your adhesive on a fabric scrap first, especially with lighter-colored or thinner materials. Wipe away excess adhesive immediately with a damp cloth before it dries completely. For already dried bleed-through, a mixture of equal parts water and white vinegar can help dissolve some adhesives without damaging most fabrics. Applying a barrier like a thin layer of varnish after the adhesive has dried completely helps protect against staining and discoloration. Consider using specialized fabric adhesives that remain flexible when dry for delicate fabrics where bleed-through is particularly concerning. Darker fabrics typically show less visible bleed-through than lighter ones, making them easier to work with for beginners.
Conclusion
Gluing cloth to wood opens up endless creative possibilities for transforming ordinary wooden items into personalized masterpieces. With the right adhesives tools and techniques we’ve shared you’ll be well-equipped to tackle projects of any scale.
Remember that patience is key throughout this process. Taking time to properly prepare both wood and fabric laying your material carefully and allowing sufficient drying time will ensure professional-looking results that last.
We’re confident that you’ll find fabric-to-wood applications incredibly versatile for your home décor furniture restoration and creative endeavors. The skills you’ve learned here will serve you well whether you’re refreshing an old chair creating custom storage answers or crafting unique mixed-media art.
Now it’s your turn to bring new life to wooden surfaces with your favorite fabrics!
Frequently Asked Questions
What is the best adhesive for gluing fabric to wood?
The best adhesives for fabric-to-wood projects include spray adhesives and Mod Podge. Spray adhesives provide even coverage and work well for larger surfaces, while Mod Podge acts as both glue and sealer, making it ideal for smaller projects. PVA glue is another good option. Always choose an adhesive designed for porous materials and consider your specific project requirements.
How should I prepare wood before applying fabric?
Properly clean the wood surface with a lint-free cloth and mild soap for any oily spots. Sand the surface with 150-220 grit sandpaper to create texture for better adhesion. Remove all dust with a tack cloth. For porous or uneven surfaces, apply a water-based primer or sealer and allow it to dry completely before proceeding with fabric application.
Do I need to prepare fabric before gluing it to wood?
Yes, fabric preparation is essential. Pre-wash your fabric to remove manufacturing chemicals and prevent future shrinkage. Iron it thoroughly to eliminate wrinkles that could create air bubbles. Cut the fabric with 1-2 inches of excess around all edges to allow for positioning adjustments. For patterned fabrics, consider alignment before cutting and create paper templates for complex shapes.
How do I prevent air bubbles when gluing fabric to wood?
To prevent air bubbles, start by applying adhesive evenly and positioning fabric from the center outward. Work methodically, smoothing with a brayer roller or plastic card. For stubborn bubbles, use a pin to release trapped air and press down firmly. Work in small sections rather than trying to adhere the entire piece at once. Proper fabric preparation (ironing) also significantly reduces bubble formation.
How long does the adhesive need to dry?
Drying times vary by adhesive type: spray adhesives typically become tacky in 2-5 minutes and fully dry in 24 hours; Mod Podge needs 15-20 minutes between coats and 24-72 hours for complete curing; PVA glue requires 1-2 hours to set and 24 hours to cure fully. Environmental factors like temperature and humidity affect drying times—warm, dry conditions accelerate the process.
Should I apply a protective finish after gluing fabric to wood?
Yes, applying a protective finish extends your project’s lifespan and enhances appearance. Wait until the adhesive has fully cured, then apply a sealer like polyurethane varnish for high-traffic items or additional layers of Mod Podge for decorative pieces. Spray-on fabric protectors add stain resistance. Apply in thin, even coats and maintain a dust-free environment during application.
How do I fix wrinkles that appear after applying fabric?
For wrinkles, try carefully lifting the affected area if the adhesive isn’t fully dry and reposition the fabric. For set wrinkles, use a hairdryer on low heat to relax fabric fibers while gently smoothing with your hand. In severe cases, you may need to dampen the fabric slightly with a spray bottle and press it down as it dries. Prevention through proper ironing and application technique is the best approach.
What can I do if adhesive bleeds through my fabric?
To prevent bleed-through, test your adhesive on a fabric scrap first and consider using specialized fabric adhesives for delicate materials. If bleed-through occurs, quickly blot excess with a clean cloth. For dried stains, try a fabric-safe stain remover. Using lighter-colored adhesives or applying adhesive to the wood rather than the fabric can also help minimize visible bleed-through.

