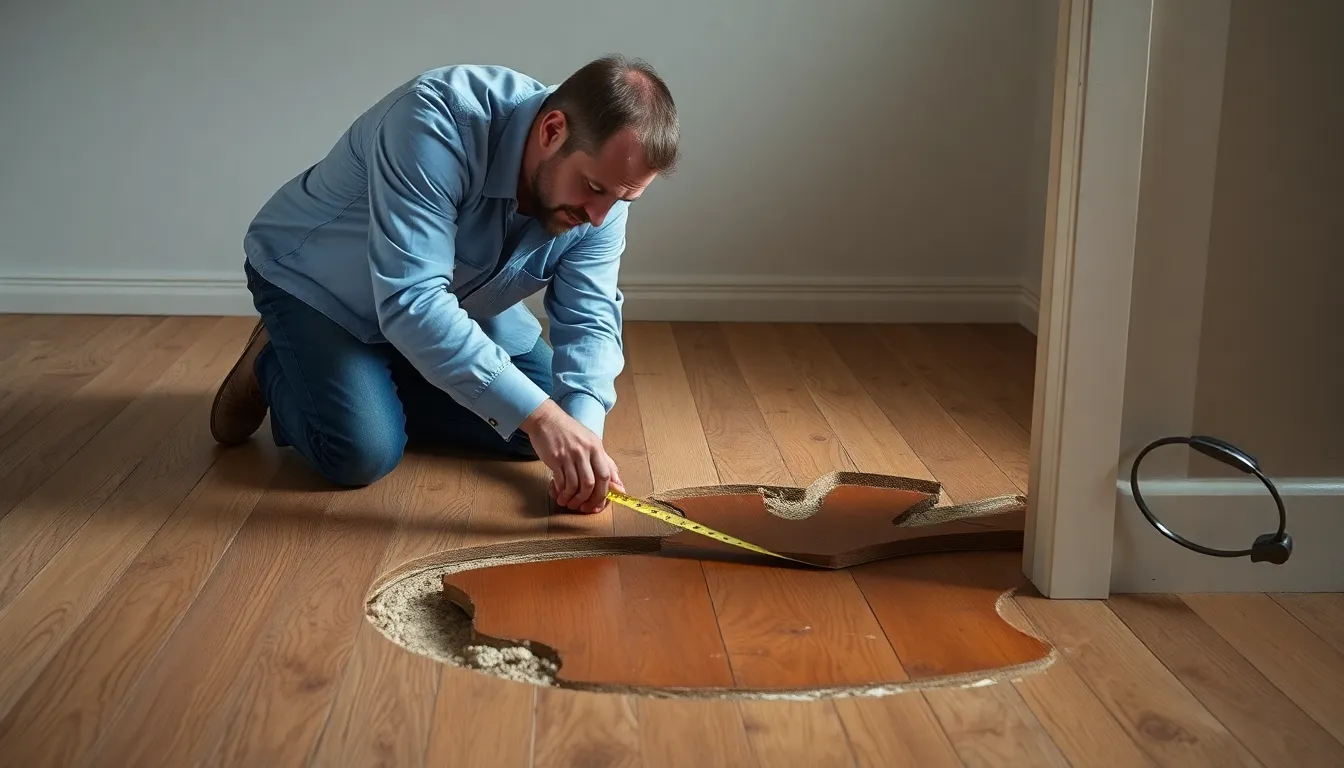
Dealing with buckled wood floors can be a homeowner’s nightmare. Those unsightly waves and raised sections not only look bad but can also create tripping hazards throughout your home. We understand how frustrating this problem can be, especially when your beautiful hardwood floors start to resemble a miniature roller coaster.
The good news? You don’t necessarily need to replace your entire floor. With the right approach, many cases of wood floor buckling can be fixed, restoring your floors to their former glory. In this guide, we’ll walk you through the causes of buckling and provide practical, step-by-step answers that can save you thousands in replacement costs.
Understanding Wood Floor Buckling: Causes and Signs
Wood floor buckling occurs when your hardwood planks lift from the subfloor, creating unsightly raised areas. This condition develops gradually and can worsen if left unaddressed, compromising both your floor’s appearance and structural integrity.
Common Causes of Buckling in Wood Floors
Excessive moisture ranks as the primary culprit behind wood floor buckling. Wood naturally expands when it absorbs water, pushing against adjacent boards and eventually lifting from the subfloor. Several exact moisture sources can trigger this problem:
- Flooding events from plumbing failures, appliance leaks, or natural disasters saturate flooring rapidly
- High humidity levels in your home, particularly in basement installations or humid climates
- Improper acclimation before installation prevents wood from adjusting to your home’s normal moisture conditions
- Inadequate expansion gaps around the perimeter restrict natural wood movement during seasonal changes
- Subflooring issues such as moisture-trapped concrete or damaged vapor barriers allow dampness to reach hardwood
Temperature fluctuations often exacerbate moisture problems, especially in homes with inconsistent climate control. Improper installation techniques, including incorrect fastener placement or insufficient adhesive, create weak points where buckling can initiate.
How to Identify Buckling vs. Other Floor Issues
Buckling displays distinctive characteristics that differentiate it from other wood floor problems. True buckling presents as sections of flooring that have completely separated from the subfloor, creating visible peaks or waves across multiple boards.
Look for these telltale signs of buckled wood floors:
- Important elevation changes between adjacent boards, often 1-2 inches in severe cases
- Hollow sounds when walking across affected areas indicate separation from the subfloor
- Visible gaps between individual planks, especially at board ends
- Warping patterns that affect multiple adjacent boards rather than isolated spots
- Moisture damage indicators like discoloration, mold growth, or musty odors
Buckling differs from cupping (edges higher than centers) and crowning (centers higher than edges), which represent different moisture-related issues. Cupping typically results from moisture underneath the floor, while crowning often occurs after improper cupping remediation. Popping or squeaking noises without visible deformation typically indicate fastener issues rather than true buckling.
Testing moisture levels using a wood moisture meter provides confirmation—readings above 12% moisture content in hardwood flooring often correlate with buckling problems.
Tools and Materials Needed for Fixing Buckled Floors
Repairing buckled wood floors requires exact tools and materials to effectively restore your flooring to its original condition. We’ve compiled a comprehensive list of everything you’ll need before starting this home repair project.
Essential Tools for the Repair Process
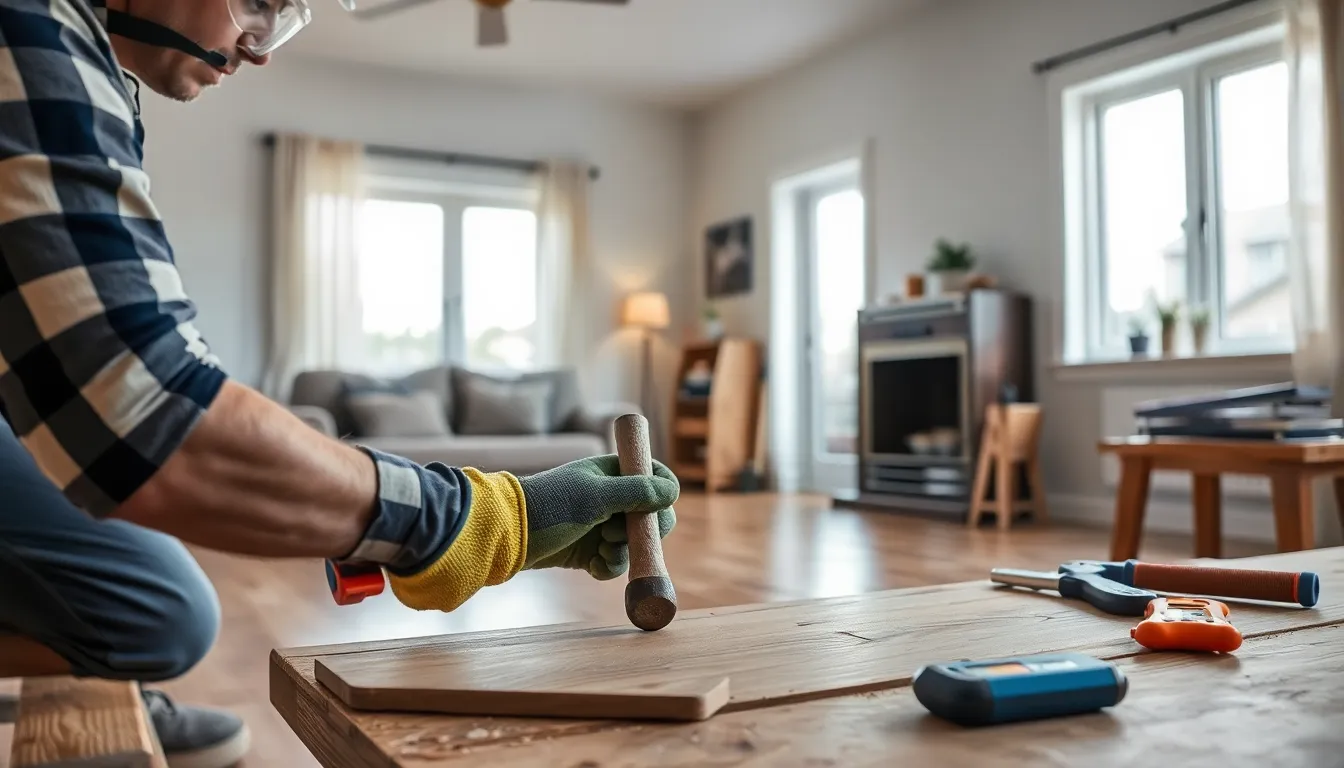
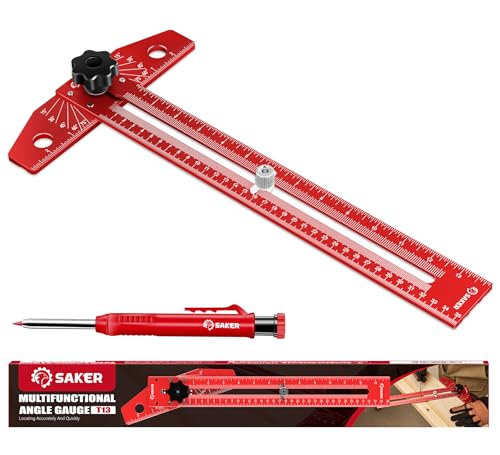
The right tools make floor repair more efficient and precise. A hammer or tap hammer serves as your primary instrument for gently tapping boards back into place without causing further damage. Prying bars provide the leverage needed to carefully lift or realign buckled planks that resist manual adjustment. Floor jacks or dampers apply even pressure across flat sections, ensuring uniform contact with the subfloor during repairs. Accurate measuring tools and tape help assess the extent of the buckling and track your progress throughout the repair. Safety equipment such as gloves and safety glasses protect you from splinters and debris while working on the floor.
Materials You’ll Need Based on Damage Severity
Different severity levels of floor buckling require exact materials for proper repair. New flooring boards become necessary when existing planks are severely damaged or warped beyond repair. Wood filler works perfectly for addressing minor dents or scratches that accompany buckling issues. Moisture meters prove invaluable for checking current moisture levels in both the flooring and subfloor, helping identify if conditions are suitable for repair. Drying equipment including fans and dehumidifiers creates optimal conditions by removing excess moisture from the affected area. Adhesives and fasteners secure loose or replaced boards firmly to the subfloor, preventing future buckling issues once repairs are complete.
Assessing the Extent of Floor Damage
When addressing buckled wood floors, a thorough assessment of the damage is essential before attempting any repairs. We need to examine whether the buckling is minor or extensive, as this determination directly impacts the repair approach.
Determining If DIY Repair Is Possible
Minor buckling issues often lend themselves to DIY answers, particularly when moisture is the culprit. Start by identifying and addressing the source of moisture, such as repairing a leaking appliance that’s causing the problem. Ensure the subfloor is completely dry and free from excess water before attempting any fixes. For boards that display cupping, placing heavy objects on them helps settle them back into their original position. This pressure technique works effectively for slight buckling where the boards haven’t sustained permanent damage.
When to Call a Professional
Professional assistance becomes necessary when dealing with moderate to severe buckling or when you’re uncertain about the underlying cause. Floor specialists possess the expertise and equipment to handle complex issues including improper installation, important moisture damage, or structural problems affecting multiple boards. They’ll employ specialized tools and techniques that aren’t typically available to homeowners, ensuring proper restoration and implementing preventive measures against future buckling. Calling a professional early can prevent further deterioration and potentially save money compared to extensive repairs needed after DIY attempts on severe damage.
Step-by-Step Process to Fix Minor Buckling
Minor buckling in wood floors can often be resolved without professional help through a systematic approach. Follow these proven steps to address buckling issues and restore your wood floor’s appearance and functionality.
Drying and Dehumidifying the Area
Removing excess moisture is the critical first step in fixing buckled wood floors. Begin by addressing any leaks or spills immediately with absorbent cloths to eliminate standing water. Set up strategic air circulation by positioning fans around the affected area to accelerate the drying process, but avoid direct heat sources as they can worsen wood contraction. Use dehumidifiers to maintain indoor humidity levels below 55%, creating optimal conditions for the wood to return to its natural state. For accurate moisture assessment, use moisture meters to identify water damage sources and track progress as the floor dries.
Using Weights to Flatten the Boards
Once the floor has thoroughly dried, applying weight is an effective technique for pressing buckled boards back into place. Cover the affected section with a flat piece of plywood to distribute pressure evenly and prevent damage to the wood surface. Place heavy objects such as books, weights, or furniture on top of the plywood, focusing directly on the buckled areas. Monitor the floor’s progress every 12 hours, as minor buckling typically resolves within 24-48 hours under consistent pressure. After the waiting period, inspect the boards for gaps—if they’ve rejoined properly, the buckling has been corrected; if gaps persist, severely warped planks may need replacement. For recurring buckling issues due to seasonal expansion, consider trimming expansion gaps near walls to accommodate natural wood movement.
Repairing Moderate to Severe Wood Floor Buckling
When wood floor buckling progresses beyond minor issues, more intensive repair techniques become necessary. Moderate to severe buckling typically requires removing damaged boards and reinstalling new ones to restore your floor’s integrity and appearance.
Identifying and Addressing the Cause
Moisture problems are the primary culprits behind serious floor buckling. Before starting repairs, locate and fix any water leaks, plumbing issues, or humidity sources that contributed to the damage. Proper ventilation must be established in the room to prevent future buckling after your repairs are complete. Gather essential tools like pry bars, clamps, and replacement boards before beginning the repair process.
Removing and Replacing Damaged Boards
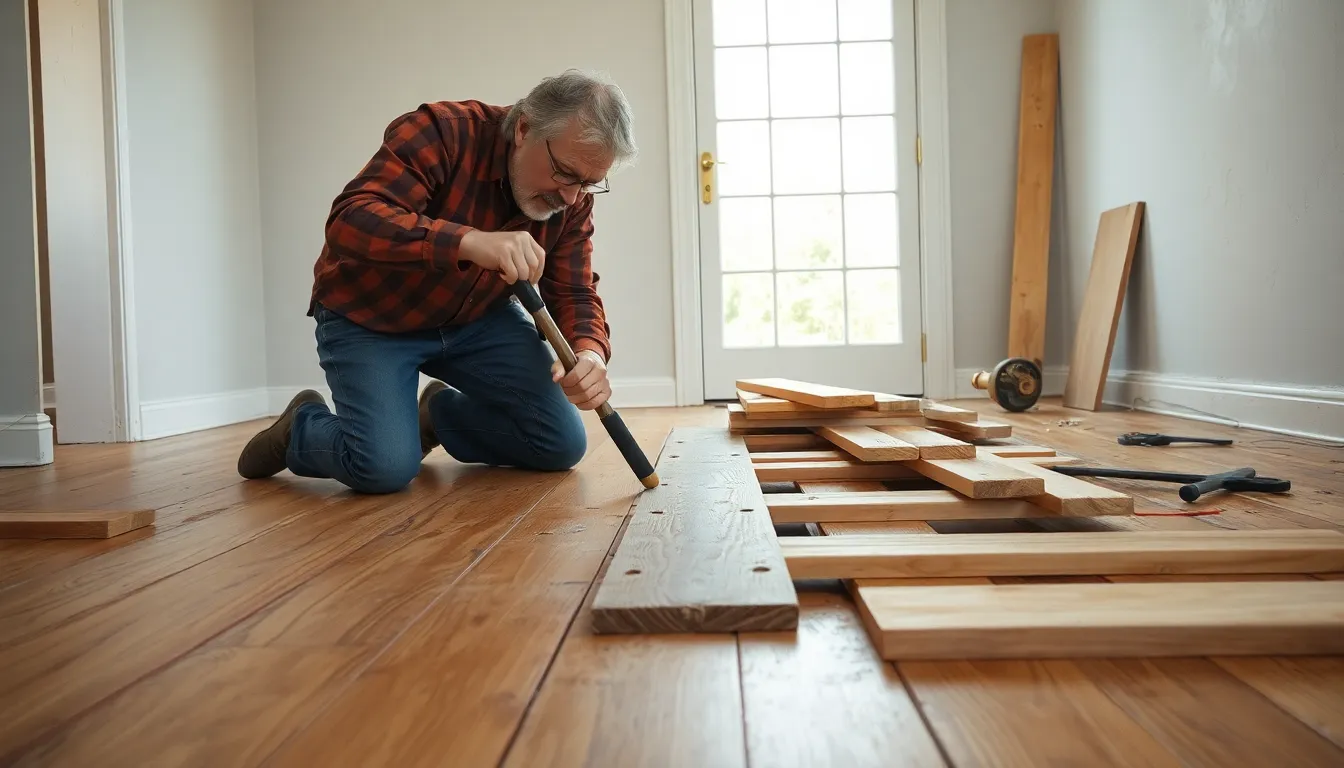
The first step in repairing severely buckled floors involves assessing the full extent of the damage. Carefully examine each affected board to determine which ones need complete replacement rather than simple restoration. Using a pry bar, gently remove the damaged boards by working from the edges to minimize impact on surrounding planks. Patience is crucial during this process to avoid creating additional damage to your intact flooring.
Once the damaged boards are removed, thoroughly clean the exposed subfloor. Remove any debris, check for signs of moisture damage, and ensure the area is completely dry before proceeding. Any pooled water must be eliminated, and the subfloor should be given adequate time to dry completely before installing new boards.
Proper Reinstallation Techniques
Inspect your subfloor carefully to confirm it’s level and structurally sound before installing replacement boards. Uneven subflooring can lead to repeat buckling issues even with new boards. Position the replacement pieces precisely to align with your existing flooring pattern, accounting for proper expansion gaps around the perimeter.
Secure the new boards using appropriate fasteners such as nails or staples based on your exact flooring type. For nail-down installations, face-nail the boards at the proper angle, then countersink the nail heads to maintain a smooth surface. The replacement boards should match your existing flooring in thickness, width, and wood type for a seamless repair.
Preventing Future Buckling
For areas showing signs of minor buckling or cupping after your major repairs, place heavy weights like boxes or books on the affected sections to help flatten them gradually. This technique works particularly well after moisture issues have been resolved and the wood is returning to its normal moisture content.
Apply a protective finish to your newly repaired sections to shield the wood from future moisture damage. Matching the finish to your existing floor is important for visual consistency. Maintaining indoor humidity between 35-55% and promptly cleaning up spills will help preserve your repairs and prevent future buckling issues.
Preventing Future Wood Floor Buckling
After repairing buckled wood floors, it’s essential to carry out preventive measures to avoid facing the same issue again. Proper maintenance and environmental control can significantly extend the life of your hardwood flooring and protect your investment.
Maintaining Proper Indoor Humidity Levels
Indoor humidity control is crucial for preventing wood floor buckling. Install hygrometers throughout your home to regularly monitor humidity levels, aiming to maintain them between 30% and 55% year-round. Dehumidifiers are effective tools for reducing excess moisture in humid climates or during summer months, while humidifiers help maintain appropriate moisture levels during dry winter periods. Proper ventilation significantly reduces moisture buildup, so consider installing exhaust fans in bathrooms and kitchens where steam produces high humidity. Air circulators can improve airflow throughout your home, preventing moisture from concentrating in exact areas and affecting your flooring. Address any plumbing leaks immediately, as even small drips can create moisture problems that lead to floor buckling over time.
Regular Inspection and Maintenance Tips
Regular inspection routines can catch potential buckling issues before they become severe problems. Check for plumbing leaks or appliance condensation near your hardwood floors, paying special attention to areas around refrigerators, dishwashers, and washing machines. Examine subfloors for moisture signs before installing new hardwood, using moisture meters to ensure readings are within acceptable ranges for wood installation. Clean spills on hardwood floors immediately and avoid wet-mopping techniques that can force water between boards and into the subfloor. Leave appropriate expansion gaps (approximately 1/2 inch) around the perimeter walls during installation to accommodate natural wood movement with seasonal changes. Apply protective finishes according to manufacturer recommendations to create a moisture barrier that shields your flooring from minor spills. Consider using area rugs in high-traffic or spill-prone areas, but ensure they don’t trap moisture underneath by lifting and airing them periodically.
Cost Considerations for Buckled Floor Repairs
Repairing buckled wood floors involves varying expenses depending on the severity of damage and chosen repair method. Understanding these costs helps homeowners make informed decisions about their flooring repairs.
DIY vs. Professional Repair Expenses
DIY repairs offer important cost savings for minor buckling issues. Small cracks and minimal lifting can be addressed using wood fillers, which typically cost $10-$15 per package. These affordable answers work well for localized problems, allowing homeowners to avoid higher professional fees. Materials for DIY repairs remain relatively inexpensive compared to full-service professional options.
Professional repairs, while more expensive, provide expertise and thoroughness for extensive damage. Labor costs typically range from $330 to $2,400, with total expenses potentially reaching $3,000 for severely damaged floors. Professionals bring specialized equipment and experience that ensures proper assessment and long-lasting repairs. They’re particularly valuable when buckling affects large areas or when the cause isn’t immediately apparent.
Value of Preventative Measures
Regular maintenance represents the most cost-effective approach to floor care. Inspecting floors for moisture damage monthly saves hundreds in potential repair costs by catching issues early. Proper airflow maintenance throughout your home also prevents conditions that lead to buckling.
Water control measures directly impact floor longevity and repair frequency. Fixing plumbing leaks promptly, using appropriate cleaning methods, and maintaining proper drainage around your home’s foundation all contribute to drier, more stable wood floors. These simple practices help avoid the $225 to $3,000 range of potential repair costs.
Humidity management tools provide excellent return on investment for wood floor protection. Dehumidifiers in damp areas and monitoring devices help maintain appropriate moisture levels, preventing the expansion and contraction cycle that leads to buckling. Controlling indoor humidity between recommended levels costs far less than addressing moisture-damaged flooring.
Conclusion
Fixing buckled wood floors doesn’t have to be overwhelming. With the right approach you can restore your flooring’s beauty and function without very costly. Whether you’re dealing with minor buckling that requires simple weight application or severe damage needing board replacement we’ve shown you practical answers for both scenarios.
Remember that addressing moisture issues is essential before attempting any repairs. Maintain proper humidity levels use protective finishes and respond quickly to spills to prevent future problems. For extensive damage don’t hesitate to call professionals—their expertise can save you money and headaches in the long run.
By following these guidelines your wood floors can remain beautiful and stable for years to come protecting both your home’s appearance and your investment.
Frequently Asked Questions
What causes wood floor buckling?
Wood floor buckling primarily occurs due to excessive moisture exposure. Common sources include flooding, high humidity, improper acclimation before installation, inadequate expansion gaps, and subflooring issues. Temperature fluctuations and poor installation techniques can worsen the problem. When wood absorbs too much moisture, it expands and lifts away from the subfloor, creating raised areas that can damage your flooring over time.
How can I tell if my wood floor is buckled?
Look for significant elevation changes between boards, hollow sounds when walking on affected areas, visible gaps between planks, and signs of moisture damage like discoloration. Buckled floors may feel uneven underfoot and make creaking noises. Using a wood moisture meter can confirm issues – readings above 12% typically indicate a problem. Buckled floors differ from cupped or crowned floors in how the planks are raised.
Can I fix minor floor buckling myself?
Yes, minor buckling is often suitable for DIY repair, especially when caused by moisture. First, eliminate the moisture source and dry the area using fans and dehumidifiers. Once dry, place heavy objects on affected boards using a flat piece of plywood to distribute weight evenly. Monitor for 24-48 hours. If gaps remain after pressing, you may need to replace those planks or adjust expansion gaps.
What tools do I need to repair buckled wood floors?
For basic repairs, you’ll need a hammer, prying bars, floor jacks, measuring equipment (tape measure, moisture meter), and safety gear (gloves, glasses). For more extensive repairs, add a circular saw, pry bar, chisel, utility knife, drill with screwdriver bits, and wood putty or filler. Having the right tools ensures safer, more efficient repairs and helps prevent additional damage to your flooring.
When should I call a professional for buckled floors?
Call a professional for moderate to severe buckling, especially when planks are significantly raised or damaged. Professional help is also recommended if you’re unsure about the buckling cause, if water damage extends to the subfloor, or if you lack the tools and experience for proper repairs. Flooring specialists have the expertise to diagnose underlying issues and implement lasting solutions that may save money long-term.
How do I fix severely buckled wood floors?
For severe buckling, first address the moisture source and thoroughly dry the area. Then carefully remove damaged boards using appropriate tools. Clean and ensure the subfloor is dry and level before installing replacement boards matched to your existing flooring. Secure new boards with proper fasteners and apply a matching finish. This process requires more skill than minor repairs and may be best handled by professionals.
What humidity level is safe for wood floors?
Maintain indoor humidity between 35-55% to protect wood floors. Levels outside this range can cause wood to either absorb excess moisture (leading to expansion and buckling) or lose moisture (causing shrinkage and gaps). Use hygrometers to monitor humidity levels, dehumidifiers during humid periods, and humidifiers in dry seasons. This consistent environment helps prevent most moisture-related flooring problems.
How much does it cost to repair buckled wood floors?
Costs vary based on damage severity and repair methods. DIY repairs for minor issues may cost $10-$30 for materials like wood fillers and fasteners. Professional repairs typically range from $330-$3,000 depending on damage extent, with severe cases requiring complete section replacement. Preventative measures like humidity control are cost-effective investments, as they help avoid expensive repairs and extend your floor’s lifespan.
How can I prevent wood floor buckling in the future?
Maintain proper indoor humidity (35-55%) using hygrometers, dehumidifiers, and humidifiers. Promptly clean spills and regularly inspect for plumbing leaks. Ensure proper installation with adequate expansion gaps. Apply protective finishes to seal the wood against moisture. Use area rugs carefully to avoid trapping moisture. Following these preventative measures will protect your investment and significantly extend the life of your hardwood floors.
Is it better to repair or replace buckled wood floors?
For minor to moderate buckling with limited damage, repairs are usually more cost-effective. If buckling affects large areas, has caused significant damage to multiple boards, or keeps recurring despite repairs, replacement might be the better long-term solution. The decision should consider the floor’s age, the extent of damage, underlying moisture issues, and your budget. Always address the root cause before either repairing or replacing.


