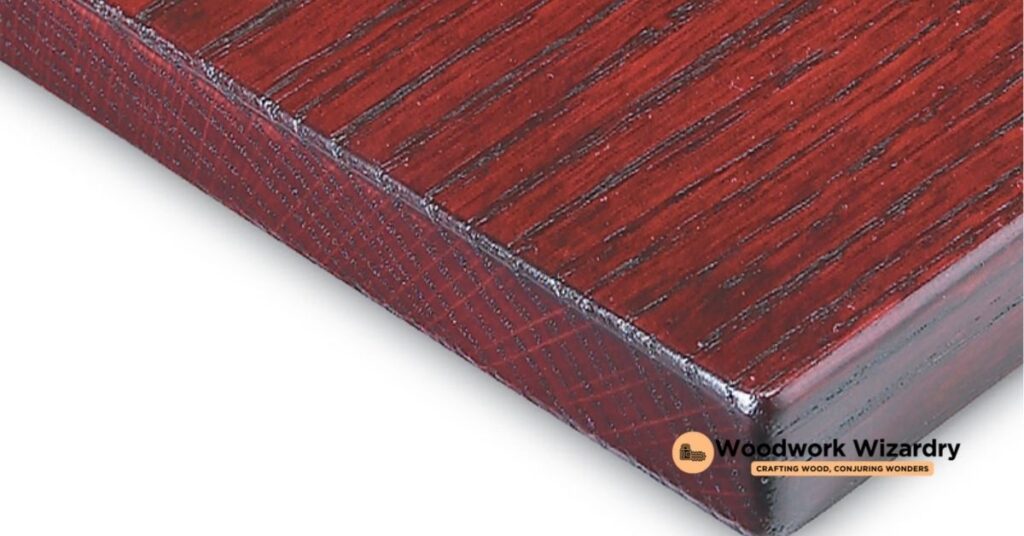
When we think about enhancing our outdoor spaces, incorporating natural wood elements like oak can add a touch of elegance and warmth. However, oak, with its rich textures and beautiful grain patterns, requires a bit of know-how to prepare it for the harsh outdoor elements. That’s where we come in! We’re here to guide you through the process of finishing oak for outdoor use, ensuring it not only looks stunning but also withstands the test of time.
Finishing oak for the outdoors isn’t as daunting as it might seem. With the right techniques and materials, we can protect this beautiful wood from moisture, UV rays, and wear and tear. Whether you’re a seasoned DIY enthusiast or a beginner eager to tackle your first project, we’ve got you covered. Let’s dive into the world of wood finishing together, transforming your outdoor space into a cozy, inviting retreat.
Understanding Oak and Its Properties
As we delve into the specifics of oak and its inherent characteristics, it becomes evident how this robust wood can be optimized for outdoor use. Oak’s natural beauty and strength make it a prime candidate for enhancing outdoor spaces, but it requires proper treatment to withstand the elements.
The Durability of Oak
Oak stands out for its exceptional durability. This hardwood possesses a dense grain pattern and a high tannin content, which naturally resists pests and fungi. Outdoor furniture, decking, and architectural details crafted from oak can endure for decades if maintained properly. Its resilience is a key reason why oak has been a preferred material for centuries in shipbuilding and construction industries.
Why Oak Needs Protection for Outdoor Use
Despite its inherent durability, oak demands protection when used outdoors. Exposure to UV rays can lead to discoloration, while rain and moisture can cause warping, cracking, or rotting over time. By applying the appropriate finishes, we can seal the wood, preserving its aesthetic appeal and structural integrity against weathering and UV damage. This step ensures that oak elements remain a beautiful part of outdoor spaces for years to come.
Materials and Tools Required
To successfully prepare and protect oak for outdoor use, gathering the correct materials and tools before beginning the project ensures a smooth and efficient process.
List of Materials
- Sandpaper: include various grits ranging from 120 to 320 for smoothing the oak surface efficiently.
- Wood Cleaner: opt for a specialized cleaner suitable for oak to remove any dirt and grime.
- Wood Brightener: apply post-cleaning to restore oak’s natural color and prepare it for finishing.
- UV-Resistant Top Coat or Sealer: select a product specifically designed for outdoor wood protection against the sun and weathering.
- Wood Stain: choose a high-quality outdoor wood stain if desired for color before sealing.
- Painter’s Tape: utilize for covering any areas not intended to be stained or sealed.
- Rags: have lint-free cloths available for application of stain or cleaner and for the clean-up process.
- Brushes: acquire brushes suitable for applying stain and sealer, including synthetic bristle brushes for water-based finishes or natural bristle brushes for oil-based products.
- Paint Sprayer: consider if preferring an even coat over large areas, especially for sealant or top coat application.
- Sanding Block or Sander: use to attach sandpaper and facilitate even sanding. An orbital sander can save time on larger projects.
- Gloves: wear to protect hands during cleaning, sanding, and finishing processes.
- Protective Eyewear: ensure safety when sanding or applying finishes to prevent any materials from contacting the eyes.
- Respirator Mask or Dust Mask: crucial for sanding operations and when applying certain finishes to avoid inhaling fine dust or fumes.
Preparing the Oak for Finishing
To ensure the oak withstands outdoor conditions, preparing the surface properly is crucial. This stage sets the foundation for a durable and long-lasting finish.
Sanding the Surface
Start by sanding the oak surface to smooth out any roughness and to open up the pores for better absorption of the protective finishes. Use a progression of sandpaper grits, starting from coarse (around 80 grit) and moving to fine (up to 220 grit). Sand in the direction of the grain to prevent scratches that could mar the appearance of the wood. After each sanding session, remove all the dust with a clean, dry cloth to check the smoothness of the surface.
Cleaning the Wood
Once the oak is smoothly sanded, cleaning it is essential to remove any remaining dust, debris, or oils that might interfere with the finish’s adherence. Use a wood cleaner designed for outdoor use, applying it with a soft brush or cloth. Rinse the wood with clean water if the cleaning product specifies the need and let it dry completely. The wood must be dry before moving on to apply any finish, ensuring no moisture is trapped under the surface that could lead to decay or mold growth.
- Always wear protective gear, such as gloves and dust masks, when sanding and cleaning the oak to safeguard your health.
- Inspect the wood closely for any signs of damage or irregularities, such as cracks or splits, that need to be addressed before the finishing process.
- Be patient and thorough during the preparation phases. Rushing through sanding and cleaning can lead to suboptimal results and may necessitate redoing the process.
- Avoid working in extreme weather conditions; too much humidity or direct sunlight can affect the wood’s moisture balance and the final outcome of the finishing process.
Preparing the oak carefully for outdoor use not only enhances its natural beauty but also significantly increases its lifespan, ensuring that it can withstand the rigors of outdoor elements.
Choosing the Right Finish for Outdoor Oak
After ensuring the oak is thoroughly prepared for outdoor use, selecting the right finish becomes crucial to maximize the wood’s longevity and aesthetic appeal. We’ll guide you through the types of finishes suitable for outdoor oak, their respective advantages and drawbacks, and share tips for choosing the right one for your project.
Types of Finishes Suitable for Outdoor Use
To protect outdoor oak effectively, consider these finishes:
- Marine Varnish: Provides excellent UV protection and water resistance, making it ideal for areas exposed to direct sunlight and moisture.
- Teak Oil: Penetrates deep into the wood, enhancing its natural beauty while offering mildew resistance. Teak oil is best for less exposed areas.
- Polyurethane: Offers a durable and hard finish, suitable for high-traffic areas. Ensure to select an exterior grade for enhanced UV protection and water resistance.
- Linseed Oil: A natural option that preserves the wood’s appearance, linseed oil also provides good protection but requires more frequent reapplication.
Pros and Cons of Each Finish
Each finish comes with its set of advantages and limitations:
- Marine Varnish:
- Pros: High durability, excellent UV and water resistance.
- Cons: Can be prone to cracking and peeling over time, requiring more meticulous application.
- Teak Oil:
- Pros: Enhances wood grain, easy to apply, and refresh.
- Cons: Offers less protection than varnishes, needs regular maintenance.
- Polyurethane:
- Pros: Forms a hard, protective layer, suitable for high wear areas.
- Cons: Less flexible, can turn yellow with UV exposure, and may not be as breathable for the wood.
- Linseed Oil:
- Pros: Eco-friendly, penetrates deeply, easy to apply.
- Cons: Lower level of protection, frequent reapplication needed.
Tips for Choosing the Right Finish
Selecting the optimal finish involves considering several factors:
- Evaluate Exposure: Determine the level of sun and moisture exposure. High-traffic and highly exposed areas need tougher finishes like polyurethane or marine varnish.
- Maintenance Willingness: If regular upkeep is not feasible, opt for longer-lasting finishes such as marine varnish or polyurethane.
- Aesthetics Preference: For those who prefer a natural look, teak oil or linseed oil might be preferable despite requiring more maintenance.
- Environmental Conditions: Consider the local climate. Humid conditions might necessitate a finish with excellent water resistance, whereas areas with high UV exposure require finishes with UV blockers.
By understanding the unique characteristics and requirements of your outdoor oak project, you can make an informed decision on the right finish, ensuring beauty and durability for years to come.
Applying the Finish
After selecting the right finish for your oak project, application becomes the next crucial step. Ensuring the finish protects and enhances the oak’s natural beauty requires attention to detail throughout the application process.
Staining the Oak (If Desired)
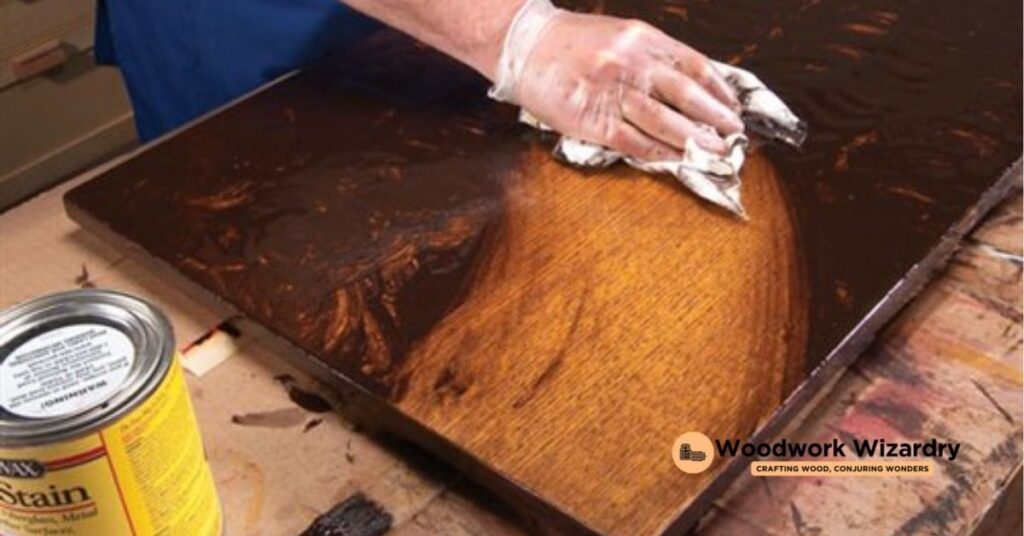
Staining the oak before applying the sealant enhances the wood’s natural grain and color. Test the stain on a scrap piece of oak to confirm the desired color. Apply the stain using a brush or rag, moving along the grain of the wood. Allow the stain to penetrate the wood for 5–15 minutes, depending on the depth of color desired, then wipe away any excess with a clean cloth. Let the stain dry completely, which usually takes 24 hours, before proceeding to the next step.
Applying the Sealant
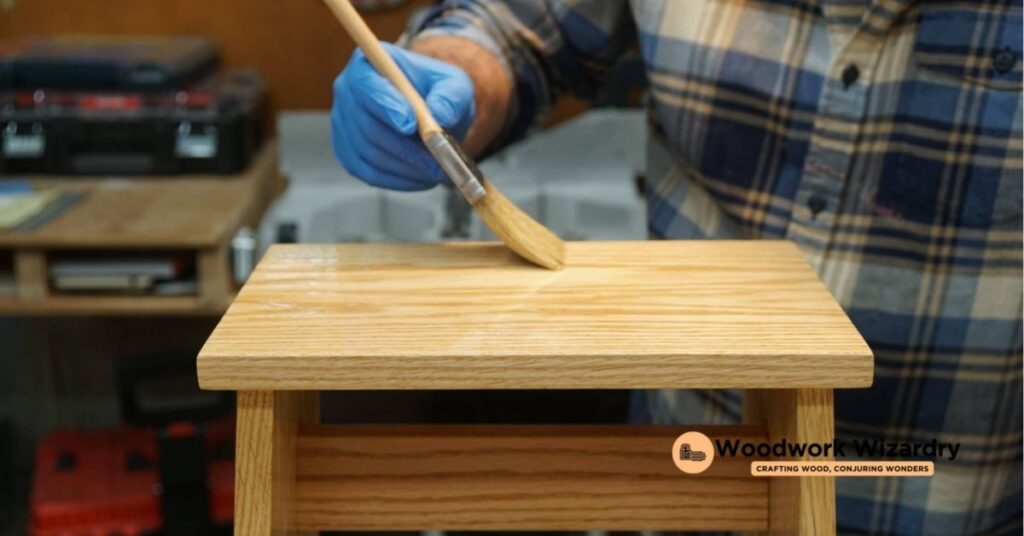
Begin by ensuring the oak surface is clean and free of dust. Using a high-quality brush or a lint-free cloth, apply the first coat of sealant thinly and evenly over the oak. Work in sections and always along the grain to minimize brush marks and uneven thickness. If using a product like marine varnish or polyurethane, consider thinning the first coat to help it penetrate deeper into the wood. Allow the first coat to dry as recommended by the manufacturer, which could be anywhere from 2 to 24 hours. After the first coat is dry, lightly sand the surface with fine-grit sandpaper to remove any bumps or imperfections. Clean the dust off and apply a second coat, possibly a third if the manufacturer recommends it, for optimal protection.
Drying and Curing Time
Allow sufficient time for the sealant to dry and cure completely before exposing the oak to outdoor conditions. Drying time varies by product but typically ranges from a few hours to overnight for touch dry. Full curing might take up to 30 days. Avoid placing objects on the surface or exposing the finish to moisture until fully cured to prevent marks or damage.
- Ensure ambient conditions are suitable for application, ideally with temperatures between 50-90°F (10-32°C) and humidity below 65%.
- Stir the sealant gently before use to avoid creating bubbles.
- Apply multiple thin coats rather than a single thick one to achieve a uniform finish that dries and cures properly.
- Utilize natural light or a bright workspace to spot and smooth out runs or drips in the sealant before they dry.
- Keep a wet edge as you work to avoid overlapping marks for an even coating.
- Clean your tools immediately after use with the appropriate solvent for easy future applications.
By following these steps and maintaining patience throughout the process, the oak will be well-protected and maintain its aesthetic appeal for years to come in outdoor settings.
Maintenance and Care
After meticulously finishing your oak for outdoor use, maintaining its beauty and durability over time becomes essential. Let’s delve into the practices that ensure your outdoor oak projects stand the test of time.
Regular Maintenance Tips
- Inspect Annually: Annual inspection helps identify issues like cracks or peeling finish before they worsen. If your outdoor oak furniture or projects show signs of wear, addressing these early prevents further damage.
- Clean Regularly: Wipe the surface with a mild soap and water solution every few months. This removes dirt and prevents the buildup of grime, which can degrade the finish over time.
- Reapply Finish as Needed: Depending on the exposure to sunlight and weather, reapply a sealant or finish every 2 to 3 years to maintain its protective layer. Signs that indicate the need for reapplication include fading, discoloration, or loss of sheen.
- Cover or Store During Extreme Weather: If possible, cover outdoor oak furniture with waterproof covers during rain or snow. Storing items indoors during winter months minimizes exposure to harsh conditions and extends their lifespan.
- Sanding Down Imperfections: For minor scratches or surface wear, light sanding with fine-grit sandpaper can restore the smoothness of the oak. Always sand in the direction of the grain to prevent further damage.
- Touch Up Finish: Apply a touch-up coat of the original finish to sanded areas. Matching the finish maintains the uniform appearance of the oak and ensures the repaired area is protected against the elements.
- Replace Damaged Parts: Severe weather or accidental damage might cause irreparable harm to some parts of outdoor oak projects. In such cases, replace the affected parts promptly to restore structural integrity and aesthetic appeal.
- Professional Help for Major Damage: When facing major damage or wear that challenges your DIY skills, seeking professional help ensures your outdoor oak remains in excellent condition. Experts can address significant issues, ensuring the longevity and beauty of your oak projects remain intact.
Troubleshooting Common Issues
In the journey of maintaining oak for outdoor use, some common issues might arise. Let’s tackle how to address them efficiently.
Fading Finish
Oak’s finish can fade over time due to exposure to sunlight and weather elements. To combat fading, start by lightly sanding the surface to remove the old finish, ensuring the wood is clean and smooth. Apply a fresh coat of UV-resistant exterior finish or varnish. If the oak is located in areas with intense sunlight, consider adding a UV-filtering top coat for extra protection.
Water Damage
Water damage manifests as discoloration, warping, or mildew growth. Treat water damage early by drying out the oak thoroughly to prevent further deterioration. For minor warping, clamping the wood as it dries may help correct distortions. Remove any mildew with a solution of bleach and water, rinse well, and let the wood dry completely. Follow with sanding to even out any raised grain and reapply a waterproof sealant or finish.
Tips for Repair and Restoration
Repairing and restoring outdoor oak requires patience and the right approach. For scratches or minor damage, use a matching wood filler to fill in the imperfections and sand smoothly before reapplying finish. In cases of severe damage, replacing the affected parts might be necessary. Always match the original wood type and finish to maintain a consistent look. Regularly apply a maintenance coat of finish or sealant to protect against future wear and prolong the life of the oak.
Alternative Methods
Exploring alternative methods broadens the range of finishing options for oak wood destined for outdoor settings. These approaches accommodate aesthetic preferences and durability requirements.
Oil Finishes for a Natural Look
Oil finishes, like tung oil or linseed oil, enhance outdoor oak’s appearance while offering protection. These oils penetrate deep into the wood’s pores, hardening to form a water-resistant barrier. Application involves applying multiple thin layers, allowing sufficient drying time between coats. The number of layers depends on the desired finish depth and protection level. Periodic reapplication maintains the protective layer and keeps the oak looking vibrant. Oils emphasize the wood’s natural grain, rendering a warm and inviting appearance.
Paint for Full Coverage
Paint provides oak with maximum protection against the elements by covering the surface entirely. Selecting a high-quality outdoor paint ensures longevity and durability. Preparation includes sanding the wood to ensure adhesion and applying a primer designed for outdoor use. The painting process usually requires at least two coats for even coverage. Paint blocks UV rays effectively and shields the wood from moisture, preventing decay and infestation. A wide range of colors allows for creative freedom, matching or contrasting the outdoor environment as desired. Regular inspections and touch-ups keep the paint finish in top condition, preserving the oak’s integrity over time.
Conclusion
We’ve walked through the essentials of preparing and maintaining oak for outdoor use, from choosing the right finish to addressing common issues. Remember, regular care is key to preserving its beauty and durability. Whether you opt for a natural oil finish or a vibrant paint, your outdoor oak will thank you with years of steadfast service. Let’s embrace the journey of keeping our oak pieces looking great, enhancing our outdoor spaces with their timeless charm. Happy finishing!
Related Posts:

