Drying wood doesn’t have to be a complicated or expensive process. If you’re working on a project and don’t have access to a kiln, you’re not out of options. With the right techniques, you can effectively dry wood at home using simple, accessible methods that save you time and money.
Imagine transforming freshly cut wood into usable material without relying on heavy equipment or costly tools. It’s not just possible—it’s easier than you think. Whether you’re a DIY enthusiast or a woodworking pro, learning how to dry wood without a kiln gives you more control over your materials and opens up endless creative possibilities.
Why Drying Wood Is Important

Properly drying wood prevents warping, splitting, or cracking during use. Moisture content inside wood affects its stability; excess water can cause uneven shrinking as the wood dries naturally. Controlling this process ensures the material retains its desired shape and size.
Dry wood enhances durability and minimizes the risk of rot or decay. High moisture creates an environment for fungi or mold to thrive, compromising the wood’s structure over time. Drier lumber becomes more resilient, especially for outdoor or high-humidity applications.
Processing dry wood improves workability for woodworking projects. Tools cut cleaner and more precisely on dehydrated lumber, avoiding damage caused by trapped internal water. This results in smoother surfaces and better quality finishes.
Reducing moisture content increases compatibility when bonding or sealing wood. High-moisture surfaces weaken adhesives or finishes, leading to poor results. Using dried wood ensures stronger bonds and long-lasting coatings.
Drying wood improves its strength-to-weight ratio. Excess water adds unnecessary weight, making construction or transportation less efficient. Lightweight materials maintain optimal strength for handling and structural performance.
Traditional Methods Of Drying Wood Without A Kiln

Drying wood naturally allows you to save money while ensuring the process remains environmentally friendly. These methods also require minimal equipment, making them accessible to almost anyone.
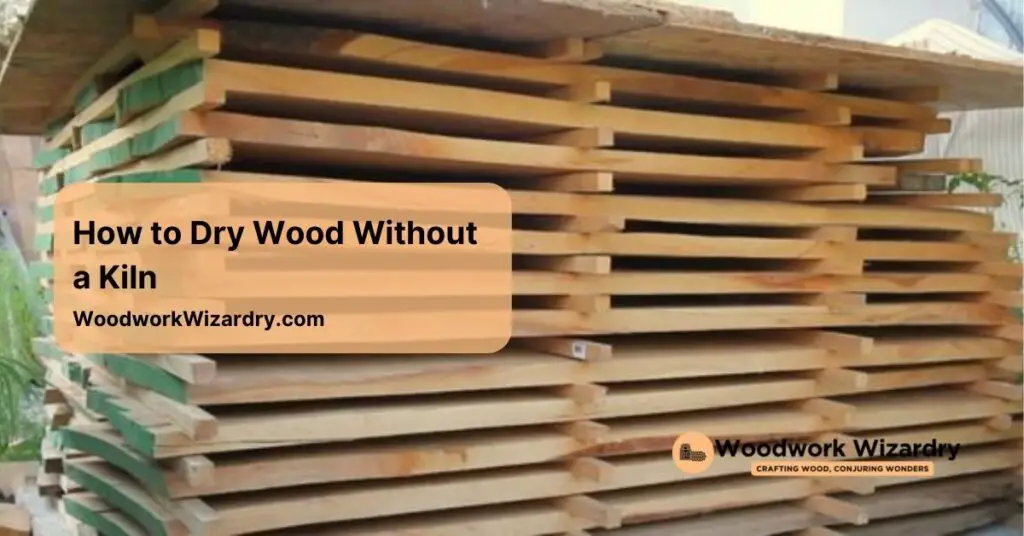
Air Drying
Place wood stacks in a shaded, well-ventilated area to promote steady moisture reduction. Arrange the wood on a raised platform or sticks to prevent ground contact and increase airflow. Leave enough space between each piece for air circulation. Using tarps or corrugated metal sheets prevents rain exposure but still allows airflow. This process typically takes six to 12 months, depending on wood species and thickness.
Solar Drying
Set up a solar drying chamber to use sunlight as an effective heat source. Create a simple frame with transparent panels like glass or plastic to trap heat. Position openings on the chamber to help ventilation and moisture release. Wood placed inside dries faster compared to open-air drying, especially in sunny regions. A typical solar-dried batch of wood may take two to four months, depending on weather conditions.
Using a Dehumidifier
Use a dehumidifier in an enclosed space to control humidity levels efficiently. Build a straightforward enclosure around wood stacks using tarps or plastic sheets to concentrate drying efforts. Place a dehumidifier inside alongside a small fan for air circulation. This technique accelerates drying compared to outdoor methods, often lowering moisture content in just weeks. Regularly monitor moisture levels using a moisture meter to avoid over-drying.
Step-By-Step Guide To Dry Wood Without A Kiln

Drying wood without a kiln requires a deliberate approach to ensure the process is effective. Follow these steps to achieve optimal results.
Choosing The Right Location
Pick a shaded area with good airflow to prevent direct sunlight from causing cracks. Ensure the place is dry to avoid absorbing additional moisture. Use a location with consistent protection from rain or extreme weather for better results.
Stacking The Wood Properly
Place the wood on elevated supports to allow air circulation beneath the stack. Keep consistent spacing between pieces using stickers, which are thin wooden spacers. Align the stack to minimize exposure to uneven pressure, reducing the likelihood of warping.
Moisture Monitoring Tips
Use a moisture meter to check levels regularly for accuracy. Test multiple pieces from different parts of the stack to get an average moisture content. Aim for 6-8% for indoor projects and 12-15% for most outdoor applications.
Advantages And Limitations Of Drying Wood Without A Kiln

Drying wood without a kiln offers flexibility and practicality for woodworkers at all skill levels. While it eliminates the need for expensive equipment, this approach also presents certain drawbacks.
Benefits
You can dry wood at home with minimal cost, making it an economical option. It uses readily available resources like air, sunlight, or basic equipment, reducing expenses further. The process is environmentally friendly, as it eliminates reliance on energy-intensive kilns. Methods such as air drying and solar drying rely on natural elements, which contribute to sustainability. Also, it allows for drying larger quantities of wood at varying sizes, as there’s no size constraint imposed by a kiln. You gain control over the drying pace, helping to retain wood quality by minimizing risks of cracking or warping from rapid moisture loss.
Challenges
Drying without a kiln requires important time investment, which can stretch from weeks to over a year depending on wood type and method used. Environmental factors like humidity, temperature, and airflow must be carefully managed to ensure consistent drying, which can require consistent monitoring. Achieving uniform dryness can be challenging, as natural methods sometimes result in uneven moisture levels, especially for thick pieces. The process may be impacted by external elements like pests or exposure to rain, potentially compromising the wood’s quality. Also, you might need extra space for stacking and airflow, which can limit feasibility for those with constraints on available areas.
Tips For Faster And More Efficient Drying
Position the wood in a shaded location with good airflow. Placing it directly under sunlight increases the risk of cracks or splits. Ensure surrounding space promotes ventilation to reduce excess moisture buildup.
Stack the wood on raised supports to prevent ground moisture absorption. Maintain consistent gaps using spacers, such as strips of wood, between layers to improve air circulation. Arranging the pieces uniformly reduces the chance of warping.
Use a moisture meter to track progress. Regularly checking the moisture content ensures you meet the desired levels for the wood’s intended purpose. For example, furniture-grade wood typically requires 6–8% moisture content.
Accelerate the process by implementing a simple cover or tarp. Protecting the stack from rain while allowing airflow minimizes delays caused by water exposure. Keeping the wood dry during this stage ensures better control over results.
Rotate or reposition the pieces weekly. This prevents uneven drying caused by one side being exposed to different airflow conditions. Consistent adjustments ensure more uniform moisture distribution.
Leverage natural heat whenever possible. During warm months, higher ambient temperatures contribute to quicker drying without additional tools. Combining heat with proper stacking practices delivers noticeable improvements.
Conclusion
Drying wood without a kiln is an accessible and rewarding process that gives you greater control over your materials while saving money. By using simple techniques and monitoring moisture levels, you can prepare wood for a variety of projects with confidence.
Whether you’re air drying, using solar methods, or incorporating a dehumidifier, each approach offers unique benefits to suit your needs. With patience and proper care, you can achieve high-quality, durable wood ready for your next creative try.


