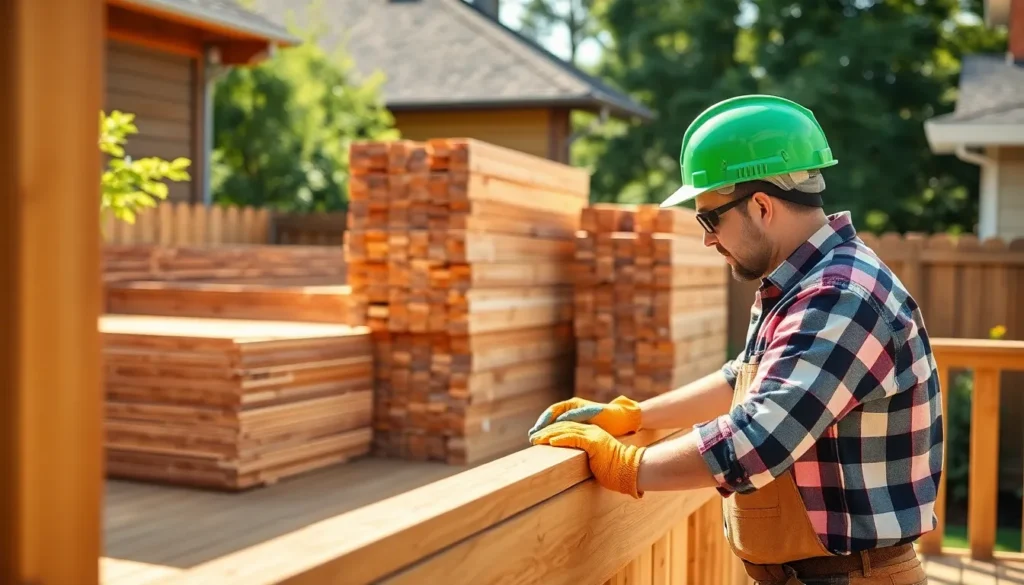
You’ve just completed your new deck with pressure treated lumber, but now comes the crucial waiting game. How long should you wait before applying that perfect stain to protect and beautify your investment? It’s a question we hear constantly from homeowners eager to complete their outdoor projects.
Waiting the proper amount of time before staining pressure treated wood isn’t just a recommendation—it’s essential for ensuring your stain adheres properly and lasts for years to come. Apply too soon and you’ll waste time and money on a finish that peels, bubbles, or fails to protect. In this guide, we’ll help you determine the optimal timing for staining your pressure treated wood and share professional techniques to test when your lumber is truly ready.
Understanding Pressure Treated Wood
Pressure treated wood forms the backbone of outdoor construction projects due to its enhanced durability and resistance to decay. This specially processed lumber undergoes chemical treatment that significantly extends its lifespan when exposed to the elements.
What Is Pressure Treatment?
Pressure treatment involves placing lumber in a sealed chamber where air is removed and replaced with a preservative solution under high pressure. This process forces chemicals deep into the wood fibers, creating protection against fungal decay, termites, and other wood-destroying organisms. The preservatives most commonly used include copper azole (CA), alkaline copper quaternary (ACQ), and micronized copper quaternary (MCQ). During treatment, the wood cells become saturated with these chemicals, making the lumber resistant to rot, insects, and moisture damage for decades longer than untreated wood.
Types of Pressure Treated Wood
Pressure treated lumber comes in several grades and treatment levels designed for different applications and exposure conditions:
- Above Ground (UC3A/B) – Treated for moderate exposure to elements, this wood works perfectly for deck railings, fence boards, and other components not in direct soil contact.
- Ground Contact (UC4A) – Contains higher concentrations of preservatives to withstand direct soil contact, making it ideal for deck posts, retaining walls, and garden beds.
- Heavy Duty Ground Contact (UC4B/C) – Engineered for extreme conditions like freshwater immersion or foundations, this lumber has the highest level of chemical retention.
- Marine Grade (UC5) – Specifically treated to resist salt water damage, barnacles, and marine borers for docks, piers, and other waterfront structures.
Each type contains different moisture levels after treatment, directly affecting the required waiting time before staining. Ground contact and heavy-duty grades typically need longer drying periods due to their higher preservative retention rates.
Why Waiting Is Important Before Staining

Waiting before staining pressure-treated wood isn’t just a suggestion—it’s essential for achieving a lasting, professional finish. The drying process allows the wood to reach optimal conditions for stain absorption and adhesion, preventing many potential problems down the line.
Moisture Content Issues
Freshly pressure-treated lumber contains important moisture that interferes with proper stain absorption. When the wood’s moisture content is too high, the stain sits on the surface rather than penetrating the fibers, resulting in uneven coverage and premature peeling. You can perform a simple water test to check if your wood is ready—sprinkle a few drops on the surface and observe. If the water beads up instead of absorbing within 10 minutes, the wood remains too wet for staining. Modern pressure-treated lumber typically needs 2-6 weeks to dry in warm, low-humidity conditions, though this timeframe extends considerably in damp or cold environments.
Chemical Reactions and Drying Process
The chemicals used in pressure treatment need time to stabilize and bond with the wood fibers before staining. Applying stain prematurely disrupts this process and compromises both the wood’s protective treatment and the stain’s effectiveness. The type of stain also impacts this chemical relationship—water-based stains allow continued moisture evaporation, while oil-based products can trap residual moisture inside the wood. This trapped moisture often leads to bubbling, peeling, and separation of the finish within months of application. Woods pre-treated with water repellents require even more patience, sometimes needing up to a year before they’re ready for staining. The drying time varies significantly based on the treatment intensity, with ground contact and marine-grade lumber requiring longer waits due to their higher preservative retention levels.
Recommended Waiting Periods

New pressure-treated wood typically requires 24 hours to 6 months to dry before staining, depending on treatment methods and environmental conditions. Kiln-dried-after-treatment (KDAT) lumber may be ready immediately, while standard pressure-treated wood often needs 2–3 days if pre-dried or up to 60 days post-installation for outdoor projects.
Standard Timeframes for Different Climates
Climate conditions dramatically impact drying times for pressure-treated lumber. Dry climates accelerate the drying process, with wood typically ready for staining in just 2–4 weeks due to rapid moisture evaporation. Humid regions create important challenges, extending waiting periods up to 6 months as high ambient moisture slows the drying process. Moderate climate zones generally require 4–8 weeks before staining, with variations based on sun exposure and air circulation around the wood. These timeframes ensure optimal stain absorption and long-lasting results for your outdoor wood projects.
Signs Your Pressure Treated Wood Is Ready for Staining
Three reliable indicators help determine when pressure-treated wood is ready for staining. The sprinkle test offers immediate feedback—apply water droplets to the surface and observe; if they absorb within 10 minutes, the wood is ready, while beading indicates excessive moisture remains. Color changes provide visual confirmation as wood lightens from its initial greenish hue to a more natural tone. Surface texture changes are equally telling—properly dried wood feels rough to the touch with no visible dampness or “sweating.” Timing your staining project also matters; avoid application in direct sunlight or temperatures above 85°F (29°C), as these conditions accelerate drying and reduce stain penetration. Manufacturer guidelines for exact pressure treatment products should always take precedence over general recommendations.
Testing Wood Readiness

Testing wood readiness before staining pressure-treated lumber ensures optimal results and prevents future issues. These simple methods help determine if your wood has reached the proper moisture level for staining.
The Water Drop Test
The water drop test offers a quick, reliable way to check if pressure-treated wood is ready for staining. Sprinkle a few drops of water onto the surface of the wood and observe what happens. If the water droplets soak into the wood within a few minutes, your lumber is dry enough to accept stain properly. Conversely, if the water beads up and remains on the surface, the wood still contains too much moisture and needs additional drying time before staining. This easy test can be performed in multiple spots across your deck or project to ensure uniform dryness.
Using a Moisture Meter
A moisture meter provides precise measurements of wood moisture content through inserted probes. For optimal stain adhesion and penetration, pressure-treated wood should have a moisture content of approximately 15%. Insert the meter’s probes into different areas of your lumber to get an accurate reading of moisture levels throughout the project. This tool eliminates guesswork and gives definitive results about your wood’s readiness for staining. Moisture meters are available at most hardware stores and represent a worthwhile investment for ensuring successful staining outcomes, especially for larger projects where consistency matters.
Factors That Affect Drying Time

Several critical factors influence how long pressure-treated wood needs to dry before accepting stain. Understanding these elements helps determine the appropriate waiting period for your exact project and environmental conditions.
Weather and Humidity
Weather conditions play a important role in the drying time of pressure-treated lumber. High humidity levels slow down the evaporation process, extending the required waiting period before staining. Direct sunlight exposure can accelerate drying in some cases, though excessive heat may cause the wood to dry too quickly and develop cracks. Seasonal changes also impact drying times—summer months with lower humidity often allow for faster drying compared to damp spring or fall conditions. The geographic location of your project matters too, as coastal areas typically experience longer drying periods due to persistent moisture in the air.
Type of Pressure Treatment
The exact chemicals and processes used in pressure treatment directly affect how long you’ll need to wait before staining. Standard pressure-treated lumber contains high moisture content from the treatment process itself, requiring substantial drying time. Kiln-dried-after-treatment (KDAT) wood can often be stained immediately or within days of purchase since the drying process has already been completed at the factory. Different preservative chemicals penetrate wood fibers differently, creating varying moisture retention characteristics. CCA (chromated copper arsenate), ACQ (alkaline copper quaternary), and MCA (micronized copper azole) treatments each produce different drying timelines based on their chemical composition and application methods.
Wood Thickness and Density
Thicker dimensional lumber requires significantly more drying time than thinner boards due to the greater volume of moisture contained within. Dense wood species like Southern Yellow Pine (commonly used for pressure treatment) dry more slowly than less dense varieties because the tight grain structure limits moisture movement. The physical dimensions of your lumber matter—4×4 posts and 6×6 timbers might take months longer to dry adequately compared to 5/4 decking boards or 2×4 framing lumber. Surfacing also affects drying rates, with rough-sawn lumber generally drying more slowly than smooth-planed surfaces that allow faster moisture release. Edge grain orientation can further impact drying speed, with flat-sawn lumber typically drying faster than quarter-sawn or rift-sawn pieces.
Speeding Up the Waiting Process

While patience is key when staining pressure-treated wood, several techniques can accelerate the drying process without compromising quality. These methods focus on controlling environmental factors that directly impact moisture evaporation from treated lumber.
Proper Air Circulation Techniques
Air circulation plays a crucial role in drying pressure-treated wood evenly and efficiently. Stacking lumber with spacers (known as “stickering”) creates air gaps between boards, allowing moisture to escape from all surfaces. Position your wood in an open area where cross breezes can flow freely around each piece. For installed decks or fences, ensure there’s adequate space between boards and beneath the structure to promote airflow. Portable fans can significantly enhance circulation in enclosed spaces or during humid conditions, reducing drying time by as much as 30-40%. Avoid stacking pressure-treated lumber directly on concrete or placing it against walls, as these surfaces trap moisture and extend drying periods.
Sun Exposure Benefits
Sun exposure accelerates the drying process through natural heat that draws moisture from the wood’s interior to its surface. Morning sunlight offers optimal drying conditions with moderate temperatures that prevent warping or cracking. Position lumber where it receives consistent, indirect sunlight rather than intense direct exposure that can cause uneven drying. Rotating boards every few days ensures uniform drying across all surfaces. In warmer climates, 2-3 hours of morning sun followed by shade during peak heat hours provides ideal conditions for moisture evaporation without damaging the wood. UV radiation from sunlight also helps break down surface mill glaze on pressure-treated lumber, creating a more receptive surface for stain absorption once the wood has dried.
Best Stains for Pressure Treated Wood

Semi-transparent and solid stains specifically formulated for pressure-treated wood deliver optimal protection and aesthetic appeal. Trusted brands like Behr, Sherwin-Williams, and Thompson’s WaterSeal offer specialized products with UV and moisture protection capabilities that extend the life of your outdoor wood projects.
Oil-Based vs. Water-Based Options
Oil-based stains penetrate deeper into pressure-treated wood fibers, creating a more durable protective barrier that typically lasts 3-5 years before requiring reapplication. These stains perform exceptionally well in high-moisture environments like decks near pools or in rainy climates. Cleanup requires mineral spirits rather than water, making the application process slightly more involved.
Water-based stains provide an eco-friendly alternative with several practical advantages for many homeowners. They dry faster (usually within 24-48 hours) compared to oil-based options and cleanup is straightforward using just soap and water. While these stains generally last 1-3 years before needing refreshing, they’ve improved significantly in recent formulations, offering better protection than earlier generations of water-based products.
Stain Features to Look For
UV inhibitors represent a critical component in quality wood stains, preventing the damaging effects of sunlight that cause fading and deterioration over time. Premium stains incorporate these protective elements to maintain color vibrancy and structural integrity against constant sun exposure.
Mold and mildew resistance additives protect your pressure-treated wood from biological growth that can compromise both appearance and structural integrity. These specialized formulations prevent the dark spotting and degradation commonly associated with outdoor wood installations in humid environments.
Water-repellent properties ensure moisture doesn’t penetrate deeply into the wood, preventing warping, cracking, and premature aging. Top-quality stains create a water-shedding barrier that allows the wood to maintain its natural moisture balance while repelling excess environmental moisture.
Compatibility with pressure-treated wood varies between products, making it essential to verify manufacturer specifications before purchase. The chemical preservatives in pressure-treated lumber can interact differently with various stain formulations, so always check product labels to confirm they’re designed specifically for treated wood applications.

Application Tips for Best Results

Achieving professional-quality results when staining pressure-treated wood requires careful preparation and proper application techniques. We’ve compiled essential tips to help you get the most durable and attractive finish for your outdoor projects.
Surface Preparation Steps
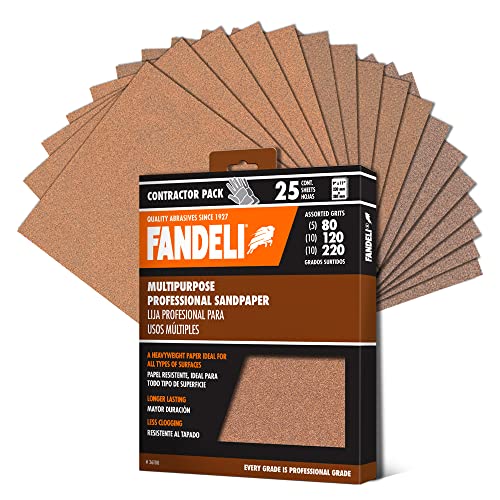
Surface preparation creates the foundation for successful stain application on pressure-treated wood. Clean the wood thoroughly using a specialized wood cleaner and stiff brush to remove dirt, mildew, and residue that might prevent proper stain adhesion. Sand the surface lightly with 80-100 grit sandpaper to smooth rough areas and open wood pores, allowing better stain penetration. After sanding, rinse the deck completely with a garden hose to remove all dust and debris. Allow the cleaned surface to dry completely for 24-48 hours before applying any stain, ensuring the wood reaches optimal moisture content for stain absorption.
Staining Techniques for Pressure Treated Wood
The right application techniques ensure even, long-lasting coverage on pressure-treated lumber. Apply stain during optimal weather conditions with temperatures between 50-90°F and low humidity levels for the best penetration and drying results. Choose appropriate tools based on your project size—brushes work well for detailed areas and edges, while sprayers cover large surfaces quickly (always back-brush immediately after spraying to prevent lap marks). Work with the grain direction to prevent streaking and ensure consistent absorption throughout the surface. Apply two thin coats rather than one thick coat, waiting 24-48 hours between applications to avoid pooling and ensure proper curing. Select quality stains specifically formulated for pressure-treated wood, with oil-based options offering deeper penetration and water-based formulations providing easier cleanup.
Check weather forecasts before starting your project, ensuring no rain is expected for at least 24-48 hours after application. Avoid applying sealers immediately after staining—let the wood breathe for 30-60 days to prevent trapping moisture within the lumber. Remember that even the highest quality stain applications typically require reapplication every 2-3 years to maintain protection against UV damage and moisture infiltration.

Conclusion
Patience truly is a virtue when it comes to staining pressure-treated wood. Waiting the proper amount of time—typically 2-6 weeks in favorable conditions and potentially up to 6 months in humid environments—will reward you with beautiful long-lasting results.
Remember to use simple tests like the water drop test or a moisture meter to confirm your deck is ready for staining rather than relying solely on calendar dates. The right stain applied at the right time will protect your investment for years to come.
By understanding the factors that affect drying time and following our guidelines for proper preparation and application you’ll achieve professional-quality results that enhance both the appearance and longevity of your pressure-treated wood projects.
Frequently Asked Questions
How long should I wait before staining new pressure-treated wood?
For standard pressure-treated wood, wait 2-6 weeks in warm, dry conditions and up to 6 months in humid environments. Kiln-dried-after-treatment (KDAT) lumber may be ready immediately, while regular lumber typically needs 2-3 days if pre-dried or up to 60 days after installation for outdoor projects. Always perform a water test to confirm readiness before staining.
How can I tell if my pressure-treated wood is ready for staining?
Use the water drop test – sprinkle water on the wood surface. If it soaks in within 10 minutes, the wood is ready for staining. If water beads up, more drying time is needed. You can also look for color changes (from green to honey brown) and texture changes (less smooth, more porous). A moisture meter reading of 15% or less indicates optimal staining conditions.
What factors affect the drying time of pressure-treated wood?
Weather conditions significantly impact drying time – high humidity slows evaporation while direct sunlight can accelerate it. The type of pressure treatment used affects moisture retention, as does wood thickness and density. Thicker lumber and denser wood species take longer to dry completely. Climate plays a major role, with dry climates allowing staining in 2-4 weeks versus up to 6 months in humid regions.
Can I speed up the drying process for pressure-treated wood?
Yes, you can accelerate drying by ensuring proper air circulation – stack lumber with spacers between boards and use portable fans if working in an enclosed space. Moderate sun exposure helps too, with morning sunlight providing optimal drying conditions. Just avoid intense direct exposure, which can cause uneven drying and potential warping or cracking of the wood.
What types of stains work best on pressure-treated wood?
Semi-transparent and solid stains specifically formulated for pressure-treated wood yield the best results. Trusted brands include Behr, Sherwin-Williams, and Thompson’s WaterSeal. Oil-based stains penetrate deeper and last longer (2-3 years) while water-based stains dry faster and clean up easier. Look for products with UV inhibitors, mold resistance, and water-repellent properties.
Do I need to prepare the wood before staining?
Yes, proper preparation is essential. Clean the wood thoroughly with a specialized wood cleaner to remove dirt, mildew, and mill glaze. Light sanding with 80-grit sandpaper improves stain absorption. Ensure the wood is completely dry before application. Apply stain in optimal weather conditions (50-90°F, moderate humidity) using appropriate tools like natural-bristle brushes for oil-based stains or synthetic brushes for water-based products.
How often should I re-stain my pressure-treated wood deck?
Most high-quality stains require reapplication every 2-3 years to maintain protection against UV damage and moisture infiltration. However, this timeline varies based on your local climate, amount of direct sunlight, foot traffic, and the specific stain used. Watch for signs of wear like color fading, water no longer beading on the surface, or areas beginning to gray.
Should I use a pressure washer to clean pressure-treated wood before staining?
Use caution with pressure washers, as high pressure can damage wood fibers. If using one, keep pressure below 1500 PSI and maintain at least 12 inches between the nozzle and wood surface. A garden hose with a stiff brush is often sufficient. After cleaning, allow the wood to dry completely (typically 48 hours in good weather) before applying stain.


