Working on a woodworking project and wondering how long you’ll need to wait for that glue to dry? We’ve all been there—eager to complete our masterpiece but faced with the inevitable waiting game that wood glue requires.
Understanding wood glue drying times isn’t just about patience; it’s about ensuring the structural integrity of your project. Different wood glues have varying drying and curing times, and factors like temperature, humidity, and wood type can significantly impact how quickly your joints will set. In this comprehensive guide, we’ll break down everything you need to know about wood glue drying times so you can plan your projects more efficiently and achieve the strongest possible bonds.
Understanding Wood Glue Dry Time Basics
Wood glue drying time varies significantly based on several factors. Most wood glues require 30 minutes to 2 hours to dry to the touch, but complete curing takes 24-72 hours. This distinction between drying and curing is crucial for woodworking success.
Drying vs. Curing: What’s the Difference?
Drying and curing represent two distinct phases in the adhesive bonding process. Drying occurs when the glue feels dry to the touch and the pieces can be handled without shifting, typically within 30 minutes to 2 hours after application. Curing happens when the glue reaches its maximum strength and chemical stability, which takes considerably longer—usually 24-72 hours depending on the glue type. Projects shouldn’t be subjected to stress or load until the glue has fully cured, regardless of how dry it feels on the surface.
Factors Affecting Dry Time
Multiple factors influence how quickly wood glue dries and cures:
- Temperature: Glue dries faster in warmer environments (70-75°F is optimal) and slower in cooler conditions (below 50°F can significantly delay drying).
- Humidity: Higher humidity levels extend drying time by preventing moisture evaporation from the glue.
- Ventilation: Good airflow accelerates the drying process by helping moisture escape from the glue.
- Wood porosity: Porous woods like pine absorb glue more readily, potentially speeding up the apparent drying time compared to dense woods like maple or oak.
- Glue amount: Thicker applications take longer to dry than thin, even coats.
- Wood moisture content: Damp wood extends drying time and may weaken the bond strength.
Average Dry Times by Glue Type
Different wood glues feature varying dry and cure times:
| Glue Type | Initial Tack Time | Clamp Time | Full Cure Time |
|---|---|---|---|
| PVA (Yellow) | 10-15 minutes | 30-60 minutes | 24 hours |
| PVA (White) | 15-20 minutes | 30-60 minutes | 24 hours |
| Polyurethane | 20-25 minutes | 1-2 hours | 24-48 hours |
| Hide Glue | 30-60 minutes | 3-4 hours | 24 hours |
| Epoxy | 5-30 minutes (varies) | 1-8 hours (varies) | 24-72 hours |
| CA (Super Glue) | 10-30 seconds | 15-60 seconds | 8-24 hours |
Reading the manufacturer’s instructions provides the most accurate drying information for exact glue products. Environmental conditions in your workshop might require adjustments to these average times.
Types of Wood Glue and Their Drying Times
Wood glue drying times vary significantly depending on the type and environmental conditions. Understanding these differences helps you select the right adhesive for your exact woodworking project and plan your work schedule accordingly.
PVA (White and Yellow) Glue Dry Times
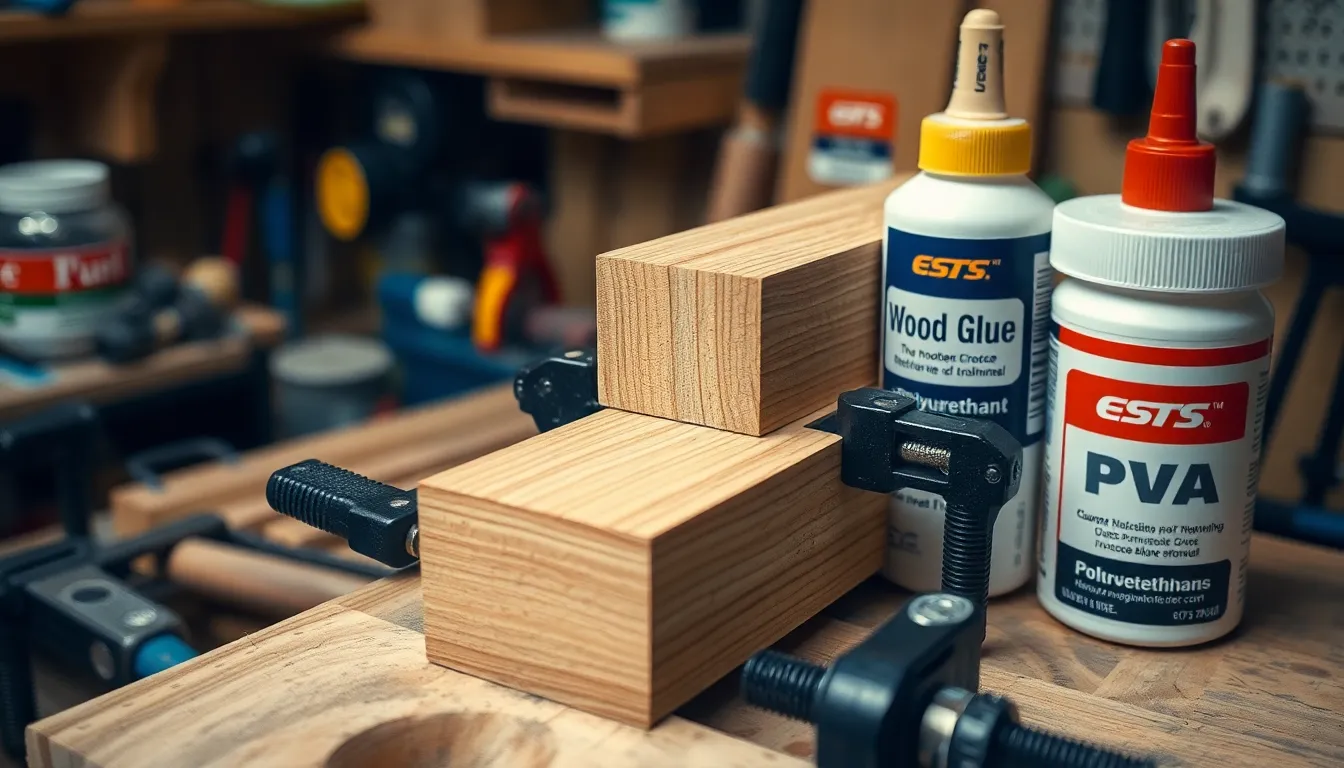
PVA glue sets within 30 minutes to an hour, providing adequate working time for most woodworking projects. This popular adhesive creates a strong bond between wood surfaces while allowing you to adjust pieces during the initial application. Full curing takes approximately 24 hours, at which point the joint reaches its maximum strength. Many woodworkers prefer PVA glue for interior projects due to its reasonable drying time and reliable performance.
Polyurethane Wood Glue Dry Times
Polyurethane glue dries anywhere from 1 to 24 hours, with the exact time heavily dependent on temperature and humidity conditions. These versatile adhesives expand as they cure, filling gaps and creating exceptionally strong bonds. Many outdoor projects benefit from polyurethane glue’s waterproof properties, making it ideal for furniture or structures exposed to moisture. Clamps can typically be removed after 2 hours, though complete curing requires patience.
Hide Glue Dry Times
Hide glue generally takes between 1 to 2 hours to dry to the touch, with maximum bond strength achieved several hours later or overnight. Traditional woodworkers appreciate hide glue for its reversibility and historical authenticity in restoration projects. The initial tack develops quickly, often allowing for minimal clamping compared to other adhesives. Hot hide glue sets faster than liquid hide glue, giving craftspeople options depending on their working preferences.
Epoxy Dry Times
Epoxy glue can take anywhere from a few minutes to several hours to dry, varying widely based on exact formulations and environmental conditions. These powerful adhesives create exceptional strength and durability, making them suitable for demanding woodworking applications. Many specialized projects requiring gap-filling properties benefit from epoxy’s versatility and resistance to moisture. Two-part epoxies typically come in quick-set and slow-set varieties, allowing woodworkers to choose the appropriate working time for complex assemblies.
Factors That Affect Wood Glue Drying Time
Several critical factors influence how quickly wood glue dries and cures to its maximum strength. Understanding these variables helps woodworkers plan project timelines more effectively and achieve stronger bonds between wooden pieces.
Temperature and Humidity Effects
Temperature and humidity play crucial roles in wood glue drying time. Higher temperatures accelerate the drying process by promoting faster evaporation of moisture from the glue. In contrast, high humidity levels significantly slow down drying by saturating the surrounding air with moisture, preventing efficient evaporation from the glue. Most wood glues perform optimally in environments between 65-75°F with moderate humidity levels of 40-60%. Working in extremely cold conditions (below 50°F) can double or triple the standard drying time, while excessive heat may cause the glue to dry too quickly before proper bonding occurs.
Wood Species and Porosity
The type of wood being glued dramatically affects drying time and bond strength. Dense hardwoods like oak or maple have less porosity, resulting in more glue remaining at the surface where the bond forms. Softwoods such as pine or cedar are more porous and absorb more adhesive, potentially weakening the bond if insufficient glue remains at the joining surface. Properly prepared wood surfaces—clean, dry, and freshly sanded—help faster bonding compared to surfaces that are dirty, oily, or have excess moisture. Wood with moisture content above 12% can dilute the glue and substantially extend drying time, often leading to weaker joints.
Glue Application Thickness
The thickness of applied glue directly impacts drying speed. Thinner glue applications dry significantly faster than thicker ones because the evaporation process can occur more efficiently. A thin, even layer of glue typically creates the strongest bond while minimizing drying time. When excessive glue is applied, not only does drying time increase dramatically, but the bond quality may actually decrease. For optimal results, apply just enough glue to create a thin film that produces a small amount of squeeze-out when clamping pieces together. Squeeze-out indicates sufficient coverage without excess, which can be wiped away with a damp cloth before it dries.
Typical Drying Timeline for Wood Glue Projects
Wood glue drying timelines follow distinct phases from initial application to full strength. Understanding these stages helps woodworkers plan their projects efficiently and achieve optimal results.
Initial Tack Time
Initial tack time represents the period when glue begins to hold wood pieces together without clamping pressure. PVA glue develops an initial tack in approximately 15-30 minutes after application. During this phase, the glue starts to form a bond but hasn’t yet reached sufficient strength to hold pieces securely. Polyurethane and epoxy glues have different initial tack characteristics, with polyurethane generally taking longer to develop tackiness. Environmental factors like temperature and humidity significantly impact this initial setting phase, with warmer, drier conditions accelerating the tack development.
Clamp Removal Time
Clamp removal becomes possible once the glue has developed enough strength to hold wood pieces together under normal stress. Most wood glues allow for clamp removal within 30 minutes to an hour after application. PVA glue typically reaches this stage faster than other adhesives, making it convenient for projects with time constraints. Polyurethane glues often require longer clamping periods, sometimes up to several hours depending on the formulation. Testing the joint gently before removing all clamps can prevent joint failure and project disappointment. The workpiece shouldn’t undergo important stress immediately after clamp removal as the adhesive continues strengthening.
Full Cure Time
Full cure time marks when wood glue reaches its maximum bond strength and durability. Standard PVA wood glues typically need 24 hours to achieve complete curing and maximum strength. Polyurethane glues often require 1-24 hours for full curing, varying based on environmental conditions and formulation. Epoxy adhesives display wide variability in cure times, ranging from 5 minutes for quick-set formulas to 24 hours for standard versions. Hide glue needs 1-2 hours for initial drying but may take additional time to reach its ultimate strength. Cured joints can withstand normal stresses and strains without compromising the bond integrity. Projects requiring maximum strength shouldn’t be put under full stress until after this complete cure period has passed.
How to Speed Up Wood Glue Drying Time
Accelerating wood glue drying time can significantly improve workflow efficiency in woodworking projects. Several proven methods reduce drying times while maintaining bond strength, allowing you to complete projects faster without compromising quality.
Using Heat Sources Safely
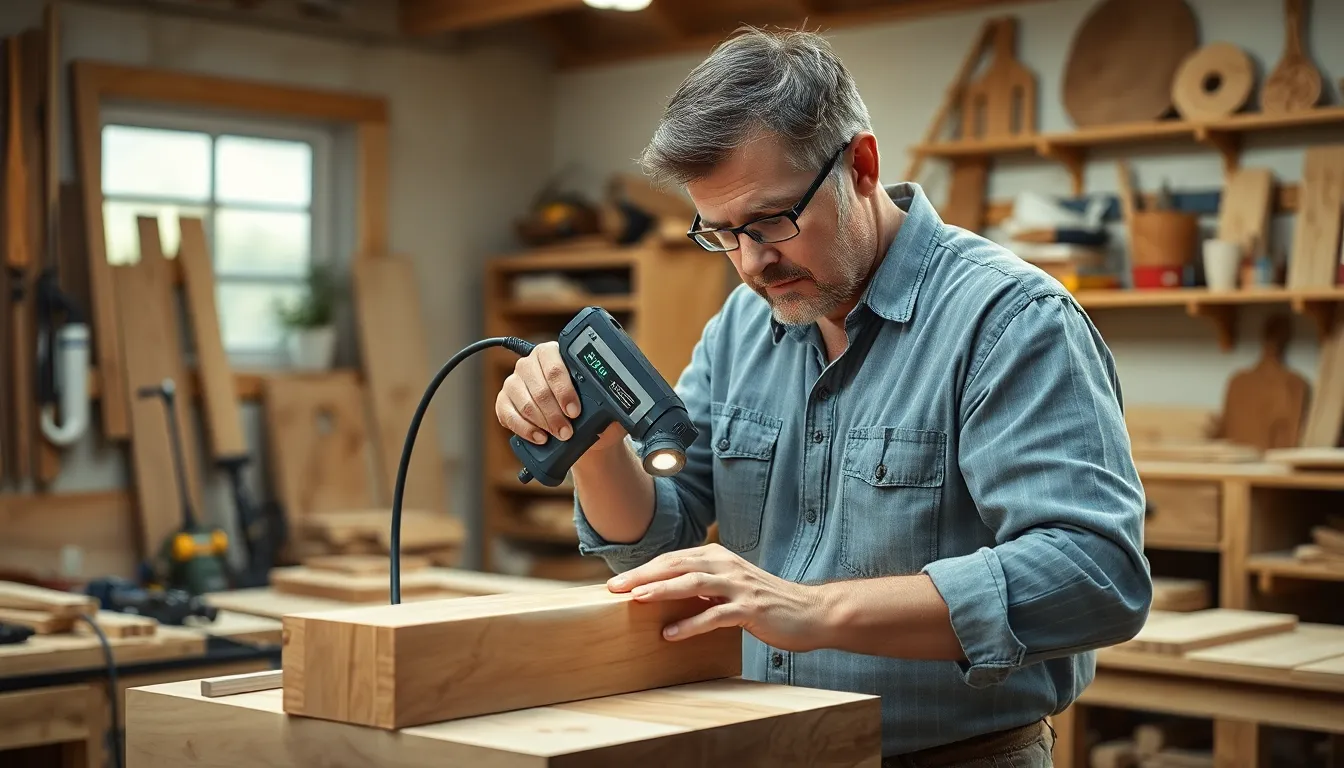
Heat application effectively accelerates wood glue drying when used correctly. A heat gun or hairdryer set to low settings can warm glued surfaces and expedite the drying process. Always maintain temperatures below 150°F (65°C) to prevent weakening the adhesive bond. Directing gentle, consistent heat across the joint area promotes faster evaporation of moisture from the glue. Heat sources should be kept moving to avoid concentrating too much heat in one spot, which might cause the wood to warp or the glue to fail prematurely.
Optimizing Workshop Conditions
Workshop conditions play a crucial role in drying time acceleration. Maintaining room temperature between 65-75°F (18-24°C) and humidity levels below 50% creates an ideal environment for rapid glue curing. Proper ventilation with fans circulating air helps reduce moisture buildup around the glued areas. Applying thin glue layers rather than thick applications substantially reduces drying time and often creates stronger bonds. For unstressed joints, clamps can be removed after 30-60 minutes, but load-bearing joints require a full 24-hour clamping period to ensure maximum strength. Strategic workspace optimization combines these factors to create perfect conditions for efficient glue drying without sacrificing joint integrity.
Common Mistakes That Extend Drying Time
Wood glue drying delays often stem from four common mistakes that can significantly impact your project timeline. Inadequate clamping pressure creates uneven contact between surfaces, resulting in gaps that slow down the adhesive’s drying process and potentially weaken the bond. High humidity environments extend drying times considerably as moisture in the air interferes with the water evaporation necessary for proper curing.
Temperature extremes pose another challenge for wood glue performance. Working in temperatures below 50°F or above 80°F disrupts the chemical reactions needed for proper adhesion, often leading to incomplete curing. Over-application of glue, a mistake many woodworkers make, not only wastes product but creates excessive squeeze-out that takes substantially longer to dry.
Insufficient surface preparation also contributes to extended drying times. Surfaces with dust, oils, or previous finish residue prevent the glue from making direct contact with the wood fibers, compromising both drying speed and ultimate bond strength. Rushing the process by removing clamps too early often necessitates re-gluing, doubling your project time and potentially introducing alignment issues.
Proper ventilation plays a crucial role in efficient drying. Enclosed or poorly ventilated spaces trap moisture that would otherwise evaporate, extending the drying process beyond the expected timeframe. Mixing incompatible glues or adding improper amounts of hardener with two-part adhesives can result in unpredictable drying times and compromised joint integrity.
Testing If Wood Glue Is Fully Dried
Testing wood glue’s dryness ensures your woodworking projects have developed the necessary strength before proceeding to the next steps. Three reliable methods help determine if your glue has dried completely.
Visual inspection provides the first indication of drying status. Look for a color change from transparent to opaque in most wood glues. PVA glues typically transform from white to clear as they dry, while polyurethane adhesives often darken slightly. Any wet-looking areas indicate incomplete drying that requires additional time.
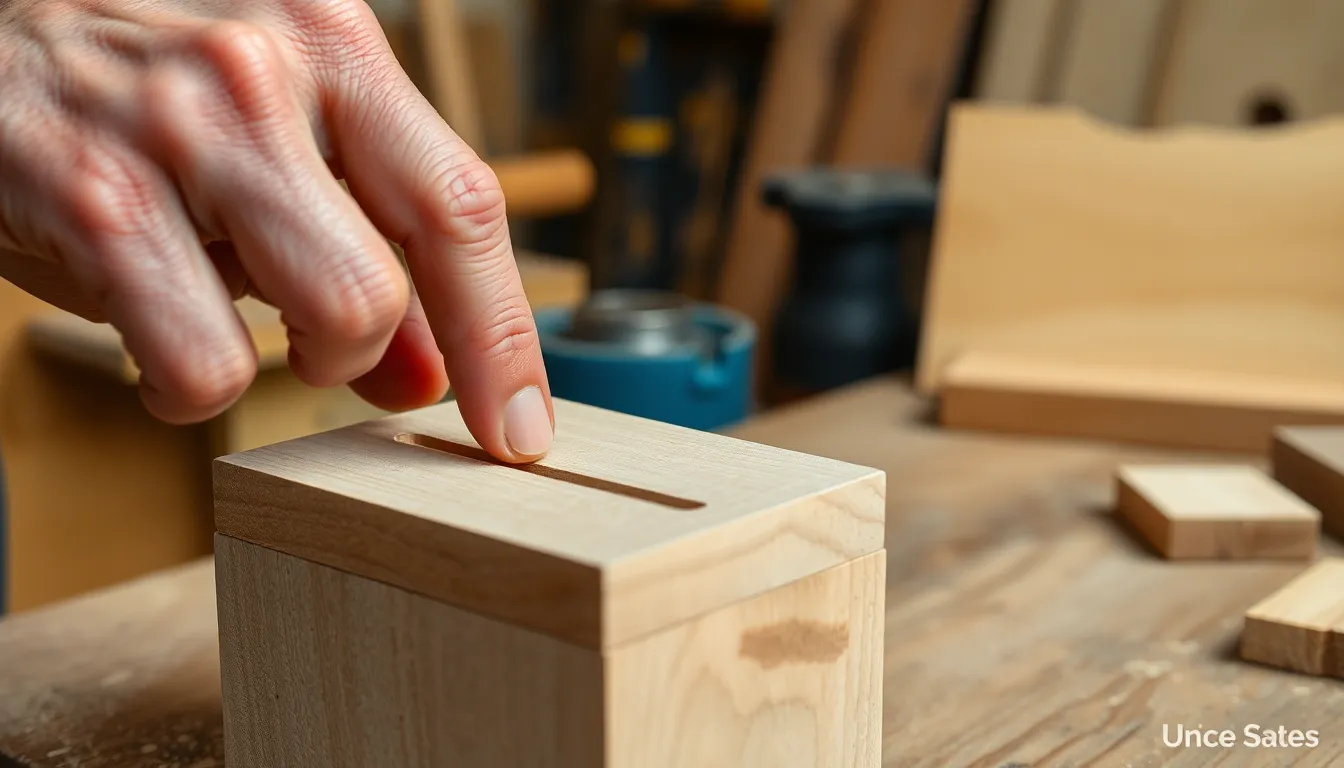
Tactile assessment confirms what your eyes observe. Gently touch the glue line with your fingertip – fully dried glue feels hard and doesn’t stick to your finger. If you detect any tackiness or your finger leaves an impression, the glue hasn’t completely dried yet. This test works particularly well with PVA glues that transition from sticky to solid when cured.
Stress evaluation offers the most definitive test for wood glue dryness. Apply minimal pressure to the joint to check if it holds firmly without movement or crackling sounds. For non-structural pieces, try wiggling the joint slightly; properly dried glue creates a connection that feels solid and inflexible. We recommend avoiding important stress until you’re confident the glue has had the full 24-hour curing period for maximum strength development.
Remember that visible surface drying doesn’t always indicate complete internal curing. Interior portions of thick glue applications may remain uncured even when the surface appears dry, which is why allowing the full manufacturer-recommended curing time remains crucial for project success.
Conclusion
Mastering wood glue drying times is essential for successful woodworking projects. We’ve explored how different glue types require varying waiting periods and the crucial distinction between drying and curing.
Remember that while your project might feel dry to touch within hours each type of adhesive needs its full curing time to reach maximum strength. Factors like temperature humidity and wood porosity all play important roles in this process.
By following proper techniques and avoiding common mistakes you’ll achieve stronger more reliable bonds. Whether you’re using PVA for interior projects or polyurethane for outdoor applications patience pays off in woodworking.
With the knowledge you’ve gained you can now confidently plan your gluing schedule and create woodworking projects that stand the test of time.
Frequently Asked Questions
How long does wood glue take to dry?
Wood glue typically takes 30 minutes to 2 hours to feel dry to the touch. However, complete curing (reaching maximum strength) requires 24 to 72 hours depending on the type of glue and environmental conditions. PVA glue sets within 30-60 minutes while polyurethane glue may take 1-24 hours to dry.
What’s the difference between drying and curing?
Drying refers to when the glue feels dry to the touch and allows for handling of the glued pieces. Curing is the complete chemical process where the glue reaches its maximum strength and durability. While a joint might feel dry after an hour, it may take 24-72 hours to fully cure and achieve maximum bond strength.
What factors affect wood glue drying time?
Key factors include temperature (warmer accelerates drying), humidity (high humidity slows drying), ventilation, wood porosity (denser woods dry slower), glue application thickness (thinner layers dry faster), and wood moisture content. Workshop conditions between 65-75°F (18-24°C) with humidity below 50% provide optimal drying conditions.
How can I speed up wood glue drying time?
Use controlled heat sources like a heat gun or hairdryer on low settings (keep below 150°F/65°C), maintain optimal workshop temperature and humidity, apply thin glue layers, ensure proper ventilation, and use the appropriate glue for your project. For non-load-bearing joints, clamps can be removed after 30-60 minutes.
Which wood glue dries the fastest?
CA glue (super glue) dries the fastest, setting within seconds to minutes. For traditional wood glues, PVA typically dries to the touch in 30-60 minutes. Polyurethane, hide glue, and epoxy have varying drying times, with some quick-set epoxies drying in minutes while others take hours.
How do I know if wood glue is fully dried?
Check using three methods: visual inspection (look for color changes), tactile assessment (glue should feel hard, not sticky), and stress evaluation (apply minimal pressure to test joint strength). Remember that surface drying doesn’t guarantee complete internal curing, so always allow the manufacturer-recommended curing time.
Is wood glue waterproof?
It depends on the type. Regular PVA (yellow) glue is water-resistant but not waterproof. Polyurethane glue and certain specialized PVA formulations (like Titebond III) offer waterproof properties, making them suitable for outdoor projects or items that may be exposed to moisture or high humidity environments.
What are common mistakes that extend wood glue drying time?
Common mistakes include inadequate clamping pressure, high humidity environments, temperature extremes, applying too much glue, insufficient surface preparation, poor ventilation, and mixing incompatible glues. Using the incorrect amount of hardener with two-part glues can also cause unpredictable drying times and weak joints.

