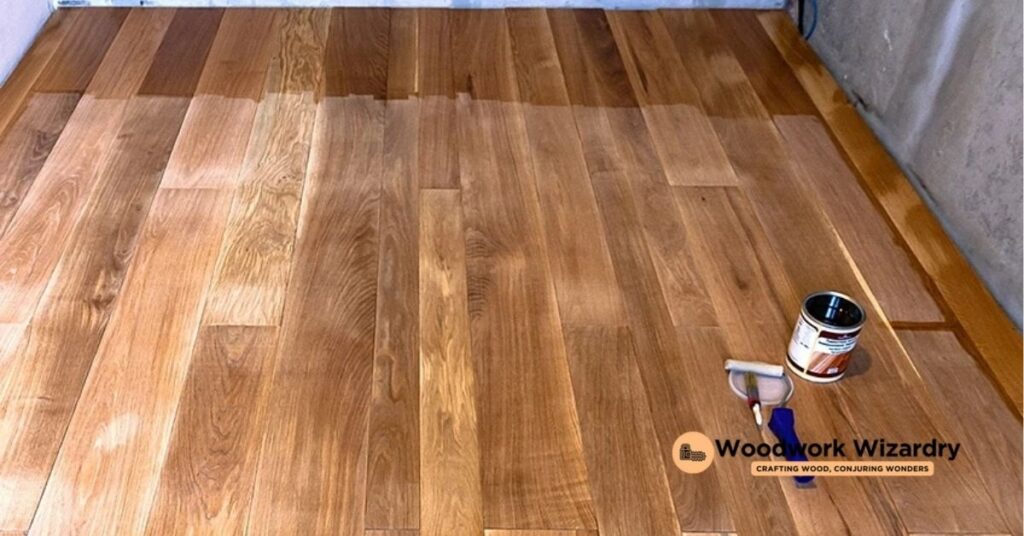
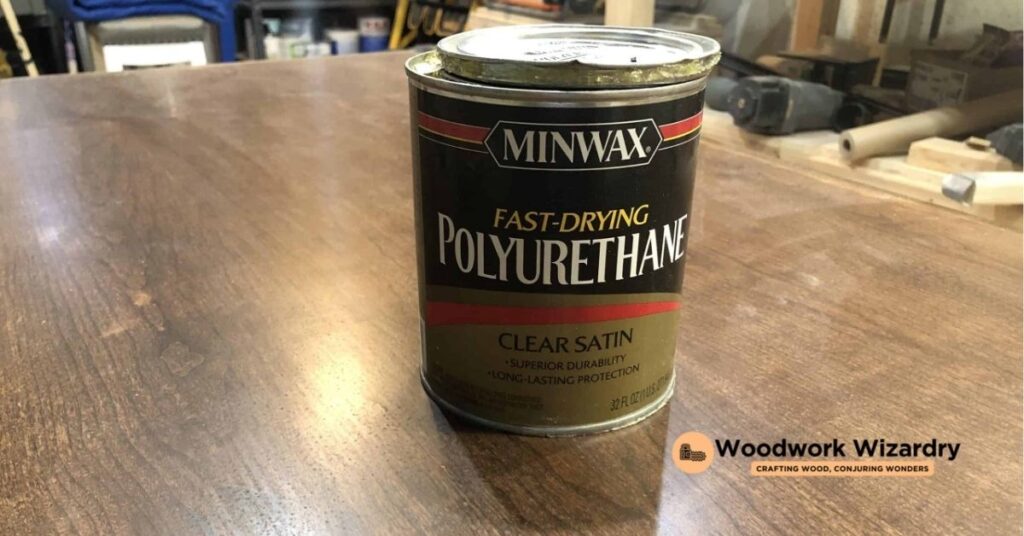
We’ve all been there, eagerly watching paint or varnish dry, wondering when we can finally touch, use, or walk on the surface we’ve so painstakingly applied it to. Polyurethane, a favorite finish for floors, furniture, and various woodworking projects, is no exception. Understanding how long polyurethane takes to dry can be the difference between a flawless finish and a frustrating redo.
Drying times can vary widely based on the type of polyurethane you’re using, the conditions of your workspace, and the specific application method. We’re here to demystify this process, offering insights and tips to ensure your next project turns out perfectly. Let’s dive into the factors that influence drying times and how you can work with them, rather than against them, in your next project.
Understanding Polyurethane
Diving deeper into the world of woodworking projects, we recognize the pivotal role that polyurethane plays. This synthetic resin is renowned for its durability and versatility, offering a protective finish for a variety of surfaces, including floors and furniture. Here, we’ll explore key considerations that influence polyurethane drying times, supporting you to plan and execute your projects with greater precision.
Types of Polyurethane
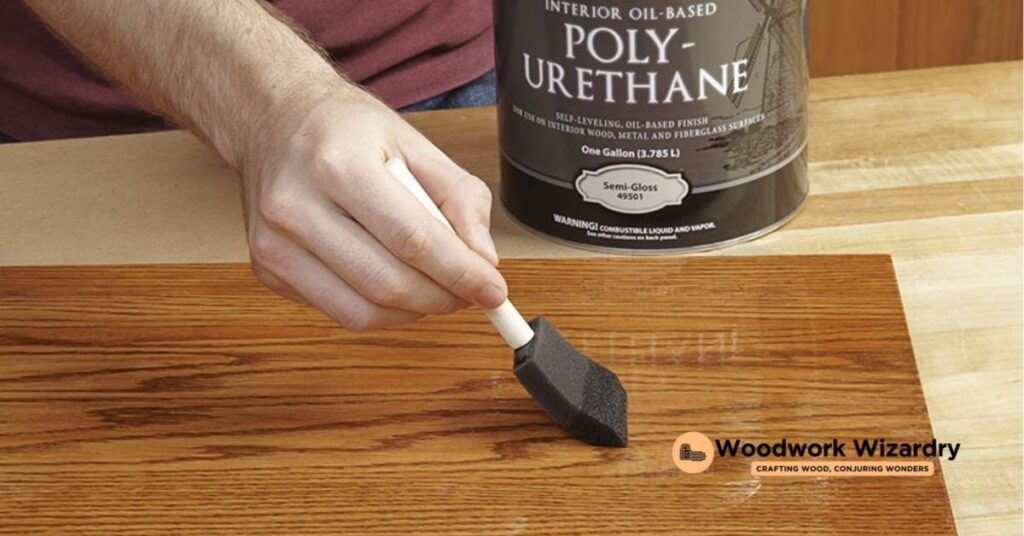
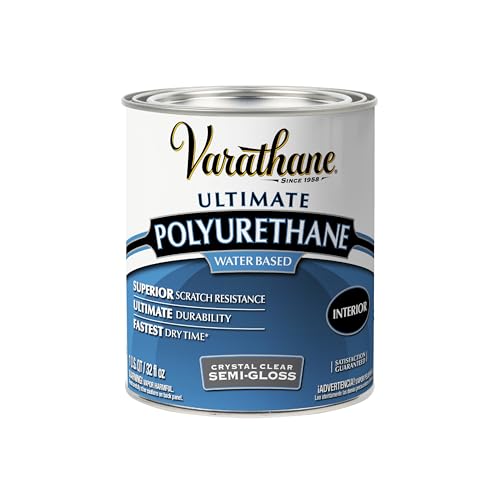
Polyurethane comes in two main bases: oil-based and water-based. Oil-based polyurethane typically takes longer to dry, with a dry time of about 24 to 48 hours for touch, and up to 30 days for a full cure. In contrast, water-based polyurethane dries faster, often becoming touch-dry in 2 to 6 hours and fully cured within 21 days. Each type has its benefits, with water-based polyurethane offering quicker recoat times and less odor, while oil-based options provide a more durable finish and deeper coloration.
Workspace Conditions
The environment where you apply polyurethane significantly impacts drying time. Ideal conditions include a temperature range between 70 to 77°F and a relative humidity between 50% to 70%. Deviations from these conditions can prolong drying times. For instance, higher humidity levels slow down drying, while lower temperatures can also delay the process. Ensuring good airflow in the workspace can help speed up drying by promoting evaporation and curing.
Application Method
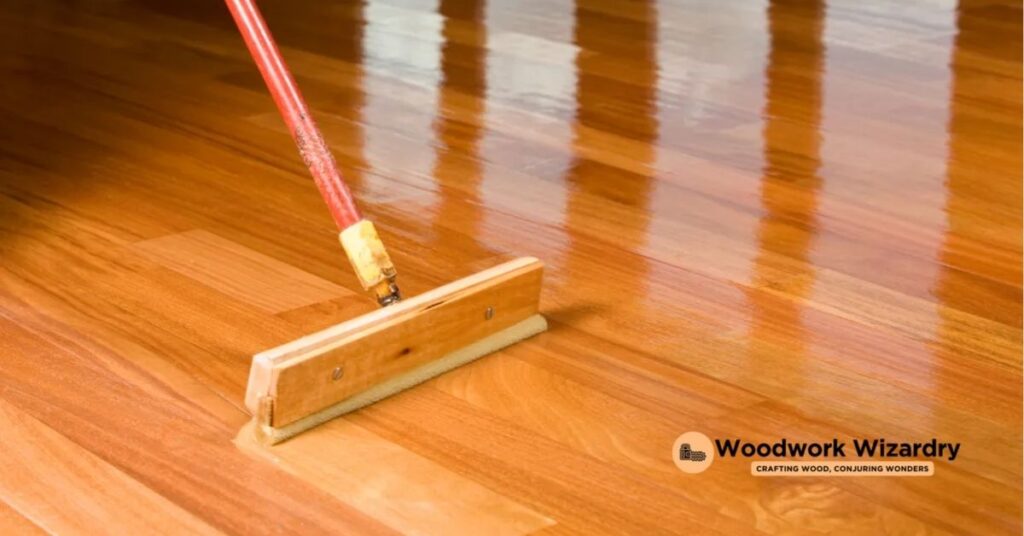
How you apply polyurethane can also affect drying time. Using thin coats tends to dry faster than thicker applications. While the instinct might be to apply a thick coat for protection, this can actually extend drying times and increase the risk of imperfections. Applying polyurethane in multiple thin layers not only dries quicker but also results in a smoother, more durable finish.
By understanding these key aspects of polyurethane, we equip ourselves with the knowledge to manage drying times effectively, aiming for that flawless finish in our woodworking projects.
Factors That Affect Drying Time
Transitioning from the various types of polyurethane and their inherent drying times, it’s crucial to delve into the factors that directly influence how long it takes for polyurethane to dry. Understanding these can significantly aid in planning and executing woodworking projects with efficiency and precision.
Types of Polyurethane
- Oil-based Polyurethane: Generally takes longer to dry, with drying times extending up to 24 hours for a single coat. Its composition requires a more extended period to solidify.
- Water-based Polyurethane: Known for its quicker drying times, often drying to the touch within hours and ready for a recoat in as little as 2 to 4 hours. This type’s chemical makeup allows faster evaporation and curing.
Environmental Conditions
- Temperature: Ideal drying conditions are between 70°F to 77°F. Temperatures below or above this range can prolong drying times, as polyurethane reacts sensitively to temperature variations.
- Humidity: Low to moderate humidity levels accelerates drying, whereas high humidity can significantly slow the process. Aim for a humidity level between 50% to 70% for optimal drying times.
Application Method
- Thickness of Coats: Thinner coats dry significantly faster than thicker ones. It’s advisable to apply polyurethane in thin, even layers to facilitate quicker drying times.
- Tools Used: The type of brush or applicator can affect the thickness of the polyurethane layer applied, thus impacting drying time. High-quality brushes or applicators that promote thin, uniform layers assist in faster drying.
Ventilation
Proper ventilation not only ensures safety by dispersing fumes but also plays a critical role in drying time. Well-ventilated spaces allow for better air circulation, which helps to evaporate solvents more quickly, thus, reducing drying times.
By considering these factors, such as choosing the right type of polyurethane, accounting for environmental conditions, applying the product correctly, and ensuring adequate ventilation, we can manage and optimize drying times effectively. This knowledge empowers us to achieve the best possible finish for our woodworking projects, with efficiency and ease.
Average Drying Times
Continuing from our discussion on the types of polyurethane and the factors that influence their drying times, it’s essential to delve into the specifics of how long you can expect each type to dry. Knowing this can help us plan our woodworking projects more effectively, ensuring we allocate enough time for drying to achieve the best results.
Water-based polyurethane stands out for its quick drying times, typically taking about 2 to 4 hours for a coat to dry to the touch. However, we recommend waiting a full 24 hours before applying another coat or using the finished piece to ensure it’s thoroughly dried. This type is ideal for projects that require a quick turnaround.
On the other hand, oil-based polyurethane requires a bit more patience, with drying times of approximately 6 to 10 hours for it to dry to the touch. For this reason, it’s advisable to let it dry for at least 24 hours before adding another coat. Depending on the project’s complexity and the number of coats applied, it may take up to 72 hours for the oil-based type to cure completely and be ready for use.
The drying times mentioned above can be affected by several factors, including temperature, humidity, and ventilation, as previously discussed. Lower temperatures and higher humidity levels can prolong drying times, whereas ideal conditions—about 70°F and 50% humidity—can help achieve closer to the average drying times. Ensuring good ventilation can also aid in faster drying by helping to evaporate the solvents more quickly.
By keeping these considerations in mind, we can better schedule our project timelines and take steps to create ideal drying conditions, leading to flawless finishes and satisfaction with our woodworking endeavors.
Tips for Faster Drying
Understanding the nuances of polyurethane drying times allows us to better plan and execute our woodworking projects. In pursuit of more efficient processes, we’ve gathered several tips to accelerate the drying phase without compromising the quality of the finish.
- Increase Air Circulation: Enhancing air flow in the workspace helps disperse humidity and introduces fresh air, crucial for speeding up the drying process. Positioning fans strategically around the room can effectively aid in reducing drying times, especially if you keep them at a low setting to avoid dust settling onto the wet surface.
- Control Ambient Temperature: Ideally, maintaining a room temperature between 70°F to 75°F facilitates optimal drying conditions. In cooler climates, considering the use of a space heater can help maintain this temperature range, just ensure it’s placed safely and doesn’t blow directly on the surface.
- Apply Thin Coats: Thicker layers not only take longer to dry but are also prone to drips and imperfections. Applying multiple thin coats, with adequate drying time in between, often results in a better finish with faster overall drying times.
- Utilize a Dehumidifier: In areas with high humidity, a dehumidifier can significantly impact drying times by removing excess moisture from the air. This is particularly effective in tightly enclosed spaces where natural air flow is limited.
- Choose the Right Type of Polyurethane: As discussed, water-based polyurethane dries quicker than oil-based alternatives. For projects on a tight schedule, opting for water-based products might be the most efficient choice.
- Follow Manufacturer Guidelines: Specific products might have unique formulas requiring particular conditions for optimal drying. Always check the manufacturer’s recommendations on the label for any additional tips specific to the product you’re using.
By integrating these practices into our woodworking projects, we can not only ensure a flawless finish but also enjoy the satisfaction of efficiently completing our tasks. Remember, while the aim is to reduce drying times, patience and attention to detail during application will yield the best results.
Safety Measures While Drying
Ensuring safety during the drying process of polyurethane is as crucial as achieving a perfect finish on woodworking projects. We recognize the significance of maintaining a safe environment, so we’ve compiled essential safety measures to observe while polyurethane dries.
- Ventilation: Always work in a well-ventilated space. Open windows and doors to ensure fresh air circulation, reducing the buildup of fumes from oil-based polyurethane.
- Use Protective Gear: Wear gloves, safety goggles, and masks designed to filter out organic vapors. This personal protective equipment safeguards against potential skin, eye, and respiratory tract irritations from prolonged exposure to polyurethane.
- Avoid Open Flames: Polyurethane fumes are flammable. Eliminate sources of ignition, such as open flames from candles, fireplaces, or smoking, in and around the drying area.
- Secure the Area: Keep the drying area off-limits to children and pets. This precaution prevents accidental contact with the wet surface, which can be harmful to them and can ruin the project’s finish.
- Dispose of Rags Properly: Rags soaked with polyurethane or thinner can spontaneously combust. Store them in a metal container filled with water and a lid or dispose of them according to local regulations.
- Monitor Humidity and Temperature: While controlling humidity and temperature can expedite the drying process, it’s also vital to prevent conditions that might compromise safety. Using heaters or fans, do so cautiously and ensure they’re not introducing additional hazards.
By adhering to these safety measures, we not only ensure the drying process of polyurethane goes smoothly but also secure the wellbeing of everyone involved in the project. Remember, patience and diligence in following these guidelines guarantee not just a stunning finish but a safe experience throughout the woodworking endeavor.
Troubleshooting Common Issues
After understanding the types of polyurethane and the importance of safety measures during the drying process, it’s essential to tackle some common issues that might arise. Handling these challenges effectively can ensure a flawless finish and maintain the integrity of your woodworking project.
Tacky Finish
Experiencing a tacky finish after the expected drying time can be frustrating. This usually results from high humidity or applying too thick a coat. Our advice is to increase ventilation to aid drying if humidity is the culprit. If the issue stems from an overly thick application, gently sanding down the surface, then reapplying a thinner coat can make a world of difference.
Bubbles in the Finish
Bubbles can mar the beauty of a polyurethane finish, often occurring if the application is rushed or the environment is too windy. To prevent this issue, ensure the workspace is calm and apply the polyurethane slowly and evenly. If bubbles appear, using a fine brush or gently blowing over the surface can smooth them out before the polyurethane dries.
Dust Nibs
Dust particles settling on the wet surface can lead to an uneven finish known as dust nibs. Keeping the workspace clean and free from dust before application is crucial. A tack cloth can be invaluable for picking up loose particles. If dust nibs appear after drying, lightly sanding the surface and reapplying polyurethane should restore the finish.
Streaks or Runs
Streaks or runs occur when the polyurethane is not applied uniformly. Ensuring even application with a quality brush or roller can prevent this problem. If streaks or runs do already exist, waiting for the polyurethane to dry completely before sanding the area smooth and then reapplying can correct the issue.
Addressing these common issues not only ensures the longevity and aesthetic of your woodworking project but also enhances your skill and confidence in using polyurethane finishes. Remember, patience and attention to detail are your best assets in achieving a professional-looking finish.
Conclusion
We’ve walked through the nuances of polyurethane, from choosing between oil-based and water-based options to understanding how our workspace conditions directly affect drying times. It’s clear that a bit of patience and a lot of attention to detail can go a long way in achieving that perfect finish. Remembering safety measures and how to tackle common issues will not only ensure a smooth process but also protect us and our projects. Let’s keep our spaces well-ventilated, our coats thin, and our spirits high. Here’s to many more successful woodworking projects with finishes that are nothing short of professional. Happy crafting!
Related Posts:

