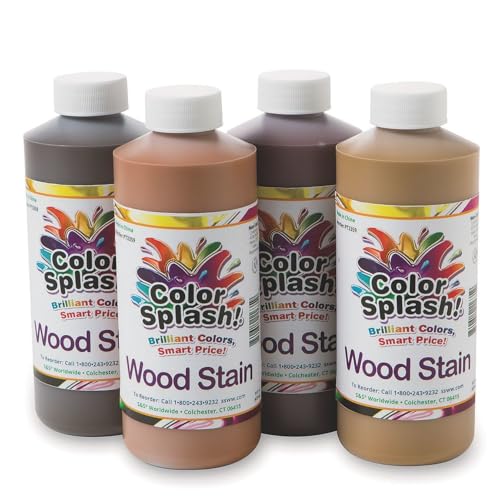
Venturing into the world of woodworking and furniture restoration, we often find ourselves facing the question: Can we stain over a linseed oil finish? It’s a common dilemma for DIY enthusiasts and professionals alike, as the desire to refresh or change the color of a piece without stripping it down arises. Linseed oil, known for its natural protective qualities and ability to enhance the wood’s grain, serves as a popular choice for finishing. Yet, the thought of applying a new stain over it brings up concerns about compatibility and the final look.
We’re here to dive into this topic, shedding light on the possibilities and limitations of staining over a linseed oil finish. Our journey will explore the essentials of what you need to know before picking up that brush, ensuring your project turns out just as you envision. Let’s embark on this exploration together, armed with curiosity and a love for transforming the old into something new and beautiful.
Understanding Linseed Oil as a Finish
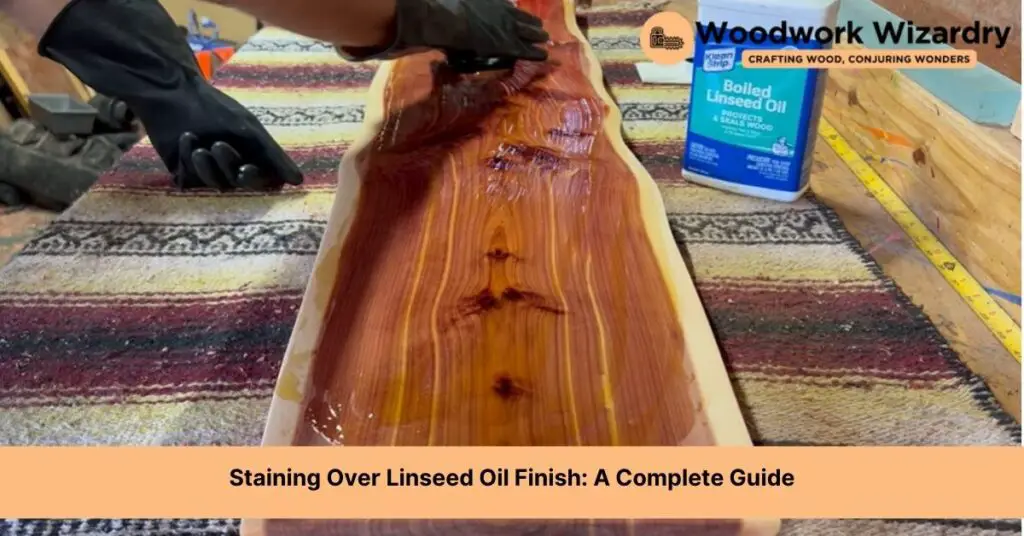
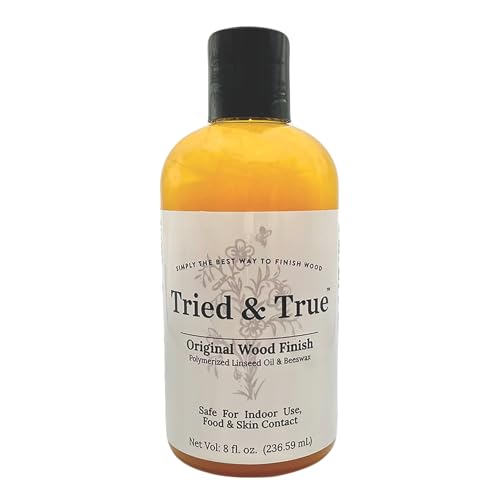
Linseed oil, derived from the seeds of the flax plant, serves as an impressive finish for wood surfaces. We’ve seen it enhance the natural beauty of wood by penetrating deep into the fibers, offering protection while showcasing the wood’s inherent grain. This characteristic makes linseed oil a preferred choice among woodworking and furniture restoration enthusiasts. Not only does it provide a protective layer, but it also brings out a rich, natural look that complements various wood types.
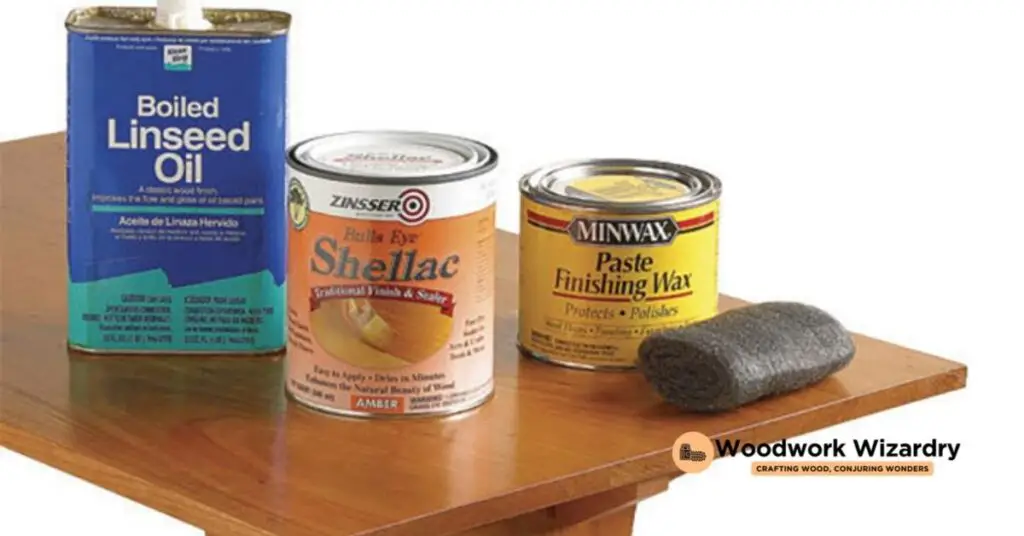
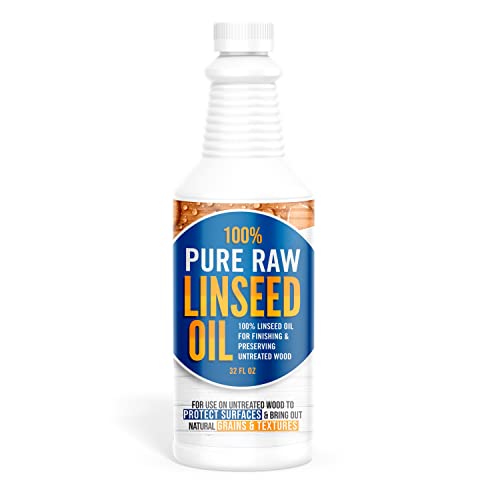
Primarily, linseed oil comes in two forms: raw and boiled. Raw linseed oil cures slowly, taking several weeks to fully dry, whereas boiled linseed oil contains drying agents that accelerate the curing process, making it more practical for projects with tighter timelines. Regardless of the type, linseed oil penetrates the wood, creating a durable finish that’s both flexible and water-resistant.
Moreover, linseed oil’s natural composition makes it an eco-friendly option for finishing wood surfaces. It doesn’t contain harmful solvents or chemicals, making it safer for indoor use and less detrimental to the environment compared to synthetic finishes. This aspect appeals to those of us interested in sustainable and green woodworking practices.
However, one of the nuances of using linseed oil as a finish is its impact on future refinishing options. Once it cures, linseed oil polymerizes, forming a solid bond with the wood that can be challenging to modify or cover with other finishes, including stains. This characteristic necessitates a careful consideration of whether to stain over a linseed oil finish, taking into account the type of linseed oil used, the age of the finish, and the desired outcome of the staining process.
In essence, understanding linseed oil’s properties and how it interacts with wood surfaces lays the foundation for making informed decisions about staining over it. By appreciating its benefits and limitations, we can navigate the complexities of achieving our desired aesthetic while ensuring the longevity and protection of our wood pieces.
Preparing to Stain Over Linseed Oil Finish
Moving from understanding the intricacies of linseed oil’s impact on wood to practical steps, preparing to stain over a linseed oil finish emerges as a meticulous process. Ensuring a successful staining endeavor requires attentiveness to the wood’s condition and the existing linseed oil coating.
First, assess the wood’s surface thoroughly. The polymerization of linseed oil creates a robust layer that could impede the adherence of new stain. If the finish looks glossy or feels slick to the touch, it indicates a fully polymerized surface, which will be less receptive to new stains.
Next, cleaning the surface is crucial. Use a mild detergent diluted in water to remove any surface dirt, oils, or grime that might prevent the new stain from penetrating. After cleaning, ensure the surface dries completely to avoid trapping moisture under the new finish.
Sanding plays a pivotal role in this preparation phase. Start with a medium-grit sandpaper, like 150-grit, to lightly abrade the surface. This step isn’t about removing the linseed oil finish entirely but creating a texture that the new stain can adhere to more effectively. Progress to a finer grit, such as 220-grit, to smooth out the surface without removing the character and protection the linseed oil offers.
Testing the new stain on an inconspicuous part of the wood is advisable. This test reveals how well the new stain adheres and interacts with the linseed oil finish, providing a preview of the final look. If the stain appears blotchy or does not adhere well, a light re-sanding might be necessary.
Finally, ensure the room is well-ventilated or work in an outdoor space if possible. Proper ventilation not only safeguards your health but also aids in the drying process of the stain over the linseed oil finish.
By following these steps diligently, we position ourselves for success in staining over a linseed oil finish, transforming the appearance of our wood pieces while leveraging the protective benefits of the linseed oil.
Can You Stain Over Linseed Oil Staining Oil Finish?
After delving into the complexities of preparing wood treated with linseed oil for restaining, it’s time to address the central question: Can you stain over a linseed oil finish? The answer is yes, but with careful consideration and the right approach. Linseed oil, renowned for its ability to enhance wood grain and offer protection, creates a bond with the wood that can be challenging to work with. However, by following specific steps, we can ensure the new stain adheres properly and the finish meets our expectations.
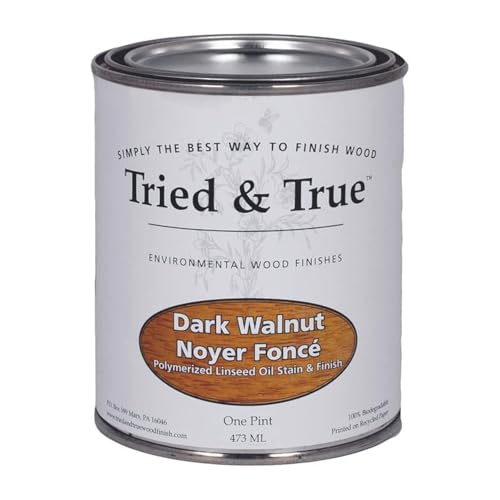
First, understanding the nature of the linseed oil finish applied to the wood is crucial. If the finish is cured and properly prepared, staining over it becomes feasible. The type of stain chosen also plays a significant role. Water-based stains generally don’t adhere well to oily surfaces, so opting for an oil-based stain compatible with the linseed oil’s properties is wise.
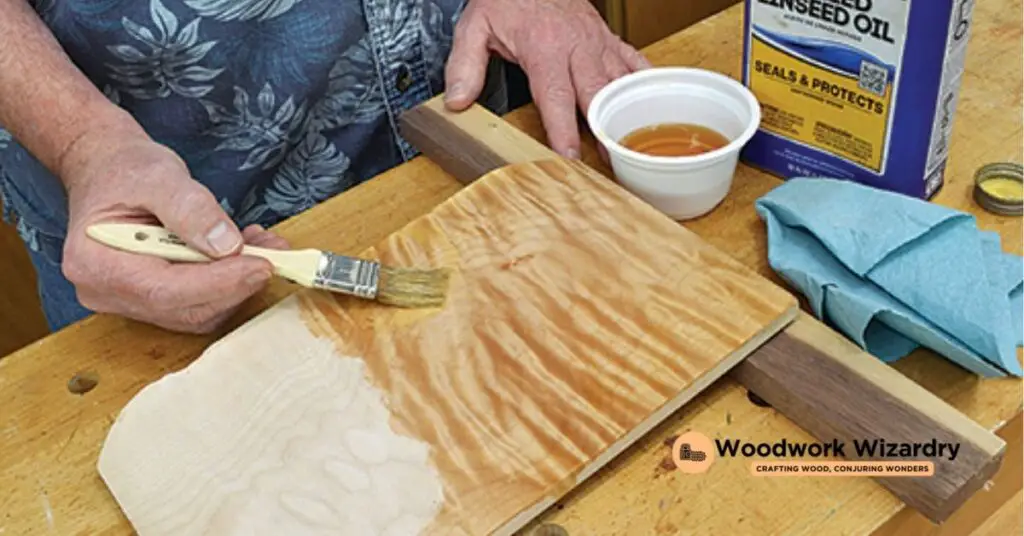
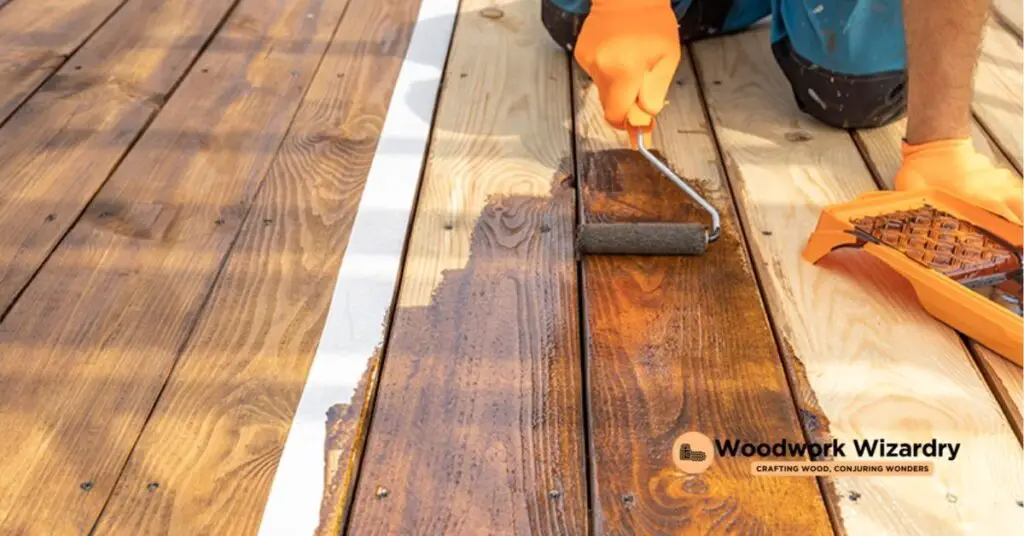
Application techniques matter. Applying the stain with a brush, rag, or sponge allows for control over the amount and evenness of the application. It’s important to apply the stain in thin layers, allowing sufficient drying time between coats. This technique helps avoid a tacky finish and ensures the stain penetrates the wood evenly.
Testing the stain on a small, inconspicuous area before full application cannot be overstated. This step confirms the stain’s compatibility with the linseed oil finish and allows you to see the final color.
Ensuring proper ventilation during the application and drying process safeguards against prolonged exposure to fumes and facilitates a faster drying time. This consideration is essential for both the quality of the finish and the health and safety of everyone involved.
While staining over a linseed oil finish requires extra steps and considerations, it’s definitely possible. By selecting the right stain, preparing the surface properly, and applying the stain carefully, you can achieve a beautiful finish that enhances the wood’s natural beauty while adding your desired coloration.
Step-by-Step Guide to Staining Over Linseed Oil Finish
Understanding the complexity and the challenges of staining over a linseed oil finish, we’ve devised a detailed step-by-step guide. This guide ensures the process is not only successful but also maintains the wood’s aesthetic appeal enhanced by the linseed oil.
Step 1: Assess the Surface
First, we check the wood surface for any inconsistencies. A fully cured linseed oil finish, which usually takes 2-4 weeks, is critical before we apply a new stain. If the surface feels tacky or oily, it requires more time to cure.
Step 2: Clean Thoroughly
Next, we clean the surface to remove any dirt, grease, or wax. We use a mild detergent solution, rinse with clean water, and let it dry completely. This step guarantees that the new stain adheres properly.
Step 3: Light Sanding
We lightly sand the surface with fine-grit sandpaper, such as 220-grit. This step creates a rough texture for the new stain to adhere to without removing the linseed oil finish entirely. We ensure to sand in the direction of the wood grain to avoid scratches.
Step 4: Test the Stain
Before applying the stain over the entire surface, we test it on a small, inconspicuous area. Testing helps us determine if the stain adheres well and achieves the desired color. If the stain doesn’t adhere, we might need to remove the linseed oil finish completely, which we aim to avoid.
Step 5: Apply the Stain
Choosing a gel stain or a stain compatible with oil finishes, we apply it in thin layers using a clean cloth or a brush. We work in sections, ensuring even coverage and wiping away excess stain to avoid uneven coloration.
Step 6: Let It Dry
After staining, we allow ample time for the wood to dry, typically 24-48 hours. It’s vital to keep the area well-ventilated during this time to expedite the drying process.
Step 7: Apply a Top Coat
Finally, for added protection and to seal the stain, we apply a top coat compatible with both the stain and the linseed oil finish. This step enhances the durability and beauty of the wood.
Tips for Maintaining Linseed Oil and Stain Finish
Maintaining a linseed oil and stain finish isn’t just about keeping your wood surfaces looking great. It’s also crucial for preserving the wood’s integrity over time. Following our step-by-step guide ensures your woodworking project not only achieves a beautiful finish but remains protected and vibrant. Let’s dive into some tips that’ll help you keep that finish in top condition.
- Regular Cleaning: Dust and dirt can accumulate on the surface, potentially embedding in the finish and causing scratches. Use a soft, dry cloth for regular dusting. For more thorough cleaning, a damp cloth with a mild detergent will do, but ensure the surface is dried immediately after to prevent water marks.
- Reapply Linseed Oil Annually: Depending on the usage and exposure to elements, reapplying a thin layer of linseed oil once a year can rejuvenate the finish. It enhances the wood’s natural grain and adds to its protective layer, preventing drying and cracking.
- Avoid Harsh Chemicals: Harsh chemicals and abrasive cleaning tools can damage the linseed oil and stain finish. Stick to gentle cleaning solutions and soft cloths or sponges to keep the surface intact.
- Use Coasters and Mats: Protect the wood surface from water rings and heat marks by using coasters under beverages and mats under hot dishes. This preventive measure can save a lot of effort in maintenance in the long run.
- Treat Scratches Promptly: If you notice scratches, treat them promptly to prevent further damage. Light scratches might only need a top-up of linseed oil, while deeper ones could require a bit more attention, such as light sanding before reapplying the stain and oil.
- Monitor Sunlight Exposure: Extended exposure to direct sunlight can fade the stain and dry out the linseed oil finish faster. Consider using curtains or UV-protective window films to minimize this effect, especially for furniture placed near windows.
By incorporating these maintenance tips, your linseed oil and stain-finished surfaces will continue to look beautiful while being preserved for many years. Remember, a little care goes a long way in maintaining the aesthetic appeal and durability of your woodworking projects.
Conclusion
We’ve walked you through the ins and outs of staining over a linseed oil finish, from preparation to maintenance. Remember, the key to a successful project lies in patience and attention to detail. Whether you’re restoring an old piece of furniture or giving a new one some character, the right approach can make all the difference. Keep our tips in mind for maintaining your finish, and you’ll enjoy the beauty and durability of your woodwork for years to come. Let’s keep creating stunning pieces that stand the test of time!
Related Posts:
- Top Woods for Dremel Carving: Expert Picks & Tips
- Can Chainsaws Cut Through Bone? Debunking Myths and Facts
- Can You Dig a Trench with a Chainsaw? Safety & Efficiency Explored
- Staining Over Linseed Oil Finish: A Complete Guide
- How Long Does Wood Glue Take to Dry? Tips for Quick Drying
- Ultimate Guide: How to Stain Douglas Fir for Lasting Beauty
- Prevent Sap Leakage: Effective Wood Maintenance Tips
- Metabo C10RJS Review: Top Choice for Safety & Precision
- Choosing Between a Table Saw vs Miter Saw: Key Features Compared
- Top Picks for Best Plywood for Laser Cutting: Safety & Buying Guide
- Why Are Milwaukee Tools So Expensive? Unpacking the Premium Price
- Maximize Your Woodworking on a Budget: Tools, Tips, & Savings

