Woodworking is an art that transforms simple plywood into stunning pieces of furniture, art, and utility. To achieve those perfect cuts and finishes, having the right tools in your arsenal is crucial. We’ve all faced the frustration of tear-outs or splinters when working with plywood, haven’t we? That’s why we’re diving into the world of the best plywood tools for woodworking, ensuring your next project is not just easier but also delivers that professional touch we all strive for.
Types of Plywood Used in Woodworking
Picking the right type of plywood is crucial for your woodworking projects. It’s all about matching the material to the job for the best finish and durability. Let’s dive into the types of plywood that are most commonly used in woodworking.
Softwood Plywood
Softwood plywood, typically made from cedar, Douglas fir, or spruce, is our go-to for lightweight projects. It’s perfect for creating structures where the visual appearance isn’t the top priority, like in interior framing or shed construction. Its affordability and ease of use make it a favorite among hobbyists and professionals alike.
Hardwood Plywood
For projects requiring a little more finesse and durability, hardwood plywood steps in. Crafted from trees like oak, maple, and birch, it offers that exquisite grain finish that’s hard to beat. We love using it for cabinetry, furniture, and decorative panels. Its sturdiness ensures our creations are not only beautiful but built to last.
Marine Plywood
When we’re working on projects that will face moisture or water exposure, marine plywood is our savior. Engineered to endure wet conditions without delaminating, its layers are bonded with waterproof glue. Although pricier, its resilience makes it ideal for outdoor furniture, boat-building, and docks. Remember, it’s always better to invest a bit more on materials that will stand the test of time for projects exposed to the elements.
Essential Cutting Tools for Plywood Projects
After aligning the right type of plywood to our project’s requirements, let’s dive into the crucial tools we’ll need to cut precisely and efficiently. The selection of cutting tools significantly influences the outcome of our woodworking endeavors. Here’s where we’ll focus on tools that enhance our craftsmanship by ensuring clean, accurate cuts without the fuss.
Circular Saw: A Must-Have for Straight Cuts
A circular saw tops our list as a versatile workhorse for plywood projects. It’s our go-to for making swift, straight cuts across large sheets of plywood. Whether we’re trimming down panels for a bookshelf or slicing through sheets for a workbench, a circular saw, paired with a sharp, fine-toothed blade, minimizes tear-outs, leaving a clean edge. We recommend using a straight edge guide to enhance accuracy, turning good cuts into great ones.
Jigsaw: Perfect for Intricate Shapes and Curves
When our projects call for cuts that curve and twist, a jigsaw steps up to the challenge. Ideal for cutting intricate patterns and shapes, a jigsaw allows us to navigate tight corners and complex designs with ease. Opting for a high-quality jigsaw with variable speed settings gives us control and finesse, ensuring those detailed cuts come out just as we envisioned. Remember, selecting the right blade is key—fine-toothed blades for precision, and wider blades for speedier cuts through thicker plywood pieces.
Table Saw: For Precision and Larger Projects
For projects demanding ultimate precision and the capability to handle larger pieces of plywood, a table saw becomes indispensable. It’s our cornerstone tool for making rip cuts, crosscuts, and even bevel cuts with unparalleled accuracy. With the ability to adjust the blade height and angle, we can customize our cuts to suit a wide array of project specifications. A table saw is particularly useful for repetitive cuts, ensuring each piece of our project matches perfectly with the next. To maximize cut quality and safety, we always pair it with a sharp blade and use proper push sticks to maintain a safe distance from the blade.
Measuring and Marking Tools for Precise Work
After selecting the correct plywood and getting to grips with the cutting tools necessary for the job, it’s crucial to focus on the tools that’ll help us measure and mark our materials with precision. Accurate measurements and clear markings are the foundations of any successful woodworking project. Let’s dive into the must-have measuring and marking tools for any woodworker.
Tape Measure and Ruler: Essential for Accurate Measurements
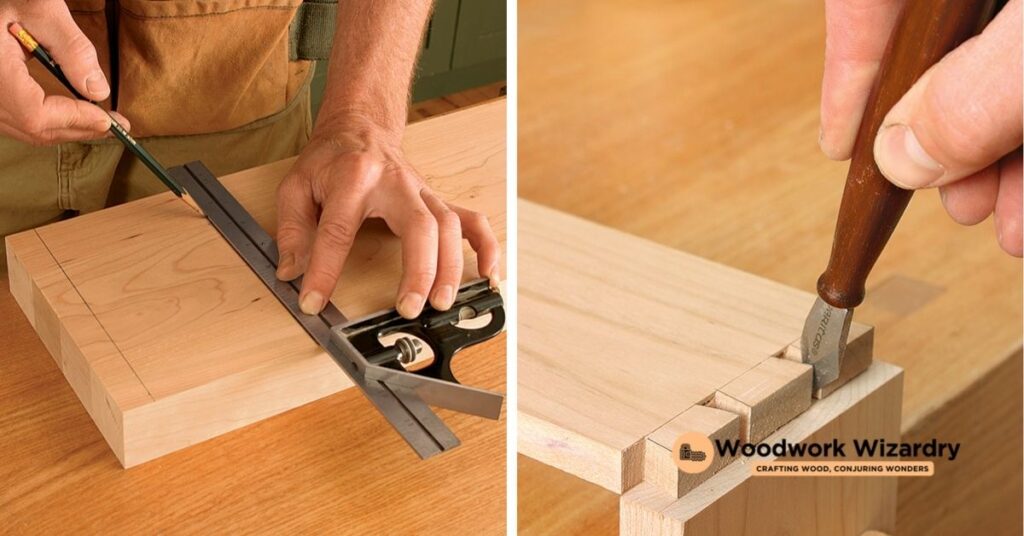
Every woodworker knows that a tape measure and a ruler are indispensable tools in their toolkit. We rely on a tape measure for quick, flexible measurements, especially for longer distances where accuracy is key but a bit of flexibility is also welcome. It’s perfect for measuring the dimensions of plywood before making cuts. On the other hand, a ruler, with its rigid structure, is ideal for shorter, more precise measurements and straight lines. It’s our go-to when precision is paramount, like when we need to ensure our cuts or holes are perfectly spaced. Together, these tools ensure our woodworking projects start on the right foot, with measurements that are spot-on.
Carpenter’s Pencil and Chalk Line: Marking for Perfection
Once we’ve measured twice, it’s time to commit to our cuts. That’s where a carpenter’s pencil and a chalk line come into play. The carpenter’s pencil, with its sturdy lead, allows us to mark our plywood clearly without the fear of smudging or erasing. It’s our best friend when it comes to drawing precise lines and notes on materials. The chalk line, meanwhile, is invaluable for marking long, straight lines across wide pieces of plywood. With a quick snap, it gives us a perfectly straight guideline, ensuring our cuts are straight and true. These tools together make sure our precision in measuring translates into perfection in marking, setting us up for successful woodworking projects.
Utilizing these measuring and marking tools, we’re able to achieve the level of detail and accuracy needed for outstanding woodworking projects. From ensuring our measurements are correct with a tape measure and a ruler to marking our cuts with a carpenter’s pencil and a chalk line, we’re set to transform plywood into pieces of art.
Joining Tools to Bring Your Projects Together
After ensuring our plywood is perfectly cut and marked, it’s time to join pieces together, transforming separate components into a cohesive masterpiece. We’ll explore two indispensable sets of tools that are vital for this phase of your project.
Power Drill and Impact Driver: Essential for Fastening
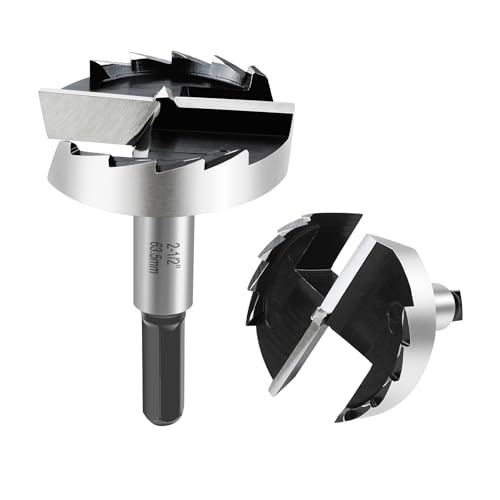
First up, we’ve got the power drill and impact driver, a dynamic duo in the woodworking world. Power drills are perfect for drilling holes of various sizes, vital for doweling or preparing for screws. Impact drivers, on the other hand, specialize in fastening. They deliver higher torque with less effort from us, making the process of driving screws into plywood smoother and preventing the dreaded strip-out. When it’s time to fasten the components of our projects, this pair proves indispensable. For instance, when assembling a bookshelf, we’ll drill pilot holes before using the impact driver to secure the shelves to the sides, ensuring a sturdy construction.
Wood Glue and Clamps: For Strong Bonds without Screws
Sometimes, the best joinery requires neither nails nor screws. That’s where wood glue and clamps come into play. Wood glue provides a strong bond that, in many cases, can be even stronger than the wood itself. It’s perfect for creating seamless joins, especially in projects where visible fasteners would detract from the aesthetic. Clamps are equally crucial, as they hold pieces tightly together while the glue dries, ensuring an even, secure bond. Imagine gluing up a panel for a tabletop; we’d apply glue along the edge of one board, press it against its neighbor, and then use clamps to hold everything in place as the glue sets. This method gives us a smooth, uniform surface without any metal fasteners breaking the flow.
Finishing Touches: Sanding and Painting Tools
After meticulously measuring, cutting, and joining our plywood projects, it’s time to give them the aesthetic they deserve. The final look is as crucial as the build itself, requiring the right tools for sanding and painting. Here, we dive into the essentials for achieving that flawless finish.
Orbital Sander: Achieving Smooth Surfaces
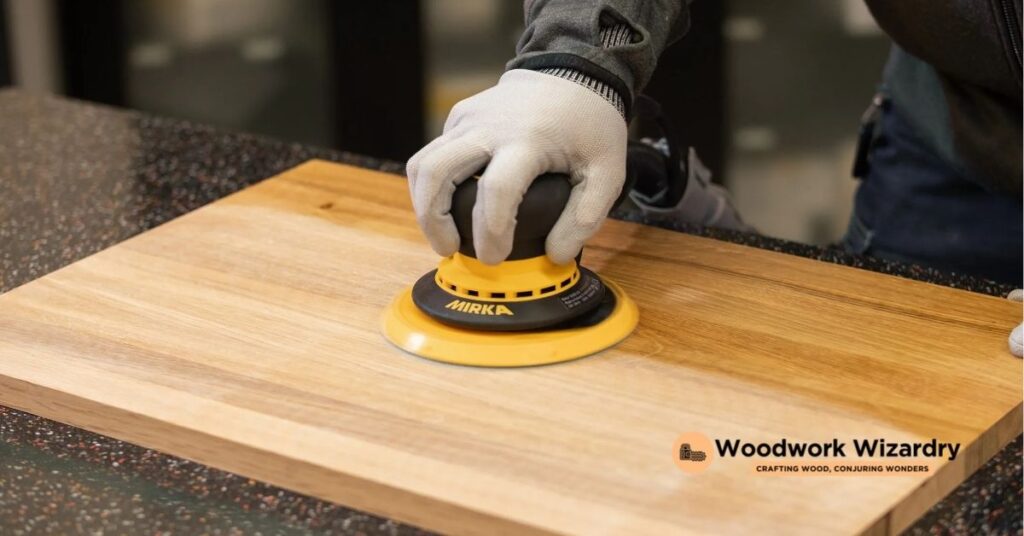
We believe that every woodworker needs an orbital sander in their toolkit. It’s our go-to for removing any roughness and preparing plywood surfaces for painting or staining. With its circular motions, the orbital sander eliminates scratches and unevenness efficiently, ensuring your project feels as good as it looks. We recommend starting with a coarser grit sandpaper and gradually moving to a finer grit for the smoothest finish.
Paintbrushes and Sprayers: For a Professional Finish
Choosing between paintbrushes and sprayers depends on the project’s size and the finish you’re after. For detailed work or smaller projects, high-quality paintbrushes are indispensable. They let us apply paint with precision, getting into those tight corners and edges with ease. On the other hand, sprayers are our favorites for covering large areas quickly or when we’re looking for an exceptionally smooth finish without brush marks. Whether opting for a brush or sprayer, investing in quality tools makes all the difference in achieving a professional look.
Safety Gear: Protecting Yourself While Working
Safety should always be our top priority when working on woodworking projects, especially when using powerful tools and dealing with materials like plywood. Let’s dive into the essential safety gear that’ll keep us protected while we create our masterpieces.
Safety Goggles: Essential Eye Protection
Whether we’re sawing, sanding, or drilling into plywood, debris and dust can fly into our eyes without warning. That’s why safety goggles are a must-have. They provide a protective barrier that keeps our eyes safe from harm. Opting for goggles with anti-fog and scratch-resistant features ensures that we maintain clear vision throughout our work, making them an indispensable part of our safety kit.
Hearing Protection: Guarding Against Loud Noises
Our woodworking tools pack a punch not just in performance but also in noise. Prolonged exposure to loud noises can have a lasting impact on our hearing. Earplugs or earmuffs are our best defense against this. They significantly reduce noise levels, helping to prevent hearing damage. It’s wise to choose hearing protection that’s comfortable for long wear so we can focus on our work without distraction.
Dust Masks and Respirators: Keeping the Lungs Clear
Wood dust isn’t just a nuisance; it can also pose health risks when inhaled, especially over time. A dust mask or respirator is essential for filtering out these particles, keeping our lungs clear. For enhanced protection, especially during tasks that generate a lot of dust, a respirator with replaceable filters is a smart choice. It’s all about ensuring we can breathe easily while we’re bringing our woodworking visions to life.
Maintenance Tips for Plywood Woodworking Tools
After exploring the essentials of choosing plywood and using the right tools for precision in woodworking, let’s focus on keeping those tools in prime condition. Proper maintenance is key to ensuring longevity and effectiveness.
Regular Cleaning and Inspection
Keeping our tools clean and conducting regular inspections can significantly extend their life and maintain their performance. Here’s how we do it:
- Wipe down tools after every use to remove sawdust, glue residue, or any moisture. For power tools, a simple brush or an air blower is perfect for clearing out wood particles from hard-to-reach areas.
- Inspect cords and batteries for signs of wear or damage if we’re using corded or battery-powered tools. It’s crucial to ensure everything is in safe working order.
- Check for rust on metal parts, especially blades and bits. Applying a light oil can keep them rust-free and moving smoothly.
- Tighten any loose components such as screws, nuts, or bolts. This not only prevents accidents but also ensures our tools work as they’re supposed to.
Sharpening Blades for Optimal Performance
A sharp blade not only makes our job easier but also prevents tear-out on our plywood projects. Here’s our approach to keeping blades sharp:
- Use a professional sharpening service for tools like table saw blades and planer knives. They’ve got the expertise to bring back the razor-sharp edge we need.
- Invest in a sharpening tool for more frequent, smaller jobs. Handheld sharpeners or sharpening stones can be perfect for chisels, hand planes, and utility knives.
- Follow the manufacturer’s guidelines for sharpening. Each tool may have specific recommendations for getting the best edge without causing damage.
- Always work with care, wearing safety gloves and goggles. Sharpening involves handling sharp edges, so it’s best to take precautions.
By integrating these maintenance tips into our routine, we ensure that our plywood woodworking tools stay in excellent condition, ready for any project we take on.
Conclusion: Crafting Masterpieces with the Best Plywood Tools
We’ve walked through the essentials of selecting the right plywood and the best tools to turn our woodworking visions into reality. From ensuring we’ve got the perfect type of plywood to equipping ourselves with the precise cutting, measuring, and joining tools, we’re set to tackle any project with confidence. Remember, the key to outstanding craftsmanship lies not only in our skills but also in the tools we use and how well we maintain them. Let’s not forget the importance of safety gear to keep us protected as we create. With these insights, we’re more than ready to embark on our next woodworking adventure, crafting masterpieces that’ll stand the test of time. Let’s get to work and make every cut count!
Related Posts:
- Ultimate Guide: Best Plywood for Shelves & Maintenance Tips
- Top Best Adhesives for Plywood: Ensure Strong Bonds for Your Projects
- Top Plywood Picks for Durable Workbenches: A Buyer’s Guide
- Top Plywood Picks for Durable & Stylish Doors: A Guide
- Top Choice: Finding the Best Plywood for Durable, Eye-Catching Signs
- Top Plywood Tools for Woodworking: A Comprehensive Guide
- Top Plywood Ideas: Transforming Interiors from Floors to Ceilings
- Understanding Exterior Plywood: Grades, Types, and Maintenance Tips


