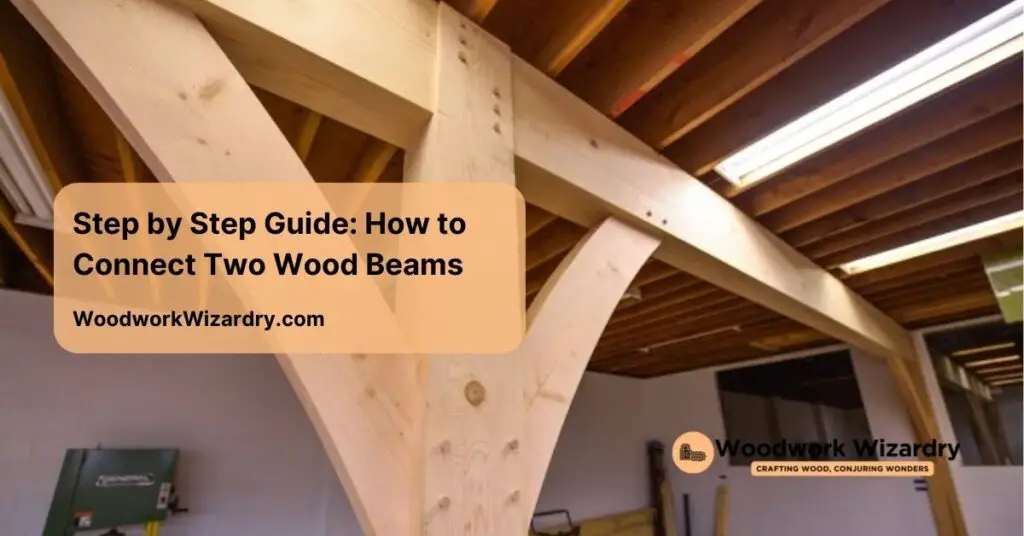
Connecting two wood beams might sound like a challenging job, but with the right approach, it’s easier than you think. Whether you’re building a sturdy frame or tackling a creative DIY project, mastering this skill opens up endless possibilities for your woodworking ventures. Why rely on expensive professionals when you can achieve professional results yourself?
Tools And Materials Needed
 1")
Connecting two wood beams requires the correct tools and materials to ensure durability and precision. Gather these items before starting to streamline the process.

Durable and Long-Lasting:Made from heavy-duty steel, these I shape flat mending plates are built to last and withstand heavy loads, making them perfect for a variety of repair and construction projects.

Durable and Long-Lasting:Made from heavy-duty steel, these I shape flat mending plates are built to last and withstand heavy loads, making them perfect for a variety of repair and construction projects.

【Product Dimensions】 You will receive 8pcs brackets, 40pcs screws, and a cross-head screwdriver.Size: 3.15’’(80mm) x 1.57’’(40mm) ,0.08’’ thick, 4pcs. 2.36’’(60mm) x 1.49’’(38mm), 0.06’’ thick, 4pcs, respectively, providing strong support for your furniture.
Essential Tools
Identify the tools necessary for properly aligning, securing, and cutting the wood beams.
- Measuring tape: Accurately measure beam length and positions.
- Carpenter’s square: Maintain precise angles while marking or aligning.
- Drill: Create holes for screws or bolts with ease.
- Screwdriver or impact driver: Drive screws securely into the beams.
- Saw: Cut beams to desired length or shape if adjustments are needed.
- Clamp: Stabilize both beams while fastening for increased safety.
- Hammer: Insert nails or dowels effectively when screws aren’t used.
- Pencil: Mark exact cutting or drilling points on the beams.
Required Materials
Ensure the materials you use provide strength and compatibility with wood beams.
- Wood screws or bolts: Choose hardware with the right length and diameter for a firm connection.
- Wood glue: Enhance the bond between beams plus to fasteners.
- Metal brackets or plates: Reinforce joints for added structural support.
- Sandpaper: Smooth edges and surfaces to improve fit and finish.
- Wood filler: Fill gaps or imperfections for a seamless appearance.
- Protective finish or sealant: Protect connected beams from moisture and wear.
Preparing The Wood Beams
 2")
Getting the wood beams ready is a critical step to ensure a strong and precise connection. This process involves careful inspection and accurate measurements.

✅No Pre-Drilling – Saves 70% Time Skip pilot holes! Our self-drilling timber screws bite instantly into wood – saving 20 seconds per screw. Perfect for railroad ties, decks, barns, and outdoor wood projects. Stronger than others for a rock-solid hold.

Time-Saving and Effortless: These heavy-duty structural wood screws can secure landscape walls, decks, and post & beam construction without pre-drilling, saving you time and effort.

[No Pre-Drilling – Maximize Efficiency] Skip the pilot hole step and save 70% of your time. Our self-drilling wood screws bite directly into wood, saving 20 seconds per screw. Ideal for outdoor wood projects like deck construction, log building, or timber framing. Save both time and effort
Inspecting The Beams
Examine each wood beam for damage, such as cracks, splits, or warping. Damaged beams compromise structural integrity. Look for signs of decay or insect infestation, especially if you’re using recycled or untreated wood. Ensure the surfaces are clean and smooth. Remove debris, dirt, or old finishes using a sander, scraper, or wire brush.
Inspect the ends to ensure they are square and free of irregularities. Uneven ends affect the fit and alignment. If necessary, trim rough or crooked edges with a saw or planer.
Measuring And Marking
Use a measuring tape to determine the exact dimensions for the connection point. Precision here ensures the beams align correctly during assembly. Mark the dimensions clearly using a pencil or chalk to avoid errors.
Draw guide lines with a carpenter’s square to maintain accuracy. For angled or complex joints, double-check measurements before making cuts. If multiple beams are involved, label each beam to ensure proper placement.
Step By Step Guide How To Connect Two Wood Beams
Connecting two wood beams efficiently requires proper planning and execution. Follow these steps to achieve a strong and lasting joint.

Use indoors or outdoors: Give your indoor or outdoor projects a Gorilla Tough bond with waterproof Ultimate Gorilla Wood Glue (passes ANSI/HPVA Type I), our most durable wood glue
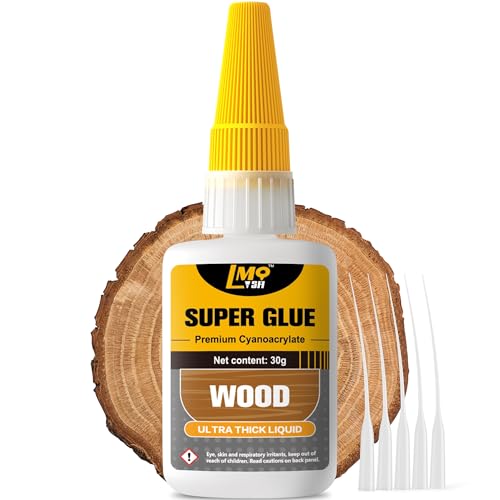
🌲 Seamless Wood Bonding: Designed for wood projects, this wood glue penetrates fine cracks and forms strong bonds between wood, metal, or other materials. Perfect for restoring furniture, repairing cracks, and achieving seamless finishes with minimal traces.

Strong initial tack-fast set
Choosing The Connection Method
Determine the type of joint based on the project’s requirements. For simple connections, use lap joints or butt joints. For added strength, opt for mortise and tenon or half-lap joints. In outdoor projects, use galvanized screws or bolts to prevent rust. For a seamless look, consider concealed fasteners or wood glue. Assess the load and wood dimensions before finalizing your method.
Drilling Pilot Holes
Create pilot holes to prevent the wood from splitting during assembly. Use a drill bit that’s slightly smaller than the diameter of your screws or bolts. Ensure you place the pilot holes at the marked positions for precise alignment. For dense hardwood, apply steady pressure with your drill. Clean any debris from the holes for a smoother connection.
Aligning And Securing
Bring the beams together at the intended joint. Check that markings align correctly before inserting fasteners. Hold the beams in place using clamps to maintain stability during fastening. Insert screws, bolts, or other fasteners and tighten securely. For increased reinforcement, add wood glue to the joint before securing. Recheck alignment after fastening to ensure stability.
Finishing Touches
 3")
Completing the connection between two wood beams involves refining their appearance and ensuring long-term durability. Focus on meticulous sanding and applying protective coatings to achieve a polished and lasting result.

INCLUDES: (4) Horizontal quick release toggle clamp (Type-225D)

Package includes 2 carpenter clamps.

【Fixed Clamps】 Hold down clamps woodworking with rubber tip, cam lever hold down clamp for CNC fixtures/workholding clamps. Quick release clamps with non-slip, oil and stain resistant red vinyl solid handles for woodworking clamps.
Sanding And Smoothing
Begin by inspecting the joined area for any rough edges or uneven surfaces. Use medium-grit sandpaper to smooth out irregularities, then switch to fine-grit sandpaper for a cleaner finish. Ensure you sand along the wood grain to avoid scratches or damage. Pay close attention to the joint area, as a seamless appearance enhances stability and aesthetics. For tight corners or detailed sections, consider using a sanding block or tool for precision.
Applying Protective Coatings
After sanding, clean the surface with a dry cloth to remove dust or debris. Apply wood sealant or primer as the first layer to protect against moisture and decay. Choose a water-resistant wood stain or paint for outdoor projects to safeguard against weather exposure. Use multiple thin coats, allowing each layer to dry fully before applying the next. For indoor applications, use clear varnish or polyurethane for a natural finish that highlights the wood grain. Prioritize coverage on the joint areas to reinforce their durability and prolong their lifespan.
Safety Tips And Precautions
 4")
Ensure safety when working with wood beams to avoid accidents. Wear protective gear, such as safety goggles and gloves, to protect your eyes and hands from debris and sharp tools. Use hearing protection if working with loud power tools.
Keep your workspace clean to prevent tripping over clutter. Arrange tools and materials neatly and within reach to maintain focus on the task. Secure wood beams with clamps before drilling or fastening to prevent slipping.
Inspect your tools for damage to ensure reliability during use. Replace worn drill bits or malfunctioning equipment promptly to avoid issues. Verify the stability of your work surface, especially when joining large or heavy wood beams.
Follow manufacturer instructions for power tools and adhesives. Use tools designed for the exact task to avoid unnecessary strain or improper use. Work away from children or pets to minimize distractions and risks.
Take frequent breaks to reduce fatigue during extended projects. Avoid rushing, as improper handling or skipped steps can lead to weak connections or injuries. Focus on precision and safety at every stage to achieve a durable result.

【High quality】: Mecurate rafter square made of die-casting aluminum, which is light and convenient. Good oxidation resistance, not easy to break, each triangle ruler is thickened, corrosion-resistant and high hardness.

WORK FASTER & SMARTER - Save precious time on woodworking with our new rafter square. Easily measure, trace, and take angles using only one woodworking square! No need to bring a bulky toolbox. With our 6-in-1 carpenter tools, you have everything you need to work quickly and efficiently!
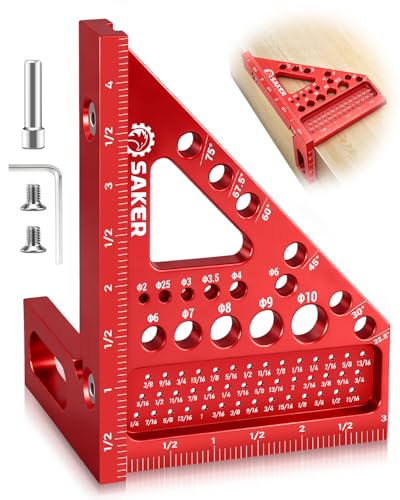
Durable Aluminum Build: Crafted from anodized aluminum alloy, the Saker carpenter square offers long-lasting durability, corrosion resistance, and wear-proof performance. Its laser-engraved 3D scales on three edges provide clear, fade-resistant markings, ensuring precise measurement, layout, and marking tasks remain accurate over time.
Conclusion
Connecting two wood beams is a valuable skill that can elevate your projects, whether you’re tackling a DIY build or improving structural designs. With the right tools, careful preparation, and attention to detail, you can achieve strong, professional-quality results that stand the test of time.
By following proper techniques and prioritizing safety, you’ll not only create durable connections but also gain confidence in your woodworking abilities. Take your time, stay precise, and enjoy the satisfaction of crafting something reliable and long-lasting.
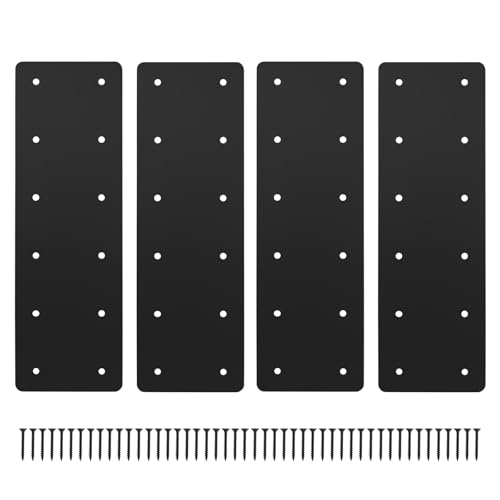
Heavy-duty Metal Material:Heavy-duty I shape mending plate are made of strong steel with a powder-coated finish for long-lasting use.

MASSIVE STRUCTURAL SUPPORT - Don't settle for flimsy plates. Each of our brackets is forged from solid steel and weighs a substantial 1.4 lbs (0.65 kg). Securely connects and reinforces two wooden boards, preventing seams from deforming or breaking under extreme stress

【Product Dimensions】 You will receive 16pcs brackets, 64pcs screws. Size: 2.36in (60mm) x 1.5in (38mm) , 0.06in (1.5mm) thick, the distance between the holes on the short side is 0.78in (20mm) and 1.65in (42mm) on the long side, the hole diameter is 0.16in / 4mm, providing strong support for your furniture.


