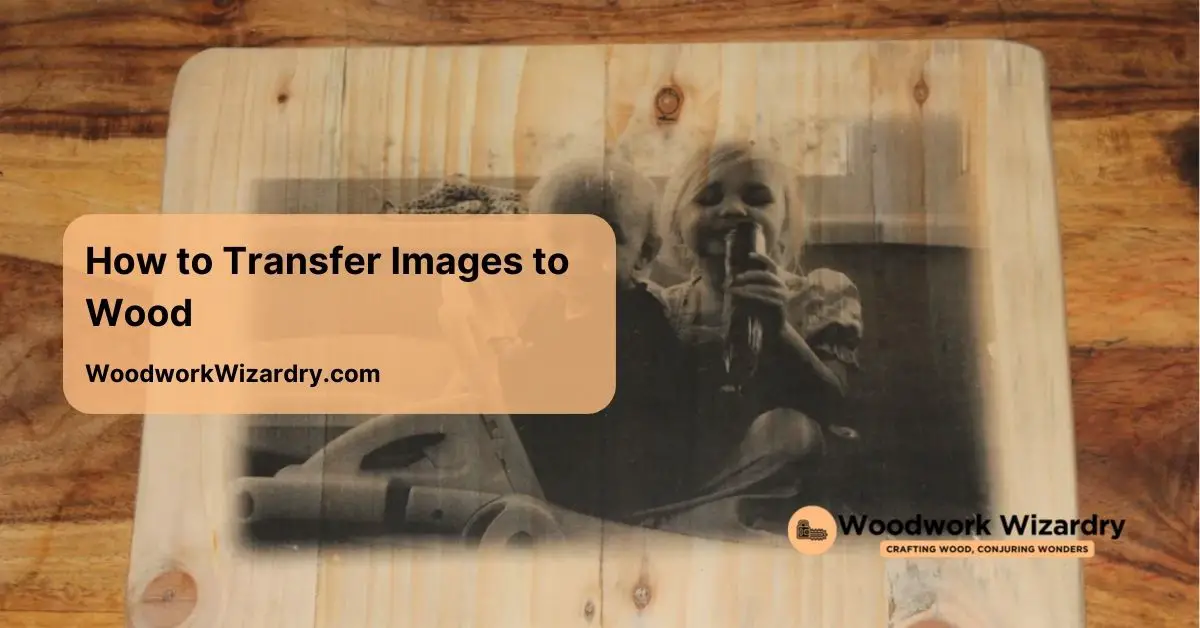
Imagine transforming your favorite photos into stunning wooden art pieces that bring warmth and character to your home. Transferring images to wood isn’t just a creative project; it’s a way to preserve memories in a unique and captivating format. Whether you want to showcase family portraits or create personalized gifts, this technique opens up a industry of artistic possibilities.
Understanding Image Transfer to Wood
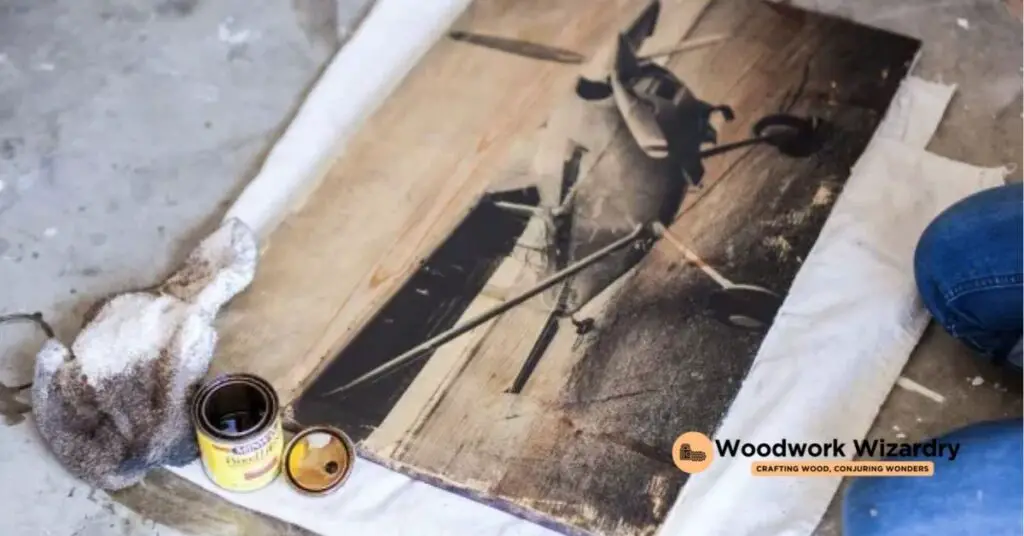
Image transfer to wood involves several essential steps to ensure successful results. You’ll start with selecting the right image. High-contrast images with simple designs often work best for this technique.
Next, prepare the wood surface. Sand the wood until it’s smooth to ensure the image adheres properly. Choose wood types like birch or pine that provide a nice finish and absorb the transfer medium well.
Apply a transfer medium on your image. Mod Podge or gel medium can serve this purpose effectively. Spread the medium evenly to avoid bubbles and wrinkles during the transfer process.
Position the image face down on the wood. Firmly press the image to eliminate air pockets, improving the transfer quality.
Let it dry completely. Drying times can vary, but waiting 24 hours ensures the best adhesion. Once the image is dry, moisten the paper to help remove it easily.
Gently rub the paper away. Use your fingers or a damp cloth to reveal the transferred image. The result should display a beautiful, rustic finish that brings your memories to life.
Sealing the image with a clear varnish or polyurethane protects it from damage. This additional layer enhances durability and keeps the colors vibrant.
Materials Needed
To successfully transfer images to wood, gather exact materials. Proper selection ensures high-quality results.
Types of Wood
Choosing the right wood surface significantly impacts the final image clarity. Lighter woods, such as pine, maple, oak, or plywood, often provide the best background for vibrant images. These wood types enhance visibility and showcase details effectively. Aim for smooth surfaces to help a seamless transfer process.
Transfer Mediums
Using a suitable transfer medium is essential for image transfer. Various options exist, but Mod Podge Photo Transfer Medium stands out. This medium is specifically designed for photo transfers, yielding outstanding results on wood and other surfaces. Also, consider using freezer paper or the glossy side of label backing paper for added versatility. These options can also produce impressive outcomes, depending on your chosen method.
Step-by-Step Guide
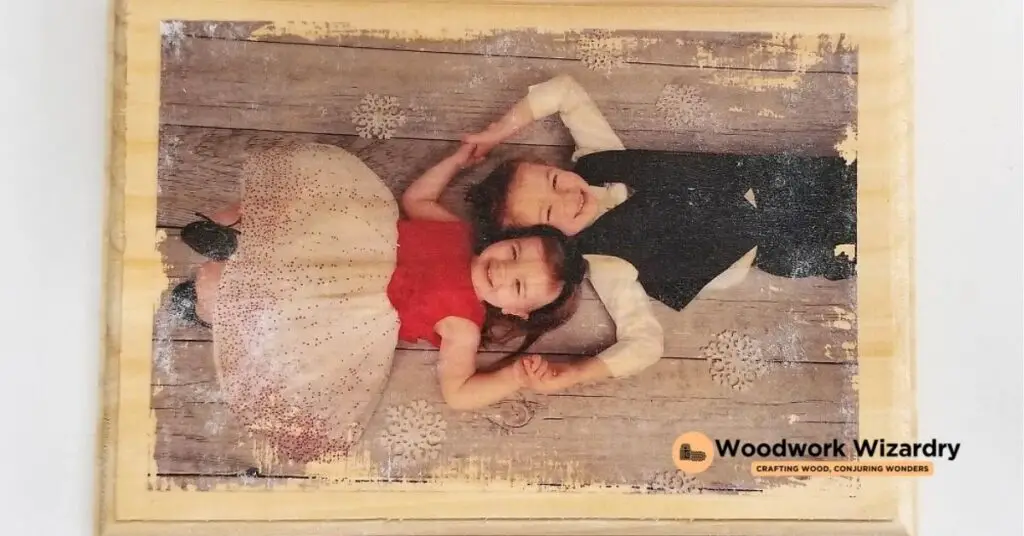
Successfully transferring images to wood requires careful preparation and technique. Follow these steps for optimal results.
Preparing the Wood Surface
Clean and dry the wood surface thoroughly. Sand any rough edges to create a smooth finish, which aids in better image adhesion. If desired, stain or paint the wood before the transfer. This preparation can enhance the appearance of your final result significantly. Ensure any paint or stain dries completely before moving on to the next steps.
Selecting and Preparing Images
Choose images with high contrast and vivid colors for better reproduction. Use a laserjet printer or a dry toner copier to print your selected images on regular printer paper. The toner-based ink ensures a more effective transfer. If your image contains text, reverse it before printing to maintain legibility after transfer. Avoid photo paper, as its coating can hinder ink release during the process, leading to unsatisfactory results.
Transfer Techniques
Apply a suitable transfer medium to the wood surface using a clean brush. Evenly coat the area where the image will be placed. Position the printed image face down onto the medium, ensuring it lies flat. Press out any bubbles or air pockets to avoid distortion. Allow the transfer to dry completely, typically for several hours, for the best outcome. Once dry, dampen the paper to gently rub it away, revealing the transferred image beneath.
Tips for Successful Image Transfer
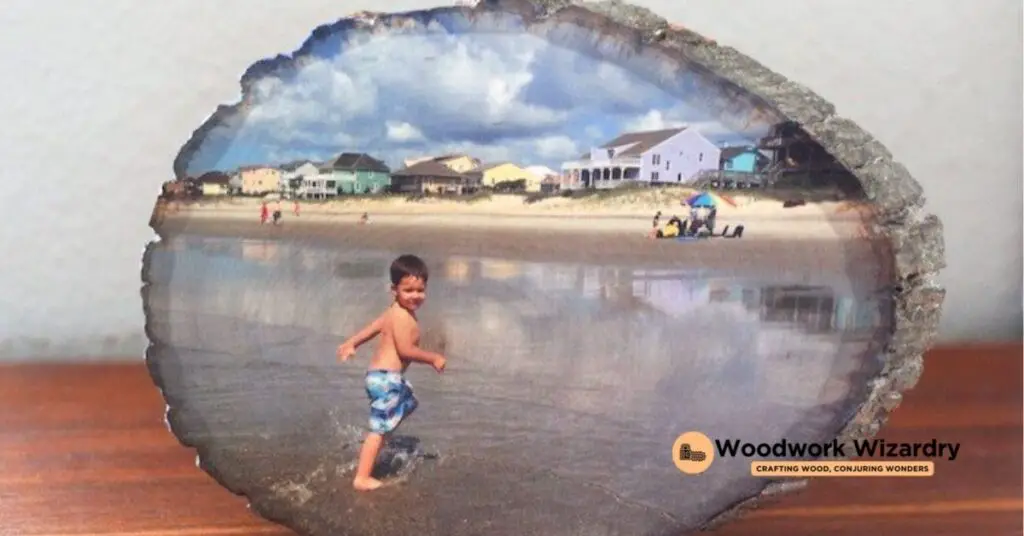
Choose the right paper for your printer type. A laser printer works best with regular paper, while inkjet printers benefit from specialized papers like freezer paper or water decal inkjet printer papers.
Inspect the wood surface carefully. A smooth and flat surface ensures better adherence of the image. Sanding the wood with coarse grit sandpaper, such as 60 or 80 grit, prepares it effectively for image transfer.
Apply a sufficient amount of transfer medium. Products like Mod Podge Photo Transfer Medium or Liquitex provide excellent results. Make sure to spread the medium evenly to help smoother image application.
Position the image accurately. Face down, with no wrinkles, will yield clearer images. Take your time to align the image for best results.
Allow ample drying time. Letting the image sit undisturbed gives the transfer medium a chance to bond with the wood. Check any drying instructions provided by the transfer medium for optimal timing.
Gently dampen the paper post-drying. This method helps release the paper without damaging the transferred image. Rub lightly to reveal the image beneath while avoiding over-saturation.
Seal the transferred image once complete. A clear coat spray, like Krylon, enhances durability and vibrancy. Choose your sealing method based on the intended use of the finished piece.
Troubleshooting Common Issues
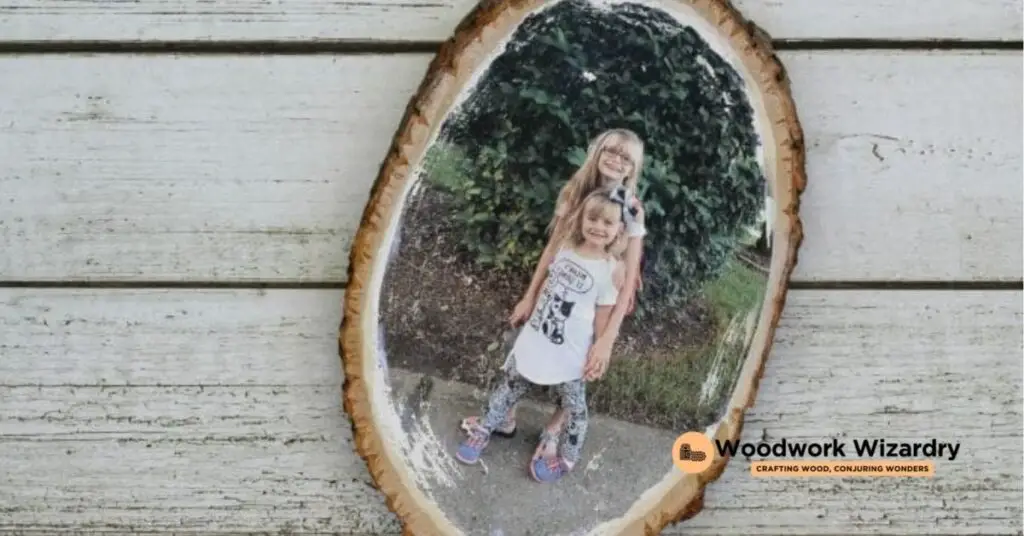
Achieving a smooth image transfer to wood can present challenges. If you notice the image isn’t transferring completely, this can often result from insufficient drying time or inadequate application of transfer medium. Ensure you apply the transfer medium evenly across the surface before positioning your image.
In cases where the image appears blurry, check the printer settings. Use “Glossy Photo Paper” settings for optimal clarity. When working with text, flip the image before printing to maintain legibility.
If the paper is difficult to remove, consider dampening it slightly with water. This technique allows for easier peeling while minimizing damage to the transferred image. Use a soft cloth to gently rub the paper away.
Uneven image edges might indicate that the image shifted during the drying process. Secure the image firmly and check for wrinkles to avoid this issue. Smooth out any bubbles with a credit card or similar tool before the medium dries.
A discoloration in the finished piece can stem from using an unsuitable transfer medium. Mod Podge often yields quality results, but other mediums might not provide the same vibrancy. Always test different mediums on scrap wood first to find the best compatibility.
Finally, if the image lacks vibrancy after sealing, evaluate the type of clear coat spray used. Select a spray designed for wood to enhance the final appearance. Test the spray on a sample surface to confirm its effectiveness before applying it to your artwork.
Conclusion
Transforming images to wood is a rewarding way to showcase your cherished memories. With the right materials and techniques, you can create stunning art pieces that add a unique touch to your home or make thoughtful gifts.
Remember to choose high-contrast images and prepare your wood surface carefully for the best results. Don’t rush the drying process and always seal your finished piece to protect it.
Whether you’re a beginner or an experienced crafter, this technique opens up endless creative possibilities. So gather your supplies and start your image transfer journey today. You’ll be amazed at the beautiful results you can achieve.
Frequently Asked Questions
What is the process of transferring photos to wood?
Transferring photos to wood involves several steps: selecting a high-contrast image, preparing the wood surface by cleaning and sanding, applying a transfer medium, and positioning the image face down. After allowing it to dry, gently dampen and remove the paper to reveal the transferred photo. Seal with a clear varnish for added durability.
What type of wood is best for photo transfer?
Lighter woods such as pine, maple, oak, or plywood are recommended for photo transfer. They enhance image clarity and detail, making your final piece vibrant and visually appealing.
Which transfer mediums work best for photo transfer?
Mod Podge Photo Transfer Medium is a popular choice for transferring images to wood. Other alternatives include freezer paper and the glossy side of label backing paper, which offer versatility in the transfer process.
How do I prepare the wood for image transfer?
To prepare the wood, ensure it is clean and smooth by sanding it lightly. You can also consider staining or painting the surface before starting the transfer, which can enhance the final appearance of the artwork.
What type of images should I use for transfer?
High-contrast images printed with a laserjet printer are ideal for photo transfer. Make sure to reverse any text to maintain its legibility in the final piece.
Why is drying time important in the transfer process?
Drying time is crucial for the transfer medium to bond effectively with both the photo and the wood. Insufficient drying can lead to incomplete transfers or blurry images, impacting the final result.
How can I troubleshoot common transfer issues?
For issues like incomplete transfers or blurry images, ensure you use the correct printer settings and allow sufficient drying time. If paper removal is difficult, dampening it can ease the process. Testing mediums on scrap wood can help identify the best options.
How do I seal the finished wooden photo art?
To seal your finished product, use a clear coat spray designed for use with wood. This enhances durability and vibrancy, helping protect your artwork for longer-lasting display.

