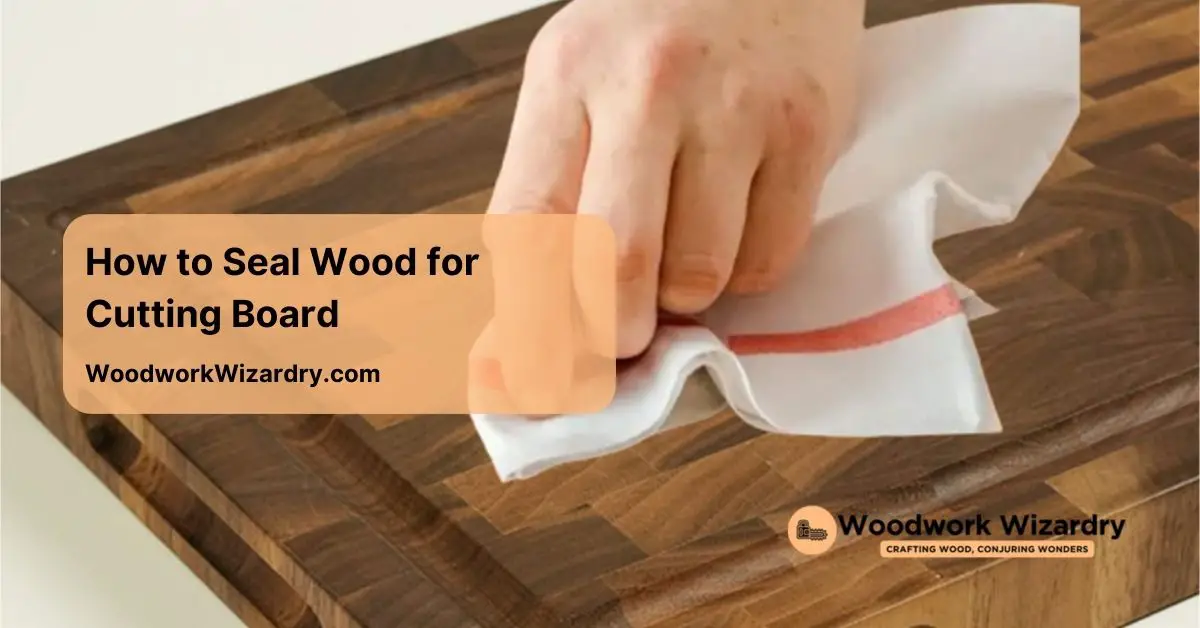
If you love cooking, you know a quality cutting board is essential in your kitchen. But did you know that sealing your wooden cutting board can elevate its durability and appearance? Properly sealing not only protects the wood from moisture and bacteria but also enhances its natural beauty, making your kitchen tools look stunning.
Understanding the Importance of Sealing Wood
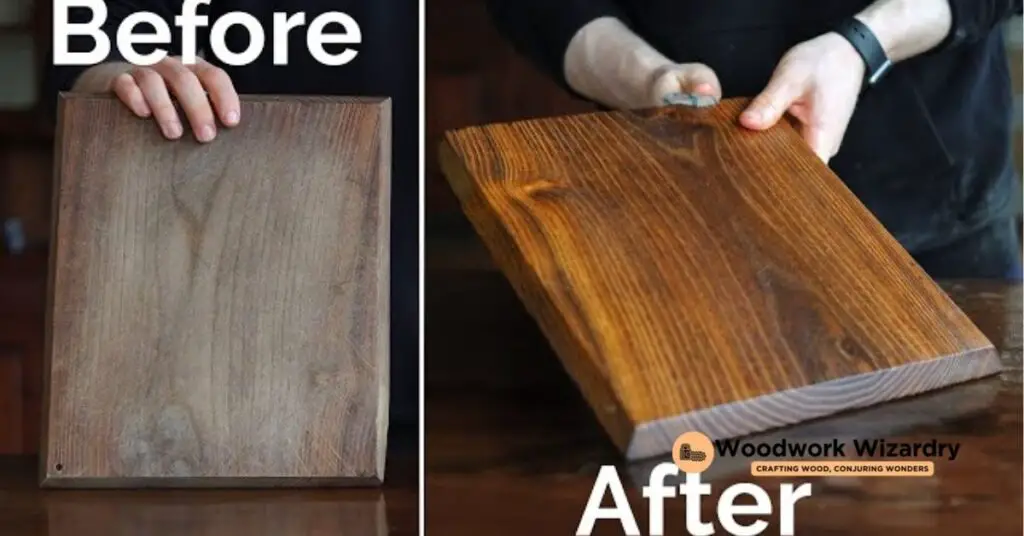
Sealing wood for cutting boards plays a vital role in maintaining the board’s condition. A quality seal enhances durability by creating a protective barrier against moisture. That barrier prevents warping and cracking over time, ensuring your cutting board stays in top shape.
Also, sealing wood minimizes the risks associated with bacteria. Bacteria can thrive in untreated wood, leading to health concerns. You can enhance food safety by properly sealing the board.
Sealing also brings out the natural beauty of the wood. Wood grain becomes more pronounced, making each board unique. That aesthetic appeal may make you more inclined to showcase your cutting board in the kitchen.
Choosing the right sealant is essential. Food-safe mineral oil, beeswax, or a combination of both are excellent options. These sealants nourish the wood, keeping it hydrated while offering protection.
Regular maintenance helps extend the life of your cutting board. Applying a fresh coat of sealant every few months keeps the board looking pristine. Remember, a well-sealed cutting board not only performs better but also enhances your cooking experience.
Types of Wood Suitable for Cutting Boards
Selecting the right wood for a cutting board impacts its performance and longevity. Choosing between hardwoods and softwoods is essential in this decision.
Hardwoods vs. Softwoods
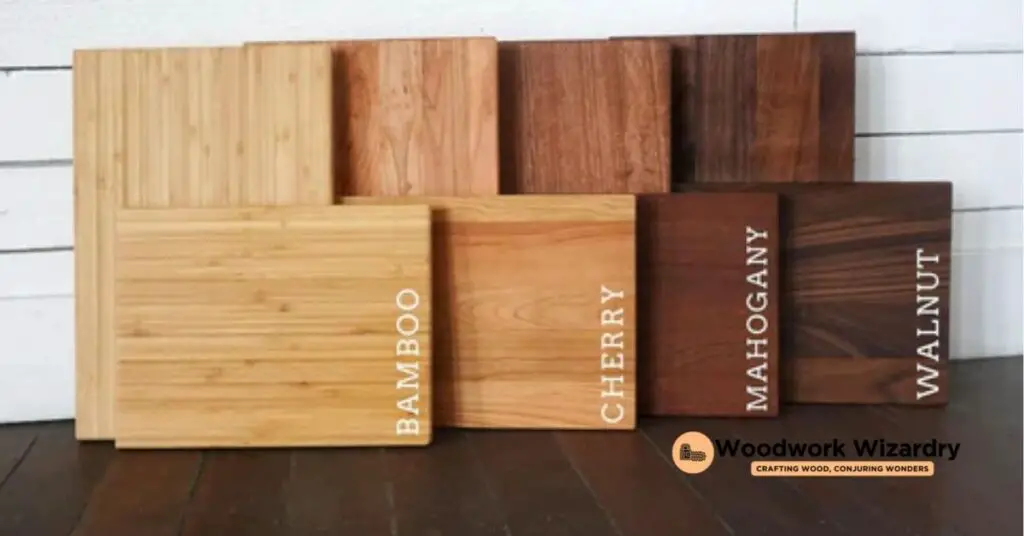
Hardwoods serve as the ideal choice for cutting boards. Maple, cherry, and walnut stand out because they’re durable, strong, and dense. Less porous compared to softwoods, hardwoods resist moisture and bacteria effectively, making them easier to clean and maintain. Softwoods, but, such as pine and cedar, pose challenges. Their porous nature increases bacterial risks and requires more maintenance, making them generally less suitable for cutting boards.
Popular Wood Choices
You can find several popular hardwood options used in cutting boards.
- Maple: This wood’s exceptional durability and resistance to wear make it a preferred choice among cooks.
- Cherry: Known for its rich color and smooth surface, cherry wood adds beauty and functionality.
- Walnut: Walnut’s strength and elegant appearance create a cutting board that showcases both practicality and style.
These hardwood options enhance your kitchen experience, balancing aesthetics and hygiene perfectly.
How to Seal Wood for Cutting Board
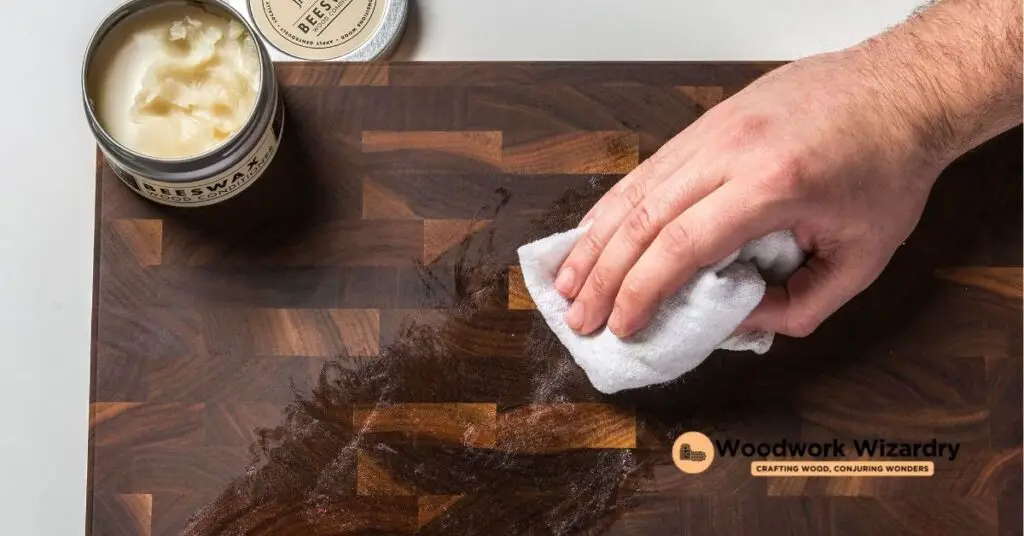
Sealing your wood cutting board involves several essential steps. These steps ensure proper preparation, selection of a suitable sealant, and effective application techniques.
Preparing the Wood Surface
Clean your cutting board thoroughly with warm, soapy water. This removes dirt, food residue, and contaminants that might interfere with the sealant. After washing, let it dry completely to ensure moisture doesn’t prevent adhesion. Address rough spots or cut marks by sanding the surface. Use an orbital sander with fine-grit sandpaper, typically between 120 and 320 grit, to achieve a smooth finish. Smoothing the board enhances sealant application.
Choosing the Right Sealant
Select a food-safe sealant to protect your cutting board. Options like mineral oil and beeswax nourish wood while providing a protective layer. Mineral oil penetrates deeply, preventing moisture absorption, while beeswax creates a barrier that enhances the wood’s natural beauty. Opt for sealants specifically labeled as food-safe for safe food handling. Prioritize products that require less frequent reapplication for convenience.
Application Techniques
Apply the sealant evenly across the board’s surface. Use a clean cloth or brush to spread a generous amount of sealant, making sure to cover all areas, including edges. Allow the sealant to absorb as per the manufacturer’s instructions. After the initial application, wipe off any excess to prevent a sticky finish. For optimal results, consider applying multiple coats. This enhances protection and provides a more durable finish. Reapply the sealant every few months to maintain your cutting board’s pristine condition.
Maintenance Tips for Sealed Cutting Boards
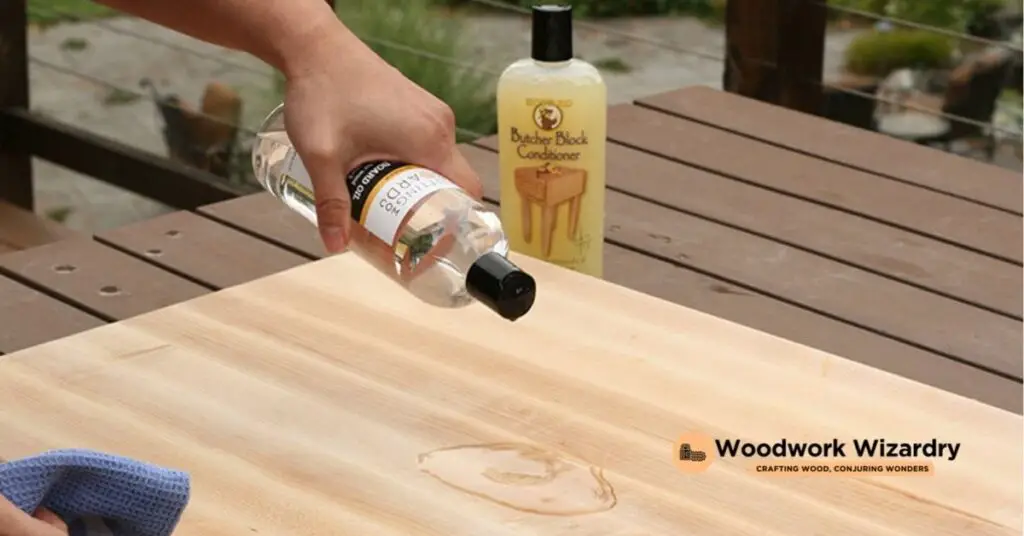
Maintaining your sealed cutting board is crucial for its longevity and appearance. Regular care keeps the board functional and safe for food preparation.
Cleaning and Care
Clean your cutting board after each use to remove food particles and bacteria. Warm, soapy water works best; avoid submerging it in water to prevent warping. After washing, dry the board completely with a clean towel. For tough stains, use a baking soda paste, gently scrubbing with a soft cloth. Avoid harsh chemicals as they can damage the seal. Ensure you apply mineral oil or beeswax every few weeks, replenishing the board’s protective barrier and improving its natural appearance.
Re-sealing Process
Re-seal your cutting board every three to six months to maintain its protective qualities. Start by cleaning the surface as described earlier. Once dry, pour a small amount of sealant onto the board. Spread it evenly across the entire surface, including sides and edges, using a cloth. Let the oil or wax penetrate for 15 to 20 minutes before wiping off any excess. Multiple coats improve protection and help sustain the wood. Regular re-sealing not only preserves the board’s integrity but also enhances its beauty over time.
Conclusion
Sealing your wooden cutting board is essential for its longevity and performance. By taking the time to apply a quality sealant, you not only protect it from moisture and bacteria but also enhance its natural beauty. Regular maintenance ensures your board remains in top condition, making your cooking experience more enjoyable.
Remember to choose food-safe sealants and follow the application process carefully for the best results. With a little effort, you’ll keep your cutting board looking great and functioning well for years to come. Enjoy the benefits of a well-sealed cutting board as you create delicious meals in your kitchen.
Frequently Asked Questions
Why is sealing a wooden cutting board important?
Sealing a wooden cutting board protects it from moisture and bacteria, enhancing food safety. It also prevents warping and cracking over time, ensuring durability. Additionally, sealing nourishes the wood, brings out its natural beauty, and makes it more visually appealing in your kitchen.
What types of wood are best for cutting boards?
Hardwoods like maple, cherry, and walnut are ideal for cutting boards due to their durability, lower porosity, and resistance to moisture and bacteria. Softwoods such as pine and cedar are less suitable, as they are more porous and have higher bacterial risks.
How do you seal a wooden cutting board?
To seal a wooden cutting board, start by cleaning it with warm, soapy water and sanding the surface. Choose a food-safe sealant like mineral oil or beeswax. Apply the sealant evenly, allow it to absorb, then wipe off the excess. Multiple coats are recommended for best results.
How often should I re-seal my cutting board?
It is advisable to re-seal your cutting board every three to six months. Regular re-sealing helps maintain the board’s condition, preserves its integrity, and enhances its appearance over time, ensuring it remains a functional and beautiful kitchen tool.
How should I clean and maintain my cutting board?
Clean your cutting board after each use with warm, soapy water and avoid soaking it to prevent warping. Dry it thoroughly, and for tough stains, use a baking soda paste. Harsh chemicals should be avoided, as they can damage the wood. Regular maintenance prolongs its lifespan.

