Wooden cutting boards are kitchen essentials that require proper care to maintain their beauty and functionality. Without adequate sealing, these boards can absorb liquids, harbor bacteria, and deteriorate quickly—compromising both your health and investment.
We’ve helped thousands of homeowners extend the life of their wooden cutting boards through proper sealing techniques. In this comprehensive guide, we’ll walk you through the simple yet effective process of sealing your wooden cutting board. You’ll discover which food-safe oils and finishes work best, how often to apply them, and the step-by-step method that ensures your board remains sanitary and stunning for years to come.
Why Sealing Your Wooden Cutting Board Matters
Wooden cutting boards absorb liquids when left unsealed, creating perfect conditions for bacteria growth. Moisture penetration leads to warping, cracking, and splitting of the wood over time. Food particles and juices seep into the porous surface, causing stains and unpleasant odors that become increasingly difficult to remove.
Proper sealing creates a protective barrier that prevents these issues while extending your cutting board’s lifespan. Food-grade oils and waxes fill the wood’s pores, blocking moisture absorption without affecting food safety. Regular sealing maintenance keeps the wood from drying out and maintains its natural beauty.
Beyond sanitation benefits, sealed boards are easier to clean and require less maintenance overall. The smooth, sealed surface prevents food from sticking, reducing the effort needed during post-cooking cleanup. Many food-safe sealants also enhance the natural grain patterns and colors of the wood, making your cutting board both functional and visually appealing in your kitchen.
Choosing the Right Oil for Your Cutting Board
Selecting the appropriate oil for your wooden cutting board is essential for effective sealing and long-term protection. The right product creates a food-safe barrier while improving the natural beauty of the wood grain.
Food-Grade Mineral Oil
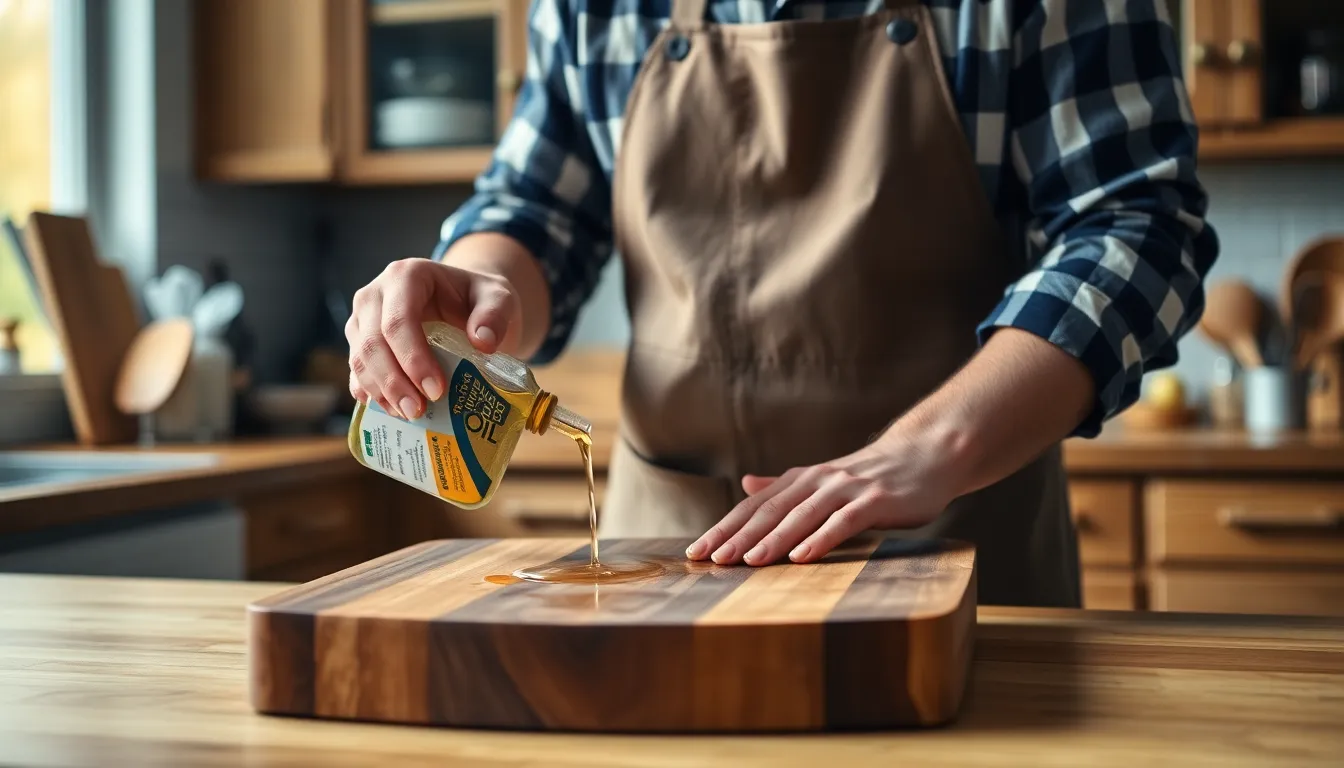
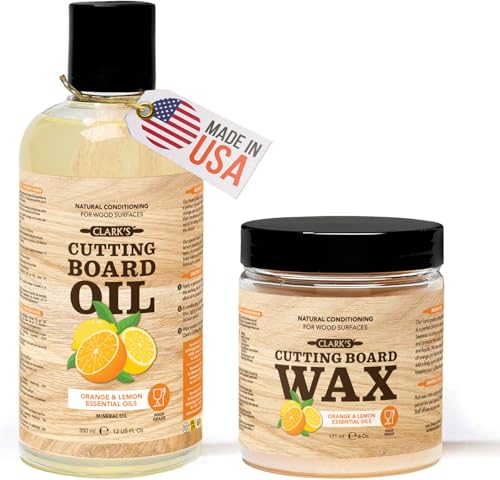
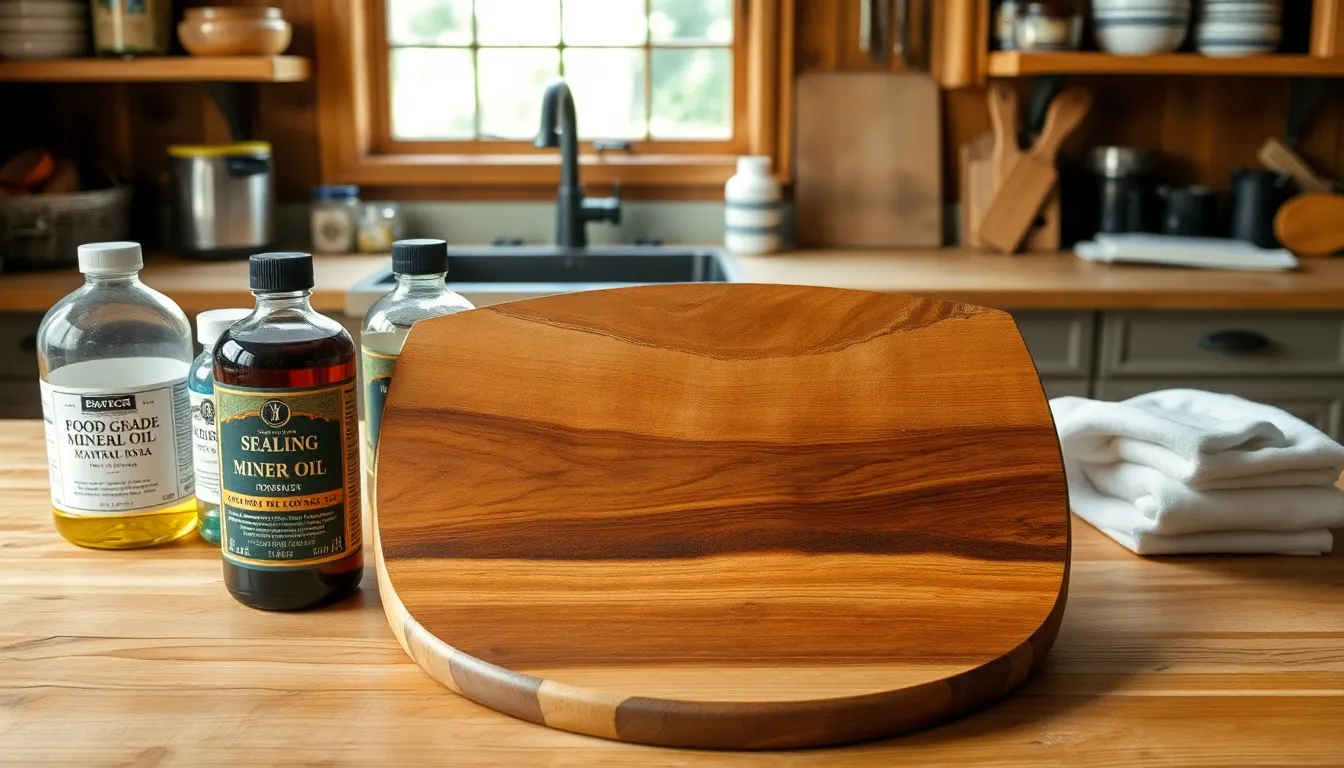
Food-grade mineral oil stands as the top choice for sealing wooden cutting boards. This oil penetrates deeply into the wood fibers, preventing dryness and creating a protective barrier against moisture. Application involves pouring the oil liberally across the board’s surface, allowing it to soak overnight, then wiping away any excess in the morning. Mineral oil’s non-toxic properties make it completely safe for food contact surfaces, unlike many household oils that can turn rancid. For best results, apply mineral oil monthly or whenever the wood appears dry.
Beeswax-Based Products
Beeswax-based answers offer excellent protection by combining the sealing properties of wax with nourishing oils. These products typically contain a mixture of beeswax with either mineral oil or coconut oil, creating a formula that fills wood pores and actively repels moisture. Board creams or balms containing beeswax provide a more substantial protective layer than oil alone. To apply, simply rub the product across all surfaces of your cutting board, paying special attention to edges and grooves, then buff with a clean cloth. The resulting finish isn’t just functional—it creates a beautiful luster that enhances the wood’s natural appearance.
Oils to Avoid
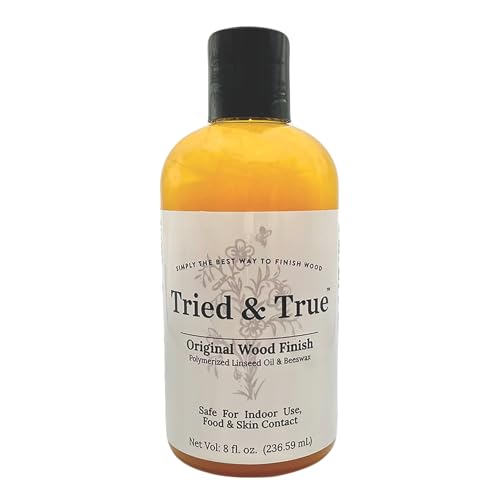
Common cooking oils like olive, canola, and vegetable oils aren’t suitable for cutting boards even though their availability. These oils oxidize over time, becoming rancid and imparting unpleasant odors and tastes to food. Petroleum-based products and motor oils contain harmful chemicals that can contaminate food preparation surfaces. Walnut or other nut oils might seem natural alternatives but pose serious risks for individuals with nut allergies. Tung oil and linseed oil require proper curing and may not be food-safe unless specifically labeled as such. Stick with proven, food-safe options like mineral oil or beeswax products to ensure your cutting board remains both safe and beautiful.
Essential Tools and Materials for Sealing
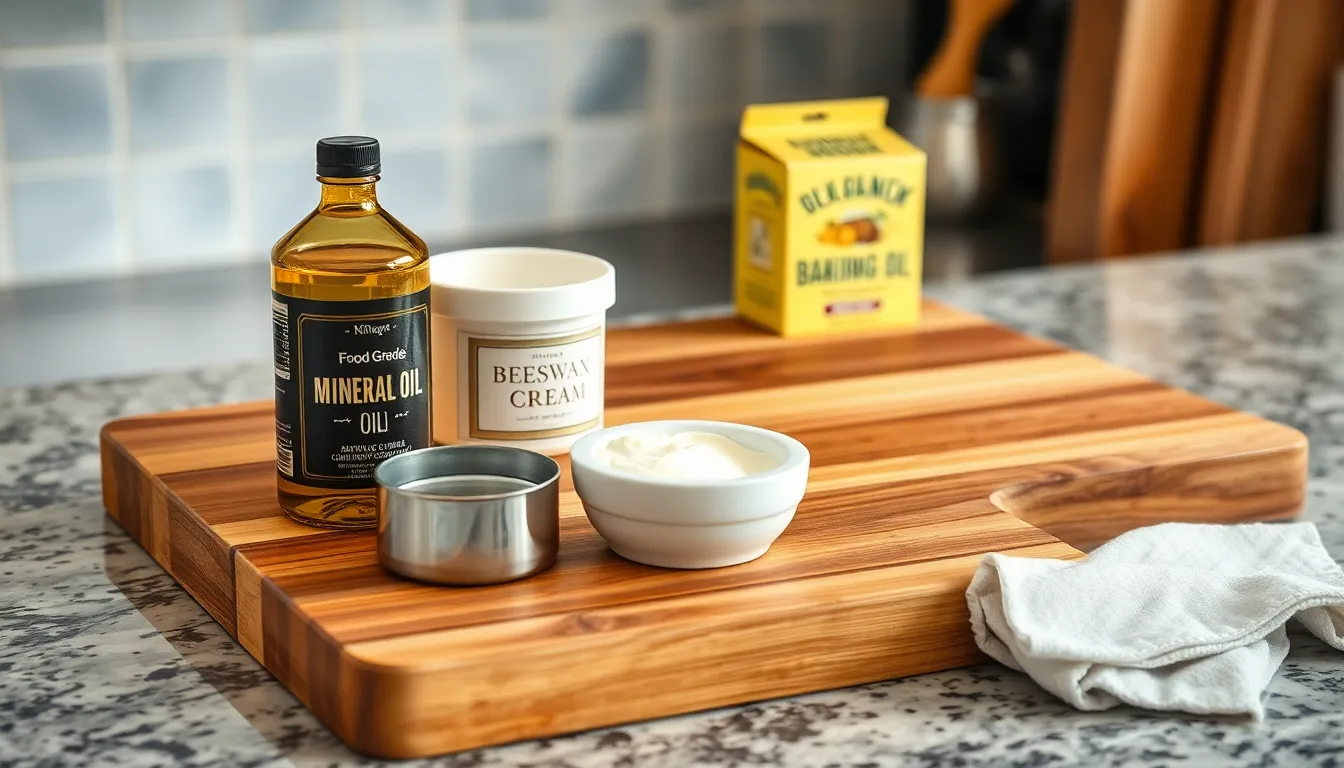
Gathering the right supplies ensures a successful wooden cutting board sealing project. Here’s everything you’ll need to properly protect and maintain your board:
Food-Grade Mineral Oil
Food-grade mineral oil serves as the foundation of any cutting board maintenance routine. This colorless, odorless oil penetrates deep into the wood fibers, preventing drying and cracking while creating an effective moisture barrier. Apply it liberally during initial seasoning and regular maintenance sessions to keep your board in optimal condition. Unlike vegetable oils that turn rancid over time, mineral oil remains stable and food-safe for long-term use.
Beeswax and Conditioning Blends
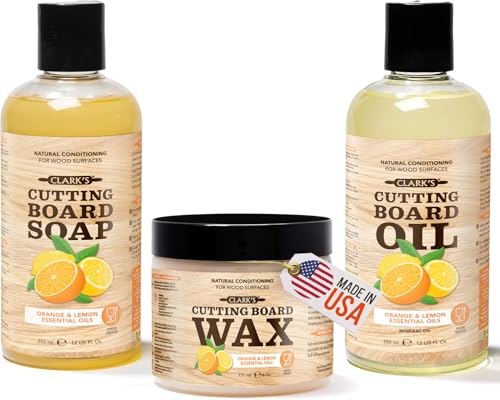
Beeswax creates an excellent water-resistant seal by effectively closing wood pores after oil treatment. Many woodworkers prefer using a beeswax-mineral oil blend (typically a 4:1 oil-to-wax ratio) for comprehensive protection. These conditioning products combine the hydrating properties of mineral oil with the sealing capabilities of beeswax. Commercial board butters offer convenience, while homemade blends allow for customization – simply melt the ingredients together and cool before application.
Application Tools
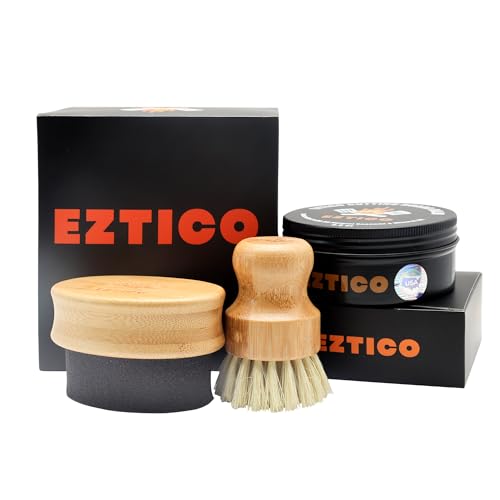
Clean, lint-free cloths or rags are essential for applying oils and waxes evenly across your cutting board. These tools help distribute the conditioning products while removing any excess that might leave a sticky residue. Fine-grit sandpaper (220+ grit) smooths the wood surface before sealing and helps maintain its condition during periodic refinishing. A soft-bristle brush assists with gentle cleaning between treatments without scratching the wood grain.
Cleaning Supplies
Mild dish soap provides safe, effective cleaning before and between sealing applications. Baking soda mixed with water creates a gentle paste for removing food stains before resealing without damaging the wood. These non-abrasive cleaning options preserve your board’s surface while preparing it for proper treatment.
By having these materials ready before starting your project, you’ll ensure a smooth sealing process that provides maximum protection for your wooden cutting board. Regular application of these products extends your board’s lifespan significantly while maintaining its beauty and functionality.
Step-by-Step Guide to Sealing a Wooden Cutting Board
Properly sealing your wooden cutting board creates a protective barrier that prevents moisture absorption and extends its lifespan. Our comprehensive guide breaks down the process into simple, manageable steps that anyone can follow for professional-quality results.
Preparing Your Cutting Board
Preparation starts with lightly sanding the entire board using 220 grit sandpaper, moving in the direction of the wood grain. This crucial first step removes surface imperfections and creates the ideal texture for oil absorption. After sanding, thoroughly wipe away all dust particles with a clean cloth to ensure no debris remains that could interfere with the sealing process.
Applying the Oil
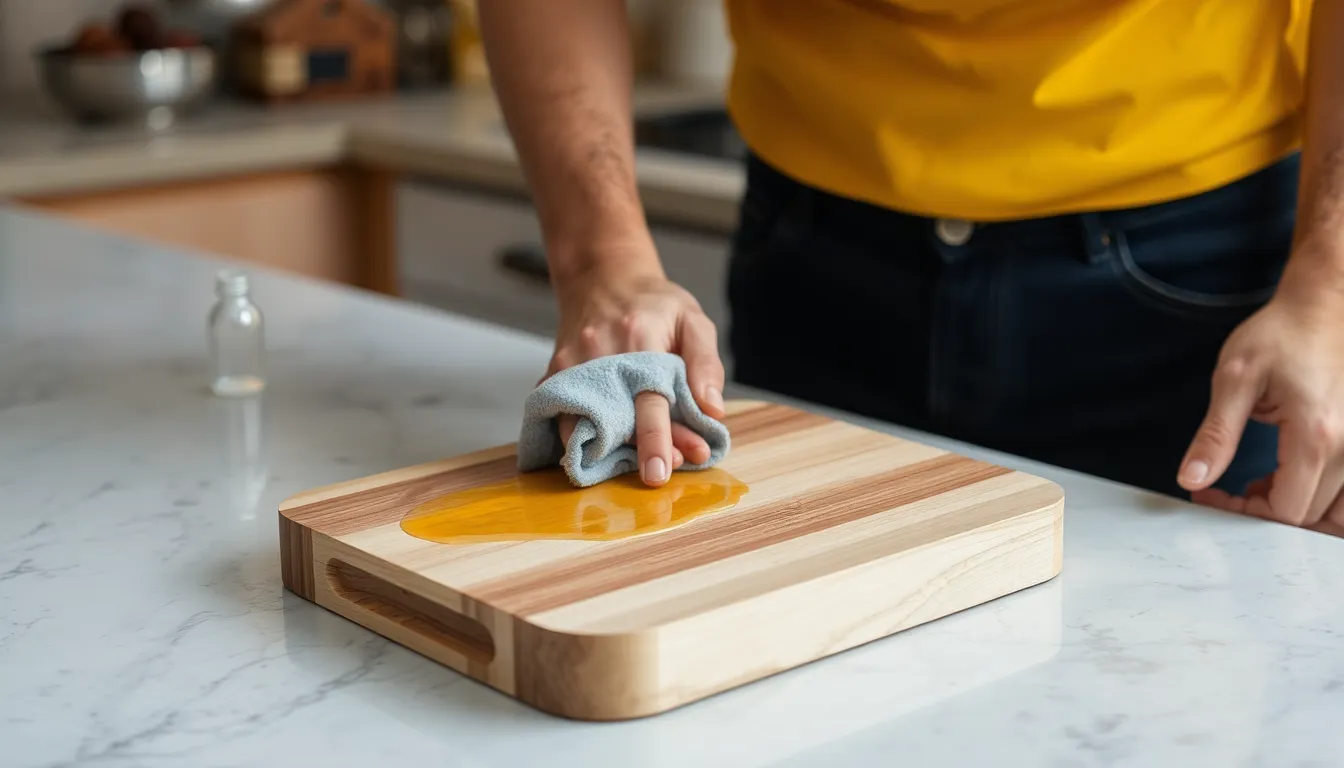
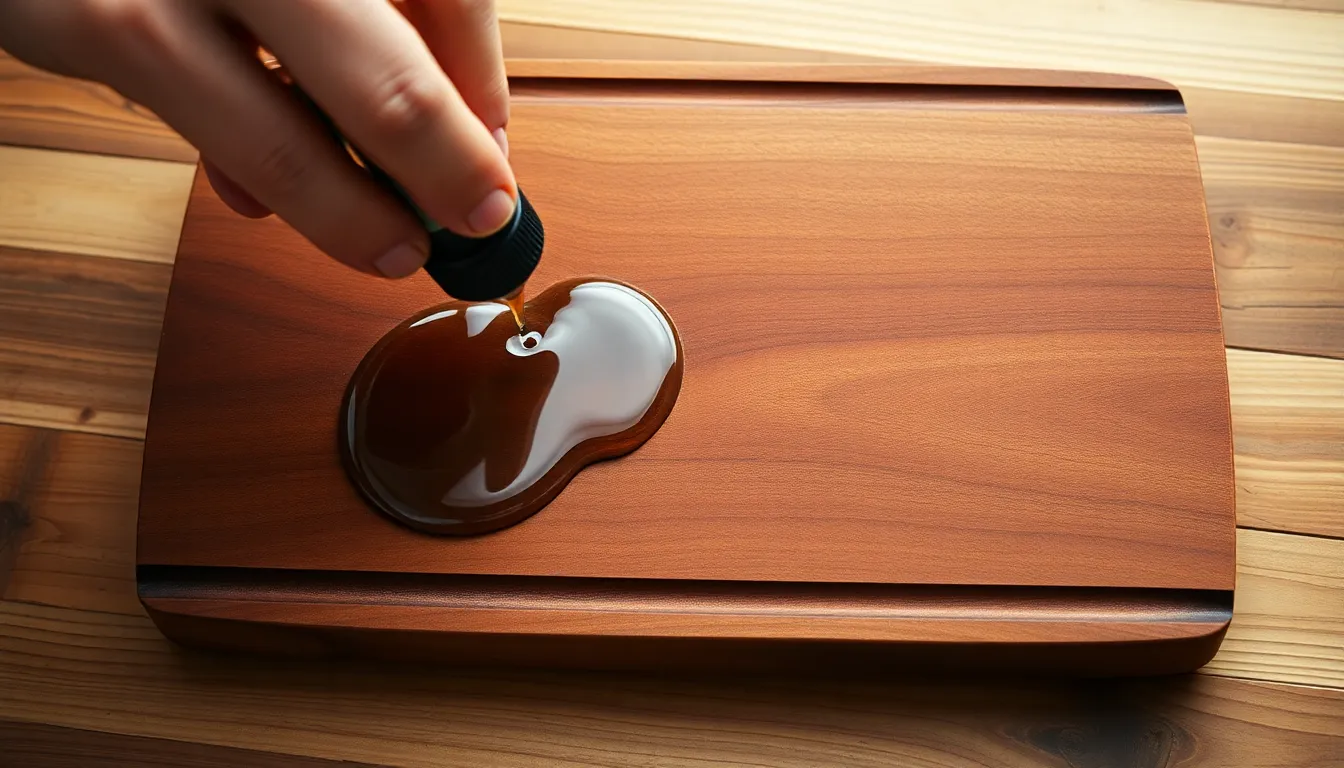
Food-grade mineral oil serves as the most effective base sealant for wooden cutting boards. Pour a generous amount directly onto the board’s surface and use a lint-free cloth to work the oil into all areas, including the sides and edges. The board will initially appear saturated as the oil penetrates the wood fibers. Mineral oil creates a deep-reaching barrier that protects against moisture without affecting food safety.
Allowing Proper Absorption
Stand the cutting board upright after applying oil to let excess product drip off rather than pool on the surface. This vertical positioning ensures even distribution of the oil throughout the wood’s structure. Let your board rest for at least 4-6 hours or overnight for optimal oil absorption, giving the wood time to fully integrate the protective elements.
Adding Multiple Coats
Multiple applications provide superior protection compared to a single heavy coat. Apply 2-3 additional layers of oil, allowing proper absorption time between each application. The wood will appear less “thirsty” with each progressive treatment. For enhanced protection, finish with a beeswax-based sealant blend that combines with the mineral oil to create a water-resistant surface that’s still food-safe. This combination of oil penetration and wax sealing offers the most comprehensive protection for your wooden cutting board.
How Often to Reseal Your Cutting Board
Wooden cutting boards require periodic resealing to maintain their protective barrier against moisture and bacteria. The frequency of resealing depends on how often you use your cutting board and how thoroughly you clean it after each use. Most cutting boards benefit from resealing every 1-2 months with regular use.
Signs Your Cutting Board Needs Resealing
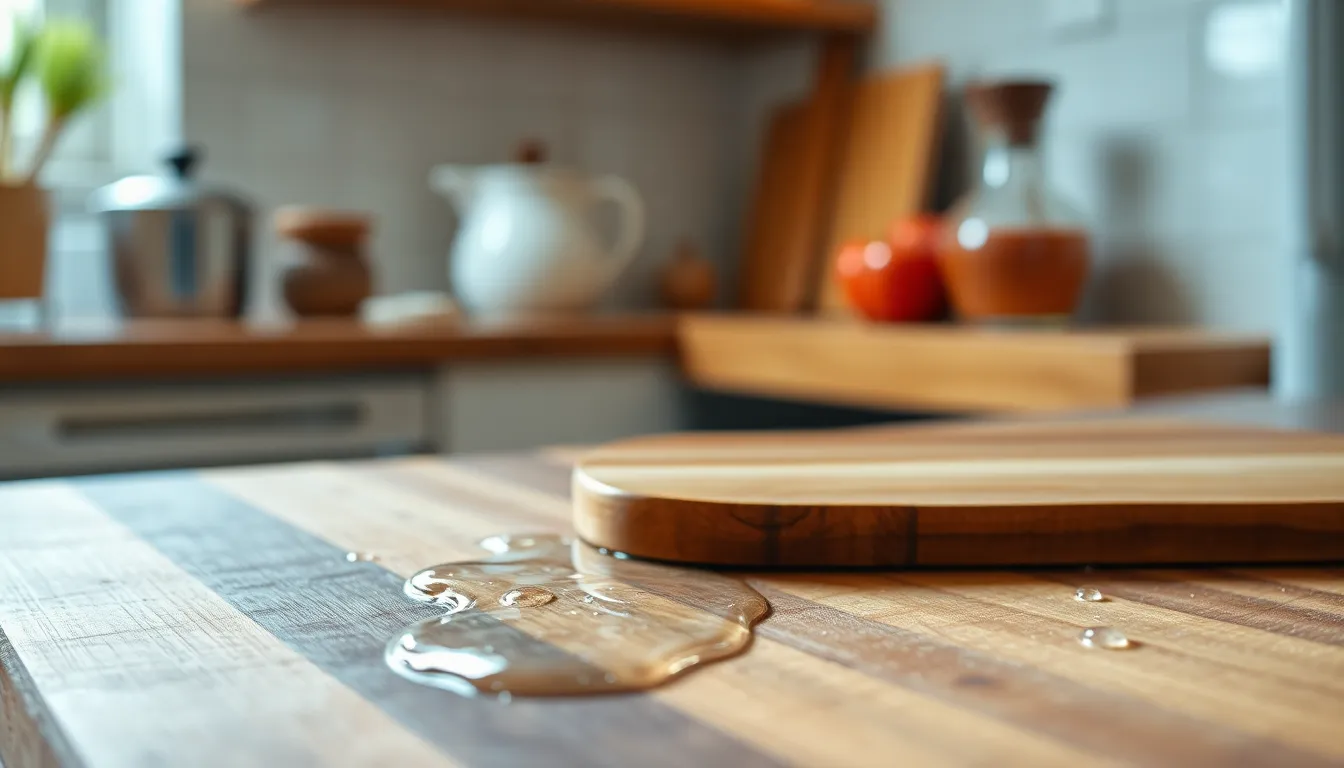
Your cutting board gives clear signals when it’s time for maintenance. Food sticking to the surface indicates the protective seal has worn down. Difficult cleaning or a dull, dry appearance suggests the wood needs nourishment. The most reliable test involves placing a few drops of water on the board’s surface – if the water beads up, your seal is intact, but if it absorbs quickly into the wood, it’s time to reseal.
Maintenance Schedule
For heavily used cutting boards in busy kitchens, monthly resealing maintains optimal protection. More occasional users might extend this interval to every 2-3 months. End-grain cutting boards, which feature the ends of wood fibers facing upward, typically require more frequent sealing due to their more porous nature.
Quick Maintenance Tips
Between full resealings, we recommend these practices to extend your board’s life:
- Clean with mild soap and warm water immediately after use
- Dry thoroughly and stand the board upright to ensure complete air drying
- Apply a light coat of mineral oil when the board appears dry
- Never submerge your wooden cutting board in water
- Keep away from extreme heat sources that can damage the seal
Maintaining a regular resealing schedule prevents unnecessary wear and extends your cutting board’s useful life significantly. By watching for the signs mentioned above and following a consistent maintenance routine, your wooden cutting board will remain beautiful, functional, and safe for food preparation for years.
Maintaining Your Sealed Cutting Board
Proper maintenance keeps your sealed cutting board in pristine condition for years. Regular care not only preserves the wood’s beauty but also ensures food safety in your kitchen.
Regular Oiling Schedule
Monthly oil applications protect your cutting board from drying out and cracking. Apply food-grade mineral oil whenever water stops beading on the surface—this indicates the protective seal is weakening. Simply rub a liberal amount of oil into all surfaces with a clean cloth, let it absorb for 30 minutes, then wipe off any excess. This simple routine prevents moisture absorption and maintains the board’s protective barrier.
Beeswax Treatment
Beeswax cream applications every 1-2 months create an exceptional water-resistant barrier. After your regular oiling, apply a thin layer of beeswax and mineral oil blend to all surfaces. Let the mixture absorb for 15-20 minutes, then buff away any excess using a clean, dry cloth. This additional layer provides superior protection against moisture and enhances the wood’s natural grain patterns.
Daily Cleaning Practices
Proper cleaning prevents contamination and extends your board’s lifespan. Always hand wash your cutting board with hot, soapy water after each use, then dry it immediately with a clean towel. Never submerge wooden boards or place them in the dishwasher, as prolonged exposure to water causes warping and splitting. For stubborn stains, make a paste with baking soda and water, scrub gently, then rinse and dry thoroughly.
What to Avoid
Certain practices damage even properly sealed cutting boards:
- Serrated knives create deep grooves that trap food particles and bacteria
- Hot pans and pots can weaken glue joints and damage the wood’s structure
- Harsh chemical cleaners strip away protective oils and waxes
- Prolonged soaking in water leads to warping regardless of sealing quality
- Vegetable oils and cooking oils turn rancid over time
Testing When to Reseal
A simple water test determines if your board needs resealing. Place a few drops of water on the surface—if they bead up, your seal remains effective. If water absorbs into the wood within a few minutes, it’s time to reapply oil and wax. This quick check, performed monthly, ensures your cutting board always maintains proper protection against moisture and bacteria.
Troubleshooting Common Sealing Issues
Even experienced woodworkers encounter challenges when sealing cutting boards. We’ve compiled answers for the most frequent problems to help you achieve professional results.
Wood Absorbs Liquids
Wooden cutting boards that continue absorbing liquids after sealing indicate inadequate protection. The solution lies in applying additional layers of beeswax to create a more effective barrier. Beeswax fills the wood’s microscopic pores, preventing moisture infiltration. Apply the beeswax mixture evenly across the entire surface, paying special attention to end grain areas which typically absorb more liquid. Let each layer dry completely before testing the board’s water resistance.
Beeswax Won’t Spread
Struggling with stiff beeswax that’s difficult to apply is a common frustration. This issue resolves easily by mixing your beeswax with a small amount of mineral oil or coconut oil to improve spreadability. The ideal consistency resembles soft butter – firm but pliable enough to spread in a thin, even layer. Heat your mixture gently in a double boiler if it remains too solid. Apply the softened mixture using circular motions with a clean cloth to ensure complete coverage.
Over-saturation
Boards that feel greasy or have excess oil pooling on the surface suffer from over-saturation. Correct this by thoroughly wiping off surplus beeswax mixture or mineral oil with an absorbent towel. Excess oil not only feels unpleasant but also attracts dust and debris. After removing the excess, allow the board to rest upright overnight in a well-ventilated area, giving the remaining oil time to fully penetrate the wood. The surface should feel smooth and dry to the touch, not sticky or slick.
Conclusion
Properly sealing your wooden cutting board isn’t just about maintenance—it’s an investment in a kitchen tool that can last for generations. With food-grade mineral oil and beeswax as your allies, you’ll create a protective barrier that keeps moisture bacteria and stains at bay.
Remember to watch for signs that your board needs attention like dryness or water absorption. A simple monthly maintenance routine will keep your cutting surface in peak condition.
We’ve shared our best techniques for sealing troubleshooting and ongoing care so you can enjoy the warmth and functionality of your wooden cutting board for years to come. Your board will thank you with continued service and beauty in your kitchen.
Frequently Asked Questions
Why should I seal my wooden cutting board?
Sealing wooden cutting boards prevents liquid absorption, bacteria growth, warping, and cracking. It creates a protective barrier that extends the board’s lifespan, maintains its natural beauty, and makes it easier to clean. Properly sealed boards require less maintenance and enhance the wood’s grain patterns and colors, making them both functional and attractive kitchen tools.
What is the best oil for sealing cutting boards?
Food-grade mineral oil is the top choice for sealing cutting boards. It penetrates deeply into the wood, prevents dryness, and creates an effective moisture barrier. Beeswax-based products that combine wax with nourishing oils are also excellent for repelling moisture and enhancing the wood’s appearance. Avoid cooking oils, petroleum-based products, and certain nut oils.
How often should I reseal my cutting board?
Reseal your wooden cutting board every 1-2 months with regular use. Look for signs that indicate resealing is necessary, such as food sticking to the surface or a dull appearance. Boards used daily may need more frequent treatment, while less-used boards can go longer between applications.
What tools do I need to seal a cutting board?
You’ll need food-grade mineral oil (primary sealer), beeswax-based board conditioner (optional), fine-grit sandpaper (180-220 grit), clean, lint-free cloths, mild dish soap, and a plastic scraper for removing food residue. All materials should be food-safe and specifically designed for wooden kitchen utensils.
How do I apply oil to my cutting board?
Start by sanding and cleaning the board thoroughly. Apply a generous amount of mineral oil with a cloth, working in the direction of the grain. Let it absorb for 4-6 hours or overnight. Wipe off excess oil and apply additional coats until the wood stops absorbing. Finish with a beeswax-based sealant for extra protection.
Can I use olive oil or vegetable oil to seal my cutting board?
No, avoid using cooking oils like olive or vegetable oil to seal cutting boards. These oils can go rancid over time, creating unpleasant odors and potentially harmful compounds. Stick to food-grade mineral oil or specially formulated cutting board oils, which remain stable and safe for food contact.
How do I know if my cutting board needs resealing?
Perform a simple water test—sprinkle a few drops of water on the board. If the water beads up, your seal is still effective. If it absorbs quickly or darkens the wood, it’s time to reseal. Other signs include a dry, light-colored appearance, food sticking to the surface, or the board feeling rough to the touch.
Can I put my wooden cutting board in the dishwasher?
Never put wooden cutting boards in the dishwasher. The heat and moisture will damage the wood, causing warping, cracking, and breaking down the protective seal. Always hand wash wooden boards with mild soap and warm water, then dry thoroughly with a clean towel before storing upright.
What should I do if my board feels greasy after oiling?
If your board feels greasy or has excess oil, you’ve applied too much. Wipe off the excess with a clean, dry cloth. Allow the board to rest in a well-ventilated area for 24-48 hours to ensure proper absorption. For severe over-saturation, sprinkle salt on the surface to absorb excess oil, then wipe clean.
How can I fix a wooden cutting board that continues to absorb liquids?
For boards that still absorb liquids after sealing, apply additional layers of beeswax-based conditioner to create a more effective barrier. Make sure each layer is properly absorbed before applying the next. For severely dried-out boards, try a “deep conditioning” by applying oil generously and letting it sit overnight before wiping excess.








![End Grain Butcher Block Cutting Board [1.5" Thick]. Made of](https://m.media-amazon.com/images/I/41hyUCc9sTL._SL500_.jpg)

