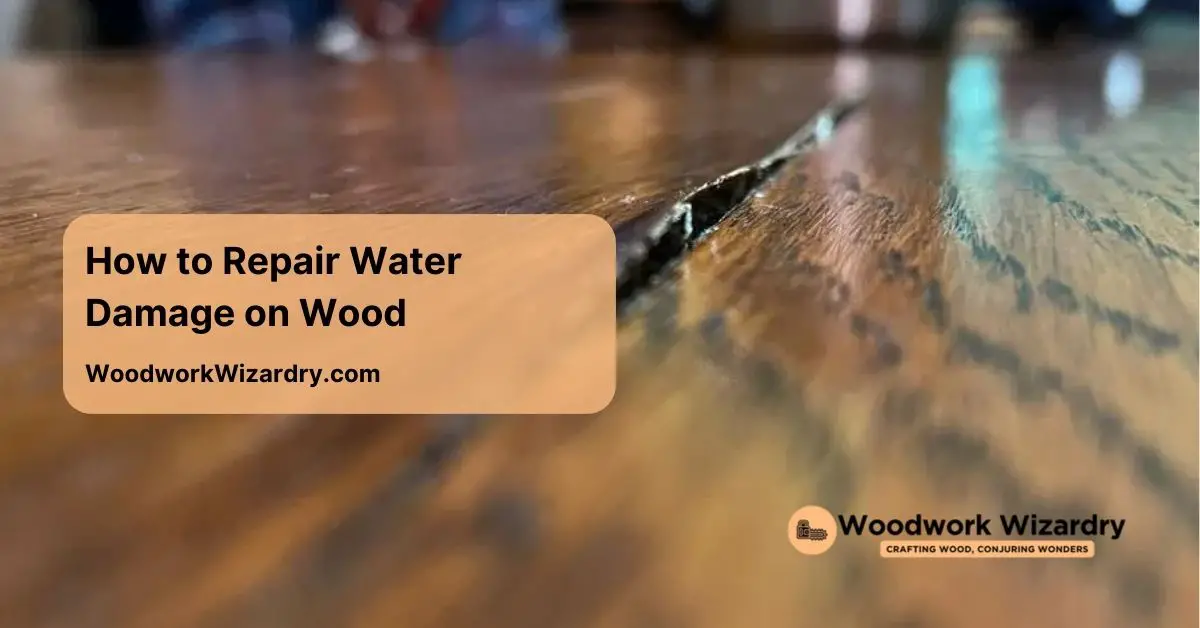
Water damage can wreak havoc on your beautiful wood surfaces, leaving you feeling helpless and frustrated. But don’t worry; you can restore your wood to its former glory with the right techniques and a little elbow grease. Whether it’s a cherished piece of furniture or your hardwood floors, knowing how to tackle this issue can save you time and money.
Imagine transforming that unsightly, damaged wood back into a stunning centerpiece in your home. With a few simple steps, you can effectively repair water damage and protect your investment. Jump into this guide and discover practical answers that make the process straightforward, allowing you to reclaim the beauty of your wood surfaces.
Understanding Water Damage on Wood
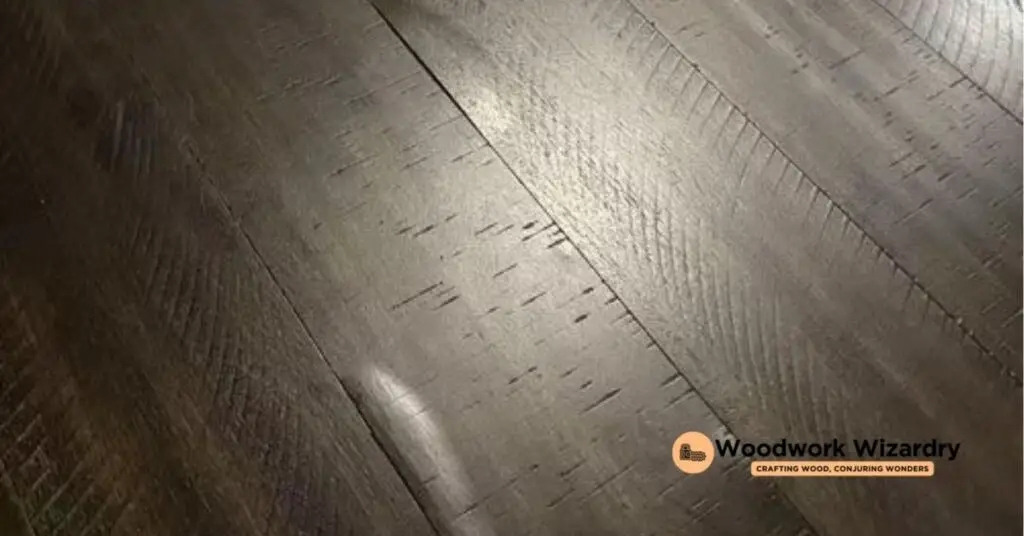
Water damage affects wood surfaces in various ways, and recognizing these effects leads to effective restoration techniques. Effective diagnosis and repair strategies can restore your wood furniture and flooring to their original beauty.
Types of Water Damage
Wood surfaces encounter different types of water damage. Surface Damage occurs when water sits on the surface, leading to stains and discoloration. Absorption Damage happens when wood absorbs moisture, causing warping and swelling. Structural Damage involves extensive deterioration when prolonged exposure weakens the wood’s integrity. Mold Growth can arise in damp conditions, harming aesthetic and health aspects. Knowing these types helps tailor your repair approach.
Signs of Water Damage
Detecting signs of water damage early prevents further issues. Discoloration on surfaces indicates moisture presence. Warping or bumping signifies that wood has absorbed water. Peeling finish suggests water damage has compromised protective layers. Mold or mildew growth presents not only an aesthetic concern but also personal health risks. Keep an eye out for these indicators to address problems promptly.
Assessing the Damage
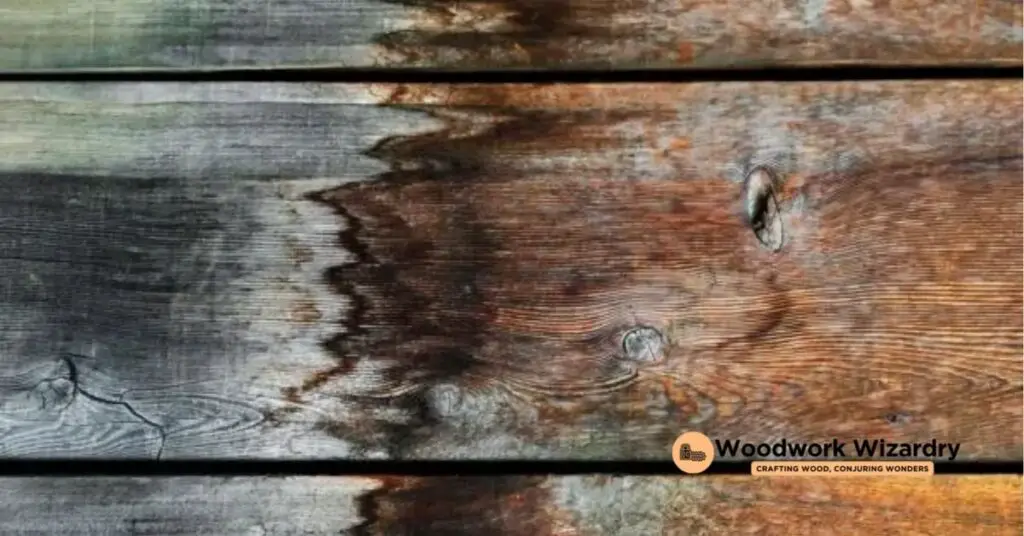
Assessing water damage on wood surfaces is crucial for effective repair. You should begin by evaluating the situation carefully to determine the necessary steps for restoration.
Visual Inspection
Conduct a thorough visual inspection of the affected area. Look for signs of discoloration, which may indicate moisture absorption. Warping often signals that the wood has suffered structural damage. Swelling can alter the wood’s shape and size, affecting its fit with adjacent surfaces. Cupping often manifests as a concave transformation of the wood, indicating important moisture intrusion. Evaluate these symptoms to understand the extent of the damage and decide how best to proceed.
Tools and Materials Needed
Gather the right tools and materials to help the repair process. A moisture meter enables accurate moisture level readings in the wood. Sandpaper assists in smoothing rough areas, while wood adhesive provides essential bonding for damaged sections. A vacuum cleaner helps remove debris and dust from the repair site. Also, protective gear, like gloves and masks, ensures safety when dealing with mold or chemicals. Using these tools and materials enhances your ability to restore the wood effectively, leading to successful repair outcomes.
Repairing Minor Water Damage
Addressing minor water damage on wood requires careful attention. Following a structured approach ensures restoration can be effective.
Drying the Affected Area
First, remove any standing water immediately. Use a sponge, towel, or a wet/dry vacuum to eliminate excess moisture from the area. Improving air circulation plays a important role in drying. Open windows and doors, or set up fans to create airflow, particularly in damp locations. Using dehumidifiers helps minimize humidity levels in enclosed spaces. Electric heaters can assist in evaporating moisture quickly, but ensure the space remains well-ventilated to avoid overheating. Finally, exposing the wood is crucial. Remove nearby materials that may obstruct drying, such as drywall or subflooring.
Sanding and Refinishing
Once the area is dry, focus on sanding the wood. Use sandpaper to smooth out rough spots or water stains that have developed. Start with coarse grit sandpaper and gradually switch to finer grits for a polished finish. Dust accumulation is inevitable during the sanding process. Vacuum or wipe down the area to prepare for refinishing. Applying a suitable wood finish restores the wood’s appearance and adds a protective layer. Choose a product compatible with your wood type, then apply evenly using a brush or cloth. Allow adequate drying time before using the surface again.
Repairing Major Water Damage
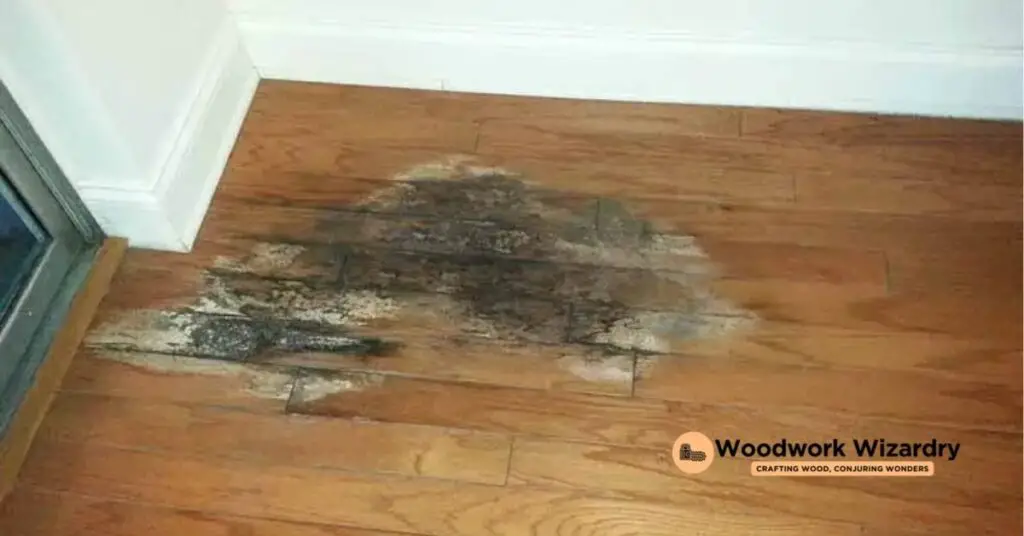
Repairing major water damage on wood often requires more intensive techniques. Depending on the extent of the damage, you might need to take additional steps for effective restoration.
Replacing Damaged Wood
Inspect the wood for severe damage. When large sections are affected, complete replacement becomes necessary. Cut out the damaged area using a saw, ensuring the replacement piece matches the original size and grain. Fit the new piece into the opening, ensuring it aligns with the surrounding wood. Secure the replacement with wood screws or adhesive, allowing it to set properly before proceeding.
Using Wood Filler
Use wood filler to address smaller damage areas. Mix the filler according to the manufacturer’s instructions for best results. Apply the filler generously, ensuring it fills all cracks and gaps completely. Use a putty knife to smooth the surface, blending it with the surrounding wood. Once dry, sand the area to achieve a level finish, preparing it for painting or staining to match the existing wood.
Preventing Future Water Damage
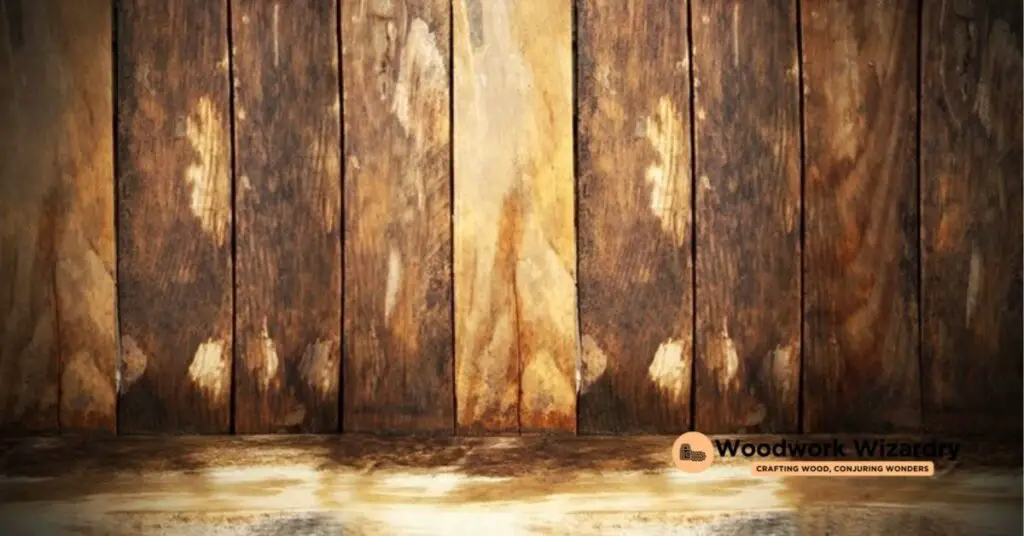
Preventing future water damage on wood requires attention and proactive measures. You can reduce risks by implementing proper sealing techniques and routine maintenance.
Proper Sealing Techniques
Choose high-quality sealants to protect wood surfaces from moisture. Apply a waterproof sealant to all exposed areas, especially in kitchens and bathrooms. Use varnish or polyurethane for added protection on furniture and flooring. Ensure complete coverage focusing to joints and edges. Reapply sealants regularly, typically every 2-3 years, to maintain effectiveness.
Maintenance Tips
Inspect wood surfaces frequently for signs of wear or damage. Keep the humidity level in your home between 30-50% to reduce moisture risks. Use dehumidifiers in damp areas and ventilate spaces to promote airflow. Clean spills immediately to prevent absorption. Avoid placing plants directly on wood surfaces without protective mats. Address any leaks promptly to prevent extensive damage.
Conclusion
Repairing water damage on wood surfaces is entirely achievable with the right approach. By understanding the extent of the damage and employing effective techniques you can restore your furniture and floors to their former glory.
Remember that early detection is key in preventing further issues. Regular maintenance and proactive measures can safeguard your wood from future water damage.
With the tools and knowledge you’ve gained, you’ll be well-equipped to tackle any water damage situation. Take action now to protect your investment and ensure the longevity of your beautiful wood surfaces.
Frequently Asked Questions
What are the signs of water damage on wood surfaces?
Water damage on wood surfaces can manifest as discoloration, warping, peeling finishes, and mold growth. Early recognition of these signs is crucial for effective restoration and to prevent further issues from developing.
How can I assess the extent of water damage?
Assessing water damage involves conducting a thorough visual inspection. Look for signs like discoloration, warping, swelling, and cupping. Utilizing a moisture meter can also help gauge moisture levels within the wood and guide restoration decisions.
What tools and materials do I need for wood restoration?
For effective wood restoration, gather a moisture meter, sandpaper, wood adhesive, wood filler, and protective gear. These tools will assist in properly assessing and repairing the affected areas, enhancing the chances of successful restoration.
How can I repair minor water damage on wood surfaces?
To repair minor water damage, begin by promptly drying the affected area. Use wood filler to fill in any cracks or gaps, then sand the area smooth before refinishing to blend it with the surrounding wood.
What should I do for major water damage?
For major water damage, intensive repair techniques may be necessary. This often involves cutting out damaged sections of wood and replacing them with matching pieces, ensuring proper sealing and finishing for consistency.
How can I prevent future water damage to wood surfaces?
Prevent future water damage by using high-quality sealants in moisture-prone areas and reapplying them every 2-3 years. Regular inspections, maintaining indoor humidity levels, and promptly addressing spills or leaks will also help protect your wood surfaces.

