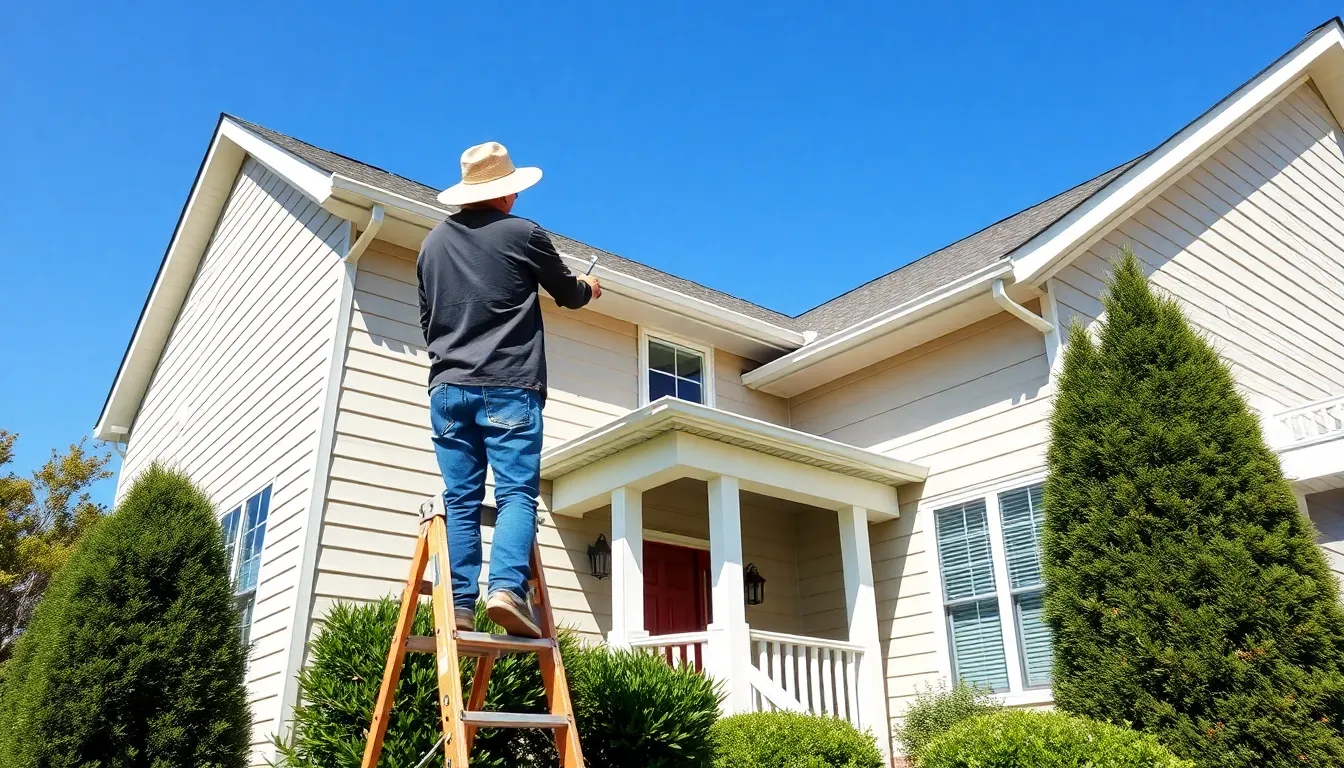
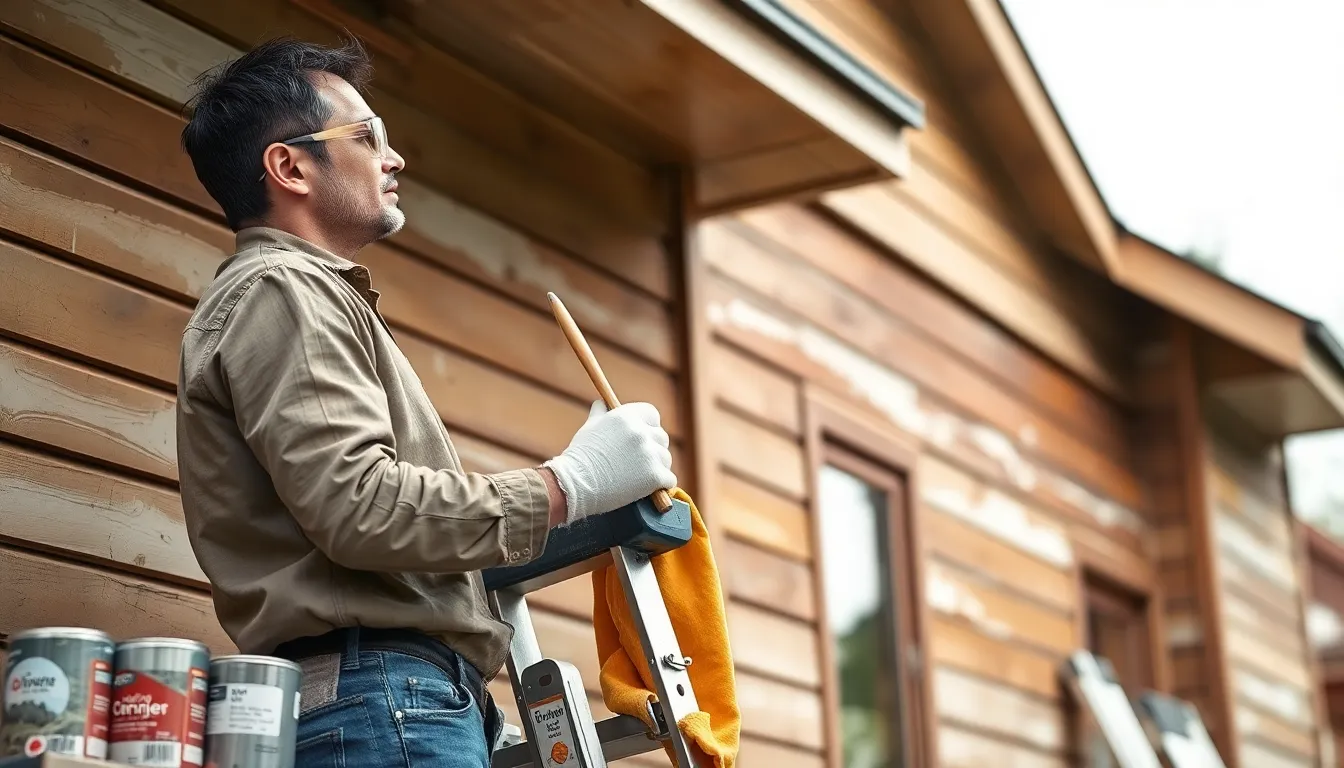
Repainting exterior wood isn’t just about aesthetics—it’s essential protection against the elements. Whether you’re freshening up weathered siding, revitalizing a wooden deck, or giving new life to outdoor furniture, a proper paint job prevents rot, mold, and structural damage while boosting your home’s curb appeal.
We’ve helped countless homeowners transform their tired wooden exteriors into stunning showcases through our proven repainting techniques. With the right preparation, quality materials, and proper application methods, you’ll achieve professional-looking results that last for years. In this guide, we’ll walk you through each step of the process to ensure your exterior wood surfaces not only look beautiful but stand strong against time and weather.
Why Repainting Exterior Wood is Important
Repainting exterior wood surfaces protects your home from environmental damage while improving its curb appeal. Exposure to rain, sunlight, and temperature fluctuations breaks down paint over time, leaving wood vulnerable to moisture penetration. Moisture that seeps into unprotected wood creates perfect conditions for rot, mold, and mildew to develop.
Regular maintenance through repainting extends the lifespan of wooden elements such as siding, trim, and decking by 5-10 years. UV rays from the sun cause wood to fade, crack, and warp when left unprotected. Properly applied paint creates a barrier that shields against these damaging effects.
Homes with well-maintained exterior paint typically command 5-10% higher resale values according to real estate experts. Peeling, cracking paint signals neglect to potential buyers and can lower property assessments. Fresh paint also provides an opportunity to update your home’s appearance with current color trends without major renovations.
Painted exterior wood requires less frequent repairs, saving homeowners an average of $2,000-$5,000 in potential structural damage costs. Termites and other wood-boring insects often target deteriorating wood but are deterred by intact paint layers. Quality exterior paint also contains mildewcides and fungicides that prevent biological growth.
Tools and Materials Needed for Repainting Exterior Wood
Gathering the right supplies before starting your exterior wood repainting project ensures a smooth, efficient process and professional-looking results. Here’s everything you’ll need to transform your weathered wooden surfaces.
Essential Tools
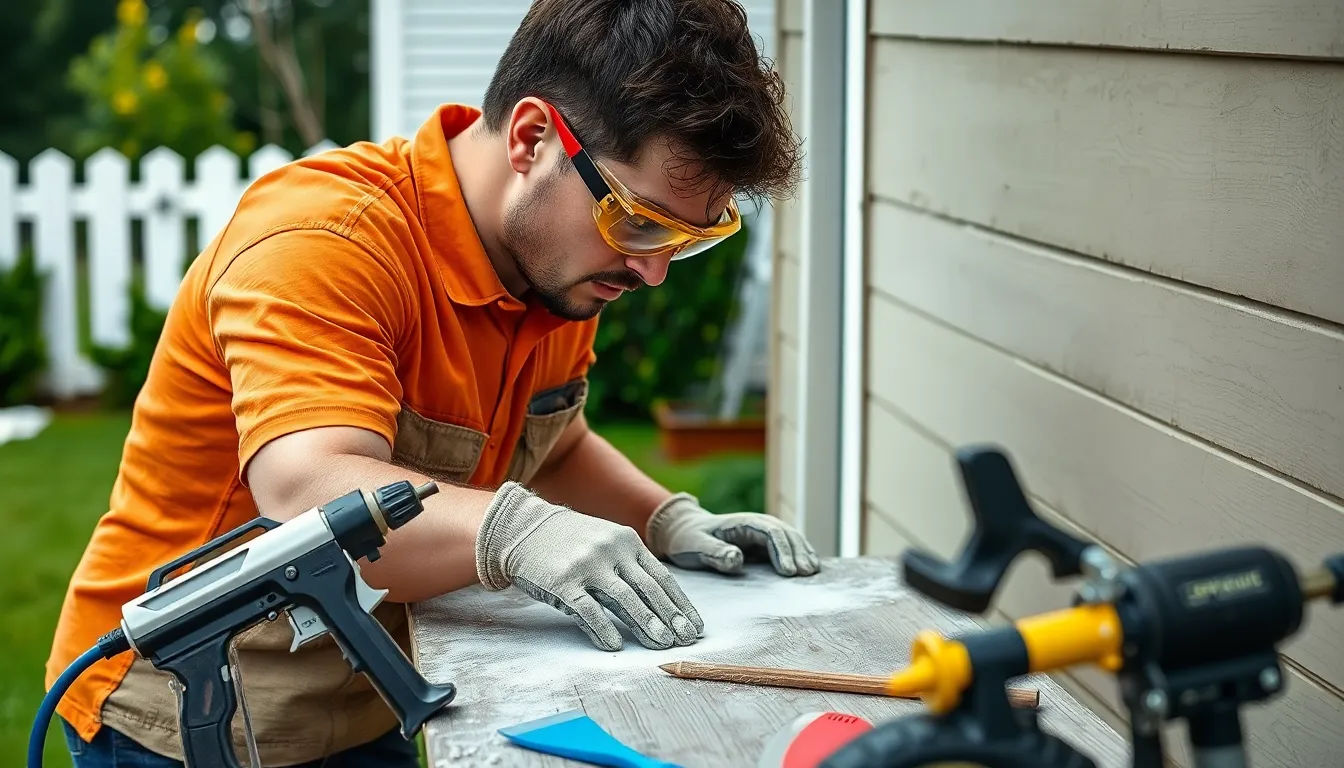
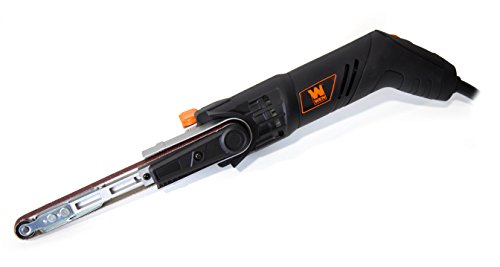
A complete toolkit for exterior wood repainting includes several specialized items for surface preparation and application. Paint scrapers help remove loose and peeling paint effectively from wooden surfaces. Sandpaper in various grits (50-120) is essential for smoothing surfaces and feathering edges between old and new paint. Wire brushes excel at removing debris from hard-to-reach areas and rough surfaces. A random-orbit or pad sander speeds up the sanding process on larger areas while providing even results.
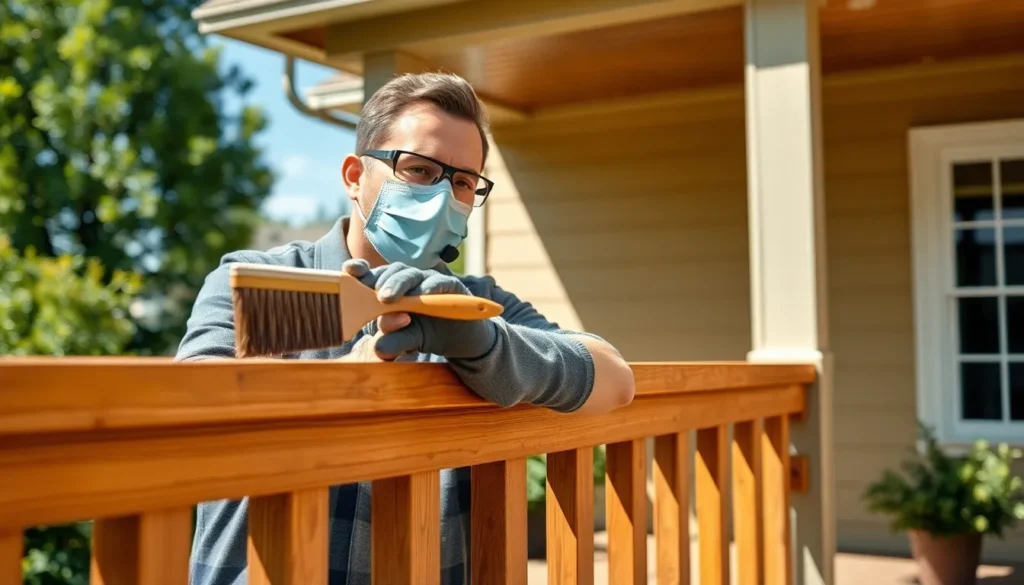
For applying caulk to gaps and joints, you’ll need a quality caulk gun. When dealing with stubborn paint layers, an infrared paint stripper or shrouded grinder makes removal significantly easier. Protective gear such as gloves and safety goggles safeguards your hands and eyes throughout the project. For thorough cleaning before painting, a pressure washer or garden hose with mild detergent attachment helps remove dirt, mildew, and loose paint particles.
Required Paint and Primers
Selecting the appropriate primer and paint dramatically impacts the longevity and appearance of your exterior wood repainting project. High-quality primers create the foundation for a lasting finish by providing adhesion and sealing the wood surface.
For most wooden exteriors, 100% acrylic latex primer offers excellent adhesion and flexibility. Cedar and redwood contain natural oils that can bleed through paint, so these woods require specialized oil-based primers for proper sealing. Areas with knots need pre-treatment with water-based primer specifically designed to prevent resin bleeding that can discolor your finish.
The best paint choice for exterior wood is high-quality latex acrylic paint with UV protection. These formulations resist fading, peeling, and cracking while maintaining color vibrancy even though constant sun exposure. The UV inhibitors protect both the paint film and the underlying wood from solar damage. Two coats provide optimal coverage and durability, with proper drying time between applications improving adhesion and overall performance. Weather conditions significantly affect paint application, so avoid painting in direct sunlight, rain, or temperatures below 50°F for best results.
Preparing Exterior Wood Surfaces
Proper preparation of exterior wood surfaces creates the foundation for a long-lasting, professional paint job. This critical stage can make the difference between paint that peels within months and a finish that protects your home for years.
Cleaning the Wood
Thorough cleaning removes contaminants that prevent proper paint adhesion. Start by hosing down all wooden surfaces to eliminate loose dirt and debris. Attack stubborn grime, grease, and mildew using a stiff brush or pressure washer on its lowest setting to avoid damaging the wood fibers. Let the wood dry completely before moving to the next preparation step—moisture trapped beneath new paint leads to bubbling and premature failure.
Stripping Old Paint
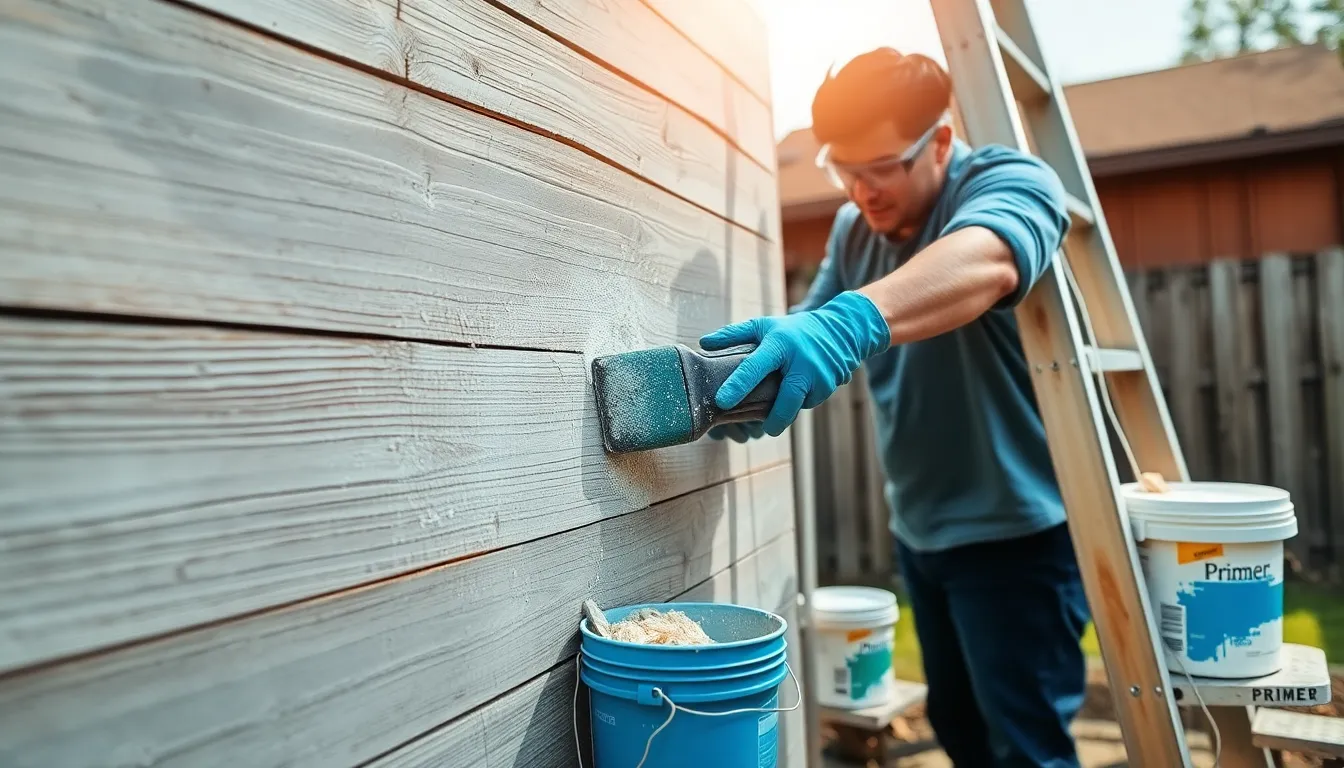
Removing loose and peeling paint ensures your new coat adheres properly to the surface. Grab a putty knife or paint scraper to remove any flaking paint, focusing on edges where deterioration commonly begins. Chemical strippers offer an effective solution for particularly stubborn areas or multiple layers of old paint. Every bit of loose paint must be eliminated since even small areas of poor adhesion can compromise the entire paint job and create future maintenance headaches.
Sanding Techniques
Sanding creates a smooth surface for optimal paint adhesion while removing any remaining finish issues. Begin with coarse-grit sandpaper (80-100 grit) for initial smoothing, then progress to finer grits (150-220) for the final preparation. Always sand with the wood grain to prevent visible cross-grain scratches that might show through your new paint. Focus extra attention on rough patches, weathered areas, and spots where old paint transitions to bare wood. Thorough sanding not only improves paint adhesion but also creates a uniform surface that results in a more professional finished appearance.
Don’t forget to repair any damage before painting—fill cracks with exterior-grade wood filler and seal gaps around windows and trim with quality caulk. Apply an exterior primer to bare wood and patched areas to create a consistent surface for your topcoat. These additional preparation steps significantly extend the life of your exterior paint job.
Repairing Damaged Wood Before Painting
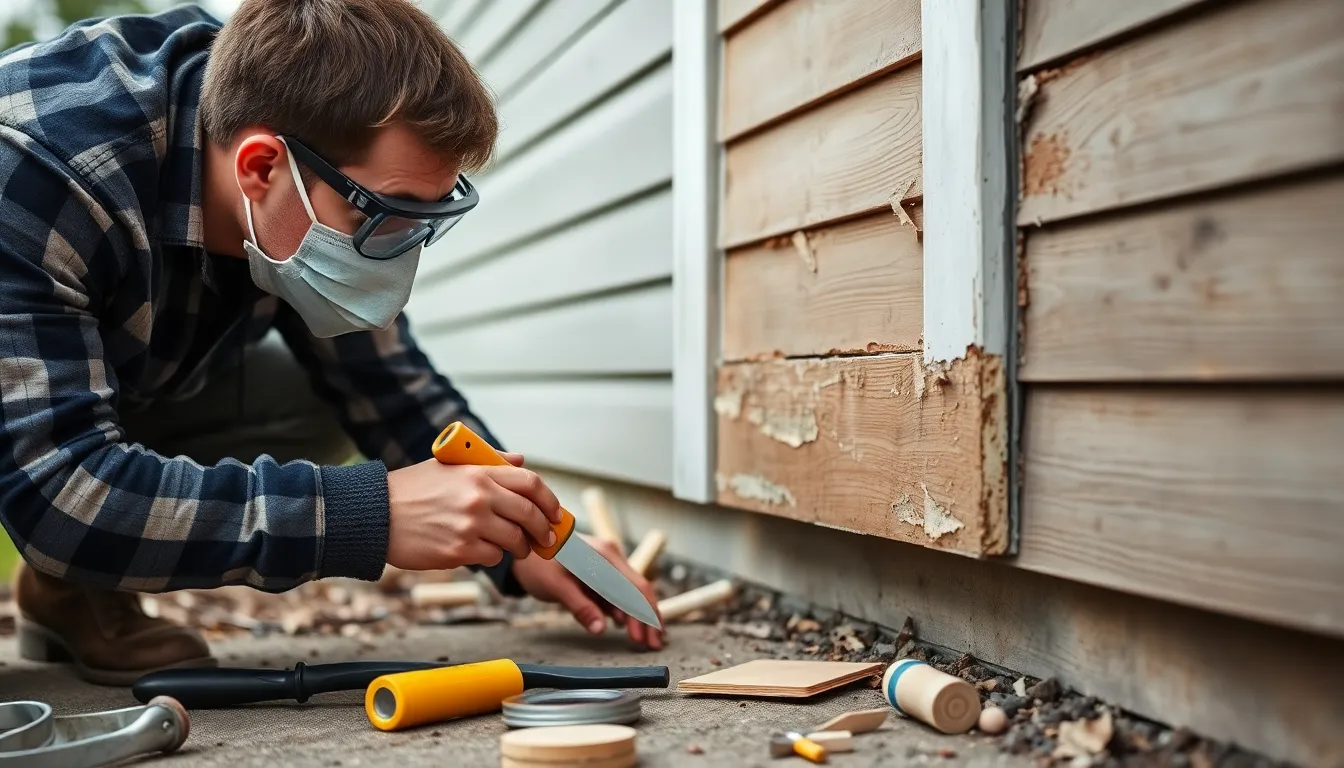
Damaged wood requires thorough repair before applying new paint to ensure durability and a professional finish. We start by removing peeling paint with scrapers and sanding rough edges using coarse (80-120 grit) sandpaper followed by fine-grit (150-220) sandpaper to create a smooth surface. Dull any glossy areas to improve primer adhesion and always protect yourself against lead exposure by wetting surfaces before sanding and following EPA guidelines.
Fixing Cracks and Holes
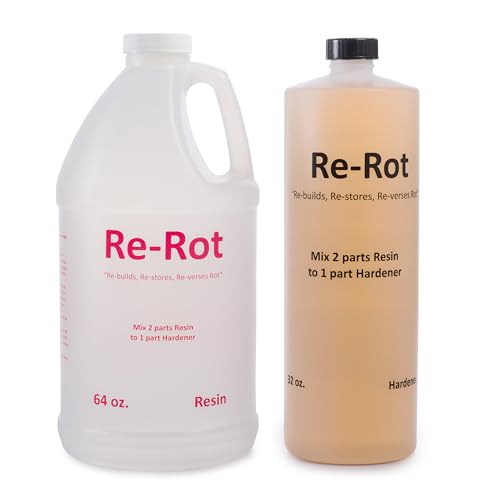
Small defects in exterior wood can be effectively addressed with the right materials and techniques. Fill minor cracks and holes with exterior-grade wood filler or spackle using a putty knife, spreading it evenly across the damaged area. Larger splits require exterior-grade caulk or epoxy wood consolidant to prevent moisture intrusion that could lead to further deterioration. Sand all repairs once dry to create a uniform surface that blends with the surrounding wood. These repairs form a crucial barrier against water damage and help extend the lifespan of your exterior wood surfaces.
Replacing Rotten Sections
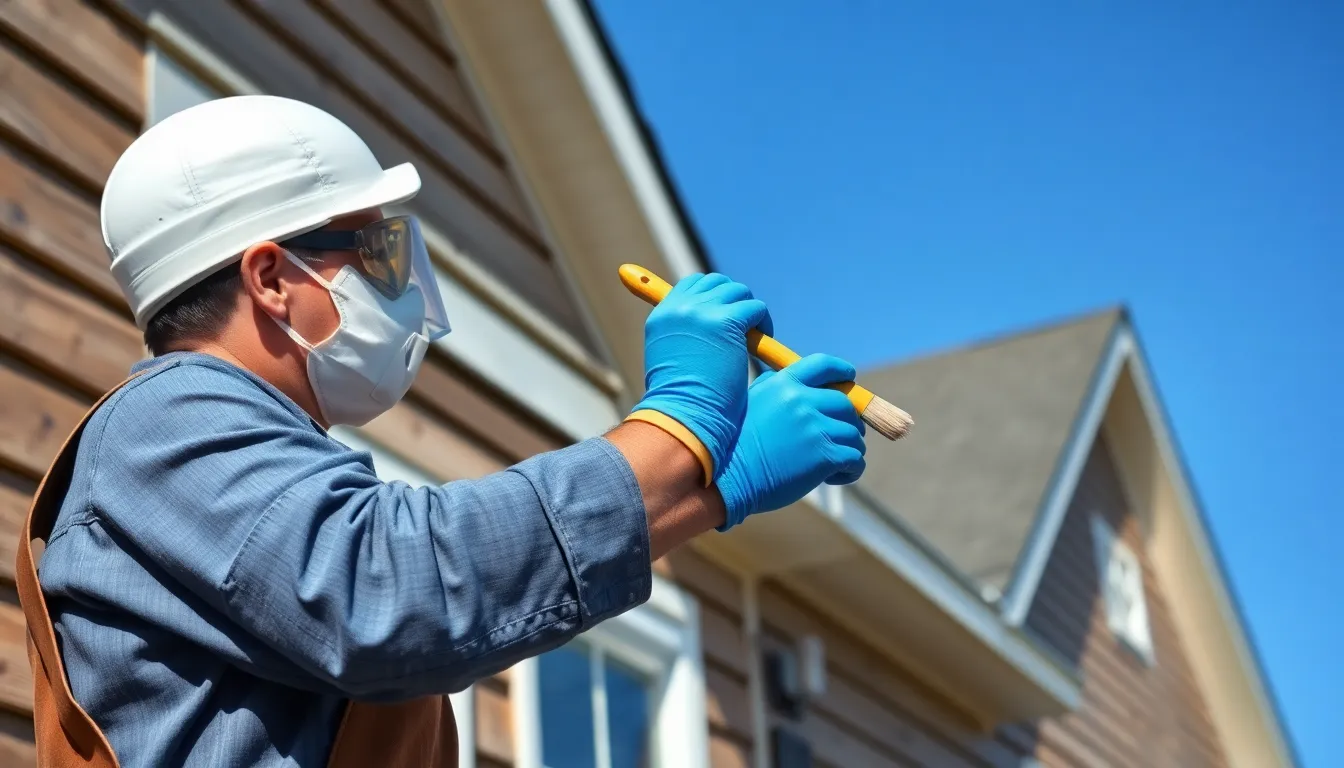
Rotten wood demands immediate attention as it compromises structural integrity and spreads if left untreated. Cut out decayed sections using a chisel or oscillating tool, creating clean edges where healthy wood remains. Insert epoxy-based wood hardener into compromised areas to stabilize partially damaged wood. For extensively rotted pieces, complete replacement with pre-primed wood offers the best long-term solution. After repairs, clean the entire surface by pressure washing at a low setting or scrubbing with a mold-killing detergent. Apply oil-based or 100% acrylic primer to all bare wood and repaired areas before finishing with high-quality acrylic exterior paint. Remember to wear appropriate safety gear including N95 masks during sanding and chemical-resistant gloves when handling cleaning answers, and allow surfaces to dry completely (24-48 hours) after washing.
Priming Exterior Wood Surfaces
Proper priming creates a crucial foundation for any exterior wood painting project. It ensures better paint adhesion, extends the life of your topcoat, and provides additional protection for your wooden surfaces.
Choosing the Right Primer
Oil-based primers offer superior penetration and adhesion to wood fibers compared to latex options. They effectively seal caulk and weathered surfaces when applied as a base coat, making them ideal for exterior wood projects. While some modern wood paints like Ronseal 10 Year Weatherproof might eliminate primer requirements, traditional painting systems still benefit significantly from separate priming steps. For bare wood, pretreatment with a clear, paintable water repellent before applying primer prevents moisture absorption and creates a more stable surface for paint application.
Application Methods
Spraying primers covers large areas efficiently but requires back-brushing to work the product into cracks and ensure complete coverage. Natural-bristle brushes excel at forcing primer into wood grain and crevices, making them the preferred tool for detailed work on textured surfaces. Rolling works well on flat wooden surfaces but proves less effective on textured wood without additional back-brushing to ensure proper penetration. After applying the initial primer coat, caulk any seams and gaps, then seal with a second primer coat for optimal results. Allow proper drying time between coats according to manufacturer guidelines, and consider using flat latex for final coats after priming to enhance durability and weather resistance.
Best Techniques for Painting Exterior Wood
Proper painting techniques ensure your exterior wood surfaces remain protected and beautiful for years. Thorough preparation forms the foundation of any successful paint job, starting with removing flaking paint through scraping and sanding, followed by cleaning surfaces and repairing damaged areas.
Brush vs. Spray vs. Roller Methods
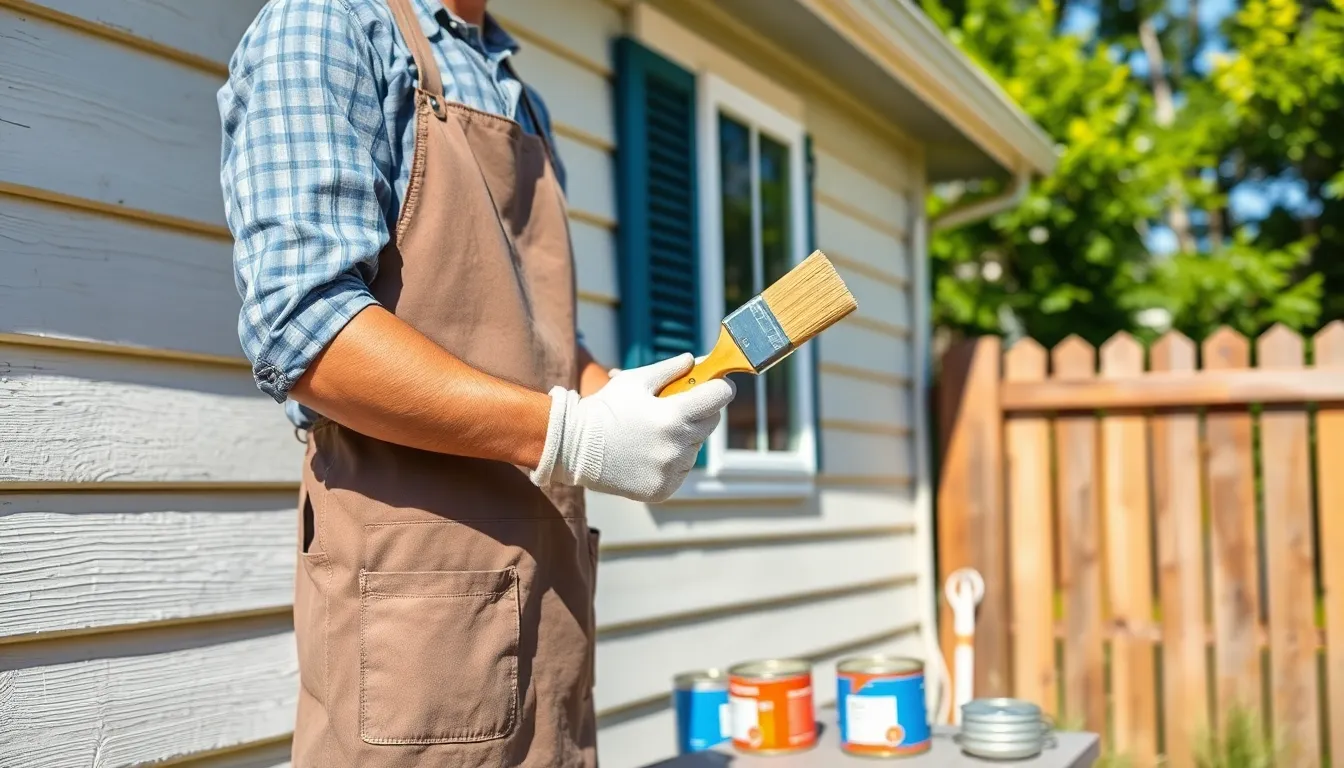
Each application method offers distinct advantages for exterior wood painting. Natural-bristle brushes work primer deep into the wood grain, making them essential for priming cracks and edges where detailed work is required. Rollers provide efficient coverage on smooth siding and work best when paired with brushes to ensure even paint distribution across the surface. Spray application excels at covering large areas quickly—professional painters often apply a light spray coat and immediately follow with brushing to maximize adhesion and coverage. For optimal results, use brushes for the initial primer application, especially in detailed areas, and consider spray methods for final coats once surfaces are properly prepared.
Weather Considerations
Weather conditions dramatically impact paint performance and longevity. Apply paint when temperatures range between 50–85°F (10–29°C) with low humidity levels to ensure proper drying and adhesion. Avoid painting in direct sunlight, as this causes premature drying and unsightly lap marks that compromise the finish quality. When humidity exceeds 50%, extend drying time between coats to 24–48 hours to prevent moisture-related issues. Morning and late afternoon typically offer the most favorable painting conditions, allowing enough time for the paint to set before evening dew forms. Following these weather guidelines helps achieve a durable finish that stands up to the elements for years to come.
Maintaining Your Newly Painted Wood Exterior
Regular maintenance significantly extends the life of your exterior paint job, protecting your investment and keeping your home looking fresh. Inspecting your painted surfaces twice yearly helps identify issues before they worsen, particularly after harsh weather seasons. Look for telltale signs of paint failure including peeling, bubbling, cracking, or color fading, which indicate it’s time for touch-ups.
Touch-up painting should address damaged areas promptly to prevent moisture from penetrating the wood. Clean the affected area thoroughly with a mild detergent solution, allow it to dry completely, and apply matching paint to the damaged section. Small touch-ups typically require only one application, while larger areas benefit from a primer coat followed by two paint coats for durability.
Cleaning painted surfaces annually removes dirt, mold, and mildew that can deteriorate paint over time. Mix a gentle solution of water with mild detergent, scrub surfaces with a soft-bristled brush, and rinse thoroughly with clean water. Avoid pressure washers on painted wood as they can force water under the paint film and damage the finish.
Environmental factors affect paint longevity significantly, with homes in harsh climates requiring more frequent maintenance. Southern and western exposures generally experience more UV damage and weathering than northern facing surfaces. Quality paint jobs typically last 5-7 years, though this varies based on climate conditions, paint quality, and preparation techniques.
Preventative measures like trimming nearby vegetation creates airflow around wooden structures, reducing moisture accumulation that leads to paint failure. Installing proper gutters and downspouts directs water away from painted surfaces, while addressing drainage issues prevents water from pooling near wooden elements of your home.
Common Mistakes to Avoid When Repainting Exterior Wood
Skipping Surface Preparation
Surface preparation stands as the foundation of any successful exterior wood painting project. Many homeowners rush past this critical step, failing to sand, clean, or remove peeling paint properly—mistakes that lead to poor adhesion and premature paint failure. Horizontal or vertical cracks in old paint require complete stripping and priming before repainting. Applying paint directly to bare wood without proper primer or water repellent pretreatment significantly reduces the durability of your paint job and leaves the wood vulnerable to moisture damage.
Neglecting Primer Requirements
Primer selection directly impacts the longevity of your exterior paint job. Using latex primer on bare wood instead of oil-based primers reduces penetration into wood fibers and compromises long-term durability. Proper priming sequence matters too—applying primer after caulking ensures seals are protected between two layers of primer for maximum protection. Some specialty products like 10 Year Weatherproof Wood Paint may not require primers, but always check manufacturer guidelines before skipping this crucial step.
Poor Caulking Practices
Caulking errors create entry points for moisture that can destroy your paint job from underneath. Applying caulk to unprimed wood or failing to seal gaps properly invites water damage and rot. Overfilling cracks with wood filler before sanding creates a smooth, paintable surface. Remember to prime again after caulking to ensure complete sealing and protection of all repaired areas.
Using Incorrect Tools or Techniques
Tool selection significantly affects the quality of your exterior paint application. Spraying without back-brushing leaves primer unevenly bonded to the wood surface, reducing adhesion and durability. Natural-bristle brushes work best for trim areas, allowing you to work primer into tight crevices and detailed sections. Careless painting around window sashes without proper masking can permanently seal windows shut—a costly error that affects both appearance and functionality.
Rushing Painting Steps
Patience plays a crucial role in exterior wood painting success. Applying paint before primer or caulk fully dries causes premature peeling and failure. Each coat, especially water repellents, requires complete curing according to product instructions. Rushing between coats might seem time-efficient but eventually leads to wasted effort when the paint job fails prematurely.
Ignoring Weather Conditions
Weather factors dramatically impact paint performance and longevity. Painting in high humidity, direct sunlight, or temperatures outside the manufacturer’s recommended range affects drying time, adhesion quality, and the overall durability of your paint job. These environmental conditions can transform what should be a lasting finish into a quick-failing disappointment.
Overlooking Paint Stirring
Thorough paint mixing ensures uniform color distribution and texture in your finished project. Skipping adequate stirring results in uneven color, inconsistent coverage, and texture variations across your painted surfaces. Take time to eliminate all lumps through proper mixing before applying any paint to exterior wood surfaces.
Applying Insufficient Coats
Coverage quality depends on applying the right number of paint layers. Using fewer than the recommended two coats reduces weather resistance and compromises the protective qualities of your paint job. Thin, uniform layers provide better protection than single thick applications, which can bubble, crack, and peel prematurely.
Misjudging Paint Type Compatibility
Paint system compatibility determines whether your new finish will last or fail quickly. Mixing oil-based primers with incompatible latex topcoats (or vice versa) creates adhesion problems and often leads to peeling or flaking. Stick with one complete paint system or verify cross-compatibility between products before combining different types of primers and paints.
Failing to Protect Surrounding Areas
Proper masking saves important cleanup time and prevents damage to adjacent surfaces. Not protecting windows, trim, or neighboring surfaces leads to overspray and difficult cleanup challenges. Using painter’s tape and drop cloths systematically before beginning your project prevents these issues and ensures a cleaner, more professional-looking final result.
Conclusion
Repainting exterior wood is an investment that pays dividends in both protection and curb appeal. With the right tools materials and techniques you’ll transform weathered surfaces into beautiful lasting elements of your home.
Remember that success lies in thorough preparation proper repairs and quality materials. Don’t rush the process—each step from cleaning to priming to applying the final coat deserves attention to detail.
By following our guidelines and avoiding common pitfalls you’ll achieve professional results that stand up to the elements. Your newly painted exterior wood won’t just look fantastic it’ll provide years of protection for your home while saving you money on costly repairs down the road.
Frequently Asked Questions
How often should I repaint exterior wood surfaces?
Most exterior wood surfaces need repainting every 5-7 years, depending on your climate and exposure levels. Homes in harsh environments with extreme sun, rain, or temperature fluctuations may need repainting every 3-5 years. Regular inspections can help you identify when it’s time to repaint—look for signs of peeling, cracking, or fading paint.
What are the best weather conditions for painting exterior wood?
The ideal conditions for painting exterior wood are temperatures between 50-85°F (10-29°C) with humidity below 70%. Avoid painting in direct sunlight, strong winds, or when rain is forecasted within 24 hours. Early morning or late afternoon painting typically yields the best results, allowing proper drying and curing of the paint.
Do I need to prime exterior wood before painting?
Yes, priming is essential for exterior wood surfaces. Primer improves paint adhesion, provides additional protection, and extends the life of your topcoat. Oil-based primers work best for bare wood as they penetrate deeper into the wood fibers. Always prime bare wood, patched areas, and surfaces with previous paint issues.
What type of paint is best for exterior wood?
High-quality 100% acrylic latex paint is generally best for exterior wood. It offers excellent adhesion, flexibility, color retention, and resistance to moisture and UV damage. For trim and detail work, semi-gloss or satin finishes provide better durability and moisture resistance, while flat or eggshell finishes work well for siding.
How do I properly prepare wood surfaces before painting?
Proper preparation includes cleaning the surface thoroughly with appropriate cleansers, removing loose or peeling paint with scrapers or sanders, repairing damaged areas with exterior wood filler, and ensuring the surface is completely dry. Sand all surfaces lightly to improve adhesion, and apply caulk to gaps and joints before priming.
How can I tell if wood needs to be replaced rather than just repainted?
Wood needs replacement if it’s soft or spongy when pressed, has visible rotting or extensive cracking, or shows signs of significant water damage or insect infestation. A simple test: poke suspect areas with a screwdriver—if it easily penetrates more than ¼ inch, the wood likely needs replacement rather than just repainting.
What’s the best way to maintain painted exterior wood?
Maintain painted exterior wood by conducting biannual inspections (spring and fall), gently washing surfaces with mild soap and water annually, addressing touch-ups promptly, and ensuring proper drainage around wooden structures. Trim vegetation away from painted surfaces and immediately address any moisture issues to prevent damage.
Can I paint over old paint or do I need to remove it completely?
You can paint over old paint if it’s in good condition—firmly adhered, not peeling or flaking. However, any loose, bubbling, or peeling paint must be removed completely. Always sand the existing paint to create a slightly rough surface for better adhesion, clean thoroughly, and prime any bare spots before applying new paint.
What tools do I need for repainting exterior wood?
Essential tools include quality paintbrushes (natural-bristle for oil-based products, synthetic for water-based), paint rollers with appropriate nap, paint scrapers, sandpaper (80-220 grit), wire brushes, caulk gun, putty knives, drop cloths, painter’s tape, and potentially a paint sprayer for large areas. Don’t forget safety equipment like goggles and gloves.
How many coats of paint should I apply to exterior wood?
Apply at least two coats of paint after priming for optimal protection and appearance. The first coat seals the surface while the second provides color uniformity, additional protection, and improved durability. Dark colors or surfaces exposed to extreme weather may benefit from a third coat for maximum protection and color retention.






![VAN VOTZ Waterproof Wood Filler [Half-Pint, Neutral] - Exterior Grade](https://m.media-amazon.com/images/I/51SxCNlajKL._SL500_.jpg)


