Dealing with stubborn carpet adhesive on your beautiful wood floors? We’ve all been there. That sticky, gummy residue can seem impossible to remove without damaging the wood underneath, but don’t worry—it’s completely manageable with the right approach.
We’ll show you several proven methods to safely eliminate carpet adhesive from your wood surfaces, from common household items to specialized products. Whether you’re renovating an old home or simply replacing carpet with hardwood, these techniques will help you restore your floors to their natural beauty without the frustration of trial and error.
Why Carpet Adhesive Is So Stubborn on Wood Floors
Carpet adhesive forms an incredibly strong bond with wood flooring because it’s specifically designed to keep carpeting firmly in place for decades. These adhesives contain polymers and resins that penetrate wood’s porous surface, creating a mechanical bond that becomes more difficult to remove over time. Many professional-grade carpet adhesives actually harden and strengthen as they age, making older installations particularly challenging to remove.
Heat and humidity in a home cause wood to expand and contract, which pushes the adhesive deeper into the grain. This natural movement creates a situation where the glue becomes embedded in the microscopic crevices of the wood floor. Traditional cleaning methods often fail because they don’t address this deep penetration characteristic of carpet adhesives.
The composition of carpet adhesives includes chemicals like polyurethane and acrylic that resist water and many common solvents. These water-resistant properties make simple soap and water ineffective for removal. Also, many older adhesives contain tar-based compounds that maintain their sticky consistency indefinitely, requiring exact solvents or mechanical methods for proper removal.
Wood’s natural texture provides countless tiny anchoring points for adhesive to grip. Unlike smooth surfaces such as concrete or tile, wood grain creates the perfect environment for adhesive to form multiple connection points at a microscopic level. The interaction between wood’s cellulose fibers and adhesive chemicals results in bonds that can withstand important pulling force, making scraping alone insufficient for complete removal.
Tools and Materials You’ll Need for Adhesive Removal
Removing carpet adhesive from wood floors requires exact tools and materials to effectively dissolve and lift the stubborn residue without damaging the underlying wood. We’ve compiled a comprehensive list of everything you’ll need to tackle this challenging project successfully.
Essential Removal Tools
Dry ice serves as an excellent tool for lifting adhesive from wood surfaces without causing damage, as the extreme cold causes the adhesive to become brittle and easier to remove. Solvents like mineral spirits and commercial adhesive removers chemically break down the adhesive compounds, making them easier to scrape away. Warm soapy water works well for testing in inconspicuous areas and removing lighter adhesive residues. WD-40 can effectively loosen stubborn adhesive patches by penetrating beneath the dried material. Metal scrapers or spackling tools allow you to gently lift softened adhesive without gouging the wood beneath. Sandpaper or mastic removal blocks finish the job by smoothing any remaining residue and preparing the surface for refinishing.
Safety Equipment to Have on Hand
Rubber or chemical-resistant gloves protect your hands from harsh solvents and prevent skin irritation during the removal process. Safety goggles shield your eyes from splashing chemicals and airborne particles created during scraping and sanding. Dust masks filter out harmful particles and chemical fumes that can irritate your respiratory system. Protective clothing covers your skin from potential chemical exposure and keeps clothes from being ruined by adhesive or solvent stains. These safety items aren’t optional—they’re essential for protecting yourself from potential chemical burns, respiratory issues, and eye injuries that can occur during adhesive removal.
Cleaning Supplies to Gather
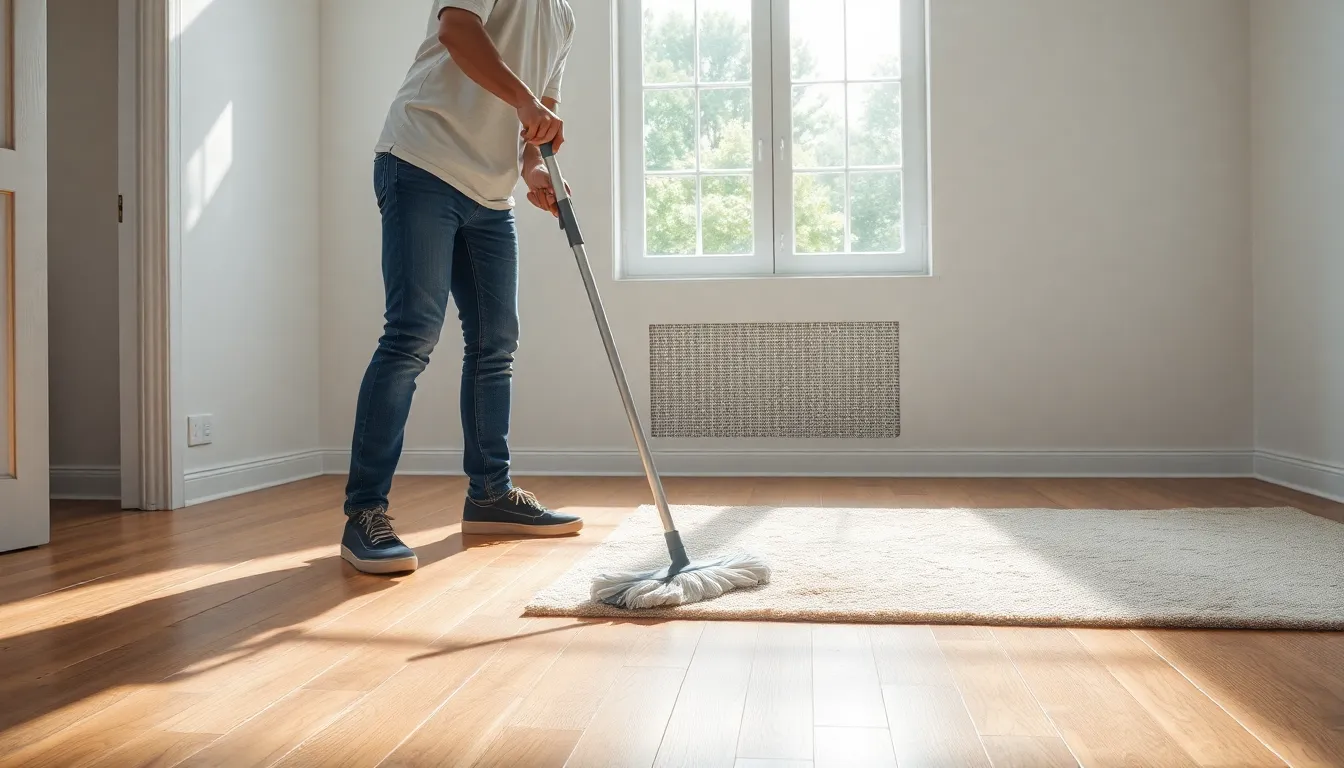
Rags absorb excess solvents and help wipe away loosened adhesive during and after the removal process. A mop and bucket become necessary for cleaning the floor after water-based answers have been used and for the final cleaning once all adhesive is removed. Vacuums or brooms clear debris created during scraping and sanding, preventing scratches on your newly exposed wood floor. Having these cleaning supplies ready before you start ensures a smooth workflow and allows for immediate cleanup of any spills or residue, preventing potential damage to your wood floors from prolonged exposure to removal agents.
Testing Your Wood Floor Before Starting
Testing your wood floor helps identify potential issues before beginning the adhesive removal process. A careful assessment prevents damage and determines the most appropriate removal method for your exact situation.
Identify the Type of Adhesive
Determining your adhesive type dictates which removal approach works best. Pre-1990s adhesives often contain asbestos, requiring special handling procedures. Purchase a test kit to check for asbestos if your home was built before 1990, as research shows these older adhesives pose health risks. Asbestos-containing adhesives should never be sanded or scraped without professional consultation.
Perform a Spot Test
Spot testing reveals how your wood floor reacts to different cleaning agents. Apply warm soapy water (Dawn dish soap works effectively) or mineral spirits to a small, inconspicuous area and let it sit for about an hour. This test identifies if your adhesive is water-soluble and shows how the wood responds to moisture. After the waiting period, gently scrape with a plastic putty knife to gauge adhesive softening.
Check for Wood Damage
Examining the floor’s condition helps tailor your removal approach:
- Look for deep scratches or gouges that might worsen during adhesive removal
- Check for water damage or warping that could affect how the wood responds to solvents
- Identify any previous finishes or sealants that might interact with cleaning agents
Testing WD-40 or mineral spirits on a hidden spot assesses potential wood discoloration before applying these products to larger areas. Apply the solvent sparingly and wipe away promptly to evaluate any adverse reactions.
Assess Ventilation Requirements
Different removal methods require varying levels of ventilation. Solvent-based approaches demand better air circulation than mechanical methods. Test your workspace ventilation by checking for:
- Working windows that open fully
- Functional fans for air circulation
- Clear pathways to exterior doors
Proper ventilation prevents dangerous fume buildup when using chemical solvents like mineral spirits, protecting both your health and the wood’s integrity during the removal process.
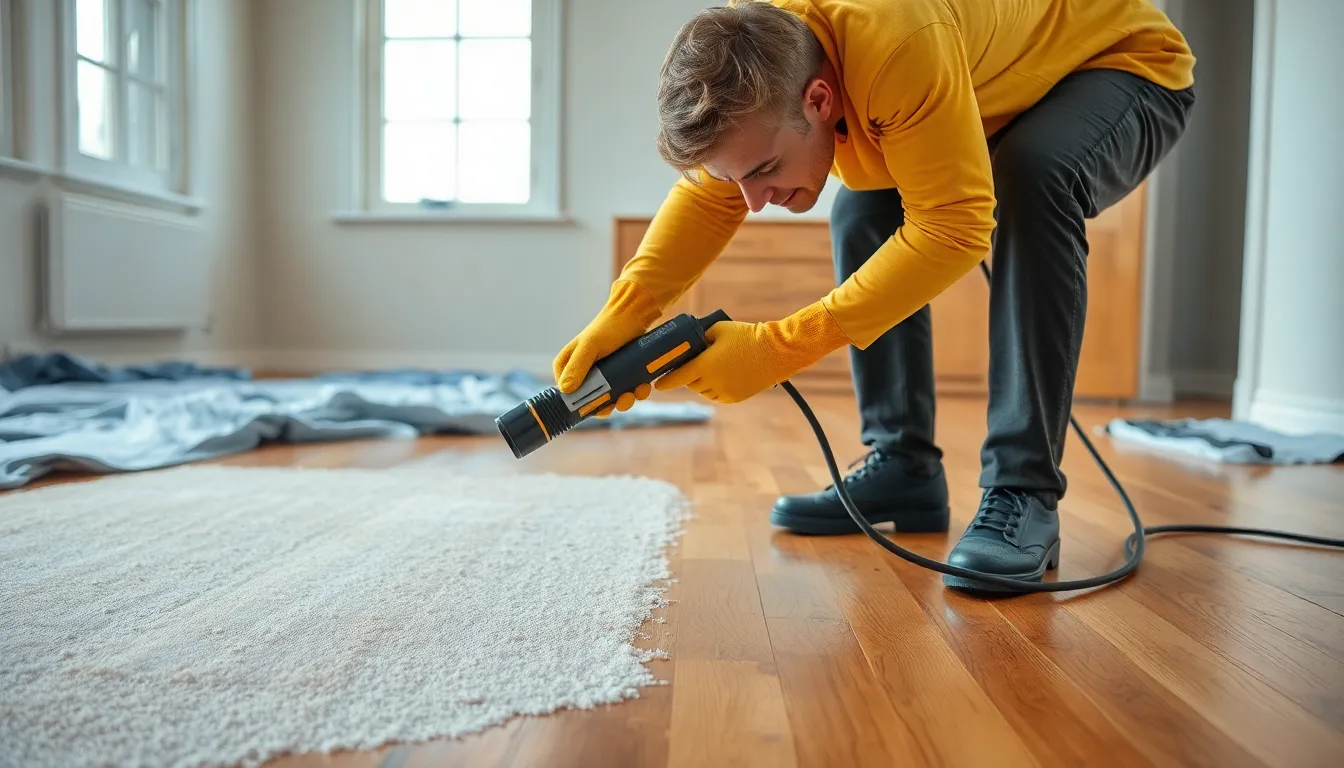
Heat Method: Using a Heat Gun or Iron
The heat method leverages thermal energy to soften carpet adhesive, making it easier to remove from wood floors. This technique breaks down the adhesive’s molecular structure without introducing harsh chemicals that might damage your wood.
Step-by-Step Heat Removal Process
Removing carpet adhesive with heat requires careful preparation and execution. Start by clearing all furniture from the room and protecting surrounding areas with drop cloths or plastic sheeting to prevent damage during the removal process.
- Apply controlled heat – Position your heat gun approximately 6 inches away from the adhesive and move it in a slow, sweeping motion to evenly distribute heat across the surface. Alternatively, place a thin cotton cloth over the adhesive and press a hot iron on top, allowing the indirect heat to soften the glue.
- Watch for softening – The adhesive will begin to bubble or appear glossy when it’s properly heated and ready for removal. Don’t overheat a single area as this can damage the wood or create burn marks.
- Scrape while warm – Use a plastic putty knife or scraper to gently lift the softened adhesive from the wood. Work in small sections, applying heat and immediately scraping before the adhesive cools and hardens again.
- Remove residue – After the bulk of the adhesive is gone, wipe the area with a damp cloth to clean the surface. For stubborn residue, apply a small amount of mineral spirits or WD-40 to a clean rag and gently rub the affected areas.
- Final cleaning – Allow the floor to dry completely before assessing the results. Some light sanding might be necessary to restore the wood’s smooth finish.
Always wear protective gloves when handling hot tools and working with adhesives to prevent burns and skin irritation. Test this method on a small, inconspicuous area of your floor first to ensure it won’t damage your exact wood type or finish.
Solvent Method: Using Commercial Adhesive Removers
Commercial adhesive removers offer a powerful solution for dissolving stubborn carpet adhesive from wood surfaces. These products contain exact formulations designed to break down adhesives quickly, though they require careful handling to protect both your wood floors and yourself during the removal process.
Natural vs. Chemical Solvent Options
Natural solvents provide gentler alternatives for removing carpet adhesive from wood without harsh chemicals. Warm soapy water works effectively on light adhesive residue, requiring minimal effort for fresh or thin applications. Vinegar answers (mixing equal parts white vinegar and water) break down adhesives while being kind to wood surfaces. WD-40, though not entirely natural, serves as a milder option that loosens adhesive bonds when sprayed directly on affected areas.
Chemical solvents deliver more aggressive adhesive removal power for stubborn situations. Mineral spirits cut through tough adhesives quickly but can potentially damage wood if left in contact too long. Commercial adhesive removers like Goo Gone, Klean Strip, or Citristrip are specifically formulated for adhesive dissolution, containing potent chemical compounds that make short work of even the most stubborn carpet glues.
How to Apply Solvents Properly
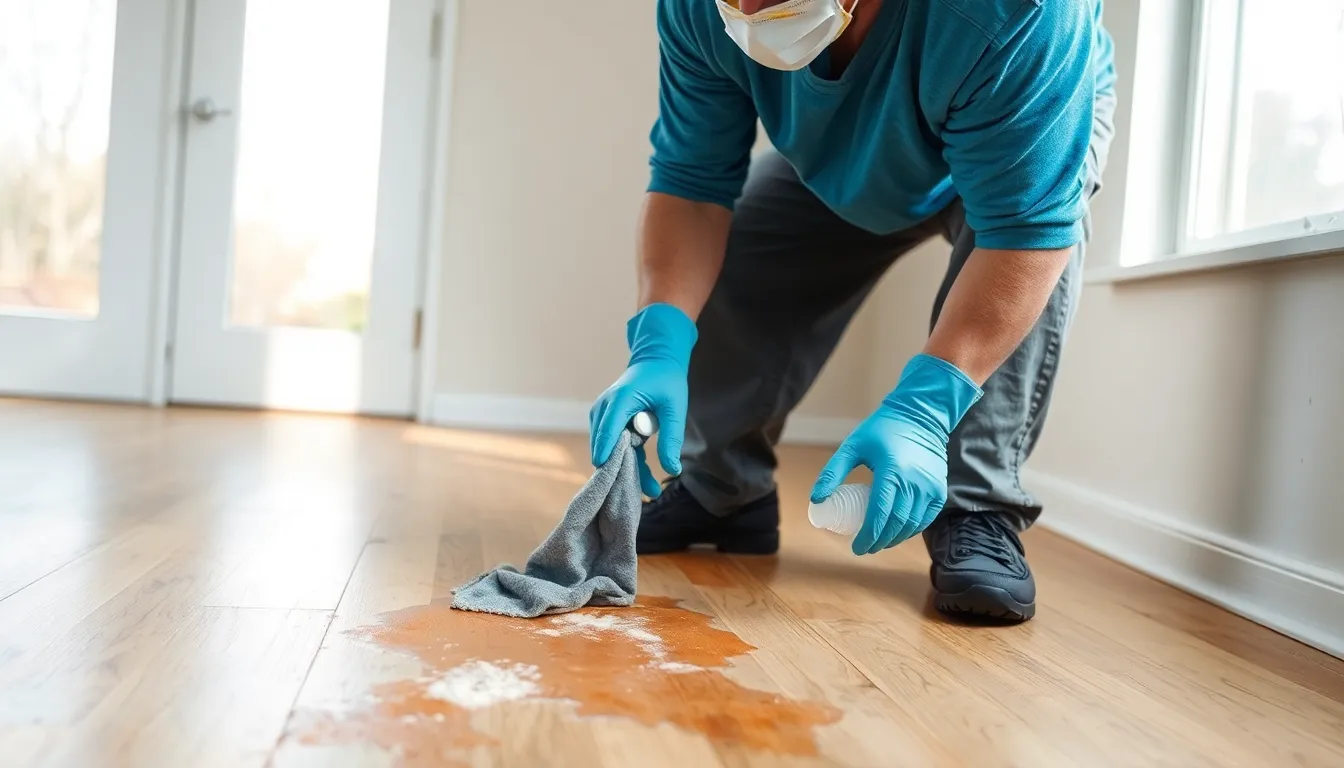
Protecting the area forms the first critical step when applying any solvent to wood surfaces. Always wear protective gloves to prevent skin irritation, and ensure proper ventilation by opening windows or using fans, especially when working with chemical solvents that release strong fumes.
Testing a small, inconspicuous area helps determine whether your chosen solvent affects the wood’s finish or color. Apply a small amount of the solvent to a corner or hidden section and wait 10-15 minutes to check for any adverse reactions before proceeding with the entire floor.
Applying the solvent requires a controlled approach using a cloth or sponge to evenly distribute the product over the adhesive. Pour or spray the solvent directly onto the adhesive, ensuring it covers the area without excessive pooling that might damage the wood.
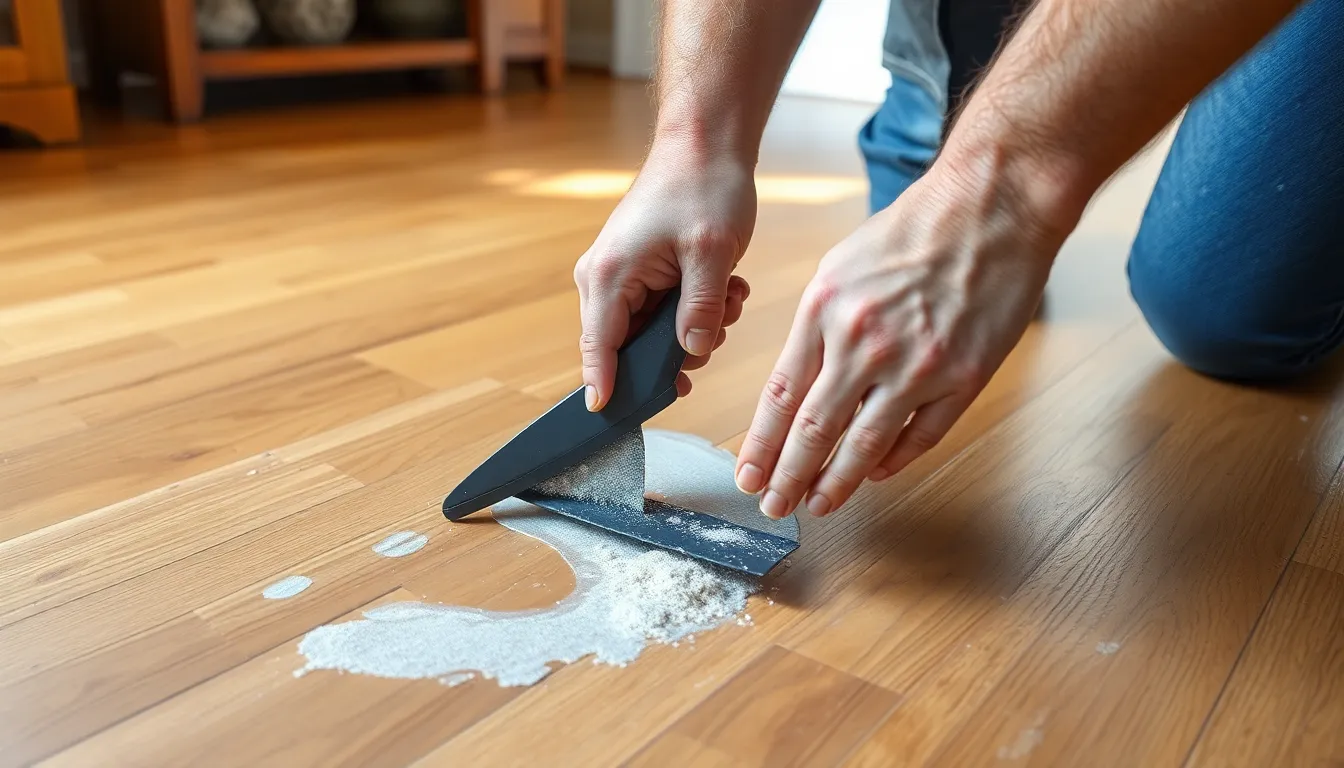
Scraping off the softened adhesive becomes much easier after allowing the solvent to penetrate for 15-30 minutes. Use a plastic scraper held at a 45-degree angle to gently lift the loosened adhesive, taking care not to gouge or scratch the wood surface with excessive force.
Cleaning up completely after adhesive removal prevents potential long-term damage to your wood. Wipe away all remaining solvent and adhesive residue with a clean, damp cloth, then follow with a dry cloth to remove any moisture from the wood surface.
Mechanical Removal Methods for Tough Residue
Mechanical removal methods tackle stubborn carpet adhesive without relying on chemicals. These physical techniques are effective when dealing with hardened residue that solvents or heat alone can’t eliminate.
Scraping Techniques That Won’t Damage Wood
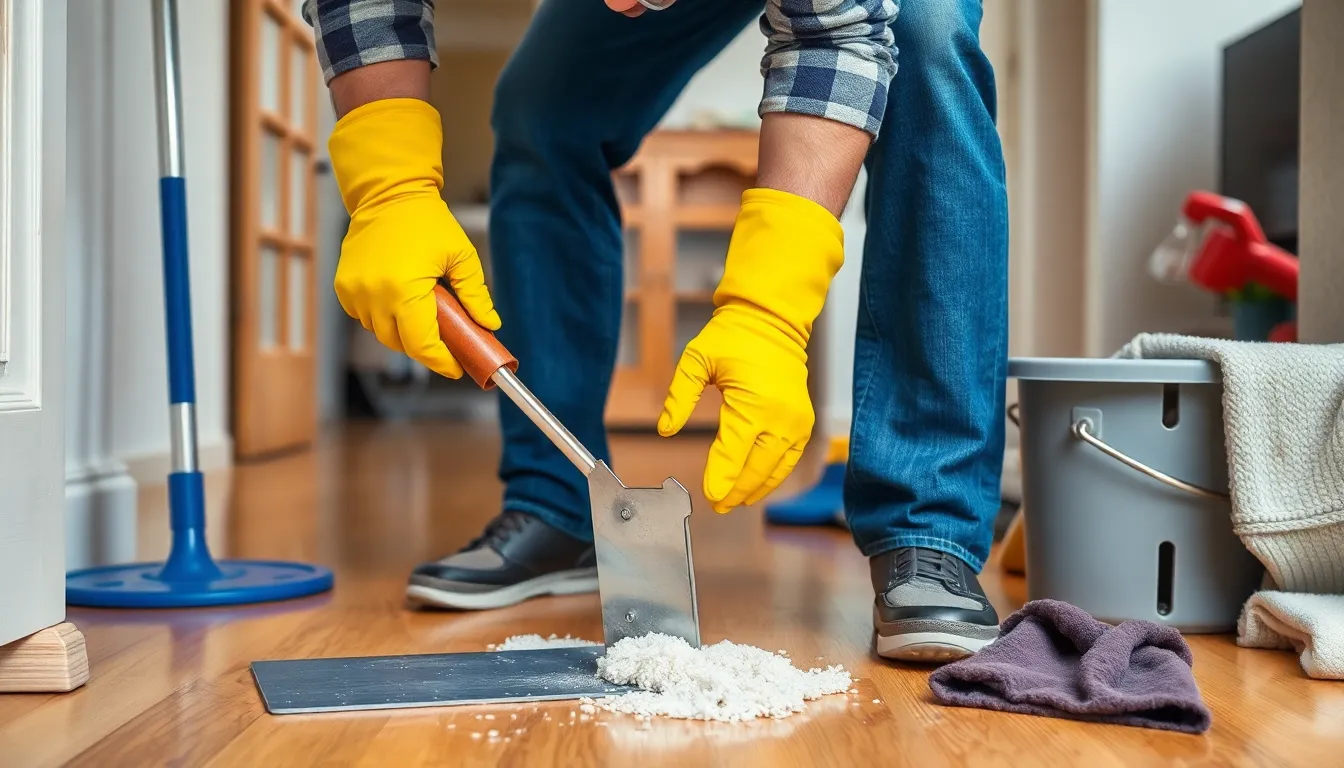
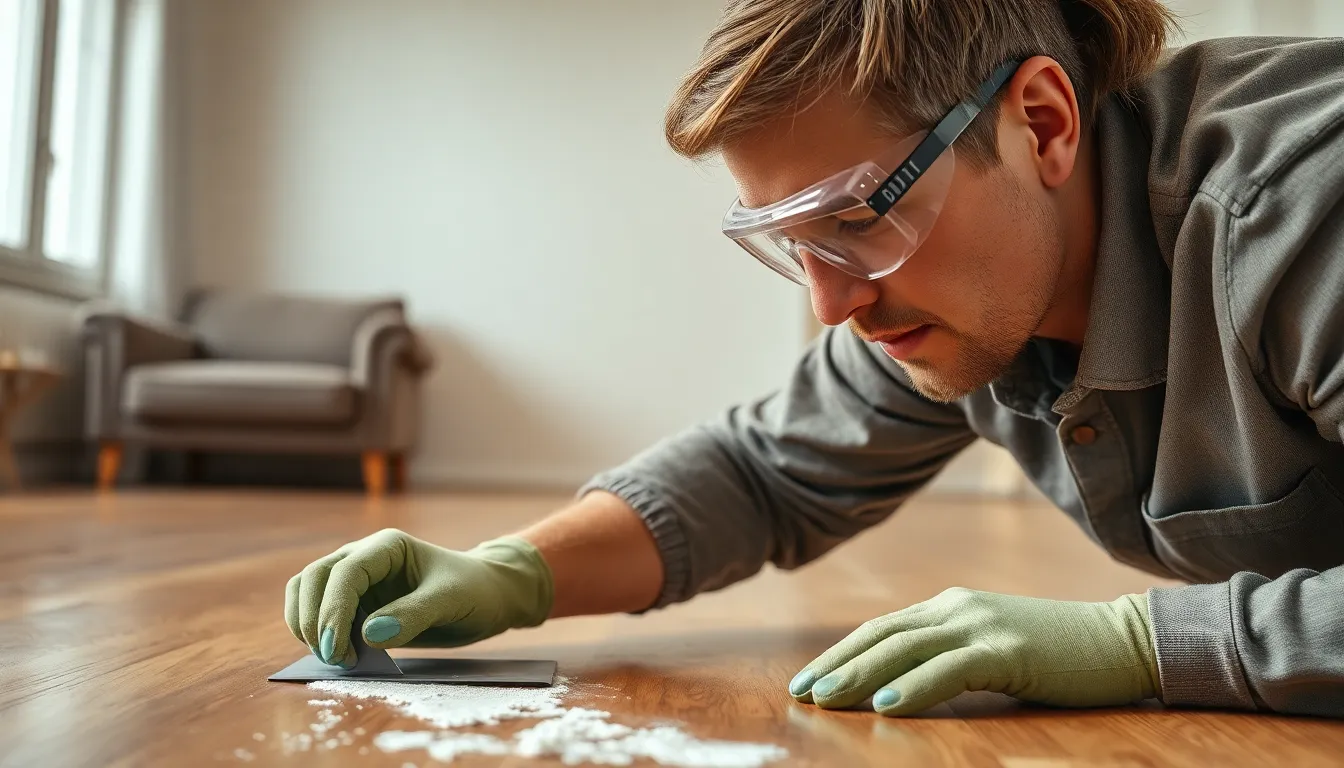
Proper scraping technique prevents damage to your wood floors while effectively removing adhesive. Using a spackling tool or plastic scraper at a 45-degree angle provides the optimal approach for removing adhesive without gouging the wood. Always work in the direction of the wood grain to minimize potential scratches and apply controlled, firm pressure rather than excessive force.
For particularly stubborn areas, a reciprocating saw equipped with a scraper blade offers additional vibration that helps loosen the adhesive from the wood surface. This tool works by agitating the adhesive bond while simultaneously providing forward pressure to lift it away from the floor.
Testing any mechanical removal method on an inconspicuous area first protects your floor from potential damage. Hidden spots like closets or areas normally covered by furniture provide ideal testing locations before tackling more visible sections of your floor.
Combining mechanical methods with heat significantly improves effectiveness. A hair dryer or heat gun directed at the adhesive for 30-60 seconds softens the material, making it much easier to scrape away. Move the heat source constantly to prevent concentrating too much heat in one spot, which could damage the wood.
Warm soapy water applied to the adhesive helps dissolve certain types, particularly water-based varieties. After applying the solution, wait 5-10 minutes before scraping to allow the soap to penetrate and break down the adhesive structure.
For oil-based adhesives, products like WD-40 or mineral spirits often prove more effective than water-based answers. Apply these products sparingly to the affected area, allow them to penetrate for several minutes, then proceed with careful scraping using your plastic or metal tool.
Homemade Solutions for Carpet Glue Removal
Many effective carpet adhesive removers are already in your kitchen cabinets. These DIY answers provide cost-effective alternatives to commercial products while being gentler on your wood floors.
Vinegar and Hot Water Method
The vinegar and hot water method dissolves carpet adhesive through its natural acidic properties. Mix equal parts white vinegar and hot water in a bucket to create this effective solution. Apply the mixture generously to the adhesive-covered areas using a mop or sponge, ensuring complete coverage of the stubborn spots. Let the solution sit for 5-10 minutes, allowing the acidic properties to break down and soften the adhesive bonds. After soaking, use a plastic scraper or cloth to remove the loosened adhesive, working in the direction of the wood grain to prevent scratching.
Dish Soap and Vinegar Method
Dish soap combines with vinegar to create a powerful degreasing solution that breaks down carpet adhesive effectively. Mix a quarter cup of Dawn dish soap with one cup of vinegar and two cups of warm water in a spray bottle or bucket. Apply this mixture directly to the adhesive-covered areas and allow it to penetrate for 10-15 minutes. Scrub the softened adhesive with a nylon brush, working in small sections to maintain effectiveness. Rinse the area with clean water afterward to remove any soap residue that might damage the wood finish.
Ice and Freezing Technique
The ice and freezing technique makes carpet adhesive brittle enough to chip away cleanly from wood surfaces. Place dry ice directly on top of the adhesive areas, using protective gloves to handle the extremely cold material. Let the ice sit for approximately 5 minutes until the adhesive freezes completely and becomes brittle. Once frozen, the adhesive will crack and separate from the wood, allowing you to scrape it off with a plastic putty knife or scraper. This method works particularly well for thick, stubborn adhesive deposits that resist other removal techniques.
Refinishing Your Wood Floor After Adhesive Removal
Once you’ve successfully removed carpet adhesive from your wood floors, refinishing the surface restores its natural beauty and provides long-lasting protection. The refinishing process transforms damaged or compromised wood into a stunning floor that enhances your home’s value and appearance.
Assessing Floor Damage
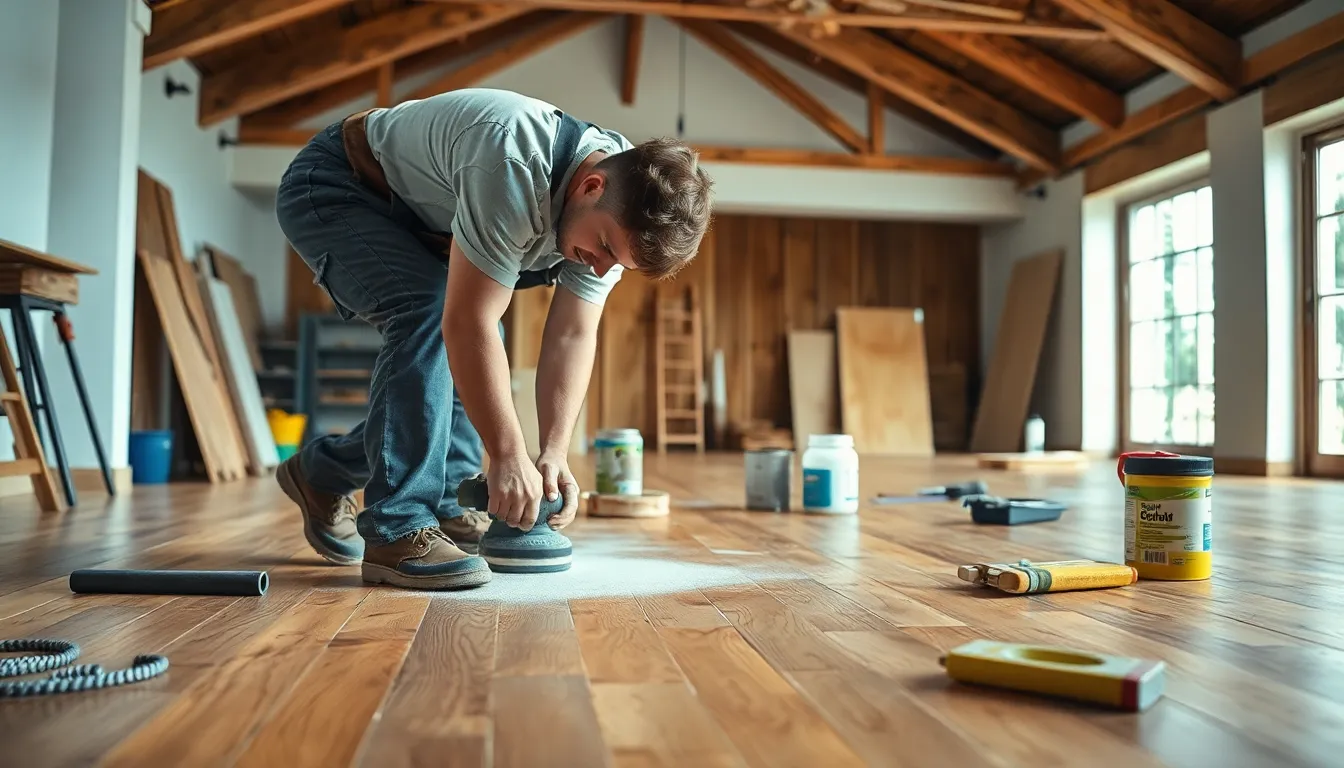
Before beginning the refinishing process, examine your floor thoroughly for any lingering issues. Look for splintering or gouges that may have occurred during the adhesive removal process. These imperfections require attention with wood filler before proceeding to the sanding stage. Small cracks and holes can be filled using a quality wood putty matched to your floor’s species, creating a smooth surface for refinishing.
Sanding the Floor
Sanding removes residual adhesive and prepares the wood for new finish application:
- Start with coarse grit sandpaper (60-80 grit) to level the surface and remove any remaining adhesive residue
- Progress to medium grit (100-120) to smooth out scratches from the initial sanding
- Finish with fine grit for a polished surface ready for staining or sealing
Sand in the direction of the wood grain to prevent cross-grain scratches that might show through your final finish. Vacuum between each sanding stage to remove dust that could interfere with the next grit’s effectiveness.
Cleaning Before Finishing
Proper cleaning ensures optimal finish adhesion:
- Vacuum thoroughly to remove all sanding dust
- Wipe the entire floor with a tack cloth to capture fine particles
- Allow the floor to dry completely before applying any finishes
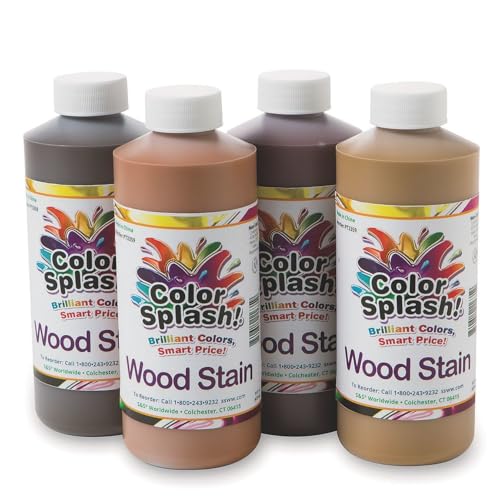
Applying Stain and Sealant
| Finish Type | Advantages | Drying Time | Coverage (per gallon) |
|---|---|---|---|
| Oil-based polyurethane | Greater durability, richer appearance | 24-48 hours | 500-600 sq. ft. |
| Water-based polyurethane | Low odor, faster drying, less yellowing | 2-4 hours | 350-500 sq. ft. |
| Oil-based stain | Deep penetration, enhances grain | 6-8 hours | 500 sq. ft. |
| Water-based stain | Low VOCs, quick drying | 2-3 hours | 400 sq. ft. |
For best results:
- Apply stain using a brush or rag, working in small sections
- Wipe excess stain promptly to ensure even coloration
- Allow proper drying time between coats (typically 6-8 hours for oil-based stains)
- Apply 2-3 thin coats of polyurethane, sanding lightly with 220-grit paper between layers
- Let the final coat cure for 24-48 hours before allowing foot traffic
Maintenance Tips After Refinishing
Protect your newly refinished floor by placing felt pads under furniture legs to prevent scratches. Use area rugs in high-traffic zones, but avoid rubber-backed mats that can trap moisture and damage the finish. Clean regularly with products specifically designed for hardwood floors, avoiding excessive water that can cause warping.
Preventing Damage During the Removal Process
Test in a Hidden Area First
Testing removal methods in an inconspicuous spot prevents potential widespread damage to your wood floors. We recommend applying your chosen adhesive remover to a small corner or area hidden by furniture. This cautionary step reveals how your exact wood reacts to the solvent or technique. Many homeowners discover that what works on one wood type might damage another, particularly with sensitive woods like maple or cherry. Allow sufficient time (about 15-20 minutes) after testing to observe any discoloration, warping, or finish damage before proceeding with the full removal.
Use Proper Scraping Techniques
Correct scraping technique dramatically reduces the risk of scratching or gouging wood surfaces. We’ve found that plastic scrapers or putty knives work best for most adhesive removal situations, as metal tools often leave permanent marks on wood. Hold your scraper at a 45-degree angle and apply gentle, consistent pressure while moving in the direction of the wood grain. Forcing the scraper or working against the grain often results in visible scratches that require extensive sanding to remove. For extremely stubborn adhesive, patience with repeated gentle scraping produces better results than aggressive force.
Control Chemical Exposure
Limiting wood exposure to harsh chemicals preserves the integrity of both the wood and its finish. WD-40 and mineral spirits effectively loosen adhesive but can damage wood if left on too long. Apply these solvents sparingly with a cloth rather than pouring directly onto the floor, and work in small sections of approximately 2-3 square feet at a time. Immediately wipe away excess solvent once the adhesive softens. After removal, neutralize chemical residue by cleaning the area with warm soapy water followed by a clean water rinse to prevent long-term deterioration of the wood.
Monitor Heat Application Carefully
Heat effectively softens adhesive but requires careful monitoring to avoid scorching or warping the wood. When using a heat gun or hair dryer, keep the tool moving constantly in circular motions and maintain a distance of at least 6 inches from the wood surface. Watch for signs of the adhesive bubbling or becoming tacky, which indicates it’s ready for removal. Excessive heat exposure often causes permanent darkening of the wood or separation of veneer layers in engineered flooring. Never leave a heated tool pointing at one spot for more than a few seconds.
Clean Thoroughly After Removal
Complete removal of all adhesive residue and cleaning agents prevents future floor issues. Once the bulk of the adhesive is gone, we recommend wiping the area with a clean microfiber cloth dampened with warm water to remove tiny particles that might interfere with refinishing. For floors with persistent stickiness, a final wipe with a cloth barely dampened with mineral spirits removes the last traces of residue. Allow the floor to dry completely (typically 24 hours) before walking on it or applying any finishes. Thorough cleaning prevents clouding of new finishes and ensures proper adhesion of sealants or polishes applied afterward.
Conclusion
Removing carpet adhesive from wood floors isn’t just possible—it’s completely achievable with the right approach. Whether you choose heat methods solvent applications mechanical removal or homemade answers the key is patience and proper technique.
Always prioritize testing in inconspicuous areas and use appropriate safety gear throughout the process. Once you’ve successfully removed all adhesive residue proper refinishing will restore your wood floor’s natural beauty.
With the methods we’ve outlined you can confidently tackle even the most stubborn carpet adhesive without damaging your valuable wood flooring. Your restored floors will be ready to showcase their natural charm for years to come.
Frequently Asked Questions
Why is carpet adhesive so difficult to remove from wood floors?
Carpet adhesive forms a strong bond because it contains polymers and resins that penetrate wood’s porous surface. Over time, these adhesives harden and strengthen. Heat and humidity cause wood to expand and contract, pushing adhesive deeper into the grain. Additionally, carpet adhesives are water-resistant and the natural texture of wood provides numerous anchoring points, creating bonds that withstand significant pulling force.
What tools do I need to remove carpet adhesive from wood floors?
Essential tools include dry ice, solvents (mineral spirits, WD-40), warm soapy water, metal scrapers, and sandpaper. Safety equipment is crucial: gloves, goggles, dust masks, and protective clothing to guard against chemical exposure. Also gather cleaning supplies like rags, mops, and vacuums for immediate cleanup to prevent damage from prolonged exposure to removal agents.
Should I test my wood floor before removing adhesive?
Absolutely. First, identify the adhesive type (pre-1990 adhesives may contain asbestos). Spot test with warm soapy water or mineral spirits on a small area to determine solubility and how the wood reacts to moisture. Check for existing damage like scratches or warping to tailor your approach. Ensure proper ventilation when using solvents to protect both your health and the wood.
How does the heat method work for removing carpet adhesive?
The heat method uses thermal energy to soften adhesive without harsh chemicals. Use a heat gun or iron in a controlled manner, then scrape while the adhesive is warm. Look for signs of softening, remove residue with mineral spirits or WD-40, and clean thoroughly afterward. Always wear protective gear and test on an inconspicuous area first to ensure compatibility with your specific wood.
What solvents are effective for removing carpet adhesive?
Options range from natural solvents (warm soapy water, vinegar) to stronger chemical solutions (mineral spirits, Goo Gone). Commercial adhesive removers are specifically formulated for quick dissolution of stubborn adhesives. Always test on a small section first, apply with a cloth or sponge for even distribution, and clean thoroughly after removal to prevent wood damage.
Can I remove carpet adhesive without chemicals?
Yes. Use proper scraping techniques with a spackling tool or plastic scraper at a 45-degree angle, working in the direction of the wood grain. For stubborn areas, try a reciprocating saw with a scraper blade. Combining mechanical methods with heat improves results—use a hair dryer to soften adhesive before scraping. For water-based adhesives, warm soapy water can be effective.
What homemade solutions can remove carpet adhesive?
Several cost-effective options work well: 1) Mix vinegar and hot water to dissolve adhesive with natural acid; 2) Combine dish soap and vinegar for a powerful degreasing solution; 3) Use the ice/freezing technique to make adhesive brittle enough to chip away cleanly. Each method is gentler on wood floors than commercial products while still being effective.
How should I refinish my wood floor after adhesive removal?
First, assess and repair damage using wood filler for gouges or splintering. Sand the floor progressively (coarse to fine grit) to prepare the surface. Clean thoroughly before applying finish. Choose between oil-based or water-based finishes based on your preferences for color, durability, and drying time. Follow with regular maintenance to protect your newly refinished floor.
How can I prevent damage to my wood floor during adhesive removal?
Test removal methods in a hidden area first, especially with solvents. Use proper scraping techniques—plastic scrapers at a 45-degree angle to minimize scratches. Apply solvents sparingly and clean up immediately. When using heat tools, keep them moving constantly and watch for signs of wood damage. Always clean thoroughly after removal to ensure no residue remains before refinishing.


