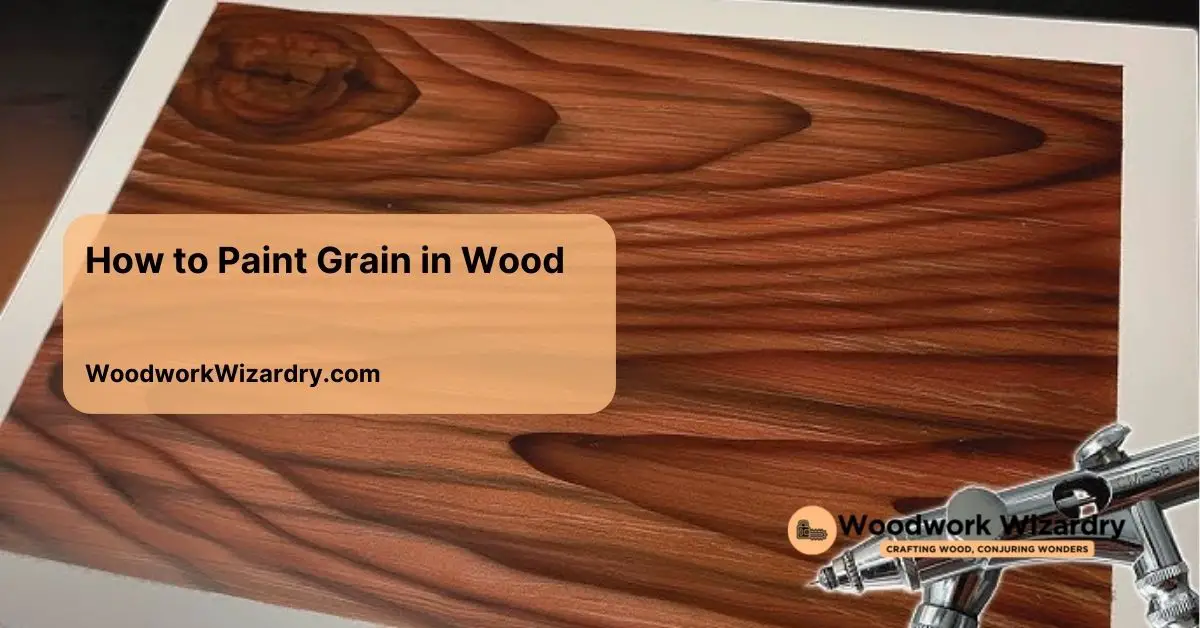
If you’ve ever admired the beauty of wood grain but wished for a fresh twist, you’re in the right place. Painting grain in wood can transform ordinary surfaces into stunning focal points that capture attention. With the right techniques, you can create a unique look that enhances your home decor while showcasing your creativity.
Tools and Materials Needed
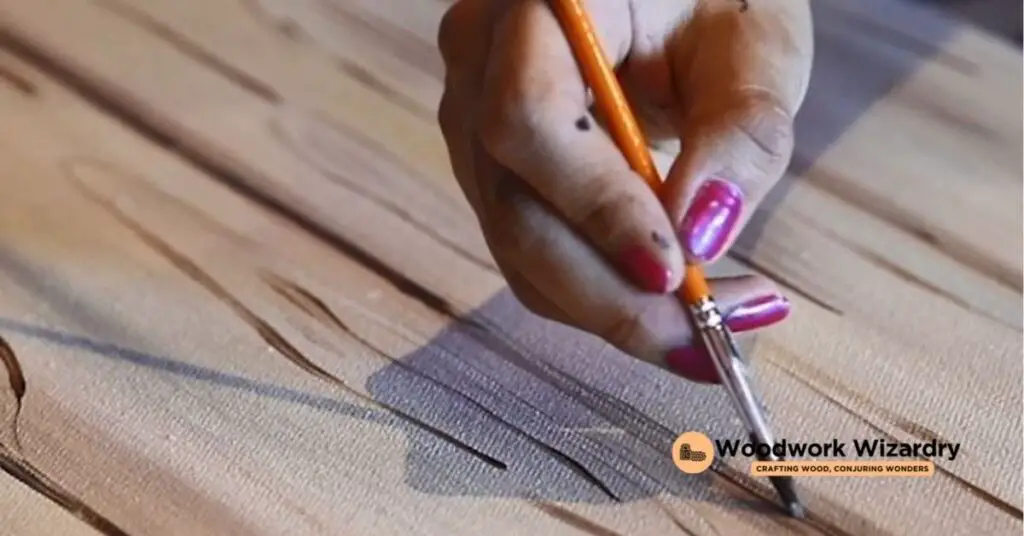
Gathering the right tools and materials is essential for successfully painting wood grain. Your project will benefit from using the following items.
Brushes and Rollers
Choose angled brushes for precision, especially when working on detailed areas. A foam roller can expedite coverage on larger surfaces. Different sizes of brushes assist in blending and painting various grain types. Synthetic brushes work well with both water-based and oil-based products.
Paints and Stains
Select a high-quality acrylic or oil-based paint to achieve a vibrant finish. Stains provide a natural look and enhance the wood grain’s visibility. Choose a base color that’s lighter or darker than the wood for contrast. Specialty paints designed for wood surfaces offer durability and ease of application.
Other Supplies
Prepare sandpaper for surface smoothing before painting. A clean cloth helps remove dust and debris for optimal adhesion. Using a primer can improve the paint’s longevity. Also, painter’s tape enables precise edge definitions and protects adjacent surfaces.
Preparation Steps
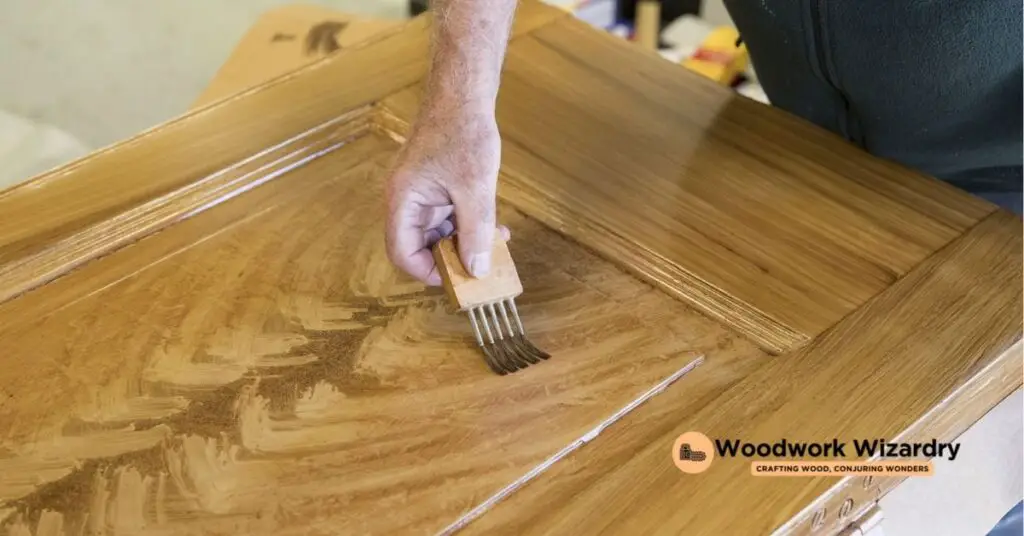
Preparation plays a critical role in achieving a realistic wood grain effect. Begin with selecting the right wood, preparing the surface, and priming effectively.
Choosing the Right Wood
Select wood that enhances the overall effect. You can choose hardwoods like oak or softwoods such as pine. Each type has unique grain patterns, allowing creativity in your design. Look for unblemished areas to showcase the natural beauty.
Surface Preparation
Cleaning and sanding are essential in this phase. Ensure the wood is free from oils, dirt, and debris. Use 120-180 grit sandpaper for surfaces with existing finishes. This scuffing technique helps the paint adhere better, improving final results.
Priming the Wood
Applying a primer can significantly impact the paint’s longevity. Use a high-quality primer designed for your selected material. Once you apply the primer, allow it to dry thoroughly for optimal bonding. Priming creates a smooth surface and increases color vibrancy when you paint.
Techniques for Painting Grain
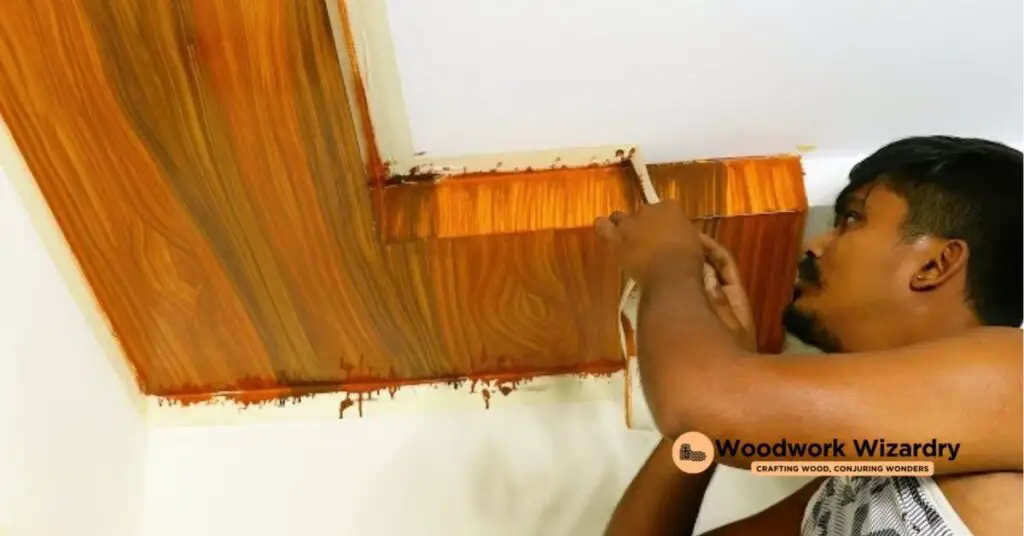
Several techniques can help you achieve a realistic wood grain effect. Each method offers distinct advantages and requires exact tools and paints.
Dry Brushing
Dry brushing mimics wood grain texture with minimal paint application. You’ll need to select three colors: the base wood color, a light honey tone, and a darker brown. Start by painting the entire surface with the base color, allowing it to dry completely. For the dry brushing stage, dip the tip of a wide-bristled brush into one of the other colors, then brush off excess paint on scrap newspaper. Lightly drag the brush across the surface to create the desired effect. Repeat this process with the final color to add depth. Using an old brush with loose fibers proves helpful, as it prevents too much paint buildup. Mistakes easily get covered by reapplying the base color, allowing for quick fixes.
Glazing
Glazing enhances the depth and richness of the wood grain. You’ll use a transparent glaze to add a layer of complexity. Choose a base paint then mix it with a compatible glaze in a ratio ranging from one part paint to four parts glaze. Apply the glaze with a flat brush, working it into crevices to highlight the grain pattern. Wiping off excess glaze with a clean cloth can create softer transitions between colors, helping achieve a more rustic look. Consider adding multiple glaze layers for increased richness and visual interest. Allow each layer to dry before applying the next.
Staining and Sealing
Staining provides a natural finish and enhances the wood’s character. Start with a wood stain that matches the intended wood grain effect. Brush the stain onto the surface, following the wood’s natural grain, and wipe off excess after a few minutes to achieve a consistent hue. Sealing the stained surface protects your work. Use a clear sealant, like polyurethane or varnish, for durability and added gloss. Apply the sealant according to the product instructions, allowing sufficient drying time between coats. Multiple coats may enhance durability and visual appeal.
Tips for Achieving Realistic Grain Patterns
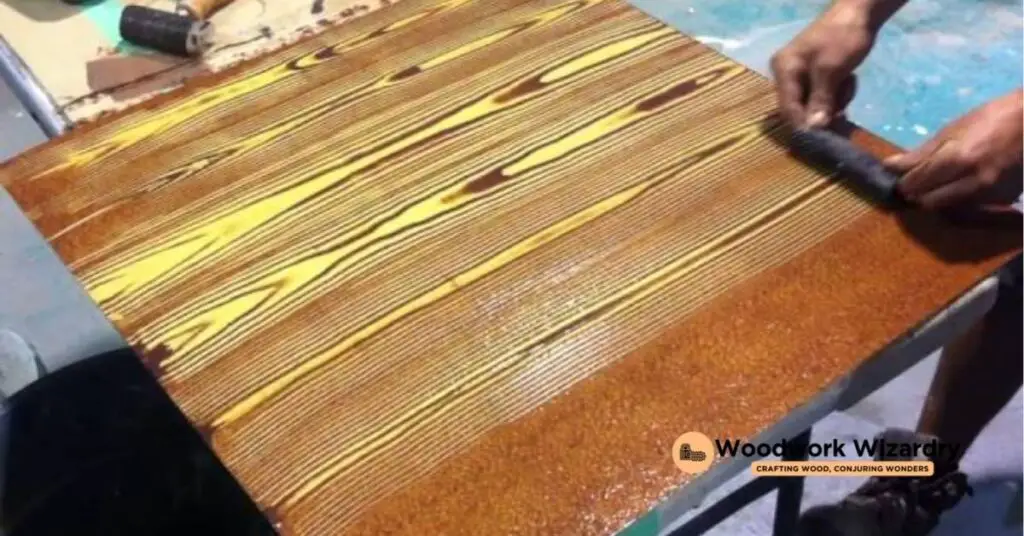
Focusing on exact techniques enhances the realism of painted wood grain. These tips ensure your wood grain painting projects turn out striking and authentic.
Color Selection
When you select colors, avoid plain brown paint. Lighter tones dominate natural wood, so use yellows, beiges, and soft whites effectively. Mixing a lighter tan using golden yellow, brown, and green tones achieves a more nuanced base. Natural colorants like Yellow Ocher, Raw Sienna, and Ultramarine Blue broaden your color palette, allowing for more ever-changing, realistic looks.
Layering Techniques
Layering contributes significantly to the depth of wood grain. Start with a solid base coat to establish your foundation. Adding transparent glazes over this base coat creates the illusion of depth, improving the inner glow characteristic of real wood. Combining your base color with a clear basecoat and reducer works well for achieving transparency. Each layer builds complexity, contributing to the overall realism in your final design.
Practice Techniques
Practicing different methods fosters confidence and skill in your approach. Experiment with dry brushing techniques, applying minimal paint to achieve texture. Use a base color as a foundation, then introduce two additional tones for realistic depth. Explore various layering effects through glazing and staining, allowing each technique to complement the other. Captivating in hands-on practice ensures a deeper understanding of how each technique influences the final appearance.
Conclusion
Painting wood grain can truly transform your projects and elevate your home decor. With the right tools and techniques you can create stunning effects that mimic the beauty of natural wood. Remember to focus on surface preparation and choose colors that enhance the overall design.
Experimenting with different methods like dry brushing and glazing will help you develop your skills and confidence. Don’t be afraid to mix colors and layer techniques to achieve the perfect look. With practice you’ll be able to turn ordinary surfaces into extraordinary focal points that reflect your personal style. So grab your brushes and start creating a masterpiece today!
Frequently Asked Questions
What is wood grain painting?
Wood grain painting is a technique that mimics the look of real wood grain on surfaces, enhancing their beauty and making them focal points in home decor.
What tools do I need for painting wood grain?
Essential tools include angled brushes for detail work, foam rollers for larger areas, high-quality acrylic or oil-based paints, stains, sandpaper, and painter’s tape.
How do I prepare a surface for wood grain painting?
Prepare the surface by cleaning it, sanding with 120-180 grit sandpaper, using a clean cloth to remove dust, and applying a primer for better paint adhesion.
What types of wood are best for painting wood grain?
Hardwoods like oak and softwoods like pine are excellent choices for painting wood grain, as they enhance the overall design and provide a better surface for paint application.
What are some techniques for achieving realistic wood grain?
Techniques include dry brushing for texture, glazing for depth, and staining to enhance natural wood character. Each technique adds unique effects to achieve realistic results.
What colors should I use for wood grain painting?
Use lighter tones like yellows, beiges, and soft whites instead of plain brown. Mixing colors can create a nuanced base while transparent glazes add depth and vibrancy.
How do I seal the painted wood grain?
To seal the painted wood grain, apply a clear coat after painting. This adds durability and protects the finish, ensuring the artwork remains vibrant and intact over time.
How can I practice wood grain painting?
Build confidence by experimenting with different methods like dry brushing and glazing on scrap wood or small projects. This practice helps understand how each technique influences the final appearance.

