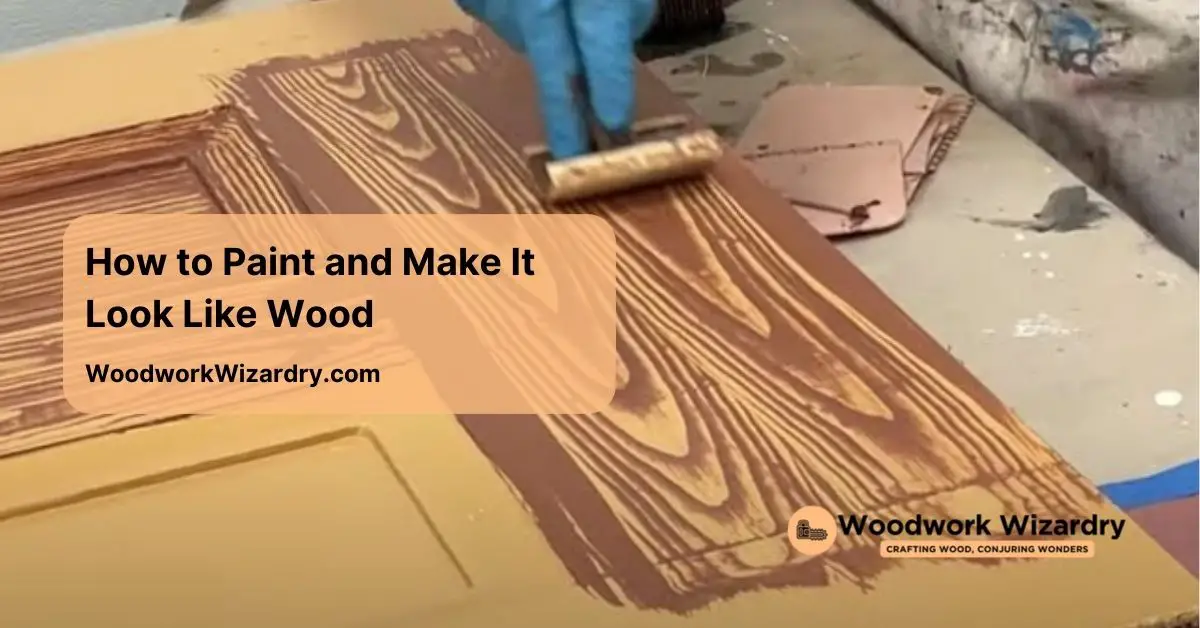
Imagine transforming ordinary surfaces into stunning wood-like finishes that captivate the eye. With just a few simple techniques, you can bring warmth and character to your space without the hefty price tag of real wood. Whether you’re updating furniture or refreshing walls, learning how to paint and make it look like wood opens up a industry of creative possibilities.
Understanding Wood Grain Techniques
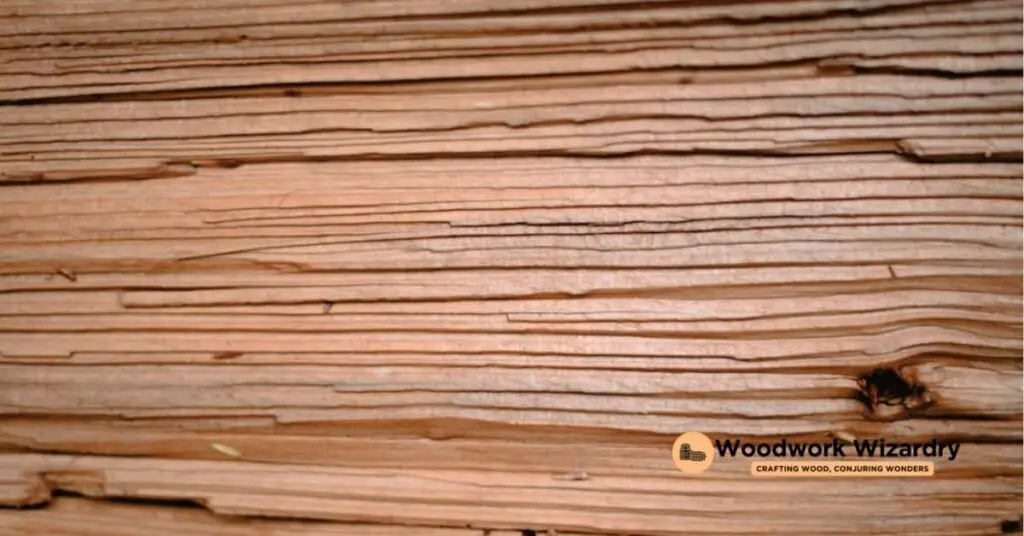
Learning how to replicate wood grain significantly enhances your painting skills. You can create stunning wood-like finishes that bring warmth and character to any space.
Importance of Wood Grain in Painting
Wood grain adds depth and realism to painted surfaces. Realistic wood effects create an illusion of texture, inviting touch and admiration. Using wood grain techniques, you can achieve the sophisticated appearance of genuine wood without the hefty expense. This technique excels in furniture updates, cabinetry replacements, or wall refreshes, enabling you to transform ordinary items into design focal points.
Different Types of Wood Grains
Various types of wood grains exist, each presenting distinct visual and textural characteristics. Understanding these variations helps you choose the right approach for your project.
- Oak: Known for its prominent grain patterns, oak displays both straight and swirling lines. This option provides a classic look, making it ideal for traditional designs.
- Maple: Featuring delicate and fine grain patterns, maple offers a subtle aesthetic. Its uniform texture works well in modern settings.
- Cherry: Cherry wood exhibits rich color tones and smooth grain, creating an elegant appearance. This option is perfect for creating a warm, inviting environment.
- Pine: Often seen in rustic designs, pine presents a knotty texture with wide, ever-changing grain lines. This wood type adds a casual charm to any space.
- Walnut: With its deep, rich color and wavy grain, walnut exudes luxury. Using walnut techniques elevates the sophistication of your painting projects.
Selecting the appropriate wood grain technique aligns with your design goals, allowing you to personalize your space effectively. Each type of grain enhances the overall design, enabling various aesthetic possibilities.
Preparing Your Surface for Painting
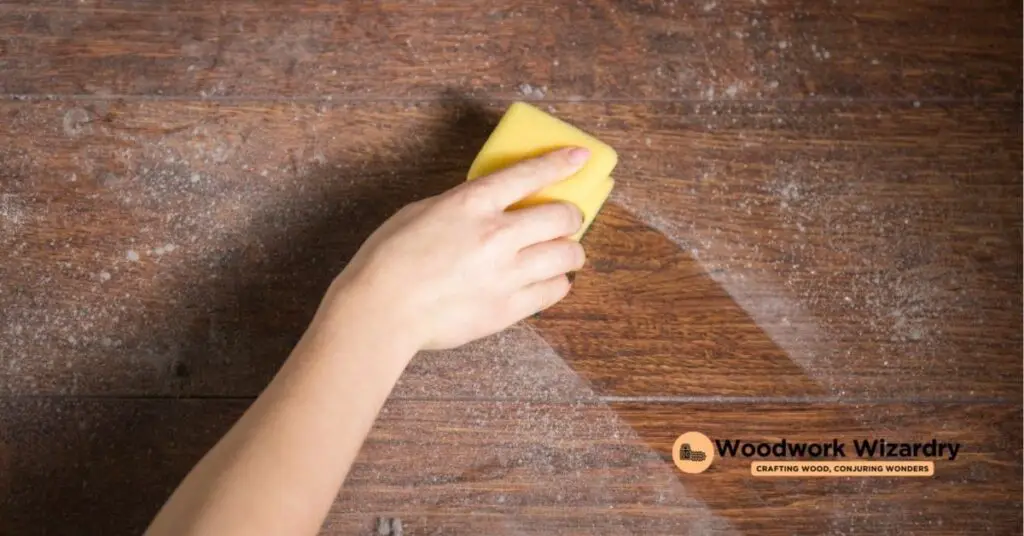
Achieving a wood-like finish begins with proper surface preparation. Follow these steps to ensure the best results.
Cleaning and Sanding
Ensure surfaces are clean before painting. Dust, dirt, and grease can hinder paint adhesion. Use a cleaner or degreaser with a clean rag or sponge, then let the surface dry completely. Sanding is crucial for smoothness. Start with coarse grit sandpaper to remove imperfections, then transition to finer grits, like 120 or higher, for a velvety surface. Always sand in the direction of the wood grain to prevent scratches. After sanding, take a tack cloth to remove all dust and particles. This step guarantees a flawless base for painting.
Choosing the Right Primer
Select the primer suitable for your project. A high-quality primer ensures better paint adherence and long-lasting results. If the surface is previously painted or has a drastic color change, opt for an oil-based primer for optimal coverage. For a more straightforward application, a water-based primer works well on clean, unsealed surfaces. Always follow manufacturer instructions for the best application practices. Using the right primer enhances the overall look of your wood-like finish.
Tools and Materials Needed
To create an authentic wood-like appearance through painting, gather exact tools and materials. Using the right items ensures a smooth process and quality results.
Essential Painting Tools
Quality paintbrushes make a important difference. Various sizes allow you to tackle both detailed work and broader strokes effectively. Invest in paintbrushes from reputable brands like Purdy for smoother application. Sandpaper, specifically 320 grit, is crucial for preparing surfaces. A well-prepared surface leads to a better finish. Foam paint brushes also play a vital role. These brushes excel in applying top coats like varathane or polyurethane, giving your project that final touch. Use a sanding block for versatility. This tool helps with both preparation and distressing, improving texture. Rags are essential for wiping off excess paint or glaze, preventing unwanted drips. Drawing fine lines and intricate grain patterns is easier with a toothpick or small tool, providing that detail that mimics real wood. Finally, a palette or paint tray makes mixing and blending shades simple, ensuring you achieve the perfect color.
Types of Paints and Finishes
Selecting the right paint significantly affects the final look. Use acrylic paints, as they offer versatility and quick drying times. Different finishes also contribute to achieving realism. A matte finish can create a more natural wood look, while a satin or semi-gloss finish adds depth. Apply a glaze after the base coat to enhance the grain effect. These techniques can simulate various wood types, allowing individuals to customize appearances. It’s essential to consider your project’s exact requirements when choosing paints and finishes.
Step-by-Step Guide on How to Paint and Make It Look Like Wood
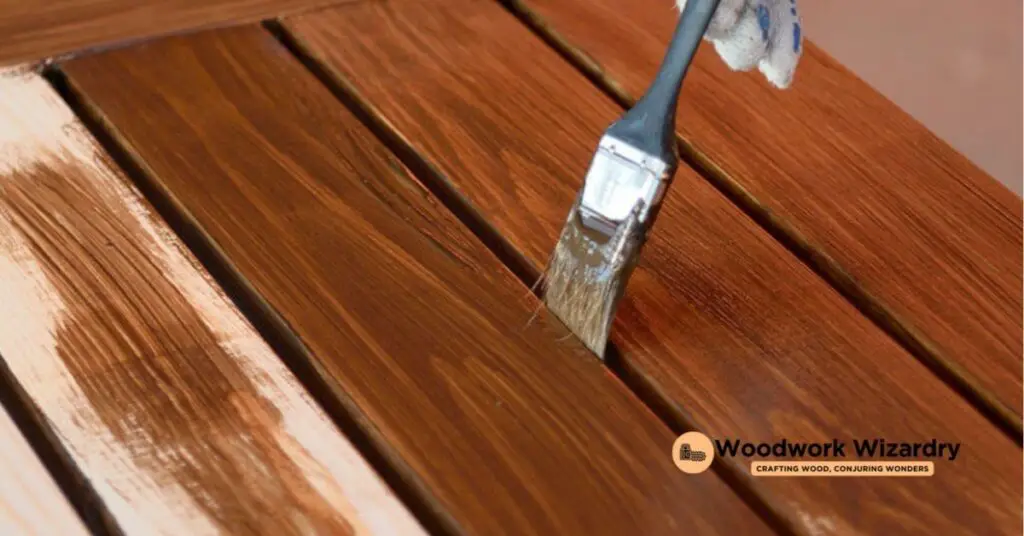
Transforming surfaces into wood-like finishes involves clear steps that enhance your painting experience. Follow these guidelines for a professional look.
Base Coat Application
Start by choosing a base coat that matches the wood tone you want. For oak, use a warm, medium-brown base coat; for cherry, select a deep, reddish-brown; and for pine, opt for a pale yellow or light beige. Satin-finish latex paint works best for this base coat. Before applying, ensure the surface is clean and primed if necessary. Apply the base coat evenly with a flat brush or roller, covering the entire surface without oversaturating it.
Creating a Wood Grain Effect
Next, tools play a crucial role in creating the wood grain effect. Use a wood-graining rocker, paint comb, or check tool to add knots and imperfections. Consider using the dry brush technique with acrylic paints, which allows for a more natural wood-like appearance. This technique offers flexibility, enabling you to experiment until you’ve achieved the desired texture and design.
Final Touches and Sealing
Once the wood grain effect is complete, evaluate your work. Touch up any areas that might need additional paint or texture. Finally, sealing the painted surface is essential for protection and durability. Use a compatible clear coat that complements your finish, ensuring longevity and preserving your newly painted wood appearance. Choose a water-based sealant for quick drying times and lower odor.
Troubleshooting Common Issues
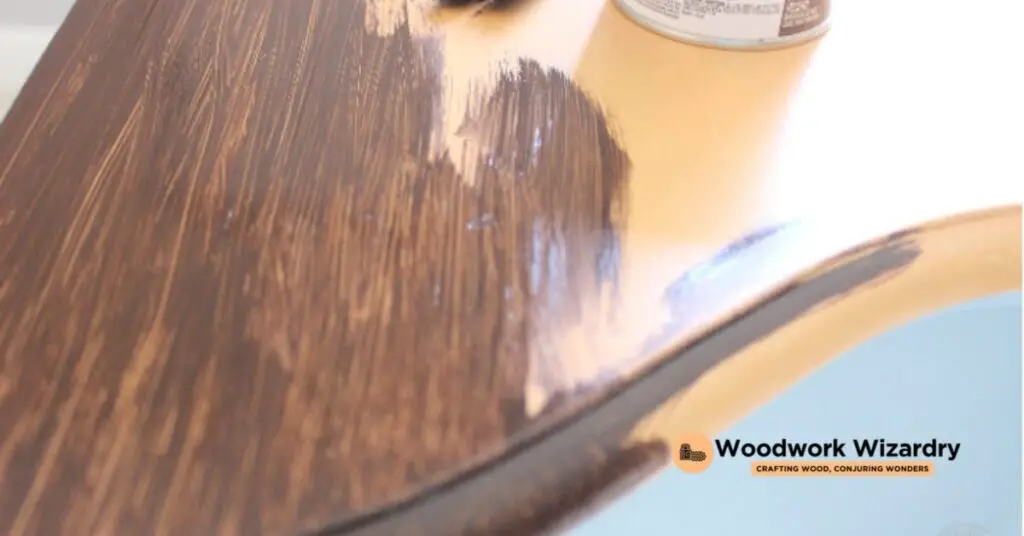
Sometimes, issues arise during the painting process. Addressing mistakes quickly can help maintain the wood-like illusion.
Fixing Mistakes
If you notice streaks or uneven areas, don’t panic. Lightly sand the affected areas with fine-grit sandpaper for a smooth finish. After sanding, clean the surface to remove dust. Reapply the base coat or wood grain technique as needed. Should paint drip or pool, you can blend these imperfections with a dry brush technique. Always use a clean brush to spread the paint evenly.
Avoiding Common Pitfalls
Preparation is crucial for success. Skipping surface cleaning leads to poor paint adhesion. Always ensure you remove any dust or grease before starting. Rushing the drying process can cause problems. Allow each layer to dry completely before adding the next coat. Selecting the wrong base coat color affects the final appearance. For example, a pale base coat works best for light woods, while a dark base coat suits richer woods. Finally, using low-quality brushes may leave undesirable marks. Invest in quality tools for the best results.
Conclusion
Transforming surfaces to mimic wood can elevate your space while saving you money. With the right techniques and tools you can achieve stunning results that add warmth and character to any room. Embrace the creative process and don’t hesitate to experiment with different wood grain styles and finishes to find what works best for you.
Remember that preparation is key to a flawless finish. Taking the time to clean and properly prime your surfaces will pay off in the end. By following the steps outlined in this guide you’ll be well on your way to mastering the art of painting wood-like finishes. Enjoy the journey and let your creativity shine through in every project.
Frequently Asked Questions
What is a wood-like finish in painting?
A wood-like finish refers to a painting technique that mimics the look of natural wood on various surfaces. This technique involves using paint and specific methods to create an illusion of wood grain, texture, and depth, allowing for beautiful, warm finishes without the cost of real wood.
What surfaces can I use this technique on?
You can apply wood-like finishes on a variety of surfaces such as furniture, cabinets, doors, and walls. Proper surface preparation is crucial to ensure good adhesion and achieve the desired results.
What tools do I need for painting wood-like finishes?
Essential tools include quality paintbrushes, foam brushes, sandpaper, and a wood-graining rocker. These tools help achieve smooth application and realistic wood grain effects during the painting process.
How do I prepare the surface before painting?
To prepare the surface, clean it thoroughly and sand it to remove imperfections. Use a cleaner followed by a tack cloth to ensure the surface is smooth and free of dust, which promotes better paint adhesion.
Which type of paint is best for a wood-like finish?
Acrylic paints are recommended due to their versatility, quick drying times, and ability to be manipulated for wood grain effects. Choose between matte or satin finishes based on the desired look and realism.
How long does it take to dry between coats?
The drying time can vary based on humidity and temperature, but generally, allow at least 1-2 hours between coats for acrylic paints. Always check the manufacturer’s instructions for specific drying times.
What common mistakes should I avoid?
Avoid rushing the surface preparation process, neglecting drying times between coats, and using the wrong base coat color. These pitfalls can lead to uneven finishes and subpar results.
How can I fix mistakes during painting?
If you encounter mistakes, lightly sand the affected area to smooth it out, then reapply the base coat or wood grain technique as needed. Touch up any uneven spots for an improved finish.
Is sealing the painted surface necessary?
Yes, sealing the painted surface with a clear coat is crucial for durability and longevity. It protects the finish from wear and enhances the appearance of your wood-like paint job.
Can I customize the wood grain appearance?
Absolutely! You can experiment with different colors, techniques, and finishes to create a unique wood-like appearance that fits your personal style and complements your space effectively.

