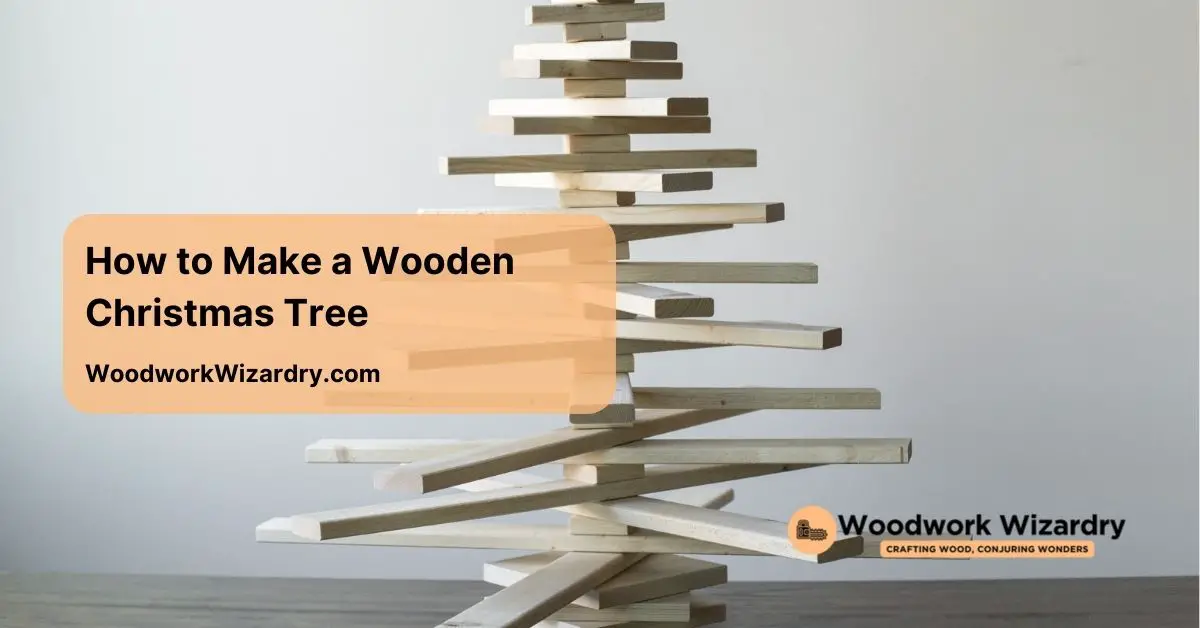
Imagine transforming your holiday season with a stunning wooden Christmas tree that adds a touch of rustic charm to your home. Not only is a DIY wooden tree a unique centerpiece, but it also allows you to express your creativity and make lasting memories with family and friends.
Tools And Materials Needed
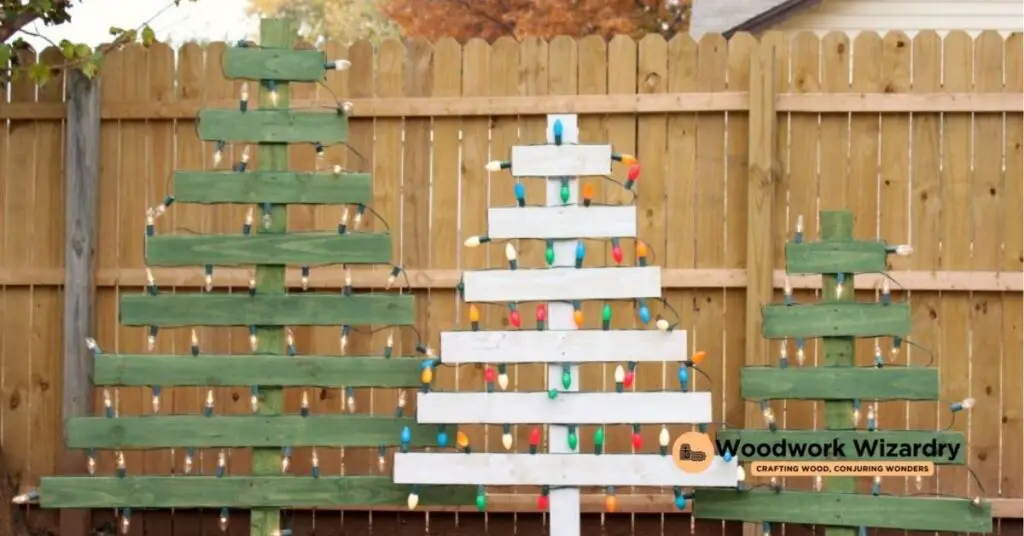
You’ll need a few essential tools and materials to create your wooden Christmas tree. Carefully gathering these items ensures a smooth crafting experience.
Essential Tools
- Saw: Use a handsaw or jigsaw for precise cuts on wood pieces.
- Drill: Choose a power drill for making holes and attaching pieces.
- Screwdriver: Keep a standard and Phillips screwdriver handy for easy assembly.
- Measuring Tape: Measure dimensions accurately for a balanced tree.
- Sandpaper: Get various grits to smooth rough edges and surfaces.
- Clamps: Secure components while the adhesive dries or during assembly.
Required Materials
- Wood: Select boards such as pine or plywood for the tree frame.
- Screws: Use wood screws to connect and reinforce the tree structure.
- Wood Glue: This helps bond pieces firmly for added stability.
- Paint or Stain: Enhance the appearance by applying your favorite color or finish.
- Decorations: Gather ornaments, lights, or other embellishments to personalize your tree.
- Base: Create a sturdy base using a larger piece of wood to stabilize the tree.
Gathering these tools and materials sets the stage for a creative and enjoyable crafting experience.
Designing Your Wooden Christmas Tree
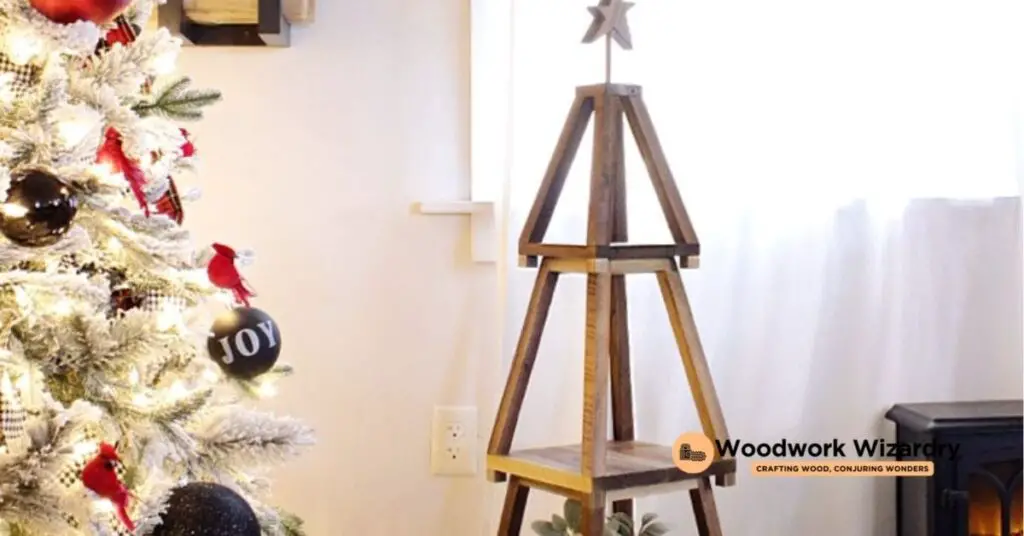
Designing your wooden Christmas tree involves several artistic choices. This process can significantly influence the final look and feel of your creation.
Choosing The Size
Select an appropriate size for your wooden Christmas tree based on your available space. A height of 3 to 5 feet suits most rooms well, making the tree a striking focal point without overwhelming the area. You might also consider a smaller tree for tabletops or shelves, offering versatility in your decor. Measuring the designated space ensures that your tree fits perfectly and balances well with other decorations.
Sketching The Design
Sketch a design to visualize your tree’s structure and aesthetics. Start with a basic triangular shape if simplicity appeals to you. Adding layers or varying sizes of wooden pieces can create depth. Consider incorporating unique elements such as stenciled patterns, natural wood accents, or industrial components for an innovative touch. Use graph paper for precision, helping you adjust your design as needed before cutting materials. Making a detailed sketch provides guidance throughout the build and enhances your crafting experience.
Step-By-Step Guide To Making The Tree
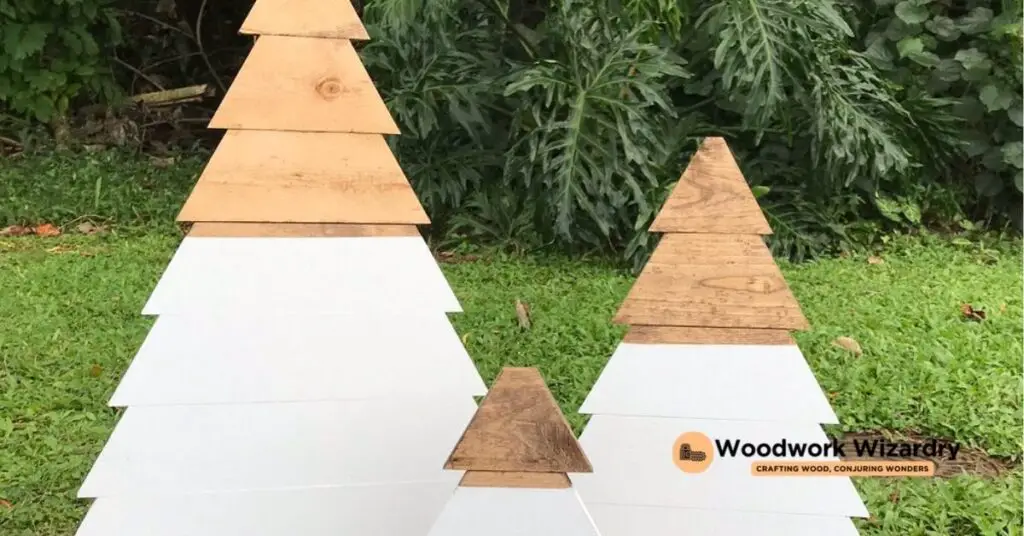
Creating your wooden Christmas tree involves several key steps. Follow this guide to ensure a smooth crafting experience.
Cutting The Wood
Start by preparing your lumber. For a 3-foot tall tree, use 2×4 lumber, cutting it into exact pieces. You’ll need:
- One piece at 14 inches with one end cut at 22.5° and the other at 45°.
- One piece at 12 inches with the same angled cuts.
- Four pieces at 12 inches all having 22.5° ends.
- Finally, one piece at 21 inches with 22.5° ends.
Use a miter saw for precise cuts. Set the saw table to 45 degrees for the first cut and then switch to 22.5 degrees for the second cut. If you prefer a more intricate design, choose 2×6 lumber. Cut the largest base board at a 31.6-degree angle, measuring 18 inches from the longest point. Then, cut the middle boards at 31.6-degree angles, measuring 15 inches and 12 inches respectively.
Assembling The Sections
Gather all your cut pieces for assembly. Start with the base, positioning the largest piece as your foundation. Fit smaller pieces in a staggered layout, creating depth and visual interest. Use wood glue to secure the sections together, ensuring they adhere well. Once the glue dries, fasten the sections with screws for extra stability. Make sure to check for alignment during assembly, ensuring everything fits together neatly.
Sanding And Finishing
Smooth out the surfaces of your assembled tree. Begin with coarse sandpaper, removing any splinters or rough edges. Progress to finer sandpaper for a polished finish. Focus on the visible areas, ensuring every edge is smooth and inviting to touch. After sanding, apply your chosen paint or stain. Both options enhance the wood’s natural beauty while adding a festive touch. Allow adequate drying time before decorating, ensuring your tree is ready to showcase your creativity.
Decorating Your Wooden Christmas Tree
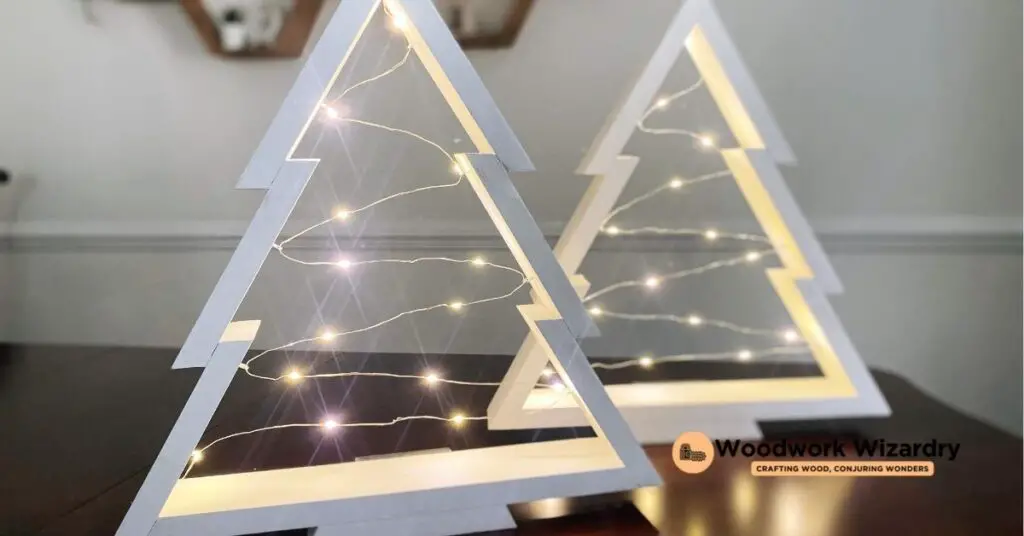
Decorating your wooden Christmas tree adds a festive touch to your holiday decor. You can transform your creation into a vibrant centerpiece with various decoration options.
Adding Lights
Illuminate your tree with string lights for a warm glow. Choose LED lights for energy efficiency. Wrap lights around the branches or place them between layers of the tree for depth and sparkle. Consider using battery-operated lights if you want to place your tree in an area without nearby outlets. Ensure the lights complement your overall design, focusing on colors that enhance the tree’s rustic charm.
Creative Ornament Options
Incorporate unique ornaments to personalize your tree. Handmade ornaments provide a personal touch, allowing you to showcase family memories. Use materials like felt, wood, or recycled items for additional character. Explore options such as pine cones, ribbons, or dried fruit for a natural feel. You can also create themes, such as a color palette or exact styles, to bring cohesion to your decorations. Making your ornaments elevates the project’s creativity and allows you to celebrate your artistic skills.
Conclusion
Creating your own wooden Christmas tree is a rewarding project that adds a personal touch to your holiday celebrations. It not only showcases your creativity but also brings family and friends together for a fun crafting experience.
With the right tools and materials you can transform simple wood into a stunning centerpiece that reflects your style. Don’t forget to let your imagination run wild when it comes to decorating.
This unique tree can become a cherished tradition in your home for years to come. So gather your supplies and start building a festive masterpiece that will light up your holiday season.
Frequently Asked Questions
What materials do I need to build a DIY wooden Christmas tree?
To build a DIY wooden Christmas tree, you’ll need wood (like 2×4 or 2×6 planks), screws, wood glue, paint or stain, decorations, and a sturdy base. Essential tools include a saw, drill, screwdriver, measuring tape, sandpaper, and clamps. Gathering these items ensures a smooth crafting experience.
What is the ideal size for a wooden Christmas tree?
The ideal size for a wooden Christmas tree typically ranges from 3 to 5 feet. This size ensures it fits well in most spaces without overwhelming the area. For smaller spaces, consider a tabletop version to maximize decor options.
How do I design my wooden Christmas tree?
Designing your wooden Christmas tree starts with choosing a basic triangular shape. Sketch your design to visualize the structure, and consider adding layers or unique elements for depth. Using graph paper can help with precision and planning during the crafting process.
What are the steps involved in making the tree?
To make the tree, begin by cutting the wood to the specified measurements and angles. Assemble the pieces in a staggered layout for added interest, securing them with wood glue and screws. After assembly, sand the tree with coarse and fine sandpaper before applying any paint or stain.
How can I decorate my wooden Christmas tree?
Decorate your wooden Christmas tree by adding string lights, preferably LED for energy efficiency. Incorporate unique, handmade ornaments from materials like felt or recycled items. You can also use natural decorations such as pine cones or dried fruit, and create themed decorations for a personalized touch.

