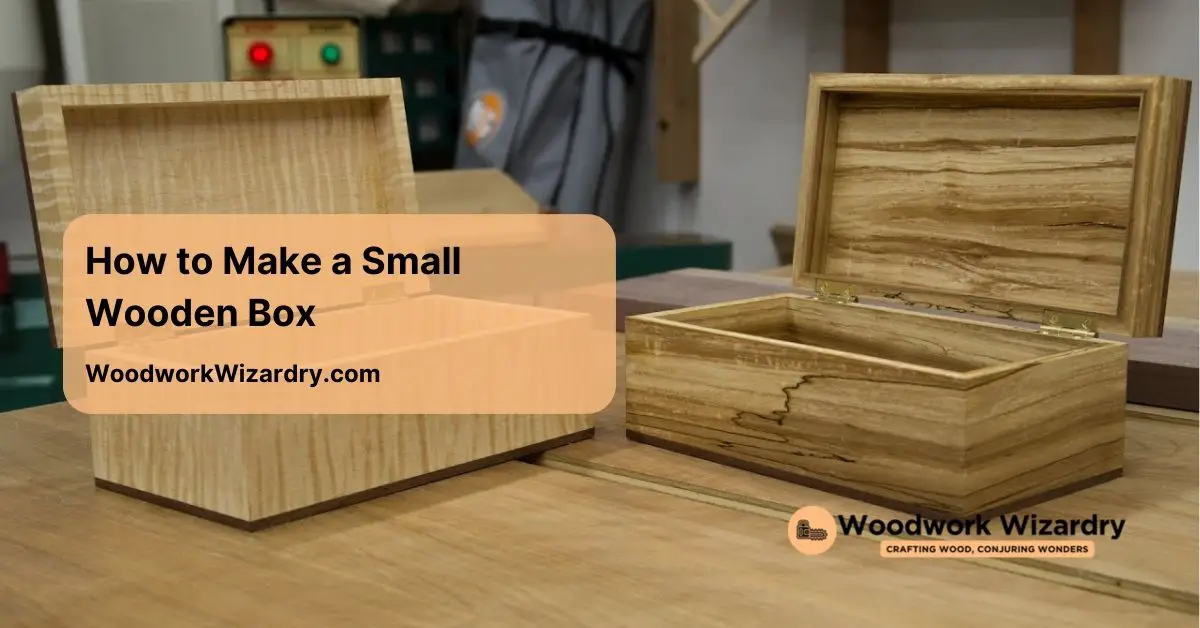
Imagine creating a charming small wooden box that’s not just a storage solution but a beautiful piece of art. Whether you want to organize your treasures or give a thoughtful gift, crafting your own wooden box is a rewarding project that anyone can tackle. With just a few tools and some basic materials, you’ll unlock your creativity and bring a personal touch to your space.
Tools And Materials You Will Need
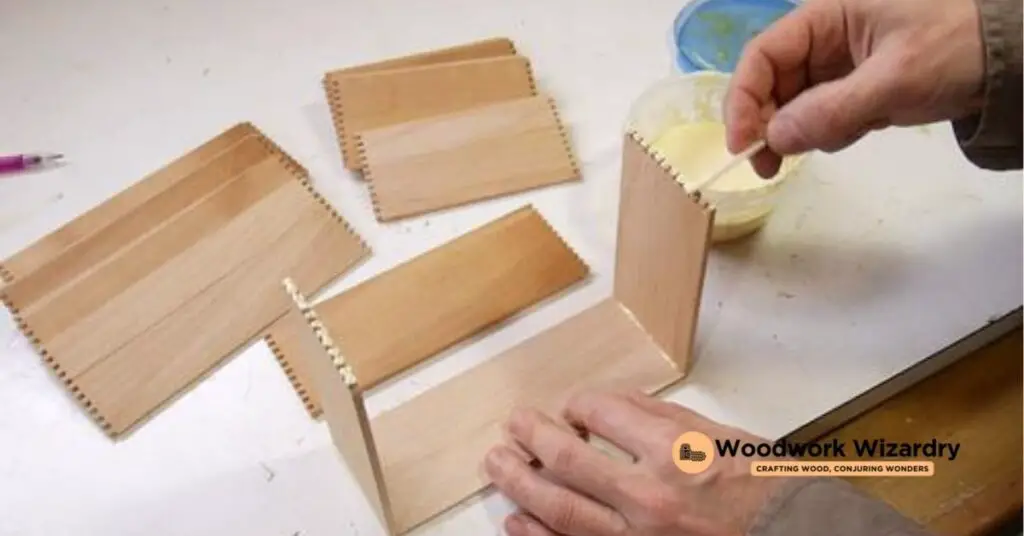
Creating a small wooden box requires exact tools and materials. These items ensure both ease and precision in your crafting process.
Essential Tools
- Saw: Use a hand saw or miter saw for cutting wooden pieces to size.
- Drill: Your project benefits from a power drill for making holes and driving screws.
- Screwdriver: A Phillips or flathead screwdriver helps in securing screws.
- Sandpaper: Various grits of sandpaper aid in smoothing edges and surfaces.
- Clamps: Use clamps for holding pieces in place during assembly.
- Measuring Tape: Accurate measurements depend on a good measuring tape.
- Pencil: Mark your cuts clearly on wood with a pencil.
Recommended Wood Types
- Pine: This softwood is affordable and easy to work with, making it perfect for beginners.
- Cedar: Known for its pleasant smell, cedar provides durability and natural resistance to insects.
- Maple: This hardwood boasts a fine grain and durability, contributing to a beautiful finish.
- Birch: Birch offers a smooth surface and takes paint or stain well, improving aesthetics.
- Oak: Strong and sturdy, oak is ideal for those seeking longevity and a classic look.
Step-By-Step Instructions
Creating a small wooden box involves careful planning and execution. Follow these detailed steps to complete your project successfully.
Measuring And Cutting The Wood
Select high-quality wood that’s durable and visually appealing. Common choices include oak, maple, cherry, pine, and cedar. Determine the dimensions of your box by sketching a design and marking precise measurements using a tape measure and square. Measure twice before cutting once to guarantee accuracy. Tools like a speed square make it easier to draw straight lines and keep your cuts precise. Use a 1-inch wide metal tape for consistency in your measurements.
Assembling The Box
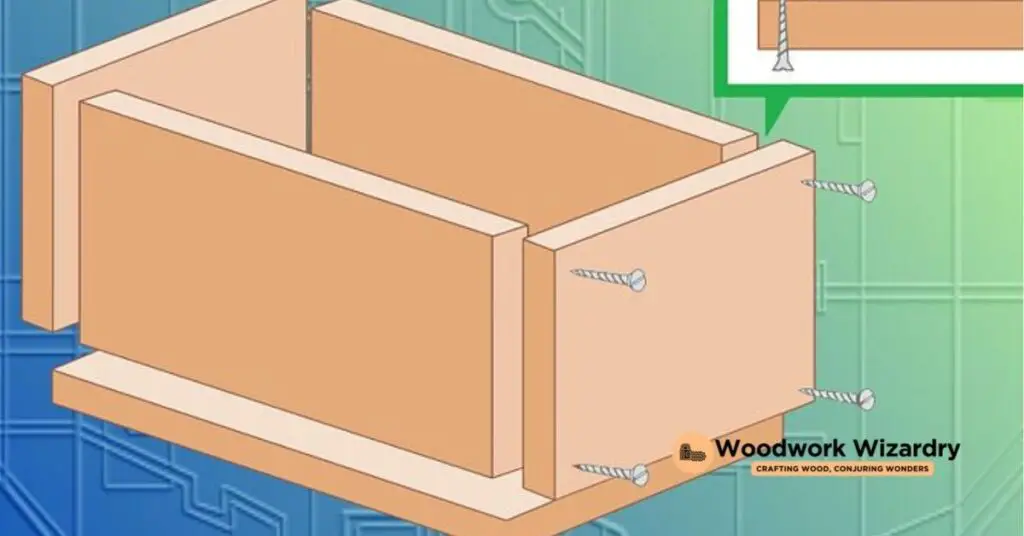
Begin assembling by arranging the cut pieces according to your design. Start with the sides and bottom, ensuring everything fits well. Use clamps to hold the pieces securely while you drill pilot holes for screws. Position screws carefully to connect the components, allowing for a stable structure. If you’re using wood glue, apply it evenly along the edges before fastening the pieces, improving the box’s durability.
Sanding And Finishing Touches
Sanding enhances the box’s appearance and feel. Start with coarse sandpaper and progress to finer grits for a smooth finish. Focus on edges and corners to eliminate sharpness. Once satisfied with the texture, consider applying a wood finish or stain that complements your wood choice. Finishing protects the wood and adds an aesthetic appeal. Allow the finish to dry completely before using your new wooden box.
Design Variations
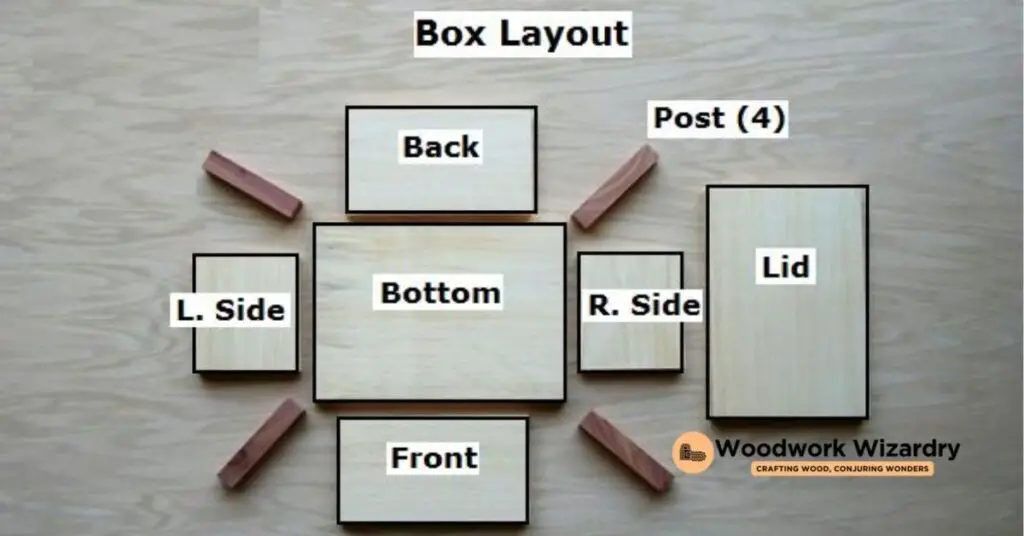
Creating a small wooden box offers a variety of design possibilities beyond the basic structure. You can tailor the design to fit your needs and style preferences.
Adding Compartments
Consider designing compartments inside your wooden box for better organization. You can create dividers using additional wood pieces cut to size. By measuring the items you’ll store, achieve designated spaces for each item. For instance, if you’ll store jewelry, small compartments work well for rings and earrings. Customizing the layout keeps everything organized and easily accessible.
Customizing With Paint Or Stain
Improving the look of your wooden box with paint or stain adds a personal touch. Choose a color or finish that complements your décor. Staining enhances the natural grain, bringing out the beauty in the wood. For a more vibrant appearance, opt for bright paints that make the box stand out. Applying a clear finish after painting or staining protects the surface and adds shine.
Tips For Success
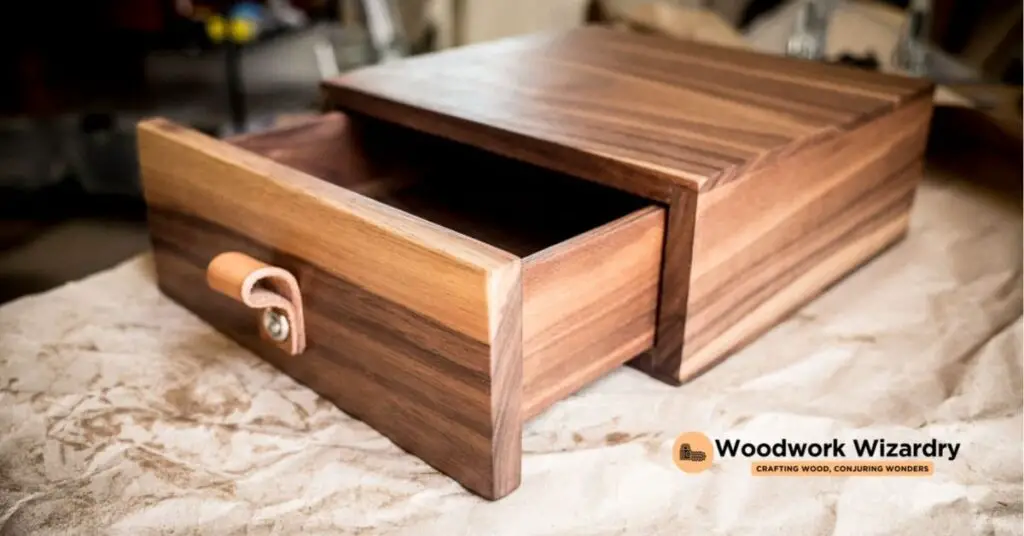
Crafting a wooden box involves attention to detail and safety. You’ll achieve better results by following these tips.
Safety Precautions
Wear safety glasses to protect your eyes from wood dust and debris. Use ear protection when operating power tools to prevent hearing damage. Gloves provide a secure grip and protect your hands from cuts or scrapes. Ensure your workspace is well-lit and organized to minimize accidents. Keep your tools in good condition, checking for damage before each use.
Common Mistakes To Avoid
Don’t rush through measuring; accurate measurements lead to a better-fitting box. Avoid using low-quality wood, as it can affect both aesthetics and durability. Skipping the dry fitting step often results in misalignments, so take the time to assemble the pieces without glue first. Neglecting to sand the edges creates rough surfaces, which detracts from the final look of your box. Finally, don’t overlook the finishing touches; applying a clear coat or stain significantly enhances the box’s appearance and provides protection.
Conclusion
Crafting your own small wooden box is a fulfilling project that combines creativity and practicality. Whether you’re organizing your space or creating a unique gift, this try allows you to express your personal style. With the right tools and materials, you can achieve impressive results.
Don’t shy away from experimenting with different designs and finishes to make your box truly yours. Remember to prioritize safety and take your time with each step. The satisfaction of completing your wooden box will inspire you to tackle more projects in the future. Embrace the journey and enjoy the art of woodworking.
Frequently Asked Questions
What materials do I need to make a small wooden box?
To create a small wooden box, you will need wood (like pine or cedar), screws, and wood finish or stain. Essential tools include a saw, drill, screwdriver, sandpaper, clamps, measuring tape, and pencil for precise cuts and assembly.
Can beginners craft a wooden box?
Absolutely! This project is suitable for beginners. With basic tools and a few materials, anyone can successfully create a wooden box by following simple, step-by-step instructions.
How do I choose the right type of wood?
Select wood based on your preferences and project goals. Pine is economical, cedar offers durability and a pleasant scent, while maple and birch provide smooth finishes. Oak is strong and classic.
How can I customize my wooden box?
You can personalize your box by adding compartments for organization, using paint or stains, and selecting colors that fit your home décor. This allows you to create something truly unique and functional.
What are common mistakes to avoid when making a wooden box?
Common mistakes include rushing measurements, using low-quality wood, neglecting to sand edges, and skipping the dry fitting step. Careful planning and attention to detail can lead to a better final product.

