Whether you’re crafting a stunning piece of furniture or tackling a DIY project, knowing how to join two pieces of wood is essential. It’s not just about making things stick together; it’s about creating lasting strength and beauty in your work. Imagine the satisfaction of watching your vision come to life, knowing you’ve mastered the art of wood joining.
With a variety of techniques at your disposal, from simple screws to intricate dovetail joints, you can choose the method that best suits your project. Each technique offers unique benefits, ensuring your creations are both functional and visually appealing. Jump into the industry of woodworking and discover how to elevate your skills, impress your friends, and transform your space with expertly joined wood pieces.
Overview of Wood Joining Techniques

Joining two pieces of wood involves various techniques, each suited for exact applications. Some methods prioritize strength, while others focus on aesthetics. You can choose from options like screws, nails, dowels, and various joinery methods.
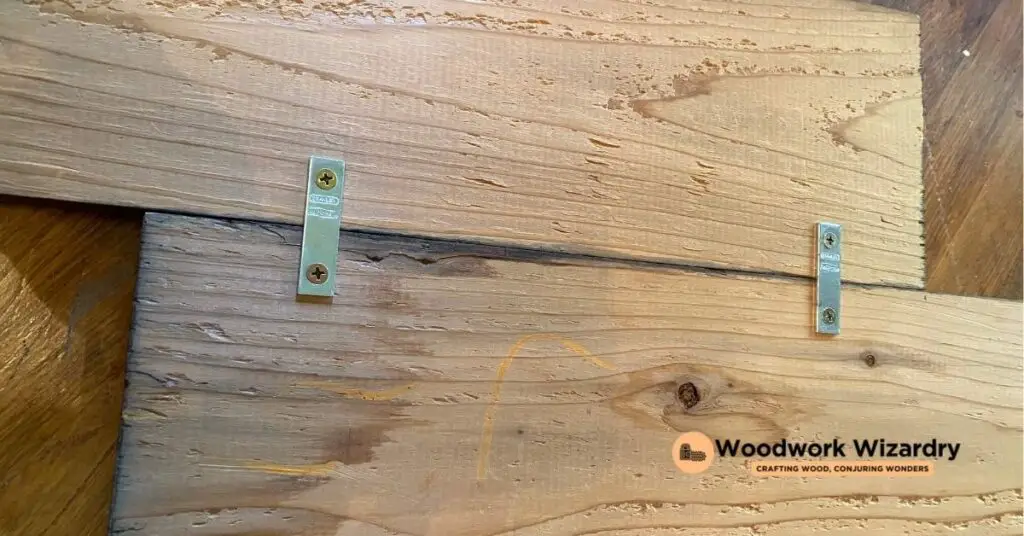
Screws provide strong connections, making them popular for furniture assembly. They allow for easy disassembly, which is beneficial for repairs or modifications. Nails serve a similar purpose but do not offer the same level of strength or adjustability.
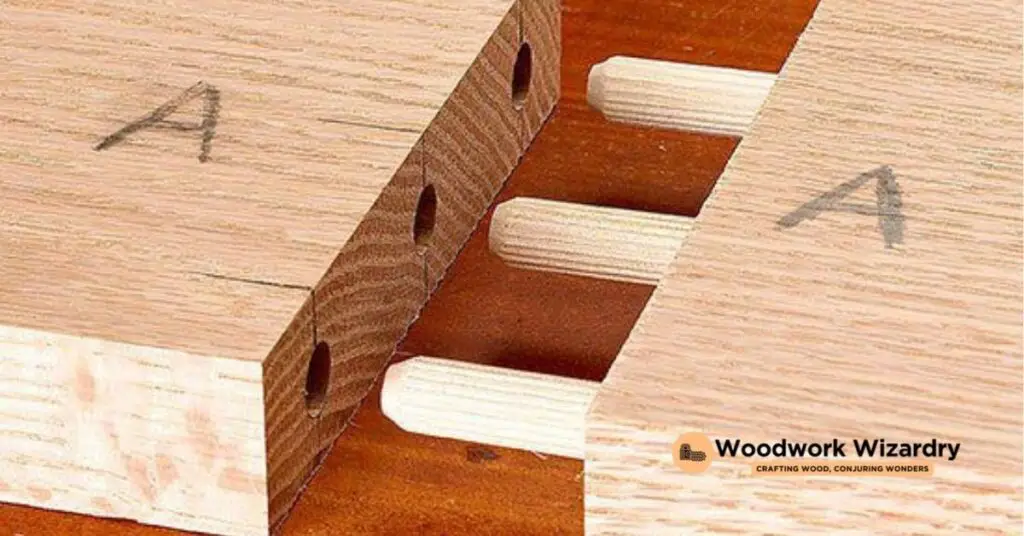
Dowels offer hidden joints that enhance the visual appeal of your project. By drilling matching holes in both pieces of wood, you create a seamless look. This technique works well for items such as cabinets and shelves.
Mortise and tenon joints provide exceptional strength and durability. This traditional method involves creating a cavity in one piece of wood and a corresponding projection on the other. It’s commonly used in fine furniture making, ensuring long-lasting results.
Dovetail joints are renowned for their beauty and strength. They often feature in drawers due to their resistance to pulling apart. This complex technique requires precision but rewards you with a high-quality finish.
Consider the project’s requirements when selecting a joining technique. Each method has distinct advantages, and understanding these can enhance your woodworking skills.
Common Methodologies for Joining Wood

Understanding various techniques for joining wood enhances your projects significantly. Each method has its strengths and applications.
Wood Glue
Wood glue serves as a vital component in many woodworking applications. It sticks two pieces of wood together by creating a durable bond when dried. Apply glue to the edges of the boards for effective results. Just one side of each joint needs glue, but ensure you bring the mating parts together quickly. Clamps play a crucial role here; they pull the pieces tightly together while the glue dries. Clamps minimize the gap, promoting a stronger bond. When facing end grain joining, pre-treat the end grain by packing some glue into the gaps. Let it dry for 10 to 15 minutes before applying more glue, as this prevents rapid absorption.
Screws and Nails
Screws and nails stand out for creating robust connections. Screws provide exceptional strength and allow for easy disassembly. Their threaded design grips the wood securely. In contrast, nails penetrate the wood quickly, making them suitable for fast, temporary applications. Depending on your project, you can choose either based on strength or ease of use. For outdoor projects, consider using screws with corrosion-resistant coatings to enhance longevity and performance.
Dowels and Biscuits
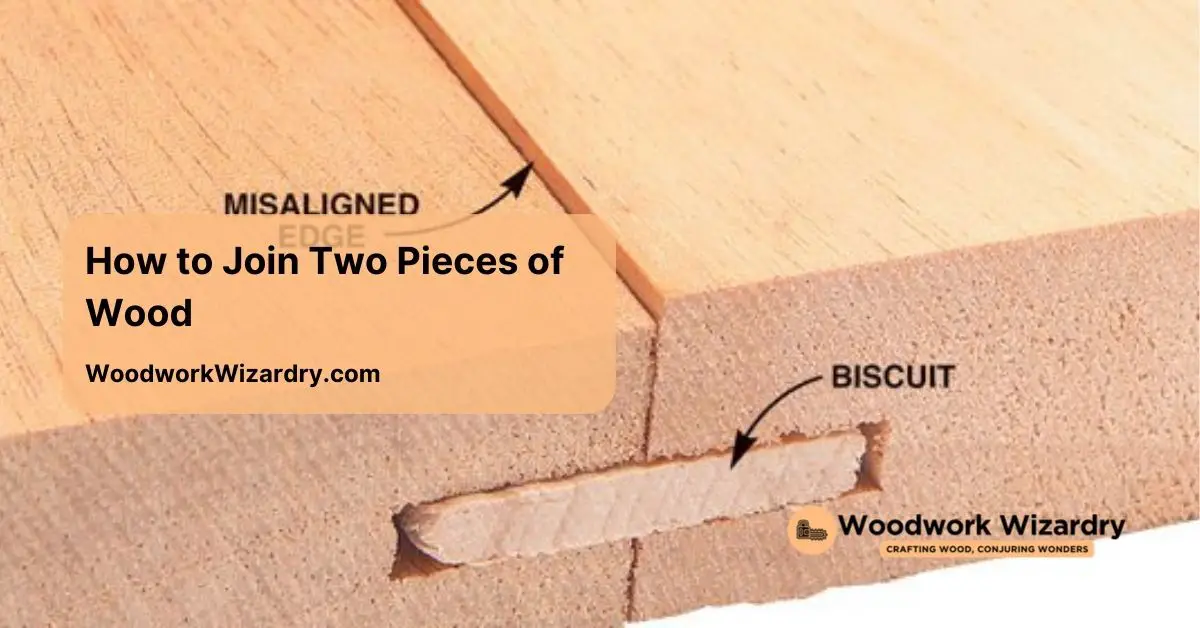
Dowels and biscuits create hidden joints, improving visual appeal in your woodworking projects. Dowels fit snugly into pre-drilled holes and offer outstanding alignment between panels. The simplicity of this method ensures clean joints without visible hardware. Biscuits, on the other hand, are oval-shaped wooden pieces that expand when glue is applied. Use them to align two adjacent boards while providing additional strength. Both methods contribute to a polished look, ideal for those focused on aesthetics in furniture crafting.
Tools Needed for Joining Wood
Choosing the right tools for joining wood enhances the quality of your work. Essential tools help create strong, precise joints for your projects.
Essential Hand Tools
Measuring and marking tools play a critical role in wood joining. Use tape measures for accurate dimensions on wood pieces. Marking gauges help you create parallel lines and precise markings for joints like mortises and tenons. Precision is key when using cutting tools. Hand saws are effective for making precise cuts, such as crosscuts and rip cuts. For intricate patterns, coping saws excel at cutting curves. Dovetail saws create fine cuts essential for dovetail joints.
Shaping tools contribute significantly to finishing your project. Hand planes smooth and flatten wood surfaces, ensuring a perfect fit. Chisels are versatile instruments for cutting, paring, and shaping. They’re crucial in crafting snug-fitting joints, removing waste material, and refining surfaces.
Power Tools for Efficiency
Power tools can streamline the wood joining process. Circular saws allow for quick, accurate cuts in various directions. Use jigsaws for cutting curves and intricate designs swiftly. A router can create decorative edges and hollow out areas for joints.
Drills help creating precise holes for dowels or screws, improving the strength of connections. Sander machines help to achieve smooth surfaces on wood pieces, improving the overall appearance of your work. With the right combination of hand tools and power tools, you can ensure that your wood joining efforts yield strong and attractive results.
Step-by-Step Guide on Joining Two Pieces of Wood

Joining two pieces of wood effectively requires a clear process that encompasses preparation, measurement, and the application of the appropriate technique.
Preparation and Measurement
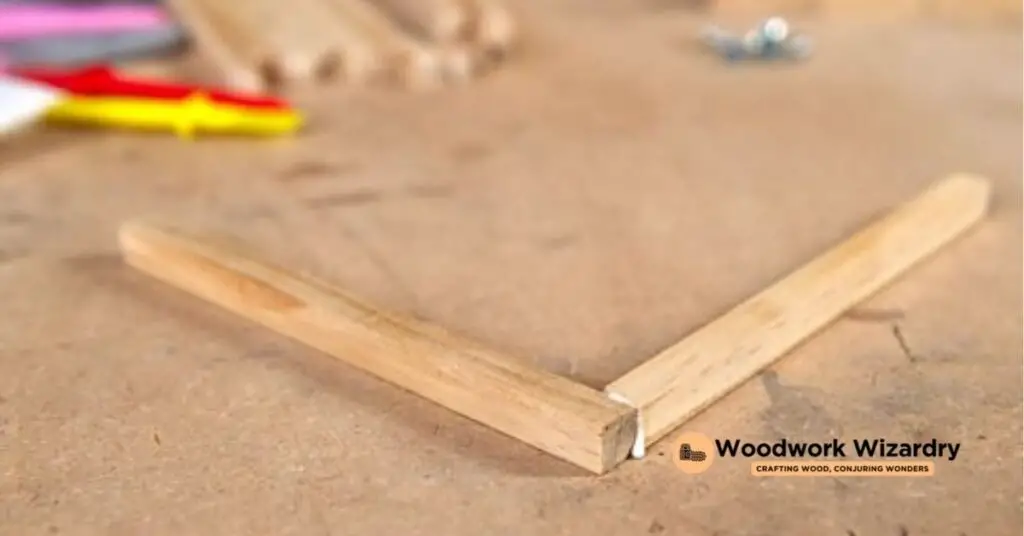
Choose the right tools and materials before starting the project. Essential items include a pencil, ruler, clamps, drill, and suitable screws, dowels, or other joining materials. Pick the joining method based on your project’s needs. Common joint types include butt joints, miter joints, pocket-hole joints, biscuit joints, dowel joints, and mortise and tenon joints. Each method has its unique advantages, so select one that’s best suited to your requirements. Measure the wood accurately to ensure proper fit. Use a pencil and ruler to mark where the wood will join. Lightly mark the edges of the pieces for alignment.
Application of Joining Technique
Apply the chosen technique based on the selected joint type. For butt joints, use screws or nails for a secure connection. If opting for dowel joints, drill precise holes for dowels and ensure proper fit before inserting glue. Use clamps to hold the pieces together firmly during drying; this step is crucial for both strength and stability. For mortise and tenon joints, cut both a mortise in one piece and a tenon that fits snugly into it. Ensure the edges are clean for a seamless finish. Dovetail joints require meticulous precision; align each piece carefully and apply wood glue for additional strength. Regardless of the method, ensure all pieces align properly before the final assembly.
Tips for Successful Wood Joining

Achieving strong and aesthetically pleasing joints requires careful attention to detail and technique. You can enhance the quality of your wood joins using some key strategies.
Ensuring Strong Joints
Select high-quality wood glue that suits your materials. Using the right adhesive promotes stronger bonds, especially for joint types like butt joints and dowel joints. For surety, apply adequate pressure with clamps during the drying process. Clamping prevents movement and ensures that the joint aligns correctly, improving long-term stability. Measure accurately and double-check your dimensions. Precision in your cuts and holes enhances joint integrity and overall appearance. Choose the appropriate joint type based on your project needs. Recognizing the strengths of each joinery method helps you deliver results that meet your expectations. Always allow glue to cure completely before stressing the joint. This simple step enhances the join’s reliability.
Common Mistakes to Avoid
Don’t rush the preparation stage. Skipping proper cutting and measuring can lead to misaligned or weak joints. Avoid excessive glue application; using too much can lead to messy joints and longer drying times. Always clean up excess glue immediately for a neater finish. Over-tightening clamps can crush the wood fibers. Striking a balance in clamp pressure is essential for strength without damaging the material. Ignoring the wood grain direction during joining can weaken the joint. Aligning joints with the grain helps maintain strength and reduces the risk of cracks. Failing to select the right fastening material can compromise durability. Match screws, nails, or dowels with the wood type and joint purpose for the best outcome.
Conclusion
Mastering the art of joining wood opens up a industry of possibilities for your projects. Whether you’re crafting furniture or tackling DIY tasks you’ll find that the right techniques and tools can make all the difference.
By selecting the appropriate joining method and ensuring precise measurements you’ll create strong and beautiful connections that stand the test of time. Embrace the journey of woodworking and enjoy the satisfaction that comes with each successful joint. Your skills will grow as you experiment and refine your techniques leading to impressive results in every project you undertake.
Frequently Asked Questions
What is the importance of joining wood properly?
Joining wood properly enhances the strength and aesthetic appeal of furniture and DIY projects. It provides satisfaction to the creator and ensures the piece holds together well, contributing to its longevity and beauty.
What are common wood joining techniques?
Common wood joining techniques include screws, nails, dowels, mortise and tenon, and dovetail joints. Each method offers unique benefits, such as strength and aesthetic appeal, which cater to different project requirements.
Why use wood glue when joining wood?
Wood glue creates a strong bond that enhances the durability of the joint. It fills gaps and adheres well to the fibers, making it an essential component for effective wood joining when combined with clamps.
What tools do I need for joining wood?
Essential tools for joining wood include measuring tools (ruler, pencil), clamps, hand saws, chisels, and power tools like drills and routers. These tools ensure precise cuts and strong connections in your woodworking projects.
How can I choose the right wood joining technique?
Choose the right wood joining technique based on the project’s requirements, including the desired strength, aesthetics, and ease of assembly. Assess joints like butt, dowel, or mortise and tenon to find the best fit for your needs.
What tips can help improve my wood joining skills?
To improve your wood joining skills, use high-quality wood glue, apply consistent pressure with clamps, measure accurately, and be mindful of the wood grain direction. Avoid rushing the preparation stage to ensure strong joints.
What are common mistakes to avoid in wood joining?
Common mistakes include rushing the preparation, over-applying glue, ignoring wood grain direction, and neglecting to use clamps properly. These errors can weaken joints and affect the overall quality of your projects.

