Scratches on your wood floor can be frustrating, instantly dulling the elegance of your space. Whether it’s from moving furniture, pet claws, or everyday wear, those unsightly marks can make your floor look worn and neglected. But don’t worry—you don’t have to live with them or spend a fortune on professional repairs.
Common Causes Of Scratches On Wood Floors
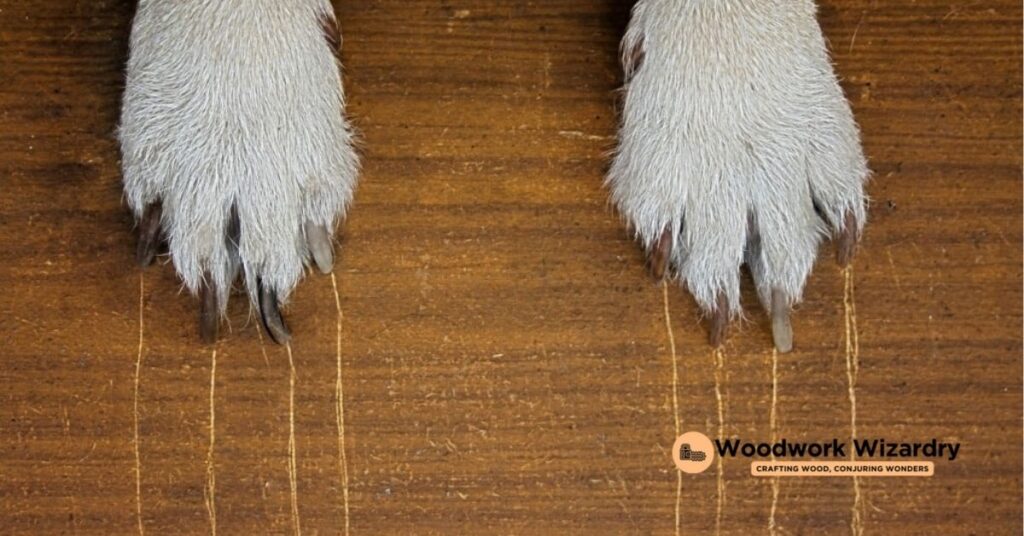
Dragging heavy furniture across wooden surfaces often leads to noticeable marks. Pets, particularly those with untrimmed claws, can cause scratches during play or movement. Regular foot traffic, especially when dirt or debris is present on shoes, contributes to wear and minor abrasions. Neglecting to use protective pads under chair or table legs increases the likelihood of surface damage. Spills that aren’t promptly cleaned may leave residues that weaken finish layers, making floors more susceptible to scratching.
Assessing The Extent Of The Damage
Understanding the severity of scratches on your wood floor determines the best repair approach. Evaluate the marks closely to differentiate between minor and deep scratches.
Identifying Minor Scratches
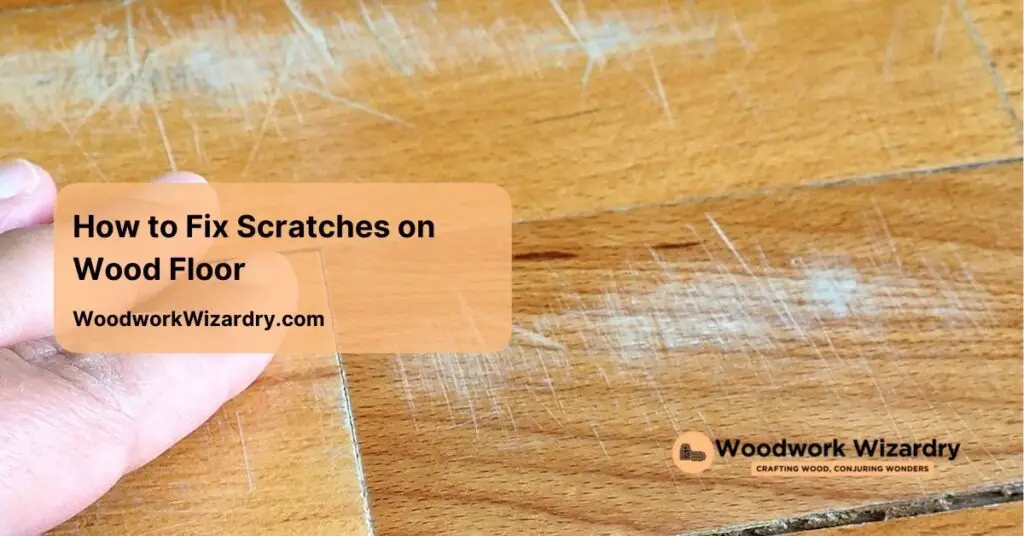
Superficial marks often only affect the floor’s finish without penetrating the wood itself. These scratches appear light and are usually visible when sunlight hits your floor at an angle. Inspect high-traffic areas and spots where furniture is frequently moved for these shallow imperfections. Running your finger over the scratch can help confirm its depth, as minor scratches won’t catch your nail.
Identifying Deep Scratches
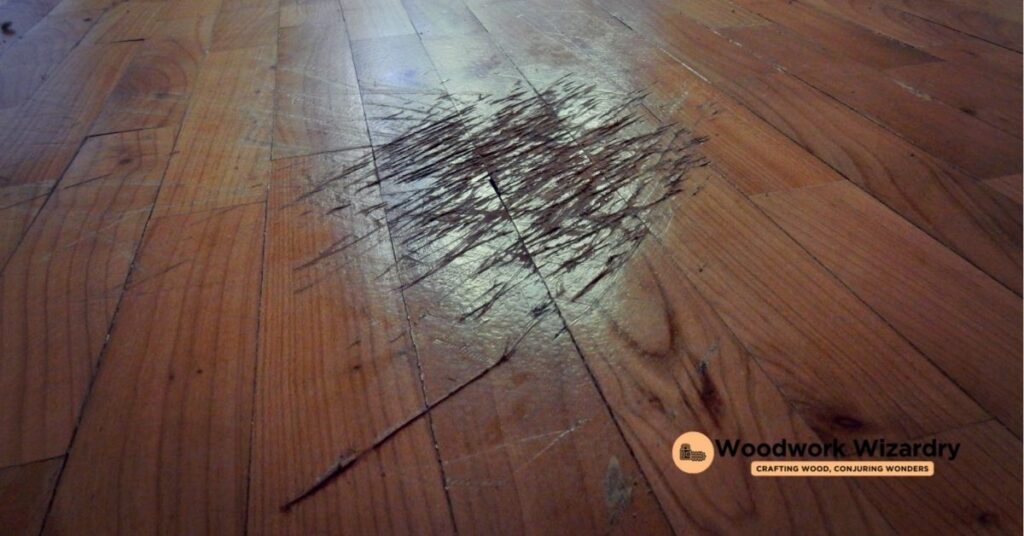
Serious damage often exposes the raw wood beneath the finish layer. Deep scratches appear darker if dirt is embedded or lighter if the exposed wood contrasts with the top finish. Check locations where heavy furniture is moved without protection or where abrasive objects contact the floor. Gently drag your nail across the scratch; if it catches, the damage extends past the surface.
How To Fix Minor Scratches On Wood Floor
Minor scratches can quickly diminish the look of your floors but are easy to address with the right methods. Focus on repairing the finish to restore the floor’s appearance.
Using A Wood Repair Marker
Wood repair markers offer a simple way to conceal scratches without professional help. Choose a color that closely matches your floor for the best results. Clean the scratched area using a damp cloth, then dry it thoroughly to ensure the marker adheres properly. Apply the marker directly to the scratch using light, even strokes until the mark blends with the surrounding wood. Wipe away any excess marker immediately with a clean cloth to prevent discoloration. Allow the stained area to dry completely before stepping on it.
Applying A DIY Vinegar And Oil Solution
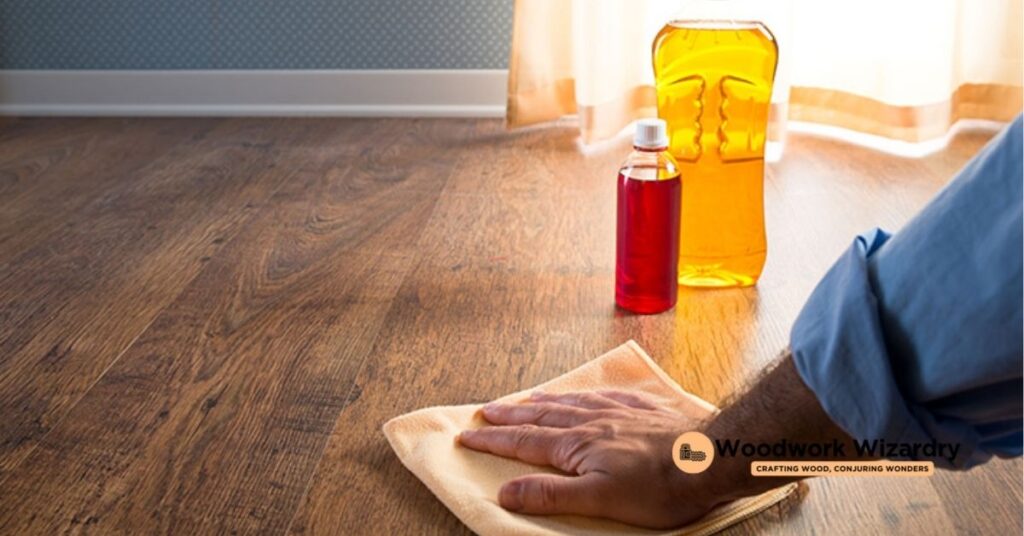
A vinegar and oil solution can help improve scratches in wood floors using natural ingredients. Mix one part distilled white vinegar with two parts olive oil in a small container. Apply a small amount of the solution onto the scratch using a soft cloth. Rub the mixture gently along the grain of the wood to restore the finish’s consistency. Buff the area with a dry, clean cloth to remove excess oil and enhance shine. Repeat the process if the scratch remains visible after the first application.
How To Fix Deep Scratches On Wood Floor
Deep scratches expose the raw wood beneath the finish and require a more involved repair process. Addressing them restores both the appearance and durability of your wood floors.
Using Wood Filler
Begin by cleaning the scratch and its surrounding area with a wood-safe cleaner to remove dust and debris. Apply a pre-colored or stainable wood filler matching your floor’s tone. Use a putty knife to press the filler into the scratch, ensuring it fills entirely. Smooth the surface with the knife to level the filler with the surrounding wood. Allow it to dry as directed on the product label. Lightly sand the area using fine-grit sandpaper to remove excess filler and refine the surface.
Sanding And Re-staining The Area
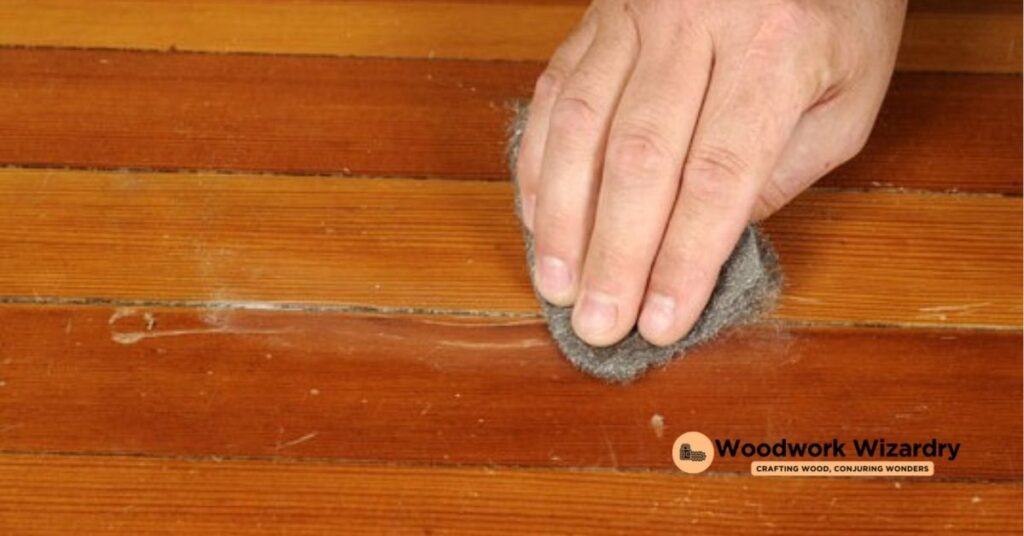
Clean the damaged section thoroughly to remove residual dirt and oils. Lightly sand the scratched area and a small portion of the surrounding floor, using fine-grit sandpaper, until the surface feels smooth. Wipe the area with a tack cloth to eliminate sanding dust. Select a floor stain closely matching the original finish and apply it with a soft cloth or brush, following the wood grain. Let the stain dry fully, then apply a compatible polyurethane topcoat to seal and protect the repaired area. Once the topcoat sets, buff lightly for a uniform finish.
Preventing Future Scratches
Protecting your wood floors starts with taking proactive measures to reduce the likelihood of scratches.
Using Furniture Pads
Place protective pads under all furniture legs, especially heavy items like sofas and tables. These pads create a soft barrier between furniture and the floor to minimize friction when moving items. Select felt or rubber pads for better durability, as these materials prevent sliding that could damage the surface. Check the pads regularly for wear, replacing them when they flatten or lose adhesive strength.
Maintaining Proper Wood Floor Care
Keep your floors free from dirt and grit using a soft-bristle broom or a vacuum with a hardwood attachment. These particles can act like sandpaper, leading to unsightly marks. Ensure you clean spills immediately to maintain the protective finish and prevent scratches caused by moisture damage. Establish a no-shoes policy indoors to stop abrasive debris from tracking in. Trim pet nails frequently, as unkempt claws are a important cause of scratches on wood finishes.
Conclusion
Scratches on your wood floor don’t have to be a permanent eyesore. With the right approach, you can restore your floor’s beauty and protect it from future damage. Whether it’s a quick fix for minor marks or a more detailed repair for deep scratches, you’ve got the tools and knowledge to tackle the issue confidently. By staying proactive with prevention, you can keep your floors looking flawless for years to come.

