Dealing with blotchy wood stains can be incredibly frustrating, especially after investing time and effort into your woodworking project. We’ve all been there—expecting a beautifully even finish only to discover uneven patches that ruin the overall appearance of your furniture or flooring.
The good news? You don’t need to start over or call in expensive professionals. With our proven techniques and simple tools, we’ll show you how to transform that disappointing, splotchy surface into the smooth, uniform finish you envisioned. Whether you’re dealing with pine, maple, or other notoriously difficult woods, our step-by-step answers will help you salvage your project and achieve professional-quality results.
Understanding Why Wood Stains Unevenly
Wood stains become blotchy due to uneven absorption rates across the wood surface. Understanding these underlying causes helps target the right fix for your exact project, saving time and preventing frustration.
Common Causes of Blotchy Wood Stains
Uneven wood absorption creates those frustrating patchy finishes on stained projects. Wood naturally contains varying densities and grain patterns that absorb stain at different rates. Areas with open, porous grain soak up more stain, creating darker patches, while denser areas resist absorption, resulting in lighter spots.
Improper surface preparation significantly contributes to blotchy results. Skipping sanding steps, using inconsistent grit progression, or failing to remove all sanding dust leaves invisible barriers that block stain penetration. Residual glue from manufacturing or assembly similarly creates clear barriers that resist staining.
Environmental factors also play a crucial role in stain absorption. Humidity levels above 60% or below 30% alter how wood accepts stain. Temperature fluctuations during application make some sections dry faster than others, creating uneven coloration.
Using incompatible products, like oil-based stains over water-based sealers, creates chemical reactions that lead to splotchy results. Applying stain too quickly without allowing penetration time or applying inconsistent coat thicknesses compounds these issues further.
Different Wood Types and Their Staining Challenges
Softwoods like pine, cedar, and spruce present the greatest blotching challenges. Their loose, inconsistent grain structure contains alternating bands of soft earlywood and harder latewood that absorb stain dramatically differently. Pine specifically contains resinous areas that resist stain completely, creating stark light spots.
Cherry, maple, and birch top the list of problematic hardwoods. These tight-grained species feature tiny pores that create a smooth surface but absorb stain unpredictably. Maple’s naturally occurring mineral streaks absorb stain differently than surrounding wood, creating distinct dark lines that stand out dramatically.
Mahogany and walnut generally accept stain more evenly due to their consistent cellular structure. Their natural oils and uniform density create fewer absorption problems, though improper preparation still causes issues.
Wood preparation history affects staining success significantly. Lumber with machine-burnished areas from planing or sanding contains compressed cells that resist stain. Areas previously exposed to water damage or uneven weathering create permanent changes in the wood’s cellular structure that manifest as blotchy spots when stained.
Age impacts wood’s staining characteristics too. Recently milled lumber contains more natural moisture and resins that interfere with even absorption. Wood stored in variable conditions develops internal stress that affects how cells accept stain across the surface.
Essential Tools and Materials for Fixing Blotchy Stains
Fixing blotchy wood stains requires exact tools and materials to effectively restore an even finish. The right supplies make all the difference when correcting uneven absorption and creating a professional-looking result.
Sanding Supplies You’ll Need
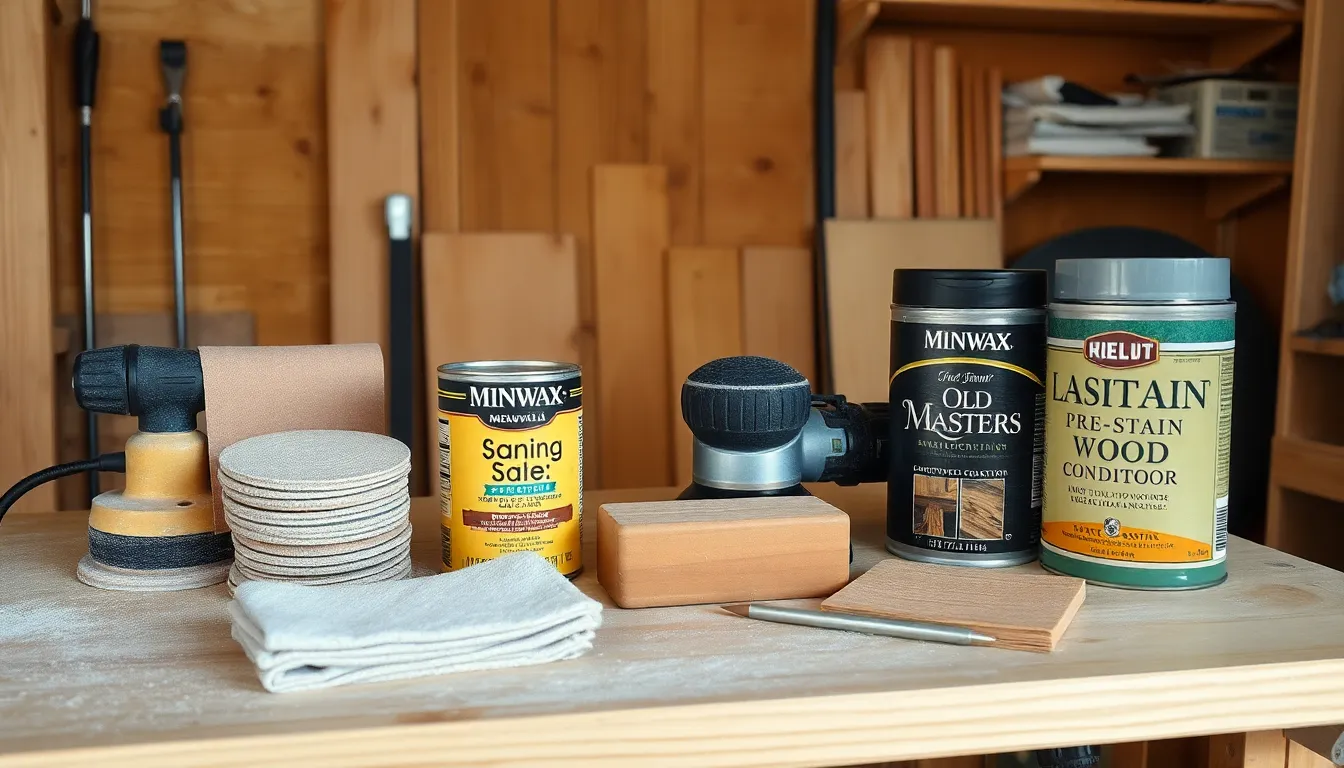
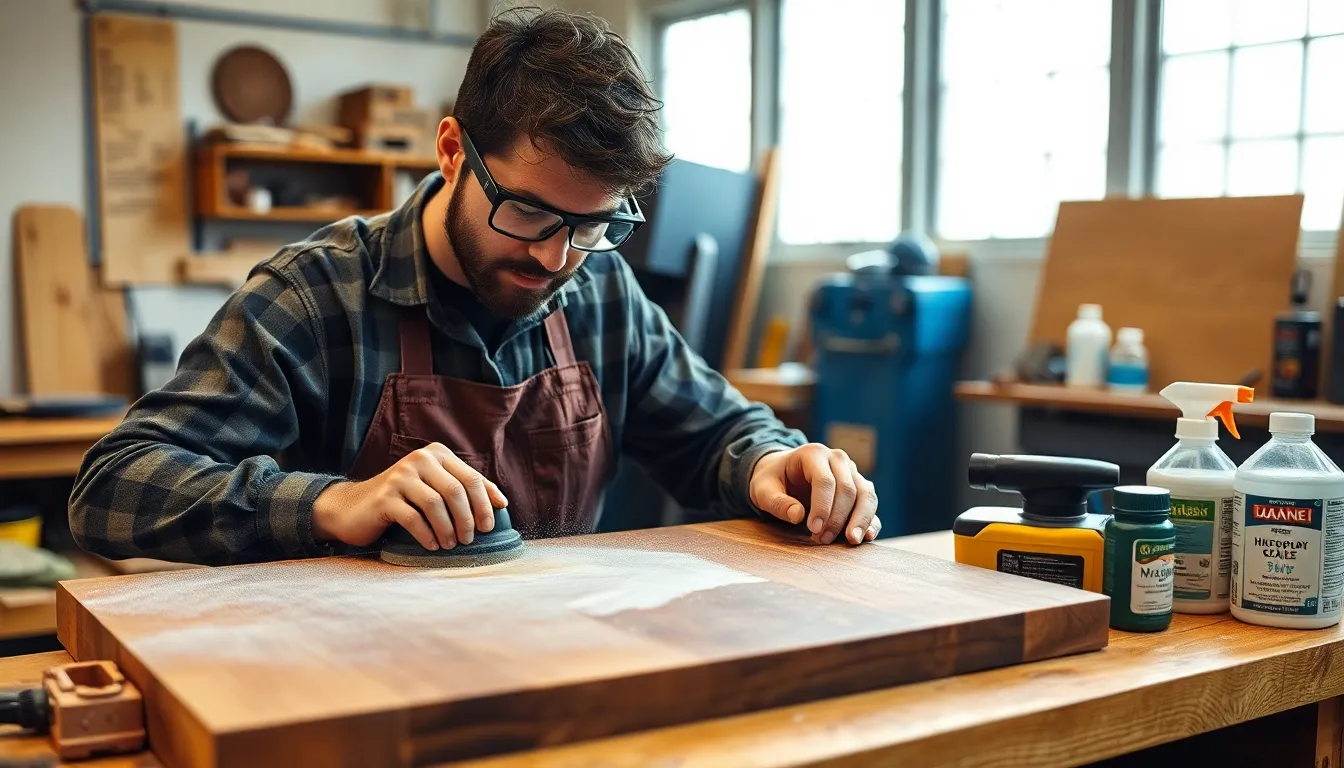
Proper sanding equipment forms the foundation of any wood stain correction project. Start with 80-100 grit sandpaper for removing the existing blotchy stain and work your way up to 220-grit for achieving a smooth, ready-to-finish surface. An orbital sander speeds up the process on larger surfaces, while a sanding block ensures even pressure for more controlled areas. Don’t forget to grab a tack cloth for removing fine dust particles before applying new stain—dust left behind creates texture issues and prevents even absorption.
Recommended Products for Correcting Uneven Stains
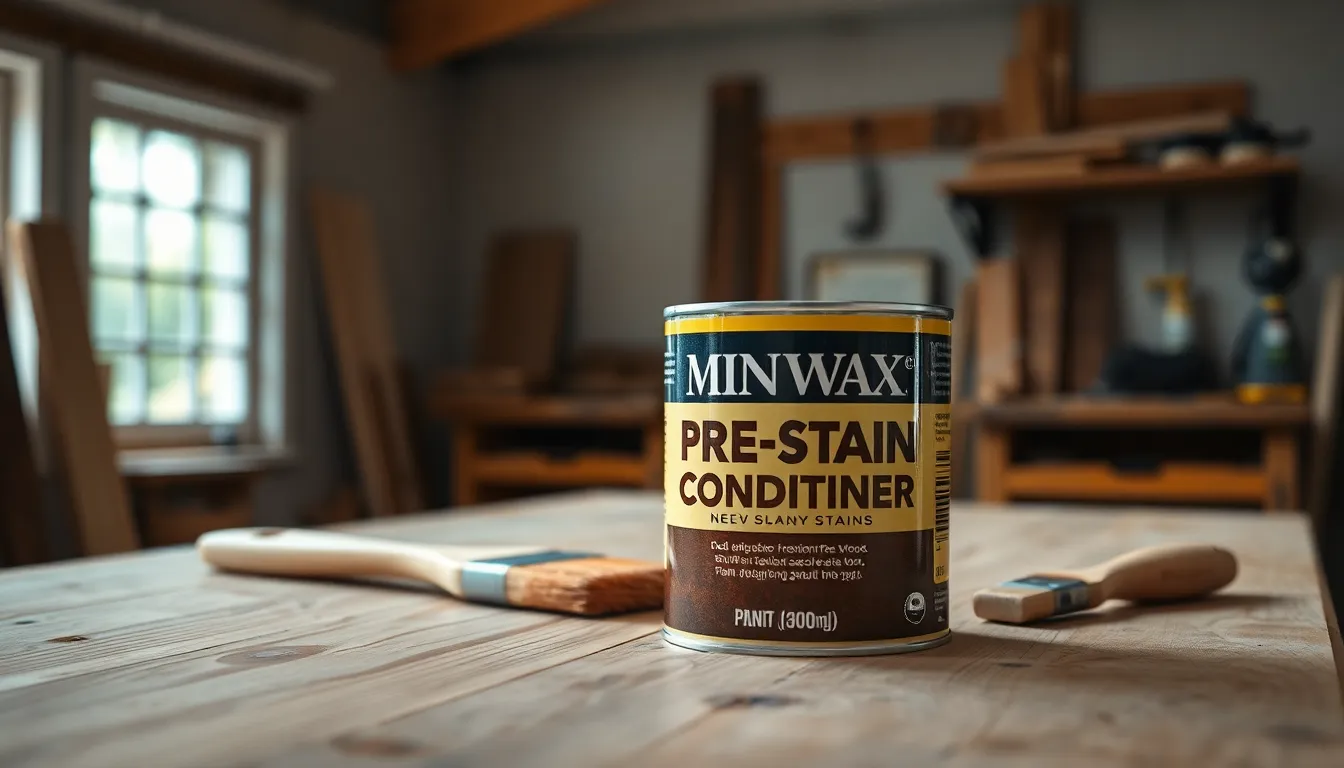
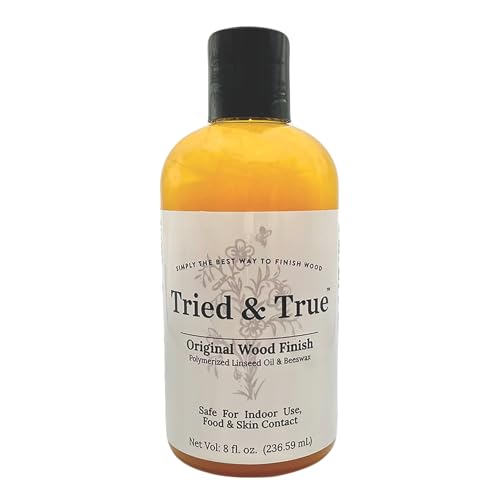
Several specialized products address the common causes of blotchiness. Minwax Pre-Stain Wood Conditioner prepares porous woods like pine and maple by temporarily sealing the grain for more consistent stain absorption. For corrective applications, Old Masters Gel Stain offers excellent coverage without deeply penetrating the wood, making it ideal for evening out tone discrepancies. Citristrip Stripping Gel removes stubborn stains completely when starting fresh is necessary. Supplement these with high-quality application tools such as lint-free applicators, foam brushes, or stain pads that distribute product evenly. Protective gloves protect your hands from chemicals while lacquer thinner or alcohol helps clean residual stain between applications. For particularly troublesome woods, consider using a combination of wood conditioner followed by gel stain or glaze for the most consistent results.
Preparing the Wood Surface for Repair
Beginning with proper surface preparation ensures successful wood stain correction. This critical first step creates the foundation for all subsequent repair work and determines the quality of your final finish.
Stripping Existing Stain Completely
Removing the problematic stain entirely gives you a fresh canvas to work with. Apply a chemical stripper or lacquer thinner using clean rags to lift the existing finish from the wood’s surface. Chemical strippers break down the bonds between the stain and wood fibers, making removal more effective than sanding alone. Work in small sections, following the product’s recommended dwell time before gently scraping away the loosened finish. For stubborn areas, a second application may be necessary. Once stripped, wipe the surface with mineral spirits to remove any residual chemicals that could interfere with your new finish.
Proper Sanding Techniques for Even Results
Sanding creates a uniform surface that accepts stain evenly across the entire piece. Start with coarse 80-100 grit sandpaper to efficiently remove any remaining stain or surface imperfections. Progress methodically through medium grits (120-150) to eliminate coarse sanding marks while continuing to level the surface. Finish with fine 180-220 grit sandpaper for optimal smoothness that promotes even stain absorption.
Always sand parallel to the wood grain using consistent pressure to prevent cross-grain scratches that become more visible after staining. Electric sanders speed up the process on large surfaces, but hand sanding with a sanding block offers better control for edges and detailed areas.
Complete the preparation by thoroughly removing all dust with a tack cloth or vacuum followed by a clean, lint-free rag slightly dampened with mineral spirits. Even tiny dust particles can create imperfections in your final finish. The properly prepared surface should feel smooth to the touch and display uniform color and texture across all areas.
Methods to Prevent Blotchiness Before Staining
Preventing blotchy stains is far easier than fixing them after application. These preventive techniques create a barrier that regulates stain absorption across the wood surface, leading to more consistent coloration.
Using Pre-Stain Wood Conditioners
Pre-stain wood conditioners work exceptionally well on blotch-prone woods like pine, maple, and cherry. These specialized products penetrate the wood fibers and temporarily seal the most porous areas, creating a more uniform surface for stain absorption. Application timing matters significantly—apply your stain within 15 minutes after the conditioner to ensure optimal results. Commercial options such as Minwax Pre-Stain Wood Conditioner provide excellent results when applied according to the manufacturer’s instructions. A proper conditioning treatment dramatically reduces the likelihood of blotching, especially in softwoods that naturally absorb stain unevenly.
Applying Washcoats and Sealers
Washcoats offer an effective alternative to commercial conditioners for preventing blotchy finishes. A homemade washcoat consists of thinned shellac or varnish (typically diluted to a 1:1 or 2:1 ratio with the appropriate solvent). This thin barrier coat partially seals the wood but still allows for stain adhesion. Professional woodworkers often rely on sealers for challenging woods like birch or maple, applying a light coat and lightly sanding with 320-grit paper before staining. The sealer method works particularly well for exotic hardwoods or highly figured grain patterns where conditioners might not provide sufficient protection. Applying multiple thin washcoats rather than one thick coat produces more reliable results and maintains the wood’s natural beauty while preventing uneven absorption.
Step-by-Step Process to Fix Blotchy Stained Wood
Fixing blotchy wood stain requires methodical approaches customized to the severity of the problem. We’ve developed exact techniques for both minor blotching and more serious staining issues to help restore your wood’s natural beauty and achieve that professional-looking finish.
Addressing Minor Blotching Issues
Light sanding with 150-220 grit sandpaper removes uneven stain and smooths the wood grain for minor blotching problems. Apply a thin, even coat of stain using a lint-free applicator, working in small sections and immediately wiping away excess to prevent oversaturation. Allow the stain to dry completely according to the manufacturer’s instructions before evaluating the results. Repeat the staining process if blotchiness persists, making sure to maintain consistent application pressure throughout.
Tackling Severely Uneven Stains
Aggressive sanding with 80-120 grit sandpaper completely removes existing stain in severely blotched areas. Progress through finer grits up to 220 to eliminate scratches and create a smooth surface ready for refinishing. Apply wood conditioner to porous woods like pine and maple to balance absorption rates before staining. Restain carefully using gel stains or dyes, which resist blotching better than traditional oil-based stains on problematic woods like maple.
Chemical strippers offer an effective alternative when sanding risks damaging veneers or delicate surfaces. Follow stripping with thorough sanding and conditioning to prepare the surface properly. Consider glazing techniques by applying a pigmented glaze over dried stain to even out color variations without additional sanding. Tinted topcoats, such as polyurethane mixed with stain, add uniform color while sealing the surface for a consistent appearance.
The success of your repair depends on several key factors: wood type (softwoods and close-grained hardwoods require conditioning), application technique (avoid overbrushing and use stain pads for controlled coverage), and environmental conditions (optimal staining occurs at temperatures between 50-90°F with moderate humidity).
Finishing Techniques for a Professional Look
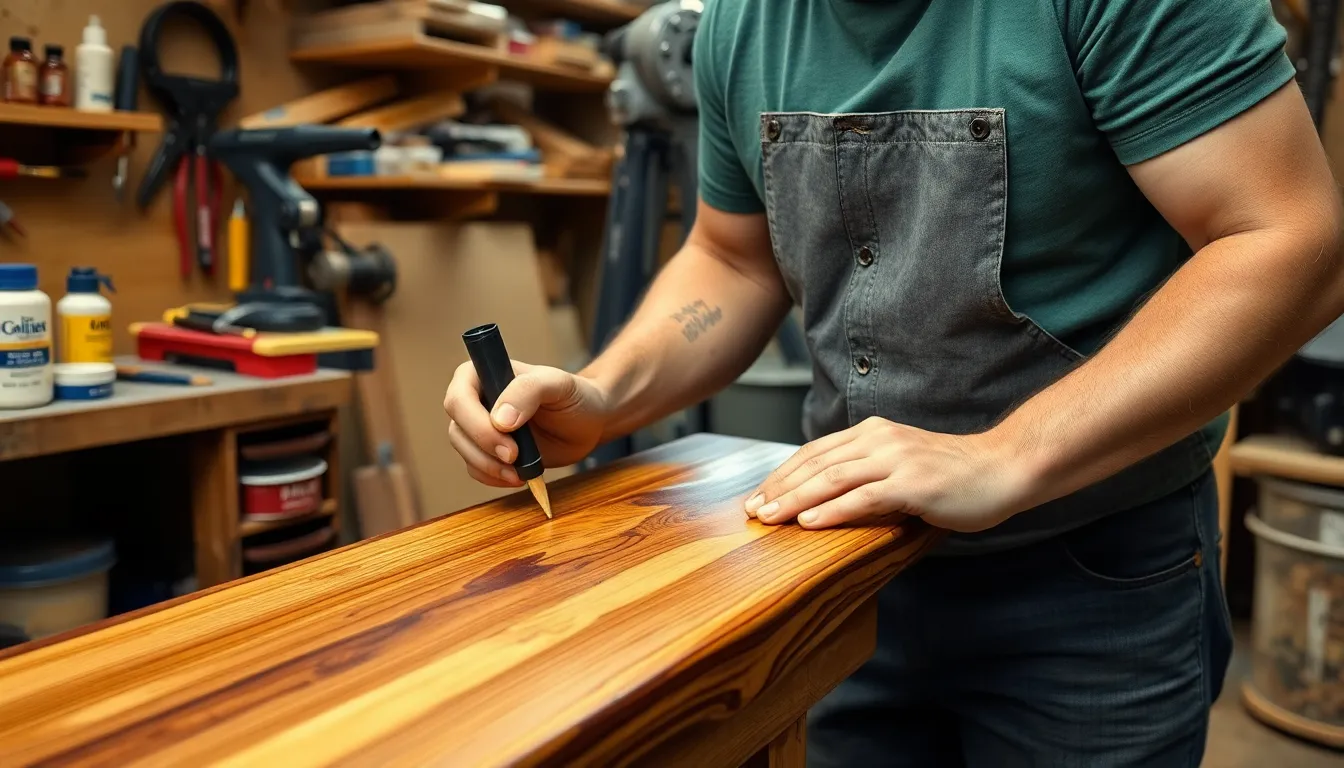
Achieving a professional finish on previously blotchy wood requires specialized techniques that enhance the wood’s natural beauty. We’ve found that gel stains and glazes work exceptionally well for evening out color variations because they resist absorption into the wood, reducing the chance of blotchiness recurring. Testing stains on scrap wood pieces from your project is essential to predict how the wood will absorb the product.
Applying Topcoats to Seal and Protect
Topcoats create the protective barrier that preserves your corrected stain job while adding depth to the finish. Water-based polyurethane offers quick drying times, making it perfect for projects that need to be completed rapidly, while oil-based versions provide superior durability for high-traffic items. Apply these finishes in thin, even layers using a foam brush or sprayer to avoid drips and bubbles that could ruin your hard work. Temperature and humidity control significantly impact the quality of your topcoat—maintaining temperatures between 50-75°F (10-24°C) with low humidity prevents tackiness and improves curing. Allow each coat to dry completely before applying the next, gently sanding between coats with fine-grit sandpaper for optimal adhesion.
Buffing and Polishing Methods
Buffing transforms a good finish into an exceptional one by removing minor imperfections and improving the wood’s luster. Ultra-fine 0000 steel wool or automotive-grade rubbing compound works perfectly on fully cured finishes to eliminate small flaws without damaging the surface. Large wooden surfaces benefit from machine polishing with a random orbital polisher fitted with a soft pad, which creates a consistent high-gloss finish without leaving swirl marks. Hand buffing with paste wax applied using a lint-free cloth, then buffed in circular motions, adds a protective layer and creates a subtle sheen that highlights the wood grain. Always wear protective equipment during these processes and work in areas with good ventilation to avoid inhaling particles or chemical fumes.
Common Mistakes to Avoid When Fixing Stained Wood
Fixing blotchy stained wood requires patience and proper technique to achieve professional results. Several common errors can worsen the problem rather than solve it, leading to frustration and wasted time and materials.
Rushing the Process
Rushing through staining or drying steps creates more problems than it solves. Wood stains need adequate time to penetrate evenly and dry completely before additional coats or finishes are applied. Trying to speed up the process by applying thick coats or shortening drying times between applications leads to uneven absorption and persistent blotchiness. Each stain product has exact recommended drying times that should be followed precisely. Manufacturers provide these guidelines based on extensive testing, so respecting these timeframes ensures optimal results and prevents issues like tackiness, streaking, or color inconsistency.
Using the Wrong Products
Selecting inappropriate stain types or application tools significantly contributes to blotchy finishes. Different wood species react uniquely to stains – pine absorbs differently than cherry or maple, requiring exact product formulations. Oil-based stains work better on some woods while water-based options might be preferable for others. Using low-quality brushes or applicators can create streaks and uneven coverage that exacerbate blotchiness. Choosing the right tools specifically designed for the stain type you’re using makes a substantial difference in the final appearance. Premium products like gel stains often produce more consistent results on problematic woods compared to traditional liquid stains.
Inadequate Preparation
Failing to properly prepare wood surfaces is perhaps the most critical mistake in the staining process. Insufficient sanding leaves behind rough patches, old finishes, or oils that resist stain absorption and create blotchy areas. Skipping crucial preparation steps like conditioning the wood before staining particularly affects blotch-prone species. Wood conditioners seal overly porous sections, creating a more uniform surface for stain application. Neglecting to clean surfaces thoroughly after sanding leaves behind dust particles that prevent proper stain adhesion. Taking shortcuts during preparation inevitably leads to disappointing results that require more extensive correction work later.
Conclusion
Fixing blotchy stained wood doesn’t have to be intimidating. With the right approach and materials we’ve outlined you can transform disappointing finishes into beautiful results. Remember that patience is your greatest ally throughout this process.
Whether you’re working with notoriously difficult pine or cherry or dealing with aged wood surfaces proper preparation and technique make all the difference. By understanding wood’s unique properties and using specialized products like conditioners and gel stains you’ll be well-equipped to handle future staining projects.
Don’t let imperfect stains discourage you. Armed with these methods you’ll be able to achieve professional-looking results that showcase wood’s natural beauty. Your woodworking projects deserve that flawless finish and now you know exactly how to deliver it.
Frequently Asked Questions
What causes wood stain to become blotchy?
Wood stains become blotchy due to uneven absorption rates across the wood surface. This is influenced by variations in wood density, grain patterns, and improper surface preparation. Softwoods like pine and certain hardwoods like cherry and maple are particularly prone to uneven staining. Environmental conditions such as humidity and temperature fluctuations can also contribute to blotchiness.
What tools do I need to fix blotchy wood stain?
You’ll need sandpaper (80-220 grit), an orbital sander, sanding block, wood conditioner (like Minwax Pre-Stain), gel stain (such as Old Masters), quality brushes or lint-free cloths, protective gear (gloves, mask, eye protection), and chemical stripper for severe cases. For optimal results on challenging woods, combine wood conditioner with gel stain.
Do I need to completely remove the old stain first?
Yes, for best results, remove the existing stain completely. Use chemical strippers or lacquer thinner for delicate surfaces, or sand aggressively with 80-120 grit sandpaper for severe cases. Creating a fresh canvas ensures even absorption of the new stain and eliminates previous imperfections.
How can I prevent blotchy stains before they happen?
Apply pre-stain wood conditioner before staining, especially on blotch-prone woods like pine, maple, and cherry. This seals porous areas and promotes uniform absorption. Alternatively, use washcoats or sealers (diluted shellac or varnish) to create a thin barrier that allows stain adhesion while preventing uneven absorption. Always test on scrap wood first.
What’s the difference between fixing minor and severe blotching?
For minor blotching, light sanding with 150-220 grit sandpaper followed by applying a thin, even coat of stain is usually sufficient. Severe blotching requires aggressive sanding with 80-120 grit to remove existing stain completely, followed by conditioning and careful restaining with gel stains or dyes. Severely blotched wood may need chemical strippers and multiple treatment steps.
Are gel stains better than liquid stains for fixing blotchy wood?
Yes, gel stains are often better for fixing blotchy wood because they sit on the surface rather than penetrating deeply. This provides more consistent color and helps even out variations in wood absorption. Gel stains are thicker and easier to control, making them ideal for problematic woods that tend to absorb unevenly.
How long should I wait between sanding and applying new stain?
Apply stain shortly after completing preparation work, ideally within 24 hours of sanding. If using wood conditioner, follow the manufacturer’s instructions—typically applying stain within 2 hours after conditioning. Waiting too long after conditioning may reduce its effectiveness at promoting even absorption.
What type of topcoat should I use after fixing blotchy stain?
Choose between water-based polyurethane (fast-drying, less odor) or oil-based polyurethane (more durable, amber tone) depending on your preference. Apply 2-3 thin coats rather than one thick coat, sanding lightly between applications. Ensure proper ventilation and allow adequate drying time between coats for best results.
Can old or antique wood be fixed if it’s blotchy?
Yes, but with extra care. Antique wood may have patina and character that should be preserved. Use gentler methods like chemical strippers rather than aggressive sanding. Test products in inconspicuous areas first. Consider consulting a professional for valuable antiques, as the wood’s age affects its staining characteristics.
What are the most common mistakes when fixing blotchy wood?
The most common mistakes include rushing through the process, using wrong products (inappropriate stain types or low-quality tools), inadequate preparation (insufficient sanding or not cleaning surfaces properly), and skipping conditioning steps. Taking shortcuts often leads to disappointing results and may worsen the original problem.

