A cracked wooden door can be more than just an eyesore; it can compromise your home’s security and energy efficiency. If you’ve noticed those unsightly splits or gaps, don’t fret. With the right tools and a little know-how, you can restore your door to its former glory and enhance your home’s charm.
Understanding Cracked Wooden Doors

Cracked wooden doors present various challenges, influencing security and energy efficiency. Knowing the common causes and identifying signs of damage helps you tackle these issues effectively.
Common Causes of Cracks
Temperature fluctuations create stress in the wood, leading to cracks. Humidity levels contribute, as moisture absorption can expand the wood and cause it to warp. Improper installation can also play a role; a door not fitted correctly may experience pressure that results in cracks. Other factors include wear and tear from daily use. Natural aging of wood can weaken its structure, making it more susceptible to cracking over time.
Signs of Damage
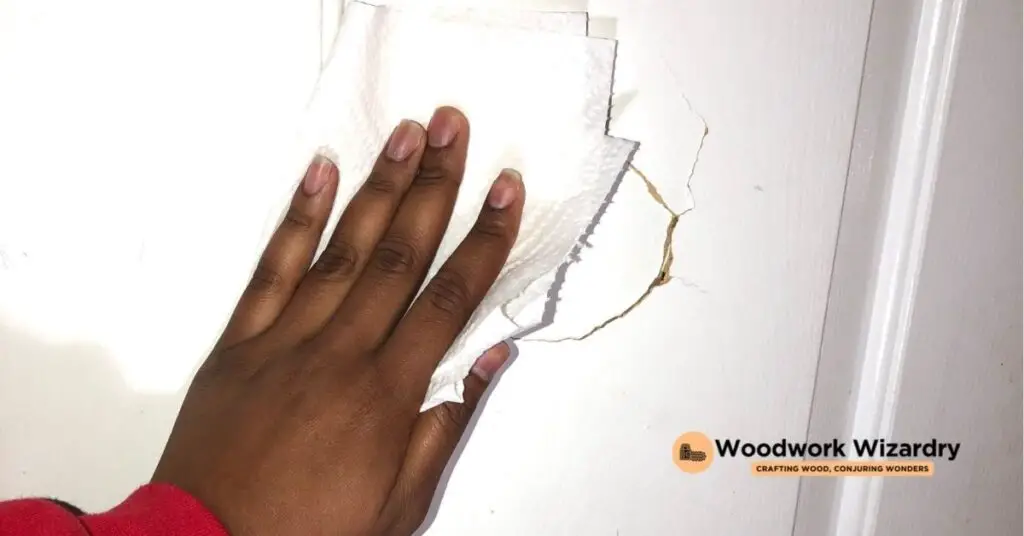
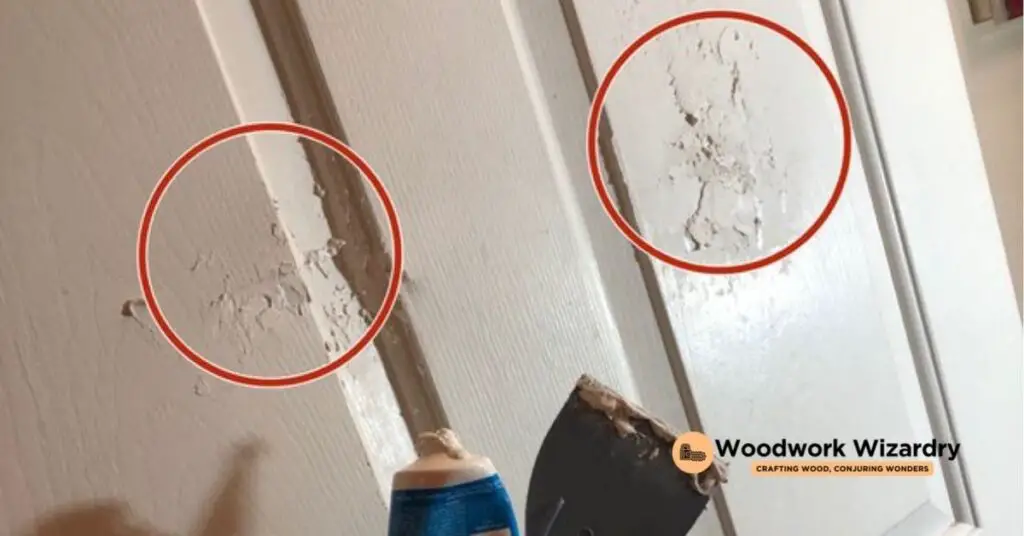
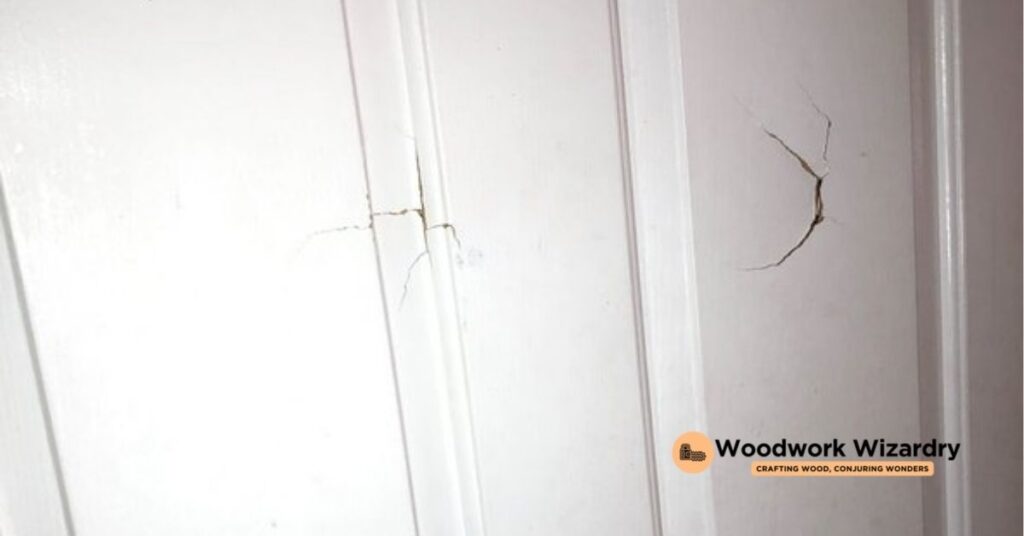
Visible cracks are the most obvious indication of a damaged door. You might also notice gaps between the door frame and the door itself. Warping is another sign; if the door doesn’t close properly or appears uneven, it might have structural issues. Also, you may detect changes in the door’s surface, like splinters or peeling paint. If you hear creaking noises when opening or closing the door, it signals potential damage as well.
Tools and Materials Needed

Fixing a cracked wooden door requires several essential tools and materials. Gather these items to ensure a smooth repair process.
Essential Tools
- Putty knife: This tool helps you apply wood filler or putty into the cracks. Precision in applying the filler leads to a better finish.
- Dremel tool: Widening cracks or making precise adjustments is easy with this tool. It allows for detailed work, especially in tricky areas.
- Screwdriver: You need a screwdriver to remove hardware such as doorknobs, locks, and hinges. Proper removal prevents damage to the door during repairs.
- Sandpaper: Smooth out the repaired area with sandpaper. This step is crucial for a polished look once the project is complete.
- Clamps: Use bar clamps or C-clamps to hold the split together during the repair process. These tools provide stability, allowing the filler to set properly.
- Flat pry bar: If necessary, a flat pry bar will help remove trim from the door frame. This tool can simplify the process of accessing the damage.
- Mallet or hammer: Tapping a wood spline into place is easier with this tool. Careful application prevents further damage during the repair.
Recommended Repair Materials
- Wood Filler: Opt for wood filler when working on painted doors. This material dries hard, allowing for sanding and repainting, which restores appearance.
- Wood Putty: For small, barely noticeable damages, wood putty is suitable. Its flexibility makes it ideal for minor cracks that don’t require extensive repairs.
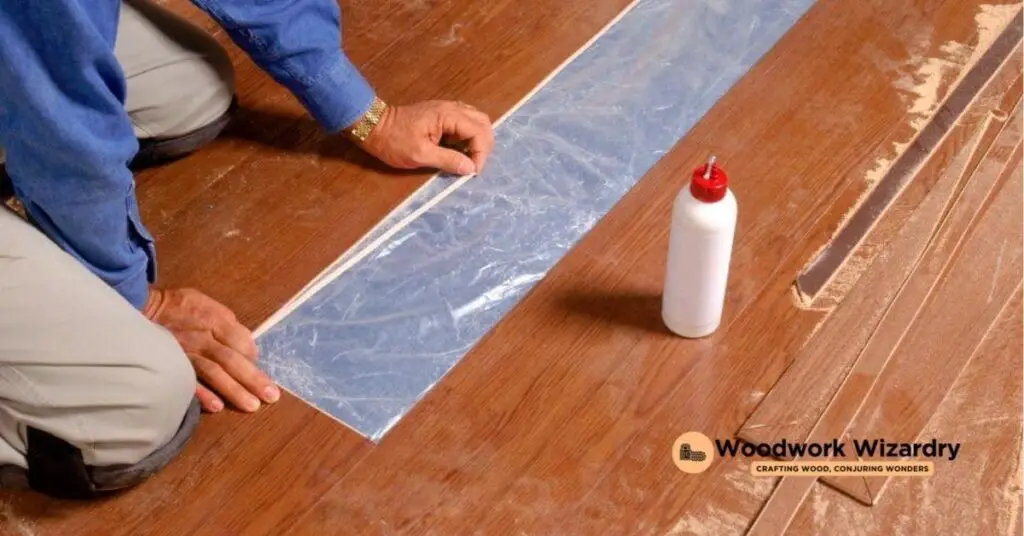
- Wood Glue: Combine wood glue with clamps for effective bonding of wood splines or filling cracks. This combination ensures a strong hold during the repair process.
Step-by-Step Guide to Fixing a Cracked Wooden Door

Follow these steps to effectively repair a cracked wooden door, restoring its function and appearance.
Preparing the Door for Repair
Begin by identifying the extent of the damage. Inspect the crack closely; minor cracks often need wood filler, while deeper cracks require more intensive repair techniques. Remove hardware such as doorknobs, locks, and hinges to gain easy access to the cracked area. Clean the cracked section thoroughly to eliminate dirt, dust, and debris for better adhesion of any wood glue or filler. If the door is still in place, set up a protective area to contain dust. A plastic drop sheet works well for this purpose.
Filling the Crack
Use wood filler or glue to fill the crack, depending on its severity. For minor cracks, apply wood filler with a putty knife, ensuring the filler fills the entire space. When dealing with deeper cracks, opt for a strong wood glue, which provides better structural support. Take your time with the application, smoothing the filler or glue level with the door surface. Allow the material to cure fully as per the manufacturer’s instructions, ensuring it bonds effectively.
Sanding and Finishing
Once the filler or glue has cured, sand the area smooth with sandpaper. Focus on blending the repaired section with the surrounding wood. Start with a coarser grit and progressively move to finer grits for a seamless finish. After sanding, you can choose to apply paint or stain to match the rest of the door. Allow the finish to dry completely before reattaching your hardware for a polished look.
Preventive Measures for Future Cracking

Maintaining a wooden door significantly reduces the risk of future cracks. You can take several straightforward measures to ensure your door stays intact.
Humidity Control
Managing humidity levels plays a crucial role in preserving your wooden door. High humidity can cause wood to swell, while low humidity can lead to shrinkage, increasing the likelihood of cracks. Installing a dehumidifier or using humidity monitors can help maintain stable moisture levels inside your home. Aim for indoor humidity levels between 30% and 50% for optimal wood preservation.
Regular Maintenance
Regularly inspecting and maintaining your wooden door enhances its longevity. Sanding and refinishing the surface every few years prevents wear and tear. Also, check for any signs of damage or wear at least twice a year. Treating wooden doors with a protective sealant helps guard them against environmental factors. Besides, lubricating the hinges keeps the door functioning smoothly, preventing undue stress on the wood. Consistent upkeep is key to avoiding future cracking.
Conclusion
Fixing a cracked wooden door is a manageable task that can enhance both your home’s security and aesthetic appeal. By following the steps outlined and using the right tools and materials, you can restore your door to its former glory.
Don’t forget the importance of regular maintenance and humidity control to prevent future issues. By keeping an eye on your door and addressing any signs of damage early on, you’ll ensure it remains in great condition for years to come. With a little effort and care, your wooden door can continue to serve you well while adding charm to your home.
Frequently Asked Questions
What are the main causes of cracks in wooden doors?
Cracks in wooden doors can be caused by several factors, including temperature fluctuations, high humidity levels, improper installation, and natural wear and tear. Understanding these causes can help homeowners prevent further damage.
How can I identify if my wooden door is cracked?
Signs of a cracked wooden door include visible cracks, gaps between the door and frame, warping, surface changes, and creaking noises. Regular inspections can help you catch issues early and address them promptly.
What tools do I need to repair a cracked door?
Essential tools for repairing a cracked wooden door include a putty knife, screwdriver, Dremel tool, sandpaper, clamps, a flat pry bar, and a mallet or hammer. These tools will help you effectively carry out the repair.
What materials should I use for fixing cracks?
For repairing cracked wooden doors, recommended materials include wood filler for painted doors, wood putty for minor damages, and wood glue for strong bonding. Choose materials based on the severity of the damage.
What are the steps for repairing a cracked wooden door?
To repair a cracked wooden door, start by inspecting and cleaning the damaged area. Remove hardware, fill the crack with the appropriate material, allow it to cure, and then sand and finish the area to blend with the surrounding wood.
How can I prevent my wooden door from cracking in the future?
To prevent future cracking, maintain consistent humidity levels (30%-50%), perform regular maintenance like sanding and refinishing, inspect doors at least twice a year, and lubricate hinges to minimize stress on the wood.

