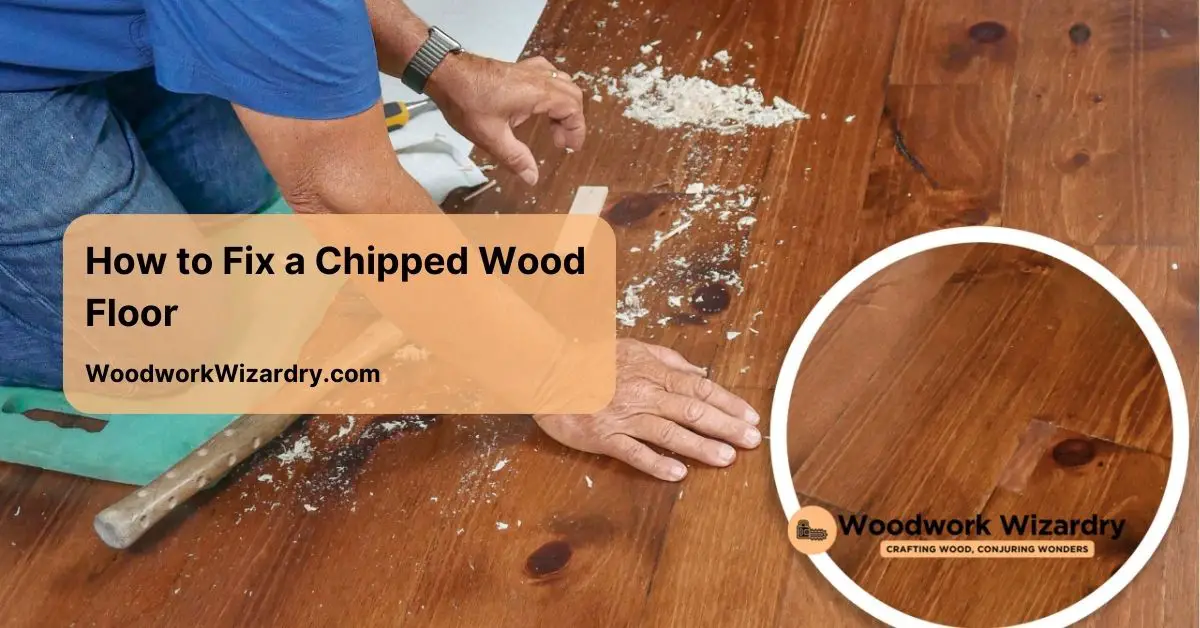
A chipped wood floor can be an eyesore, but it doesn’t have to be a permanent problem. Whether it’s from heavy furniture or playful pets, those unsightly imperfections can detract from your home’s beauty. Luckily, fixing a chipped wood floor is easier than you might think, and you don’t need to be a DIY expert to tackle it.
Understanding Chipped Wood Floors
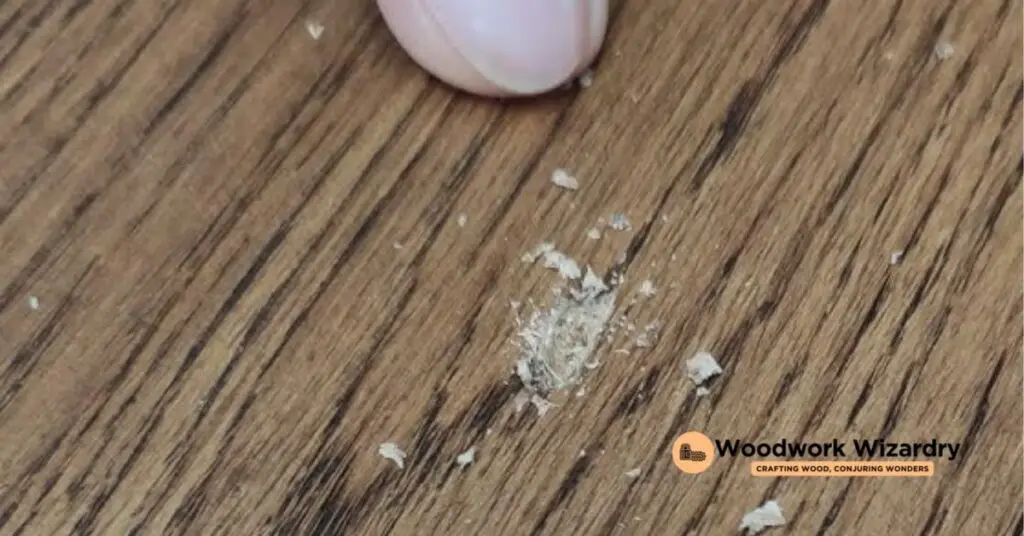
Chipped wood floors can disrupt the overall look of your home. Addressing these flaws early prevents more extensive damage.
Common Causes of Chipping
Heavy items frequently cause chipping in wood floors. Furniture like sofas and tables can scratch or chip the surface when moved without care. Kids’ toys or pet claws also contribute to these defects. Environmental factors play a role too; humidity changes can lead to wood expansion and contraction, resulting in chips.
Signs of Damage
Visible chips are the most apparent sign of damage. You may also notice splintering edges around planks. Discoloration might indicate deeper issues beneath the surface. If your floorboards produce creaking sounds when walked on, it may signal compromised integrity. Address these signs promptly to maintain your wood floors’ beauty.
Tools and Materials Needed
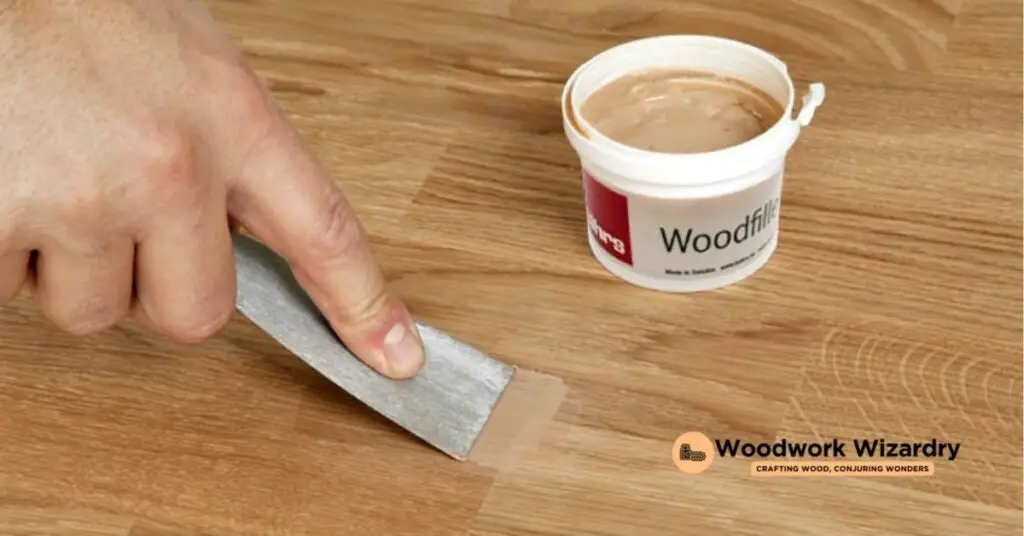
Fixing a chipped wood floor requires exact tools and materials customized to the damage’s severity and type. Below is a list of essential tools you’ll need for an effective repair.
Essential Tools
- Hot Iron: Use this tool to melt wax into the chipped area for seamless repairs.
- Metal or Plastic Scraper: Scrape off excess wax and help recreate the floor’s bevel.
- Rag: A clean rag allows you to brush off any debris or excess wax.
- Countersink Bit: This bit drills holes to secure patches or chips effectively.
- Drill/Driver: Use this for driving screws or creating required holes.
- Handsaw: Cut patches or strips of wood to size with a handsaw.
- Block Plane: True up the edge of patch material easily with this tool.
- Chisel: Remove damaged sections of the floor precisely using a chisel.
- Forstner Bit: Employ a Forstner bit for accurate patch cutting.
- Utility Knife: Mark and cut patches to the right size with a utility knife.
- Putty Knife: A putty knife helps apply and smooth out any fillers effectively.
- Hammer: Tap pieces into place or secure nails with a reliable hammer.
Recommended Products
For the best results, consider investing in high-quality materials. Choose wax specifically designed for wood floors to ensure durability. When selecting a patch material, opt for wood that matches your existing flooring to maintain aesthetic cohesion. Adhesives suited for wood repairs work well when securing patches. Brands like Minwax or Elmer’s offer trusted options for fillers. For finishing touches, a protective sealant adds extra longevity to your repairs, ensuring your wood floor stays beautiful for years.
Step-by-Step Repair Process
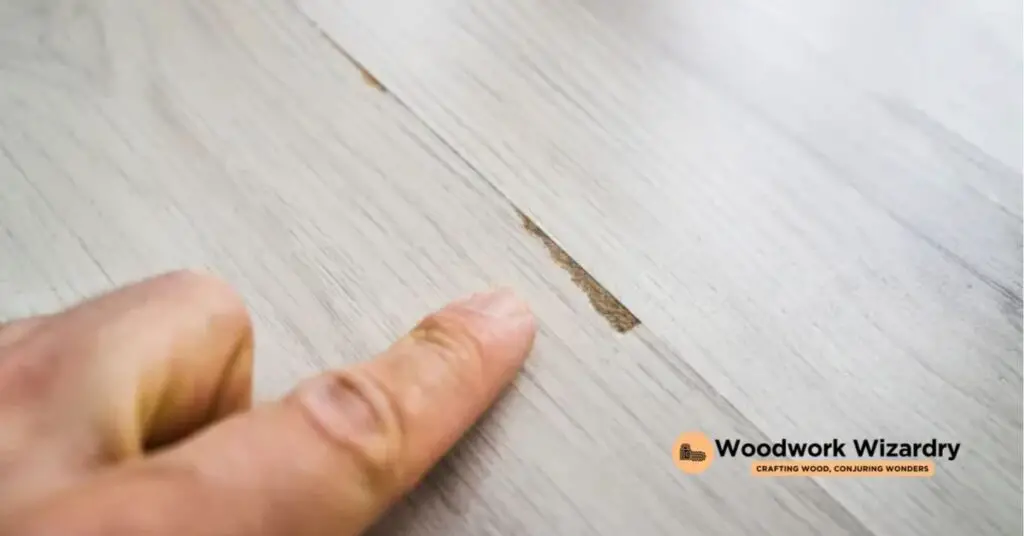
Fixing a chipped wood floor involves a few straightforward steps. By following this guide, you can restore your floor’s appearance effectively.
Cleaning the Area
Start by ensuring the area around the chip is clean. Remove furniture and rugs to create a clear workspace. Vacuum or mop the floor to eliminate dirt and dust that could interfere with repairs. Proper cleaning sets a good foundation for the patching process.
Filling the Chip
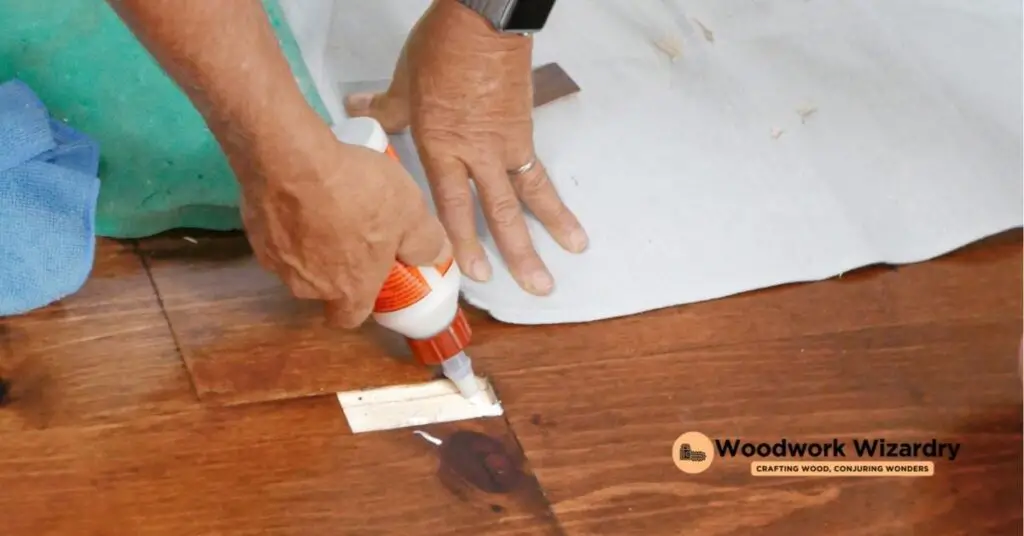
For minor chips, wood filler or wax might suffice. Choose a color that closely matches your floor. Apply the filler carefully, ensuring you fill the chip completely. For larger chips, consider creating a Dutchman patch. Drill a hole in the chipped area if needed. Use polyurethane glue to secure the original piece or a new patch cut from a matching piece of wood. This method reinforces the repaired area for lasting durability.
Sanding and Refinishing
Once the filler dries, sanding is crucial to create a smooth surface. Use fine-grit sandpaper for an even finish. After sanding, clean the area again to remove any dust particles. Finally, apply a matching stain followed by a protective sealant. This step enhances the floor’s luster and offers additional protection against future damage.
Preventing Future Damage
To keep your wood floor looking its best, proactive measures are crucial. Maintaining wood floors can prevent future chips and scratches.
Maintenance Tips
Routine cleaning is essential for preserving wood floors. Use a soft-bristle broom or vacuum designed for hard surfaces to remove dirt and debris. Regularly inspect for signs of damage, such as discoloration or creaking sounds, and address issues before they escalate. When spills occur, wipe them up immediately with a damp cloth. Annual professional cleaning enhances durability and shine. Refinish your floors every few years to restore their protective coating.
Protective Measures
Using rugs or mats at entryways protects floors from dirt and moisture. Felt pads under furniture legs prevent scratching when items are moved. Modifying the way you handle furniture helps, too; lift rather than drag to avoid damage. Maintain stable indoor humidity levels between 30% and 50% to prevent wood expansion and contraction. Applying a protective sealant provides an extra layer of defense, reinforcing the floor against everyday wear and tear.
Conclusion
Repairing a chipped wood floor is easier than you might think. By addressing chips and imperfections promptly, you can preserve the beauty and integrity of your flooring. Remember to gather the right tools and materials for your exact repair needs.
Following the outlined steps will help you achieve a smooth and seamless finish. Don’t forget about preventive measures to keep your floors looking their best. Regular maintenance and protective strategies will go a long way in preventing future damage. With a little effort, your wood floors can remain stunning and resilient for years to come.
Frequently Asked Questions
What causes chips in wood floors?
Chips in wood floors can occur due to various reasons, including the movement of heavy furniture, children’s toys, pet claws, and changes in humidity. These factors can weaken the wood and lead to visible imperfections.
How can I repair a chipped wood floor?
Repairing a chipped wood floor is straightforward. Clean the area, use a matching wood filler or wax for minor chips, or apply a Dutchman patch for larger damages. Sand, stain, and seal the area for a smooth finish.
What tools do I need to fix chipped wood floors?
Essential tools for repairing chipped wood floors include a hot iron, scrapers, a drill, and a handsaw. You’ll also need wood filler or wax and a protective sealant to complete the repair.
How can I prevent future damage to my wood floors?
To prevent future damage, regularly clean your floors with a soft-bristle broom or vacuum, use rugs or mats at entryways, and place felt pads under furniture. Maintain stable humidity levels and lift furniture instead of dragging it.
When should I seek professional help for my wood floors?
Seek professional help if you notice severe damage, such as deep gouges or warped boards, or if you’re unsure about the repair process. Annual inspections and professional cleaning can also help maintain your floors effectively.

