Dealing with big holes in wood can feel daunting, but it doesn’t have to be. Whether it’s a result of wear and tear or an unexpected mishap, knowing how to effectively fill those gaps can restore your furniture or wooden surfaces to their former glory. Imagine transforming that unsightly blemish into a smooth, flawless finish that enhances the beauty of your woodwork.
This guide will walk you through simple yet effective techniques to fill those holes with confidence. You’ll discover the right materials and methods to ensure a seamless repair that blends perfectly with the surrounding wood. Don’t let imperfections hold you back—let’s immerse and turn your woodwork challenges into opportunities for creativity and craftsmanship.
Understanding Big Holes in Wood
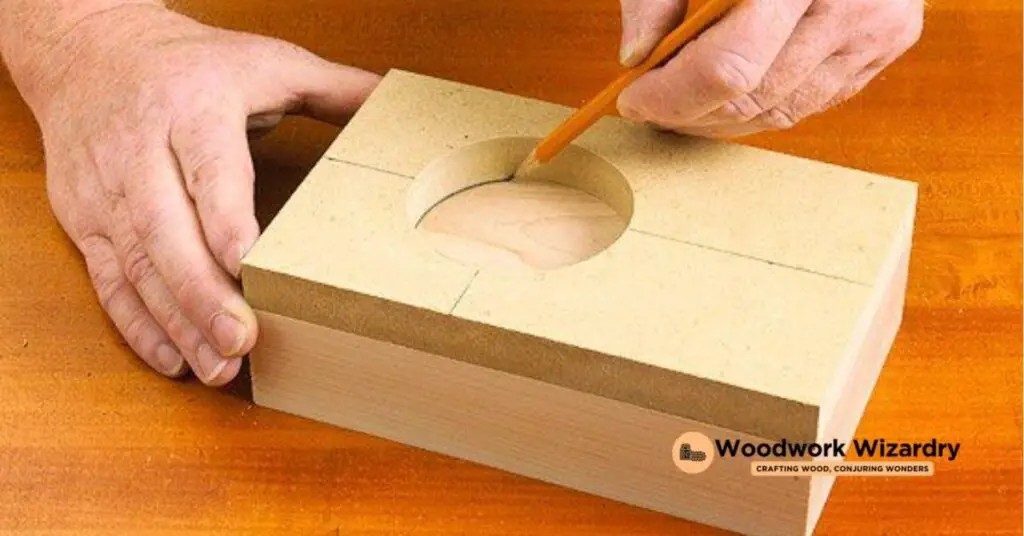
Big holes in wood often arise from wear and tear, pest damage, or accidents. Various factors contribute to the formation of these holes, including the type of wood, environmental conditions, and the extent of usage. Assessing the size and depth of the hole is crucial as this determines the appropriate repair method.
Common sources of big holes include wooden furniture, framing structures, and flooring. Each type of wood may require different filling materials and techniques. Identifying the wood species in question helps in selecting a filler that matches both texture and color.
Also, determining the purpose of the wood after repair matters. If the wood serves a structural purpose, a more robust filler may be necessary. For decorative surfaces, achieving a seamless appearance is often a priority. Evaluating these aspects prepares you for the repair process ahead.
Choosing the right materials can make a important difference. Wood fillers, epoxy, and larger patches all serve distinct functions. Understanding the unique characteristics of each helps ensure a successful repair that properly addresses the initial damage.
Common Causes of Big Holes in Wood
Understanding the origins of big holes in wood helps you tackle repairs effectively. Two primary causes contribute to these imperfections: insect damage and moisture-related decay.
Insect Damage
Wood-boring insects lead to important structural damage. Beetles, termites, and other pests create large holes as they burrow and feed on the wood. For instance, termites are notorious for infesting wooden structures, resulting in various hole sizes. You may notice these holes in furniture or framing, indicating an urgent need for inspection and remediation.
Moisture and Rot
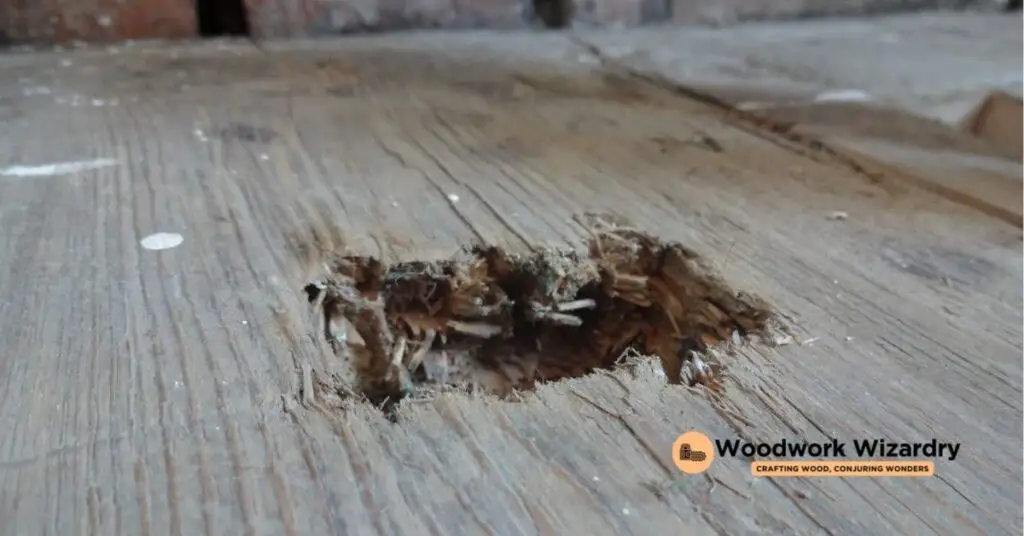
High moisture levels can result in decay. Fungi, often termed “heart rot,” infect the wood’s core, causing cavities. Humid conditions accelerates this decay process. Also, aging trees may naturally undergo decay in their heartwood, leading to hollow areas. Recognizing these factors is essential for ensuring that your wood remains stable and intact.
Materials for Filling Big Holes
You can choose from various materials to fill big holes in wood. Each material serves a exact purpose based on the size and depth of the hole. The most common options include epoxy putty and wood filler.
Epoxy Putty
Epoxy putty is a strong option for larger holes or areas requiring structural integrity. Preparation involves ensuring the hole is clean, free of debris, and has a moisture content below 20%. Clear any rotten wood until reaching sound wood, promoting a solid bond.
Mix a two-part epoxy putty that includes a resin and a hardener. Knead the components until a uniform color forms. Warming the epoxy slightly can ease the mixing process. After mixing, apply the putty directly into the hole, ensuring complete coverage. A tool moistened with water helps smooth the surface, achieving a seamless finish. This method allows for effective repairs and durability.
Wood Filler
Wood filler works well for smaller holes and surface imperfections. This material is easy to apply and can be sanded for a smooth finish. Begin by assessing the hole’s size and cleaning it from dust and debris. The wood should maintain a moisture content under 20%, just like with epoxy.
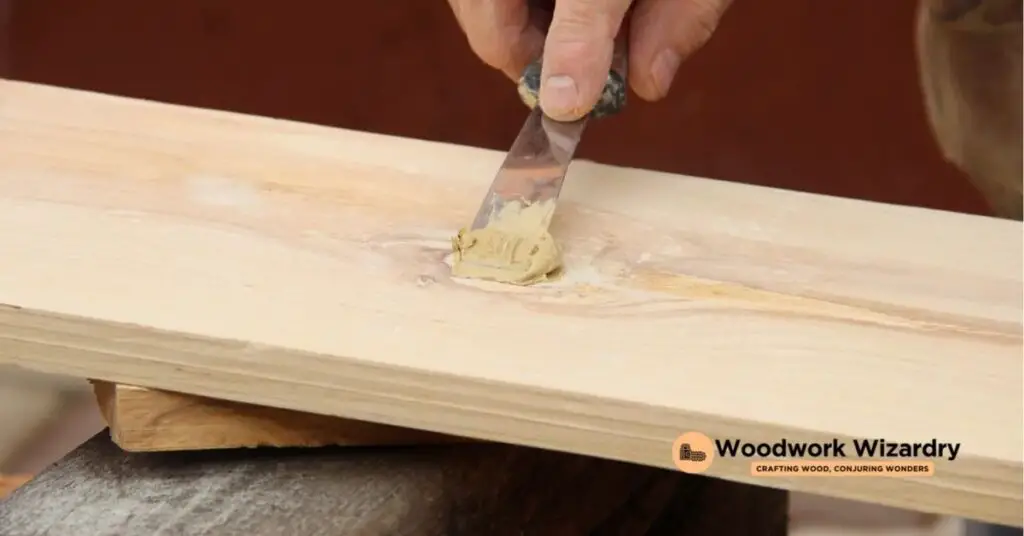
To use wood filler, scoop a small amount with a putty knife and press it into the hole. Overfilling slightly allows for sanding after it dries. Once applied, let the filler cure according to the manufacturer’s instructions, generally around 24 hours. After curing, sand it down to match the surrounding wood. This method provides a quick solution for minor repairs.
Step-by-Step Guide on How to Fill Big Holes in Wood
Filling big holes in wood involves careful preparation and execution. Each step plays a critical role in achieving a seamless repair.
Preparing the Area
Start by cleaning the area surrounding the hole. Remove any loose debris and dust to ensure proper adhesion of the filler. Use a vacuum or a damp cloth for this task. After cleaning, assess the size and depth of the hole to choose the right filler material. If necessary, trim any uneven edges around the hole for a smoother application. Ensure the wood’s moisture content is below 20% before proceeding further. If the wood is too wet, it might compromise the filler’s effectiveness.
Applying the Filler
Mix the filler material according to package instructions. For epoxy putty, combine equal parts of the resin and hardener in a bowl. Spread the filler generously into the hole, pressing it firmly to eliminate air bubbles. Add a bit of extra filler above the surface since it might shrink while curing. For wood filler, use a putty knife to apply it. Smooth the top to align with the surrounding wood, ensuring it fills the cavity well. Allow the filler to cure completely, following the manufacturer’s recommended drying time.
Finishing Touches
Once the filler has dried, sand the surface to achieve a smooth finish. Start with coarse sandpaper and progress to finer grits for a refined texture. Wipe away dust from sanding using a tack cloth or damp rag. If the filled area appears uneven, consider applying a second layer of filler. After final sanding, you can stain or paint the repaired area to match the surrounding wood. Achieving a flush look integrates the repair with the original surface seamlessly.
Tips for Best Results
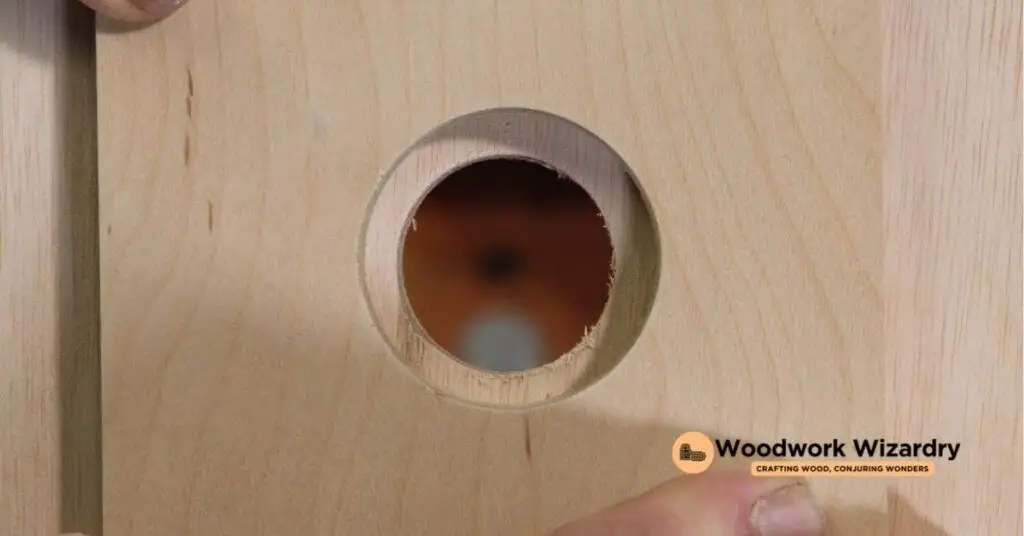
Ensure the surface around the hole is clean before applying any filler. Dust and debris can interfere with adhesion, so take time to prepare the area thoroughly. Use a vacuum or a damp cloth to remove particles completely.
Consider using a wood primer with epoxy repairs. Priming increases adhesion and improves the bond between the wood and the filler. Opt for a product designed for the exact wood type you’re repairing.
Choose the right filler based on the size of the hole and the purpose of the wood after repair. For larger holes, two-part epoxy resin provides structural integrity. Smaller holes often require wood filler, ideal for easy application and finishing.
Mix materials as directed by the manufacturer. Each product may require exact ratios of resin and hardener. Following these instructions ensures optimal performance for your repairs.
Apply the filler generously to overfill the hole slightly. This practice allows for shrinkage as the material cures, helping you achieve a level finish once sanding begins.
Sand the area after the filler has fully dried. Start with coarse grit sandpaper, then progress to finer grits for a smooth surface. This process helps blend the repair seamlessly with the surrounding wood.
Finish the repair with paint, stain, or sealant to match the existing surface. Choosing a finish that complements the wood enhances the overall appearance and protects the repair.
Conclusion
Filling big holes in wood doesn’t have to be daunting. With the right materials and techniques you can restore your wooden surfaces to their former glory. Whether you opt for epoxy putty for larger repairs or wood filler for smaller imperfections the key is in the preparation and execution.
Remember to assess the size and depth of the hole before choosing your filler. Clean the area thoroughly to ensure a strong bond and follow the manufacturer’s instructions for the best results. Once you apply the filler and sand it down to a smooth finish don’t forget to finish with a suitable paint or stain that matches your wood.
Embrace the challenge as an opportunity to enhance your craftsmanship and bring new life to your furniture and structures. Happy repairing!
Frequently Asked Questions
What causes big holes in wood?
Big holes in wood can be caused by various factors, including wear and tear, pest damage from wood-boring insects, or moisture-related decay. Environmental conditions and the type of wood also play a significant role in developing these imperfections.
How can I fill big holes in wood?
To fill big holes in wood, first clean the area thoroughly. Use appropriate materials like epoxy putty for larger holes or wood filler for smaller ones. Mix the filler according to the manufacturer’s instructions, apply it generously, sand it smooth after drying, and finish with paint or stain to match the surrounding area.
What materials are best for filling holes in wood?
For larger holes, epoxy putty is ideal as it provides structural integrity. For smaller holes, wood filler is a suitable option, easy to apply and sand. Choose the material based on the size, depth of the hole, and the wood’s intended use after repair.
Do I need to treat the wood before filling holes?
Yes, it is essential to treat the wood before filling holes. Ensure the wood’s moisture content is below 20%, clean the area around the hole, and assess the size and depth to choose the right filler. This preparation helps with adhesion and improves the repair’s overall durability.
Can I paint over filled holes in wood?
Absolutely! After the filler has dried and been sanded smooth, you can paint, stain, or seal the repaired area to match the existing wood surface. This step enhances both the appearance and protection of the repair.

