Imagine transforming your outdoor space into a stunning retreat with a beautiful wooden walkway. Not only does it enhance the aesthetics of your garden or yard, but it also provides a practical path for you and your guests to enjoy nature without the mud and mess. Building a wooden walkway is simpler than you might think, and with the right guidance, you can create a structure that adds charm and functionality to your property.
Whether you’re looking to connect different areas of your industry or just want a cozy spot to relax, a wooden walkway can do it all. With a few tools and materials, you can create a durable and inviting path that complements your home. Let’s jump into the essential steps and tips to help you build your dream walkway and elevate your outdoor experience.
Overview of Wooden Walkways

Wooden walkways offer functionality and aesthetic appeal for outdoor spaces. They create inviting pathways, allowing you to enjoy nature comfortably.
Benefits of Wooden Walkways
Wooden walkways enhance industry beauty. They serve as durable paths, making navigation easier in gardens. Natural materials blend seamlessly with the environment. Cost-effectiveness stands out, as local materials often suffice for construction. Maintenance remains manageable, with periodic sealing or staining recommended. Increased property value results from attractive and well-designed walkways, appealing to potential buyers. You can create unique designs customized to your preferences, adding a personal touch to your outdoor area.
Popular Styles and Designs
Different styles of wooden walkways cater to various tastes. Classic planks laid side by side offer a straightforward option. Curved paths add elegance and intrigue to landscapes. Raised walkways provide accessibility over uneven terrain. Arched designs introduce a charming element while maintaining functionality. Using recycled materials supports sustainability and enhances the walkway’s character. Incorporating decorative features, like railings or lighting, builds a unique and inviting entrance to your outdoor space. Choose a style that complements your home and enriches your garden’s ambiance.
Materials Needed for Construction

Building a wooden walkway requires careful selection of materials and tools. Focusing on high-quality components ensures durability and aesthetic appeal.
Types of Wood Suitable for Walkways
Choose materials that withstand the elements. Pressure-treated lumber offers excellent resistance to moisture and insects. Cedar and redwood also provide natural durability while adding warmth to your walkway. Modified wood like Kebony expands options with great weather resistance. Each of these types serves well for your outdoor project.
Tools Required for the Project
Utilizing the right tools streamlines the construction process. Gather a saw for cutting wood to desired lengths. A drill helps with making precise holes for screws or nails. Measuring tape ensures accurate dimensions while a level keeps your walkway straight. Safety glasses provide protection during construction. With these tools at hand, you can efficiently build a sturdy and beautiful wooden walkway.
Step-by-Step Guide to Building a Wooden Walkway

Building a wooden walkway enhances your outdoor space while providing a functional path. Follow these steps to create a beautiful and durable walkway.
Planning and Measuring the Area
Start by determining the path’s location. Consider areas with natural foot traffic flow, such as gardens or patios. Identify spots where grass has worn down to pinpoint a practical route. Next, create a scale drawing of your garden and the walkway layout. Visualizing the design allows you to make necessary adjustments before construction.
After planning, measure the distance the walkway will cover. Mark the path using stakes and string; most walkways should be about 36 inches wide for comfortable walking.
Evaluate the terrain and drainage in the area. If you encounter hilly spots or uneven ground, look at either leveling the area or using posts to establish an elevated walkway.
Constructing the Foundation
Begin by digging a trench for the foundation. The trench needs to be about 4 to 6 inches deep, ensuring stability. After digging, add a layer of gravel for drainage; this helps prevent water buildup, which can damage wood.
Next, set up concrete blocks or treated wood beams as supports. Ensure these are level to guarantee a solid foundation for the walkway. You may opt for a compacted gravel base instead to save on materials; this can also promote better drainage and reduce the risk of rot.
Install boundary logs or edging along the sides to maintain the walkway’s shape. Stake these edges securely to give your walkway a polished look.
Assembling the Walkway
Select your materials based on durability and aesthetics. Pressure-treated lumber, cedar, redwood, or modified wood like Kebony offer excellent weather resistance and visual appeal. Cut the wood to the desired length for the walkway.
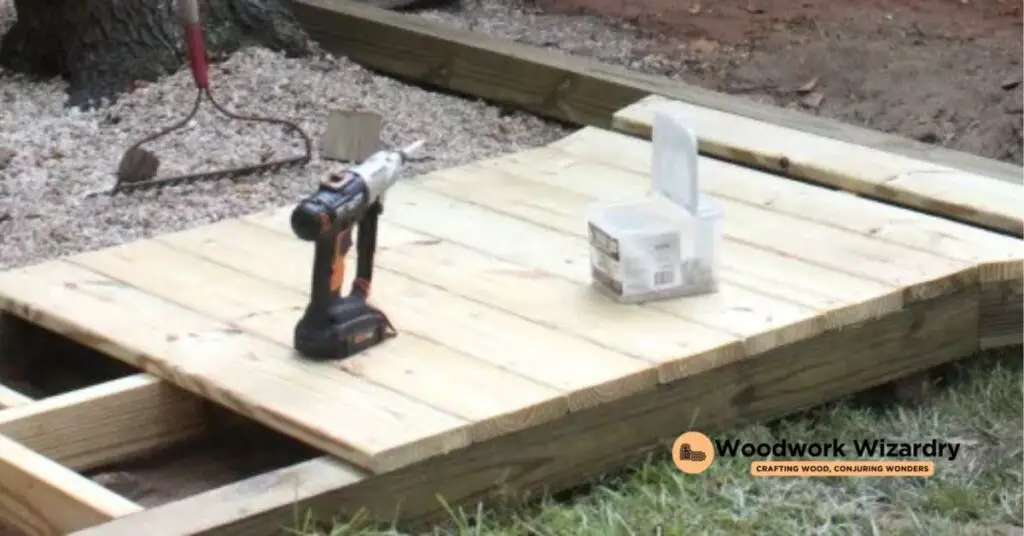
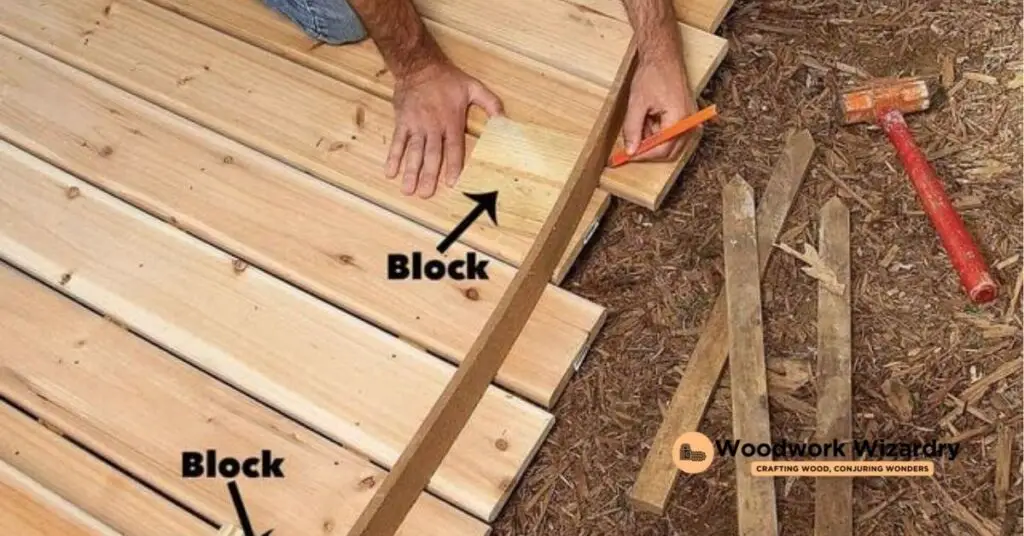
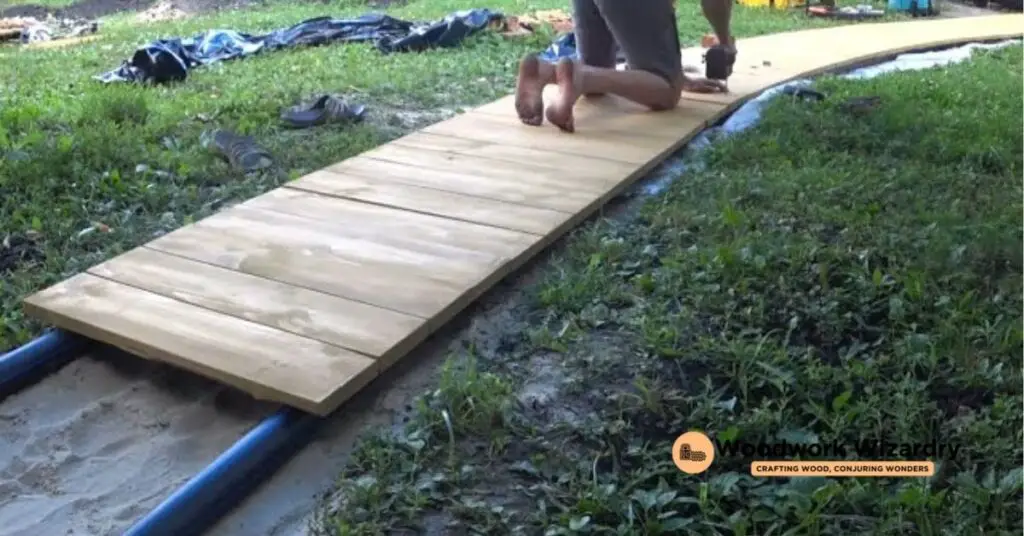
Lay the planks across the foundation, spacing them about 1/4 inch apart to allow for expansion. Use screws to secure each board in place, ensuring a sturdy structure.
Apply a weather-resistant finish to enhance the wood’s longevity. A sealant protects against moisture and UV damage, keeping the walkway looking beautiful for years.
Regularly inspect the walkway for wear and tear. Performing routine maintenance, such as cleaning and resealing, keeps your walkway in top condition, contributing to your outdoor enjoyment.
Maintenance Tips for Your Wooden Walkway

Maintaining your wooden walkway helps extend its lifespan and preserve its beauty. Regular attention ensures that it remains a functional and inviting path in your outdoor space.
Regular Cleaning and Inspection
Inspect your walkway every few months for signs of wear or damage. Remove leaves, dirt, and debris to prevent moisture accumulation and mold growth. A simple broom or leaf blower works well for this task. Check for loose boards and secure them promptly to avoid accidents. Cleaning with a mild soap and water solution helps maintain appearance without damaging the wood. Consider using a pressure washer occasionally, but keep the spray at a low setting to prevent wood damage.
Treatments and Sealants
Apply a weather-resistant sealant to protect the wood from moisture and UV damage. Select a sealant designed for outdoor use, and reapply it every 1 to 3 years, depending on exposure and wear. Use a clear penetrating oil to maintain the wood’s natural look while providing increased durability. Consider inspecting treated wood regularly to ensure it retains its protective properties. By consistently treating your walkway, you enhance its resistance to rot and splintering, ensuring a safe and attractive path.
Conclusion
Building a wooden walkway can transform your outdoor space into a functional and inviting area. By following the steps and tips outlined, you’ll create a beautiful path that enhances your garden’s aesthetics while providing easy navigation.
Remember to choose high-quality materials and invest time in proper maintenance to ensure your walkway lasts for years. With a little creativity and effort, you can design a unique structure that reflects your personal style and complements your home.
Enjoy the process and the benefits of your new walkway as you connect with nature right in your backyard.
Frequently Asked Questions
What are the benefits of a wooden walkway?
A wooden walkway enhances your garden’s aesthetics and provides a practical path for enjoying nature. It seamlessly integrates with the environment and can increase property value, making it a worthwhile addition to any outdoor space.
How do I build a wooden walkway?
Start by planning and measuring the area to define the path. Prepare the terrain, create a solid foundation, and lay planks with proper spacing. Ensure you use high-quality materials and finish your walkway with a weather-resistant sealant for durability.
What materials are best for building a wooden walkway?
The best materials include pressure-treated lumber, cedar, redwood, and modified wood like Kebony for their weather resistance. These options ensure both durability and aesthetic appeal for your walkway.
What tools do I need to build a wooden walkway?
Essential tools include a saw, drill, measuring tape, level, and safety glasses. These tools help ensure the construction process is efficient and safe, leading to a sturdy and well-built walkway.
How can I maintain my wooden walkway?
Regular cleaning and inspection are essential. Remove debris periodically and check for damage. Use a mild soap solution for cleaning and apply a weather-resistant sealant every 1 to 3 years to protect the wood from moisture and UV damage.

