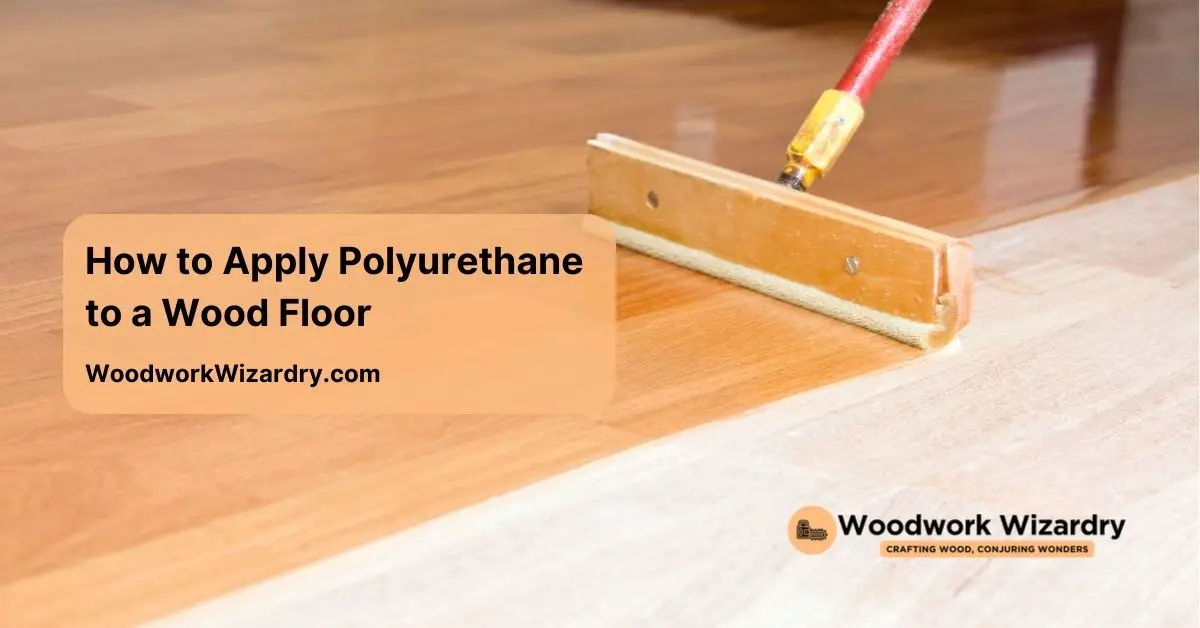
If you want your wood floors to shine and last for years, applying polyurethane is essential. This protective finish not only enhances the natural beauty of the wood but also guards against scratches and stains. Imagine walking on a floor that looks brand new, with a glossy finish that reflects light beautifully.
Getting the application right can seem daunting, but with the right techniques and a bit of patience, you can achieve professional results. Whether you’re refreshing an old floor or finishing a new one, knowing how to apply polyurethane correctly will transform your space. Let’s jump into the steps that will make your floors the envy of everyone who walks through your door.
Understanding Polyurethane
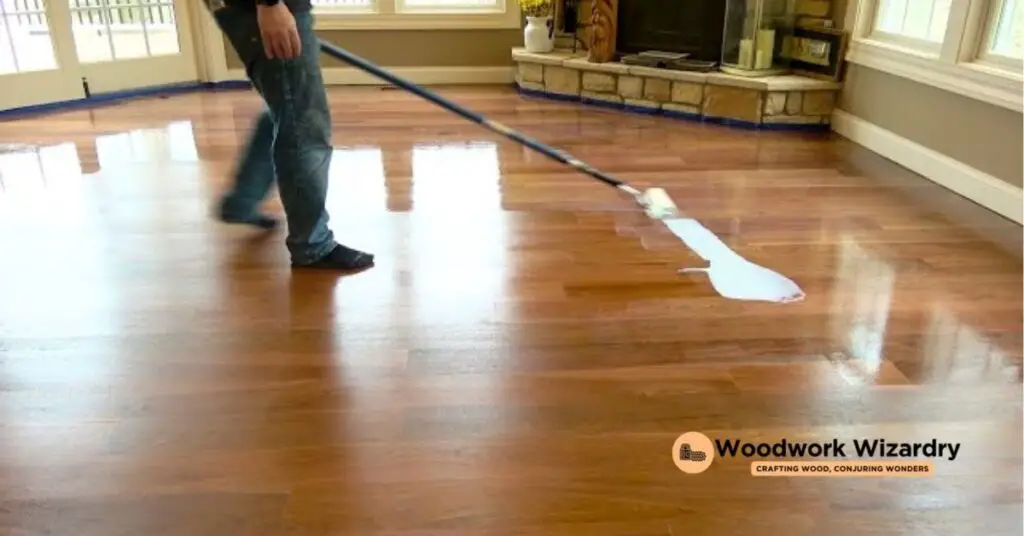
Polyurethane serves as a protective finish for wood floors. This versatile material enhances both appearance and durability, making it a popular choice among homeowners.
What Is Polyurethane?
Polyurethane is a synthetic polymer widely used in wood finishing. This type of finish creates a robust barrier against moisture, scratches, and everyday wear. You’ll find polyurethane available in both water-based and oil-based formulas. Each option offers distinct advantages, with water-based versions providing quicker drying times and lower odors. Oil-based versions, on the other hand, typically provide a richer, amber hue. When you choose polyurethane, consider your flooring type and desired finish.
Types of Polyurethane Finishes
Understanding the various types of polyurethane finishes helps you make an informed choice. Select from these common finishes:
- Water-Based Polyurethane
- Dries faster than oil-based options
- Provides a clear finish that doesn’t yellow
- Easier to clean up with soap and water
- Oil-Based Polyurethane
- Offers a warm, amber tone
- Delivers greater durability and resistance to wear
- Takes longer to dry, requiring longer wait times between coats
- Aliphatic Urethane
- Known for its high resistance to chemicals and abrasion
- Often used in commercial applications but beneficial for residential use
- Satisfies aesthetic preferences with a matte to high-gloss finish
- Moisture-Cured Urethane
- Cures quickly even in humid conditions
- Exhibits excellent durability for high-traffic areas
- Produces strong odors during the application process
Choosing the right finish affects the lifespan and beauty of your wood floors. Prioritize your exact needs based on usage, desired appearance, and ease of application.
Preparing the Wood Floor
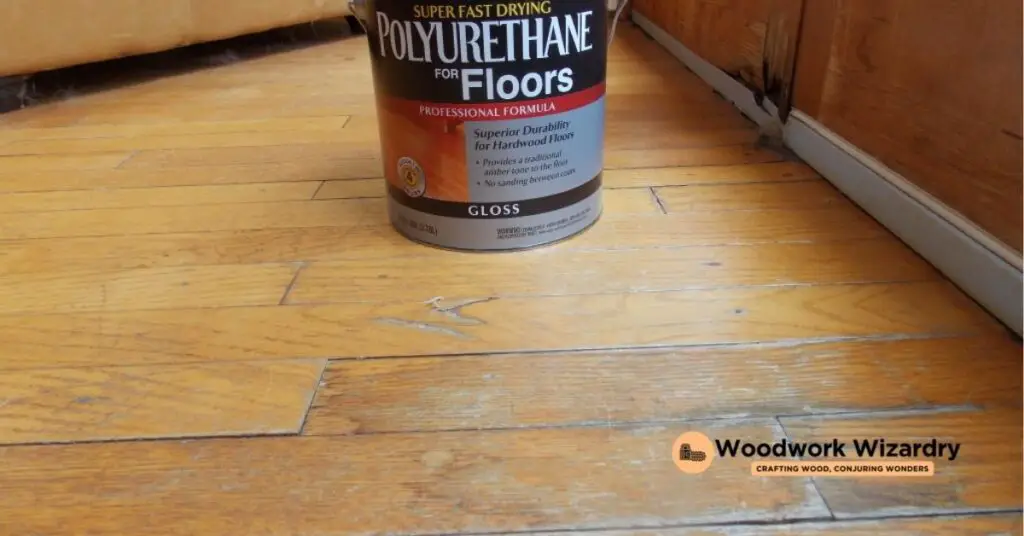
Proper preparation ensures a successful application of polyurethane to your wood floor. Follow these key steps to achieve a smooth and even finish.
Cleaning the Surface
Thorough cleaning sets the stage for the polyurethane. Begin by sweeping away large debris with a broom. A HEPA-grade vacuum effectively removes fine dust particles and any remaining debris. If old polishes or contaminants exist, use a specialized preparatory cleaner; this practice ensures optimal adhesion for the new coating. Remove all furniture, rugs, and other obstacles from the room to keep your workspace clear. Damp rags with mineral spirits also help wipe down the floor, ensuring a dust-free surface. Wearing latex gloves protects your hands during this process.
Sanding the Floor
Sanding prepares the wood floor for the polyurethane application. Start with medium-grit sandpaper to smooth out imperfections. Transition to fine-grit sandpaper for a polished finish. Use a floor sander or a hand sander based on the area size; both options work effectively. Remember to sand in the direction of the wood grain for best results. After sanding, vacuum the dust thoroughly to prevent debris from marring the new finish.
Repairing Damages
Repairing any damages ensures a flawless finish. Inspect the wood floor for scratches, dents, or loose boards before application. Fill holes or dents with wood filler that matches the floor’s color. Allow the filler to dry according to the manufacturer’s instructions. In cases of loose boards, re-glue or replace them to maintain the floor’s integrity. Once repairs are complete, sand the repaired areas to blend them seamlessly with the surrounding surface.
Applying Polyurethane
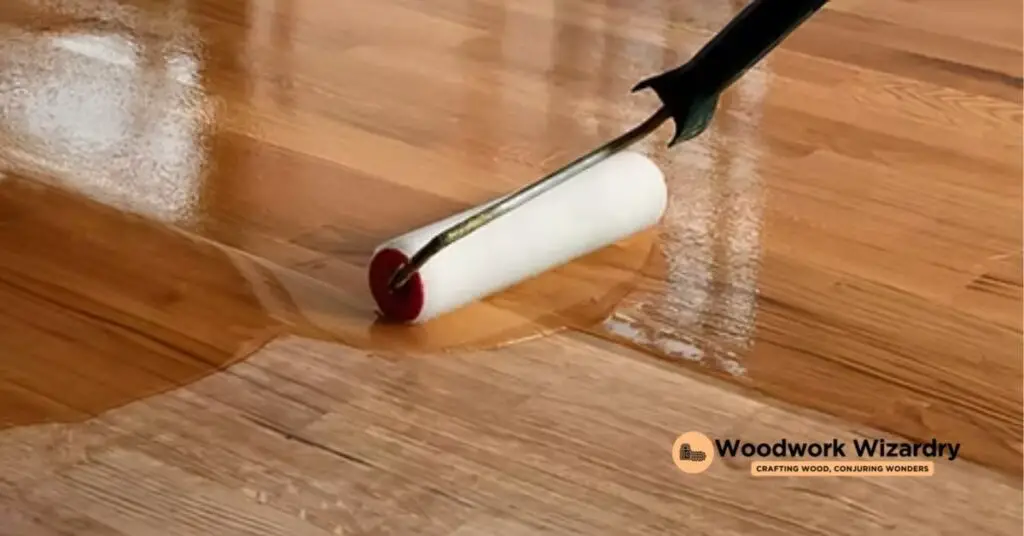
Applying polyurethane to your wood floor requires careful preparation and the right tools. Following a systematic approach ensures a beautiful and durable finish.
Choosing the Right Tools
Selecting appropriate applicators is essential for achieving a smooth coat. Use a lambswool or microfiber roller for large areas. These options create an even layer without brush marks. For detailed work, a high-quality fine-bristled brush provides precision. Foam rollers cover extensive spaces quickly and evenly, making them a practical choice. T-bar applicators are advantageous for applying polyurethane in straight lines, especially on strip floors. This tool helps maintain a wet edge and prevents lap marks. Don’t forget tack cloths. They remove dust and debris before each coat, ensuring adhesion. Finally, keep various grits of sandpaper on hand. Grits from 220 to 320 are optimal for sanding between coats, refining the surface for a flawless finish.
Step-by-Step Application Process
Start by properly preparing the area. Ensure the environment is well-ventilated to enhance drying and reduce odors. After that, pour a small amount of polyurethane into a paint tray. Dip your roller or brush into the polyurethane, making sure to avoid over-saturating the tool. It’s essential to start from a corner and move towards an exit point. Apply with long, even strokes in the direction of the wood grain. Use a smooth technique to prevent bubbles and uneven spots. After applying the first coat, allow it to dry according to the manufacturer’s instructions before lightly sanding with fine-grit sandpaper. Adding coats will improve durability, so repeat this process two to three times. Always wait for each coat to dry and sand lightly between applications for the best results.
Tips for a Successful Finish
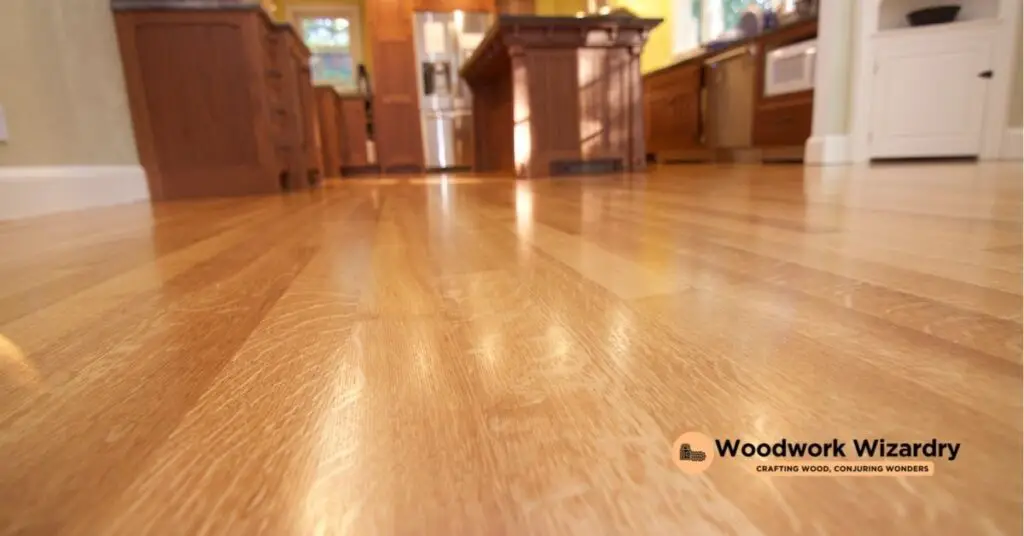
Applying polyurethane correctly involves careful attention to detail at every stage. Following these tips ensures a great finish that enhances the beauty of your wood floors.
Importance of Multiple Coats
Applying multiple coats of polyurethane significantly boosts durability. The first coat acts as a base, improving adhesion for subsequent layers. A minimum of two to three coats is crucial for maximum protection and a consistent finish. Each additional coat deepens the color and increases shine, creating a professional appearance. Ensure you let each coat dry completely before applying the next. This method prevents issues like peeling or bubbling.
Drying and Curing Times
Drying and curing times vary depending on the type of polyurethane. Water-based polyurethane typically dries within two to four hours, allowing you to apply multiple coats in a single day. Oil-based polyurethane requires longer drying times, often up to 24 hours. Curing extends beyond drying; it can take several days to weeks for the finish to fully set, especially with oil-based products. Maintain good ventilation while drying for better airflow, which also improves the finish quality. Adjust your application schedule based on these times to achieve optimal results.
Conclusion
Applying polyurethane to your wood floors can transform their appearance and provide lasting protection. With the right techniques and tools you can achieve a beautiful finish that enhances your space. Remember to choose the appropriate type of polyurethane based on your needs and follow the preparation steps carefully for the best results.
Don’t rush through the application process. Taking your time will ensure a smooth and durable finish. By investing in a few extra coats you’ll not only boost the shine but also extend the life of your floors. Proper ventilation during drying and curing is essential for optimal results. Enjoy the satisfaction of a job well done and the stunning look of your newly finished wood floors.
Frequently Asked Questions
Why should I apply polyurethane to my wood floors?
Applying polyurethane enhances the appearance of wood floors and provides protection against scratches, stains, and moisture. It gives the floors a shiny, new look while maintaining their longevity.
What types of polyurethane are available for wood floors?
There are primarily two types: water-based and oil-based. Water-based options dry faster, have lower odors, and are easier to clean, while oil-based polyurethanes offer a richer color and more durability.
How many coats of polyurethane should I apply?
It’s recommended to apply at least two to three coats of polyurethane for optimal protection and a consistent finish. More coats can enhance durability and increase shine.
How do I prepare my wood floors before applying polyurethane?
Preparation involves thorough cleaning, repairing any damages, and sanding the surface with medium and fine-grit sandpaper. This ensures optimal adhesion and a smooth finish.
What tools are best for applying polyurethane?
For large areas, lambswool or microfiber rollers work best. Use fine-bristled brushes for detailed sections, and T-bar applicators for straight lines to ensure an even application.
How long does it take for polyurethane to dry?
Water-based polyurethane usually dries within two to four hours, while oil-based polyurethane may take up to 24 hours. Drying times can vary based on ventilation and environmental conditions.
Is ventilation important when applying polyurethane?
Yes, proper ventilation is crucial during the application and curing process. It helps speed up drying and minimizes odors, ensuring a safer environment while achieving quality results.
Can I sand between coats of polyurethane?
Absolutely! Lightly sanding between coats helps create a better bond between layers. It also smooths out any imperfections, contributing to a professional-looking finish.

