Are you ready to transform your wood projects into stunning masterpieces? Applying epoxy resin can elevate your creations, giving them a glossy, durable finish that catches the eye. Whether you’re working on a table, a countertop, or artistic decor, mastering this technique can take your craftsmanship to the next level.
Imagine the satisfaction of sealing your wood with a crystal-clear layer that not only enhances its natural beauty but also protects it from wear and tear. With the right steps, you can achieve a professional look right in your own workshop. Get ready to jump into the industry of epoxy resin and unlock endless possibilities for your woodworking adventures.
Tools And Materials Needed
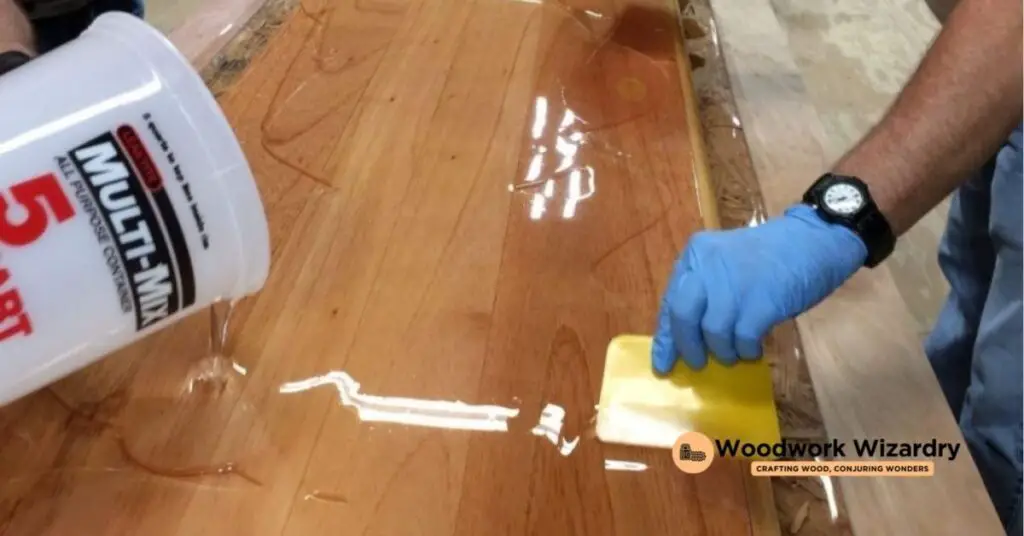
Before starting your epoxy resin project, gather the essential tools and materials. Proper preparation makes the process smooth and efficient.
Epoxy Resin Selection
Select the right epoxy resin based on your project needs. Look for options labeled as clear or high-gloss for a polished finish. Consider choosing a resin designed for wood applications. Review the curing time; faster curing resins work well for small projects, while longer curing times offer greater flexibility for larger surfaces. Research brands that provide reliable results and read customer reviews to ensure quality.
Safety Gear Requirements
Wear appropriate safety gear to protect yourself during the application process. Use gloves to safeguard your hands from chemicals. A respirator mask protects your lungs from fumes, especially in poorly ventilated areas. Safety goggles shield your eyes from splashes and debris. Ensure your clothing covers as much skin as possible, reducing exposure to resin. Consider having a first-aid kit on hand for emergencies. Always prioritize safety when working with epoxy resin.
Preparing The Wood Surface
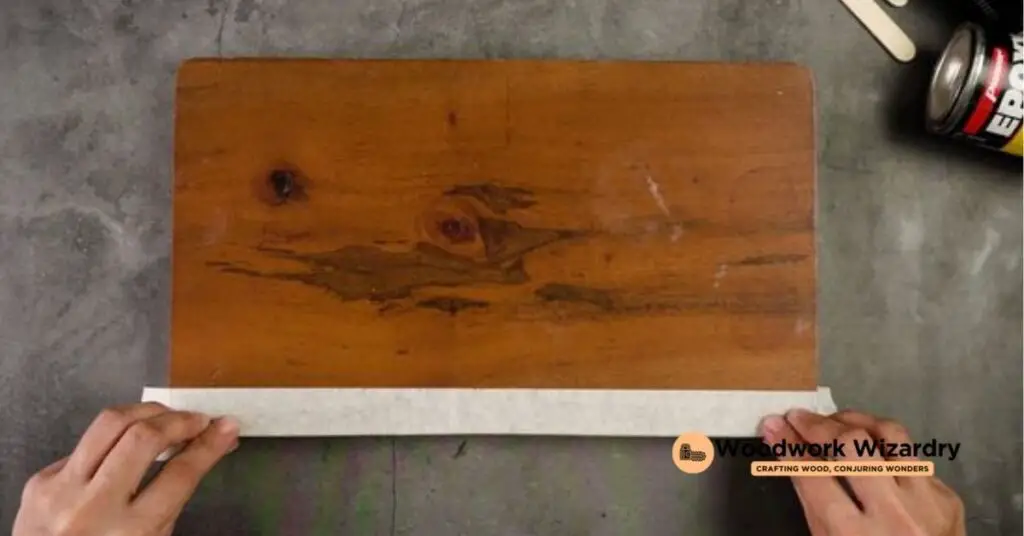
Preparing the wood surface is essential for a successful epoxy resin application. Start with cleaning and sanding; these steps ensure optimal adhesion and a flawless finish.
Cleaning The Surface
Ensure the wood is clean and free from dust, grease, wax, and other contaminants. Use 91% isopropyl alcohol or ethanol to wipe the surface. This process eliminates residues and contaminants without leaving moisture behind. Contaminants hinder adhesion, making it crucial to remove any oil, grease, or wax by sanding the surface. Proper cleaning sets the foundation for a strong bond with the epoxy resin.
Sanding Techniques
Begin sanding the wood with coarse grit sandpaper to eliminate imperfections and smooth out the surface. Progressing to finer grits creates an even smoother finish. Using an orbital sander makes this job quicker and more efficient. Always sand in the direction of the wood grain to avoid scratches that can affect the epoxy application. This technique enhances the adhesive properties of the resin, resulting in a better overall outcome.
Mixing The Epoxy Resin
Mixing epoxy resin correctly is vital for optimal results. Proper mixing ensures a durable finish that showcases the beauty of your wood project.
Following The Manufacturer’s Instructions
Always consult the manufacturer’s instructions before proceeding. Instructions detail the mixing process and provide essential guidance customized to the exact resin you’re using. Understanding these details prevents common mistakes that can affect curing. Variances in temperature and moisture may also influence the final outcome, so it’s wise to note any recommended environmental conditions.
Ensuring Proper Ratio
Achieving the right ratio is crucial for successful curing. Most epoxy resins require a exact blending of resin and hardener. Commonly, you’ll encounter ratios like 2:1 or 1:1. Use a digital scale or measuring cup with clear graduations for accuracy. Measuring each component separately guarantees consistent results. Following the manufacturer’s specified ratio prevents issues like incomplete curing or excessive bubbles in the final product.
Applying The Epoxy Resin
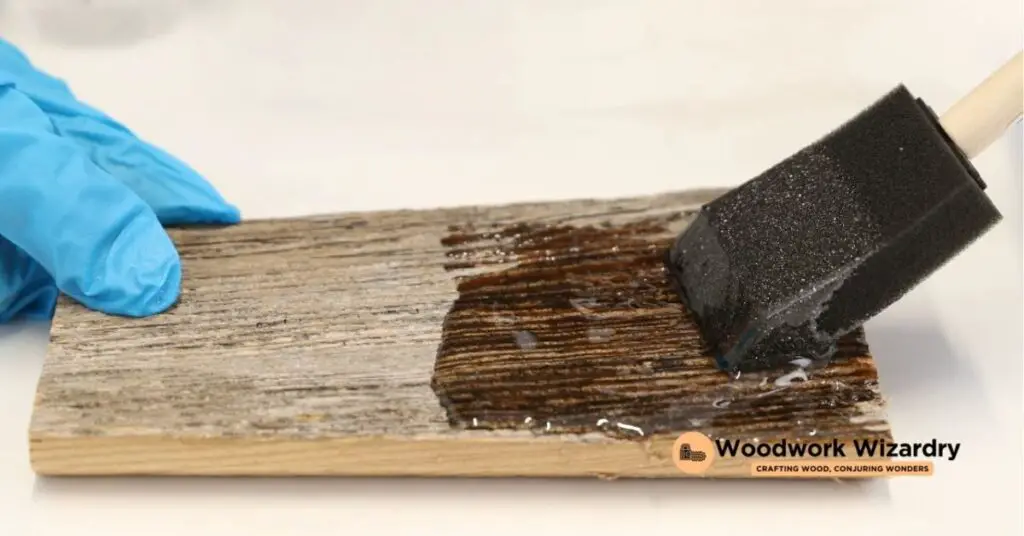
Applying epoxy resin involves careful techniques to achieve a professional finish on your wood projects. Various methods exist, ensuring the resin adheres properly and creates a smooth surface.
Pouring Techniques
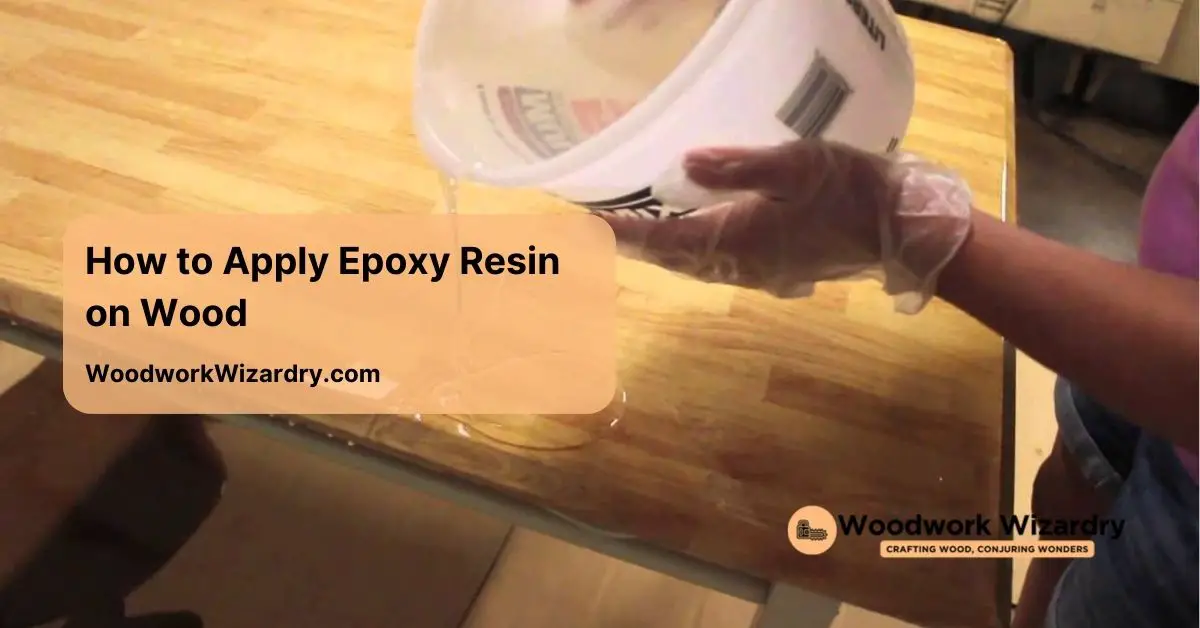
Begin by pouring the mixed epoxy resin directly onto the center of your prepared wood surface. Let the resin flow naturally, allowing it to spread outwards. Pouring slowly minimizes trapped air bubbles. You might consider using multiple layers for thicker applications, pouring the resin in sections if the project requires more than one coat. Maintain consistent pressure while pouring to control the flow.
Spreading Techniques
After pouring, use a spreader or a notched trowel to evenly distribute the epoxy across the surface. Spreading ensures that all areas receive adequate coverage. You can also use a brush or a foam applicator for detailed areas or edges. Applying light pressure helps avoid introducing more air bubbles. Keep an eye on the thickness; a uniform layer around 1/4 inch often creates the best results. Additional resin can be added where necessary, allowing you to achieve the desired finish.
Curing And Finishing
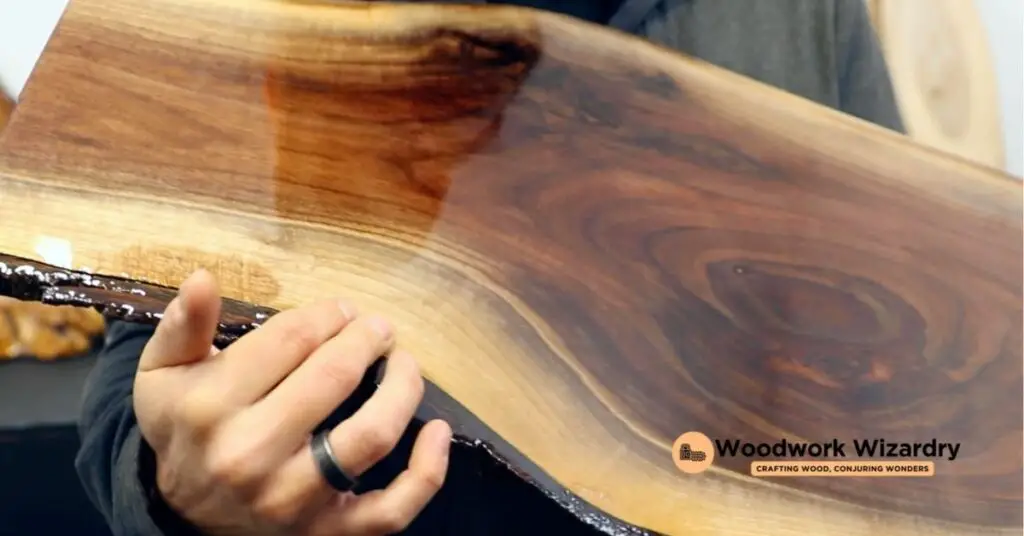
Curing is a critical phase in the epoxy resin application process. Several factors influence curing times, including temperature and humidity levels. Expect typical curing times to range from 24 to 72 hours. Lower temperatures or higher humidity can extend curing periods, while warmer surroundings often promote faster curing.
Curing Times And Conditions
Exact curing times vary based on the epoxy resin product used. Always check the manufacturer’s guidelines for precise recommendations. To achieve optimal results, ensure a clean and dust-free workspace during the curing phase. Ambient conditions matter as well; keeping the area between 70°F and 85°F (21°C and 29°C) usually facilitates a quicker cure. Avoid exposing the surface to moisture during this time, as it can compromise the integrity of the finish.
Sanding And Polishing
Sanding and polishing enhance the final appearance of your epoxy-coated wood surface. Begin sanding only after the resin fully cures, which can take several days. Start with a coarse grit sandpaper to flatten any uneven areas, progressing to finer grits for a smooth surface. A random orbital sander is ideal for this task, as it creates a uniform finish.
Polishing follows sanding for an added glossy effect. Use a polishing compound designed for resin surfaces, applying it with a soft cloth or polishing pad. Making several passes can yield a high-gloss finish, further improving the visual appeal and durability of your resin-coated project.
Conclusion
Applying epoxy resin to wood can truly elevate your projects. By following the right techniques and ensuring proper preparation you’ll achieve a stunning finish that highlights the natural beauty of the wood while providing lasting protection.
Remember to prioritize safety throughout the process and take your time with each step. Whether you’re creating a beautiful table or an artistic piece the possibilities are endless.
With practice and patience you’ll master this skill and create impressive results that showcase your craftsmanship. Embrace the journey and enjoy the transformation that epoxy resin brings to your woodworking endeavors.
Frequently Asked Questions
What is epoxy resin used for in woodworking?
Epoxy resin is used to enhance the appearance and durability of wood projects like tables, countertops, and artistic decor. It provides a clear layer that seals and protects the wood while showcasing its natural beauty.
How do I prepare wood for epoxy resin application?
To prepare wood, clean the surface thoroughly using 91% isopropyl alcohol or ethanol to remove dust and contaminants. Sand the wood starting with coarse grit sandpaper and progress to finer grits for a smooth finish.
What safety gear should I wear when applying epoxy resin?
When applying epoxy resin, it’s essential to wear safety gear, including gloves, a respirator mask, safety goggles, and appropriate clothing. This protects you from harmful fumes and skin exposure.
How do I mix epoxy resin correctly?
Mix epoxy resin according to the manufacturer’s instructions, ensuring the correct ratio—commonly 2:1 or 1:1. Use a digital scale or measuring cup for accuracy to prevent curing issues.
What application techniques should I use for epoxy resin?
When applying epoxy resin, pour the mixed resin onto the center of the wood surface to minimize air bubbles. Use a spreader or notched trowel to evenly distribute the resin for a uniform layer.
How long does it take for epoxy resin to cure?
Curing times for epoxy resin typically range from 24 to 72 hours, depending on the product and environmental conditions like temperature and humidity. It’s best to maintain a workspace temperature between 70°F and 85°F.
How do I sand and polish epoxy resin?
Wait until the epoxy resin fully cures before sanding. Start with coarse grit sandpaper, then move to finer grits for a smooth finish. Use a polishing compound designed for resin surfaces to achieve a high-gloss effect.

